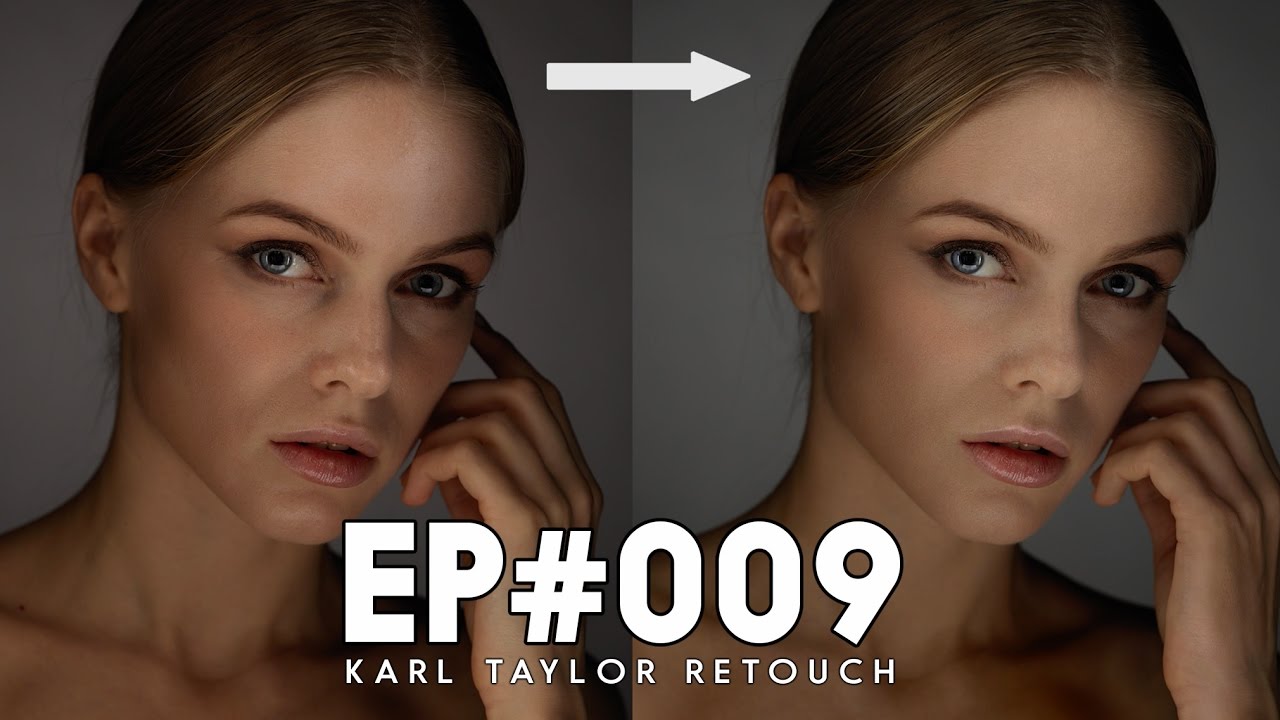
Early in my retouching career, a client looked at a set of beauty edits I’d delivered and said the skin looked “like plastic.” She wasn’t wrong. I’d been smoothing and softening without any real understanding of light and shadow on a face, and the results showed it. What I was missing wasn’t a better tool. It was a proper workflow that treated the face as a three-dimensional thing with real tonal structure. That’s exactly what this Visual Education tutorial addresses, and it’s why I keep coming back to it whenever I’m training my eye or showing students where to start. Watch the full tutorial on YouTube
In this Visual Education tutorial, retoucher and educator Aaron Nace walks through a complete beauty retouch from a raw starting point, using a colleague’s portrait as the subject. What makes this tutorial worth your time is the order of operations. Too many Photoshop guides jump straight to skin smoothing. This one builds the foundation correctly: cleanup first, global color next, then tonal sculpting through dodging and burning, and detail work last. That sequence matters more than any individual technique inside it.
I’ll walk you through each stage the way I’d explain it to someone sitting beside me at my desk in Portland with a cup of green tea going cold next to the keyboard.
Step 1: Duplicate Your Background Layer and Add a Healing Layer
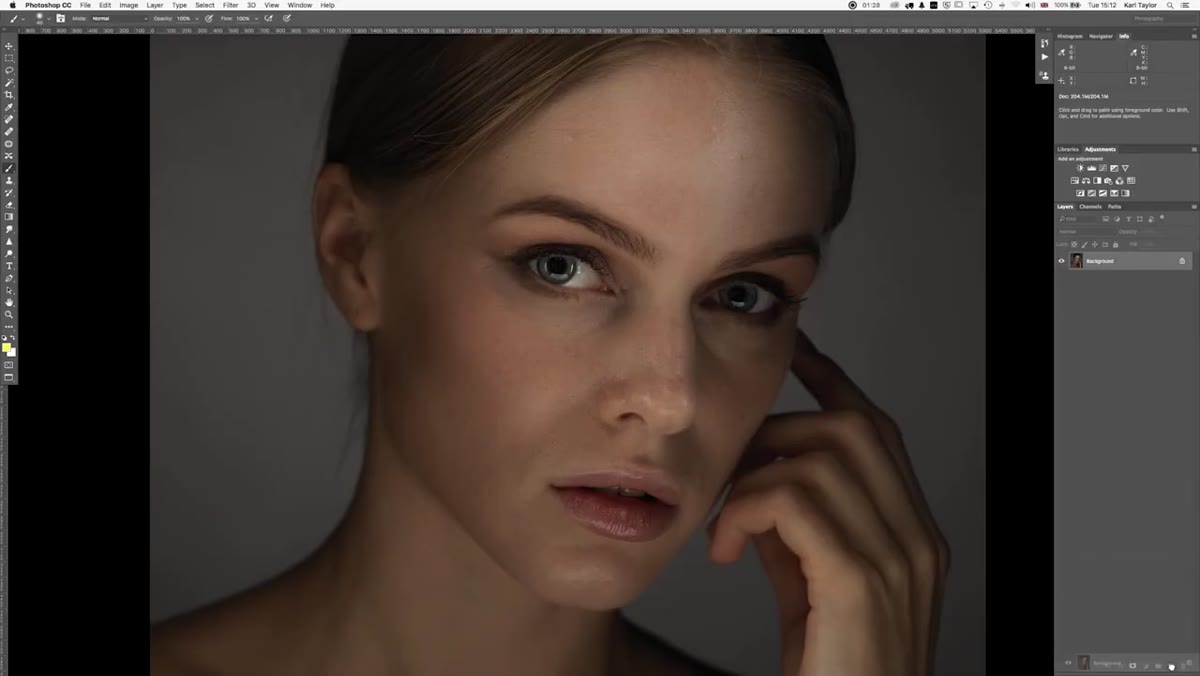 Duplicate layer panel, blank healing layer added above
Before touching a single pixel, duplicate your background layer. This gives you a permanent reference point you can toggle back to at any moment during the edit. It’s the kind of habit that feels unnecessary until the one time you desperately need it.
Duplicate layer panel, blank healing layer added above
Before touching a single pixel, duplicate your background layer. This gives you a permanent reference point you can toggle back to at any moment during the edit. It’s the kind of habit that feels unnecessary until the one time you desperately need it.
Above that duplicate, add a completely blank new layer dedicated entirely to your healing work. By keeping healing on its own layer, you preserve the flexibility to dial it back, erase specific areas, or adjust opacity without disturbing anything beneath. Set your Healing Brush to “Sample All Layers” so it reads the pixel information from the layers below while painting corrections onto the clean layer above.
Step 2: Complete Your Basic Cleanup with the Healing Brush
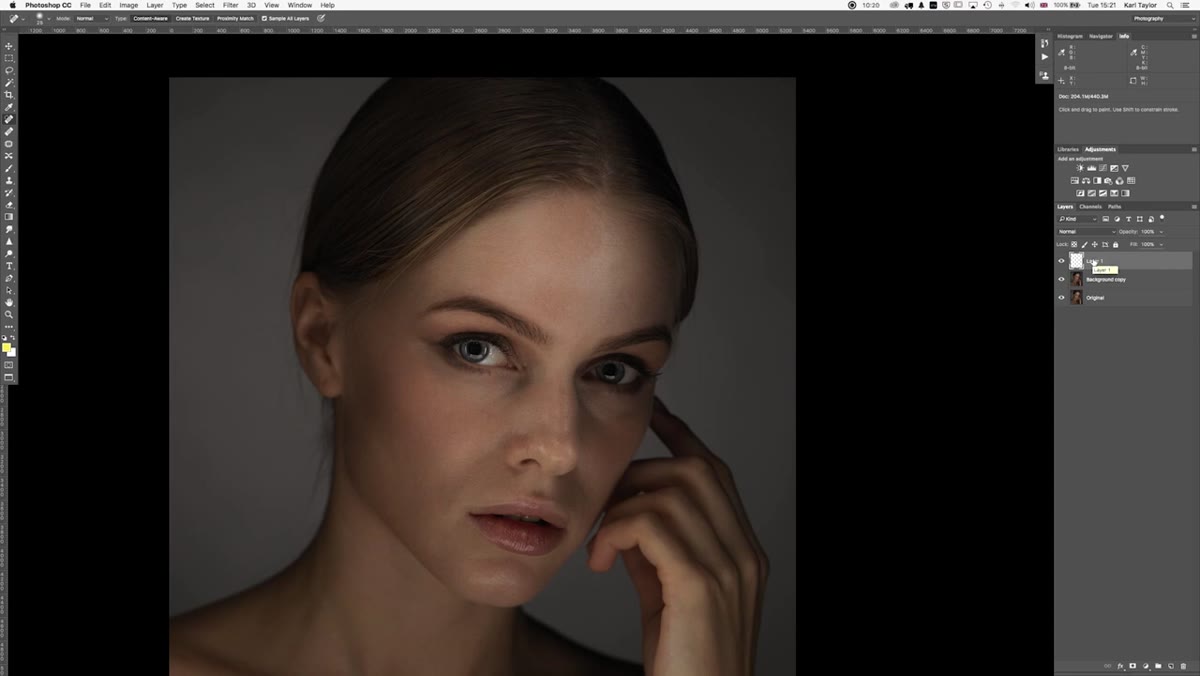 Zoomed-in skin showing healed blemishes and texture
This stage is about removing distractions, not restructuring the face. Work through temporary blemishes, stray hairs across the skin, and any uneven texture patches that wouldn’t exist in a cleaner lighting situation. The goal is not perfection yet. It’s a neutral starting point.
Zoomed-in skin showing healed blemishes and texture
This stage is about removing distractions, not restructuring the face. Work through temporary blemishes, stray hairs across the skin, and any uneven texture patches that wouldn’t exist in a cleaner lighting situation. The goal is not perfection yet. It’s a neutral starting point.
Once you’ve finished healing, merge that healing layer down into your working layer. The tutorial speeds through this section for good reason: it’s methodical work that doesn’t benefit from overthinking. Move efficiently, zoom in enough to see what you’re doing, and resist the urge to over-heal. You’ll be doing tonal work later that naturally softens some of what looks rough at this stage.
Step 3: Apply a Global Color Correction with a Curves Adjustment Layer
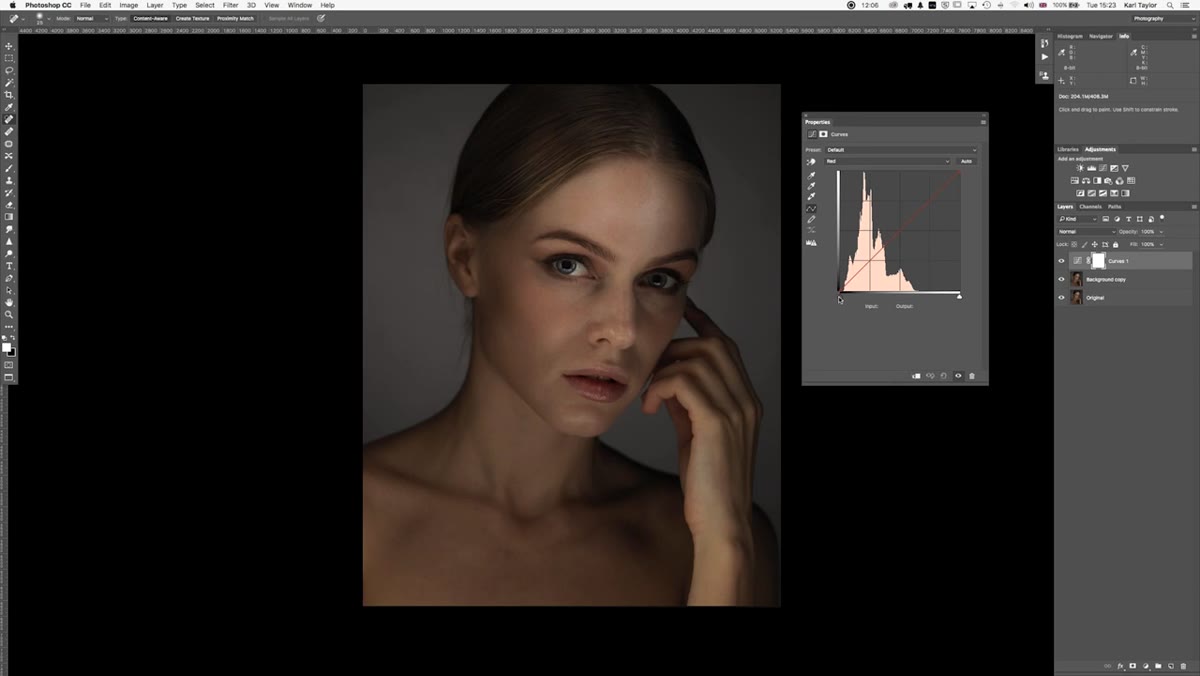 Curves adjustment panel with red channel pulled down slightly
Add a Curves adjustment layer above your working layer. Before worrying about specific problem areas, take a read of the image as a whole. In this portrait, there’s a warmth in the red channel that’s slightly overpowering the overall balance of the skin tones.
Curves adjustment panel with red channel pulled down slightly
Add a Curves adjustment layer above your working layer. Before worrying about specific problem areas, take a read of the image as a whole. In this portrait, there’s a warmth in the red channel that’s slightly overpowering the overall balance of the skin tones.
Pull the individual Red channel curve down very gently. We’re talking a subtle adjustment, just enough to cool the reds into a more flattering register without shifting the image toward green or looking artificially corrected. Global corrections like this inform everything that comes after. If your color base is slightly off, your burn and dodge work will feel wrong even when the technique is right.
Step 4: Identify Your Burn and Dodge Priorities Before You Start
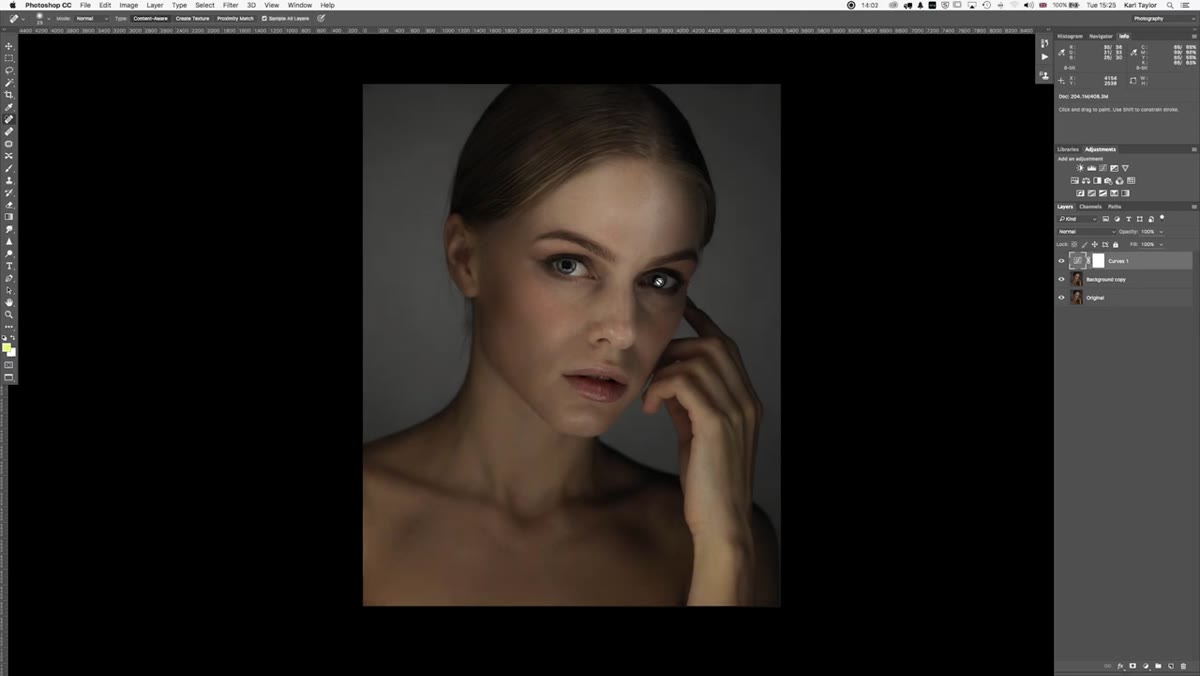 Portrait with forehead and wrist highlighted, uneven lighting visible
This is a step most tutorials skip entirely, and it’s one of the most valuable things I took from this video. Before opening any tools, study the image for tonal imbalance. In this portrait, three specific problems are visible: the hand and wrist area reads brighter than the face and competes for attention, the forehead has patches of inconsistent lighting, and the upper portion of the head is more strongly lit than the lower face, creating an imbalance that flattens the features.
Portrait with forehead and wrist highlighted, uneven lighting visible
This is a step most tutorials skip entirely, and it’s one of the most valuable things I took from this video. Before opening any tools, study the image for tonal imbalance. In this portrait, three specific problems are visible: the hand and wrist area reads brighter than the face and competes for attention, the forehead has patches of inconsistent lighting, and the upper portion of the head is more strongly lit than the lower face, creating an imbalance that flattens the features.
Write these down if you need to. Having a prioritized list means you don’t get lost in detail work on areas that don’t affect the overall read of the image. In my own workflow, I call this a “light map.” Where do I want the viewer’s eye to go? Everything else should be slightly subdued to support that answer.
Step 5: Build Your Burn and Dodge Layers Using Curves, Not the Dodge and Burn Tools
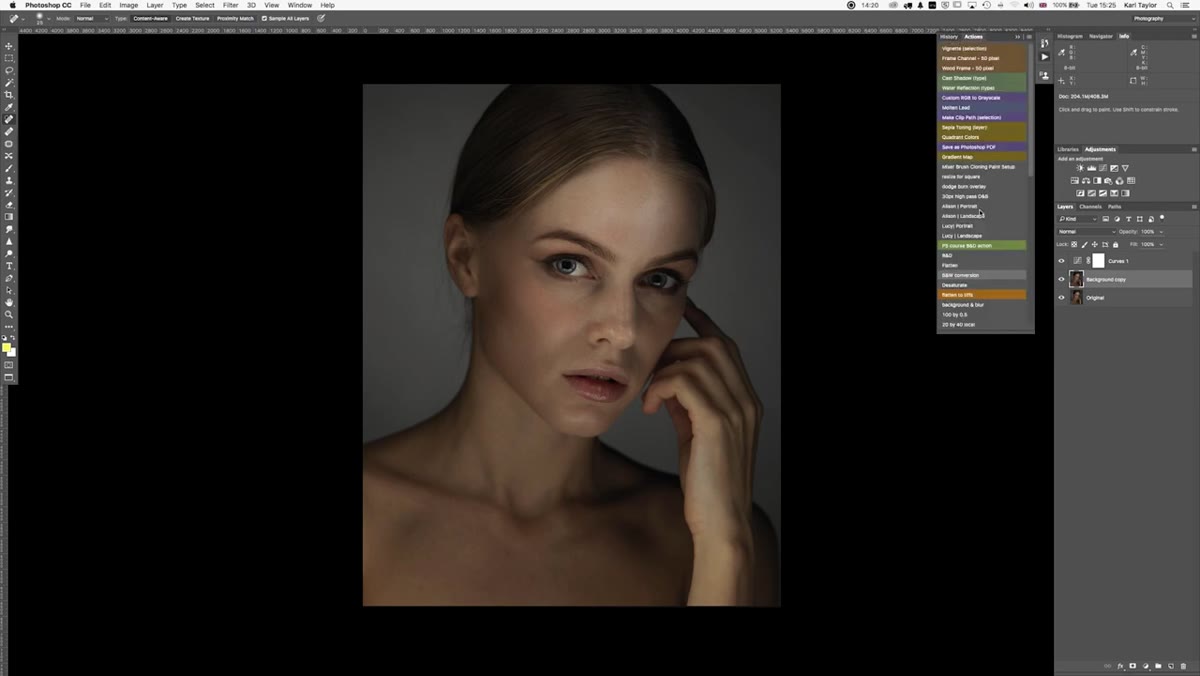 Layer panel showing two Curves adjustment layers for burn and dodge
Here’s the technique shift that separates professional retouching from amateur work. Do not use Photoshop’s built-in Dodge and Burn tools directly on pixels. Instead, create two separate Curves adjustment layers, one pulled down to create a darkening effect, one lifted to create a brightening effect. Fill each layer’s mask with black so the effect is completely hidden by default.
Layer panel showing two Curves adjustment layers for burn and dodge
Here’s the technique shift that separates professional retouching from amateur work. Do not use Photoshop’s built-in Dodge and Burn tools directly on pixels. Instead, create two separate Curves adjustment layers, one pulled down to create a darkening effect, one lifted to create a brightening effect. Fill each layer’s mask with black so the effect is completely hidden by default.
Now switch to a white brush, set your flow to 1%, and softness to maximum. Paint onto whichever mask corresponds to the effect you want to apply in a given area. At 1% flow, you’re building the effect in tiny increments. Ten strokes might produce a barely perceptible change, and that’s exactly right. The goal is a gradient of light and shadow that looks like it came from the original light source, not from a retoucher’s hand.
Step 6: Zoom In and Out Constantly During Burn and Dodge Work
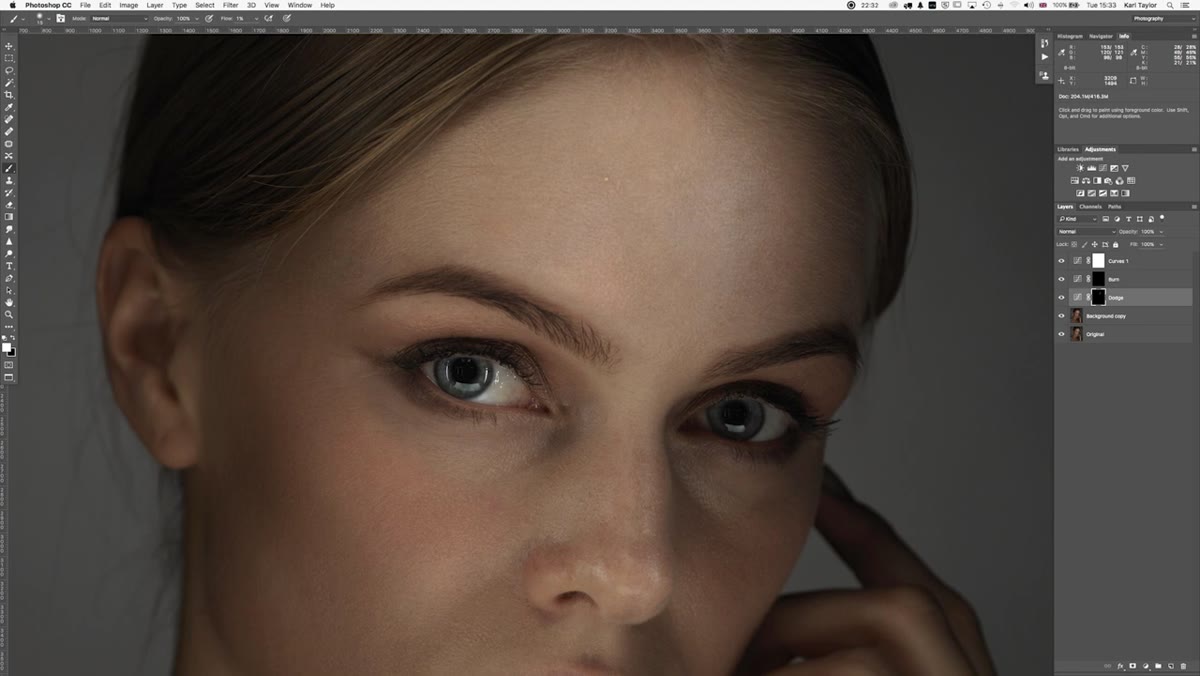 Retoucher zooming out to check tonal balance across full portrait
This sounds like basic advice, but I still have to remind myself to do it every single session. When you’re zoomed into the forehead at 200%, you can see and correct a specific dark patch. But you cannot see whether that correction is creating a new imbalance somewhere else on the face. Zoom out to full image view regularly, every few minutes at minimum.
Retoucher zooming out to check tonal balance across full portrait
This sounds like basic advice, but I still have to remind myself to do it every single session. When you’re zoomed into the forehead at 200%, you can see and correct a specific dark patch. But you cannot see whether that correction is creating a new imbalance somewhere else on the face. Zoom out to full image view regularly, every few minutes at minimum.
The tutorial describes this as viewing the image at different spatial frequencies, which is an accurate framing. High frequency viewing catches detail. Low frequency viewing catches overall shape and tonal distribution. You need both, and the only way to switch between them is to physically change your zoom level throughout the process.
Step 7: Return to Detail Work for Eye Cleanup
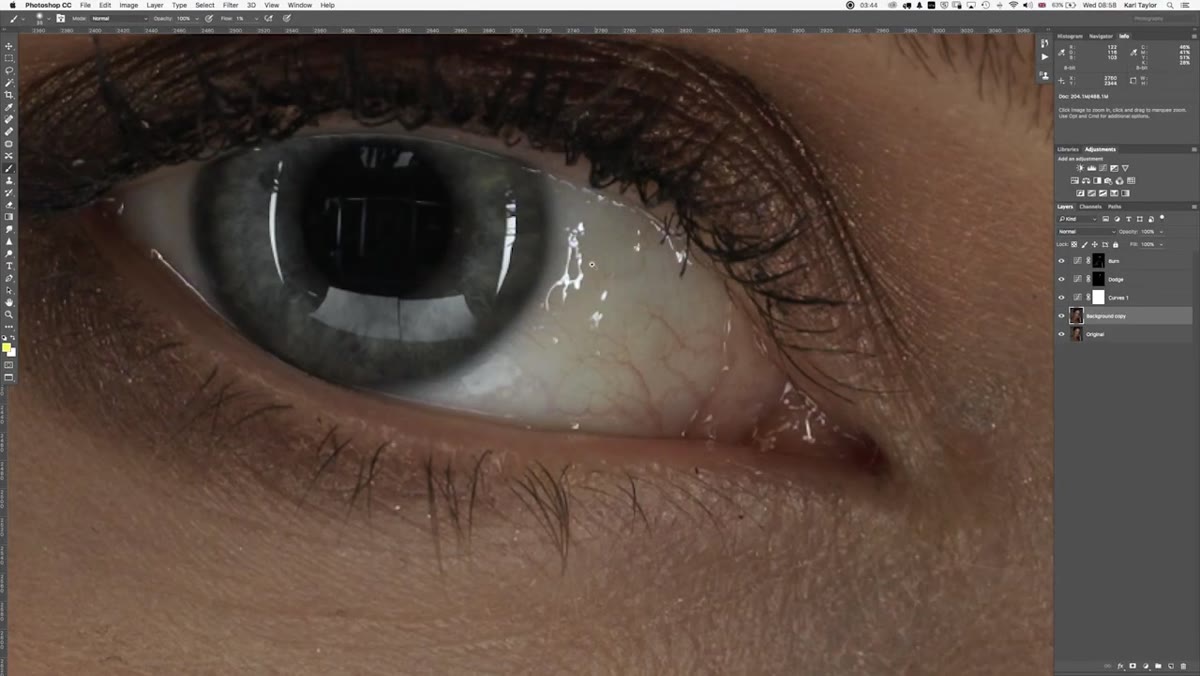 Zoomed eye with visible veins and catchlight reflections
After the global burn and dodge pass, move back into detail territory with a fresh eye. In this portrait, the eyes need attention: there are minor reflections in the catchlights that are distracting, and some visible veins in the whites that can be softened. Create a new blank layer for this work, just as you did at the beginning for healing.
Zoomed eye with visible veins and catchlight reflections
After the global burn and dodge pass, move back into detail territory with a fresh eye. In this portrait, the eyes need attention: there are minor reflections in the catchlights that are distracting, and some visible veins in the whites that can be softened. Create a new blank layer for this work, just as you did at the beginning for healing.
Work slowly in the whites of the eye. This area is extremely sensitive to over-correction. The goal is to reduce distraction, not to create an unnaturally white eye. Any healing in this area should leave enough texture and subtle tonal variation that the eye still reads as a real eye.
What I’d Add from My Own Experience
The workflow in this tutorial is solid enough to use as-is on paid work. The one thing I’d layer in is a brief frequency separation pass between the healing stage and the color correction stage, specifically for anyone working on skin with pronounced texture variation. Frequency separation lets you address color patchiness in the skin separately from the texture itself, which means your burn and dodge work later operates on a cleaner tonal foundation. It’s not always necessary, but for commercial beauty work where the skin needs to hold up at large sizes, it’s worth the extra ten minutes.
The single most important idea in this entire workflow is the one that’s easiest to overlook: tonal sculpting through non-destructive burn and dodge is what creates the illusion of healthy, dimensional skin. Not skin smoothing. Not blur. Light and shadow, applied with patience at 1% flow, on a face you’ve already studied carefully. Everything else is in service of that.
Watch the full tutorial on YouTube and follow along with your own portrait. The video moves quickly in places, so use this guide alongside it to catch the settings and reasoning behind each move.
Comments
Leave a Comment