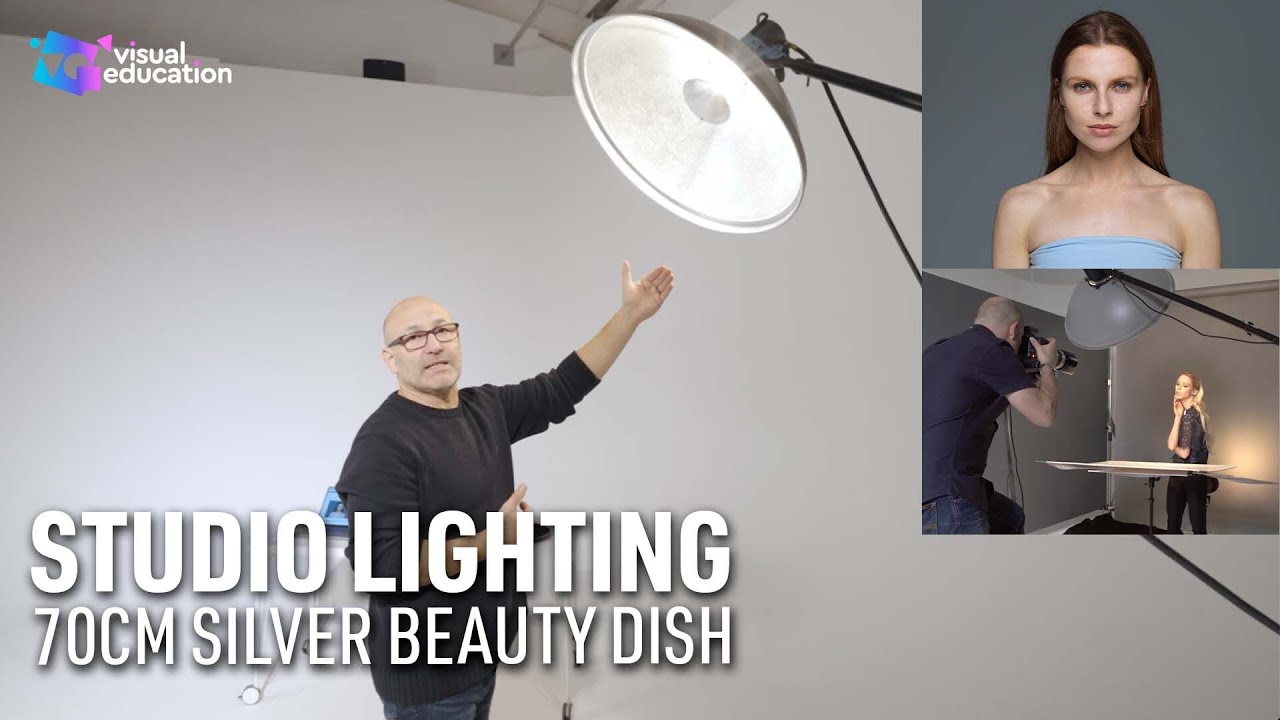
I’ve spent a lot of time on the retouching side of beauty photography, which means I’ve also spent a lot of time studying the images that arrive in my inbox before I ever open Photoshop. The lighting in those source files tells me everything. A flat, overexposed beauty shot gives me almost nothing to work with. But an image shot with dimensional, sculpted light? That’s where retouching actually gets to shine, because you’re enhancing something that’s already working rather than trying to manufacture structure that was never there to begin with. Good lighting and good retouching aren’t competing skills. They’re completely dependent on each other.
That’s exactly why I keep coming back to lighting education even though I’m not primarily a studio shooter. Understanding where that beautiful rim around a cheekbone came from, or why the shadows sit the way they do under the brow, makes me a sharper retoucher. So when I found this Visual Education tutorial by Carl Taylor on beauty dish lighting, I watched it twice. Watch the full tutorial on YouTube and then come back here, because I want to walk you through the technique in enough detail that you can actually use it.
Carl is direct, experienced, and skips the fluff. He’s clearly shot a lot of beauty and fashion work with this modifier, and it shows. Here’s what he covers and what it means for your actual shooting practice.
Step 1: Understand What the Beauty Dish Actually Is
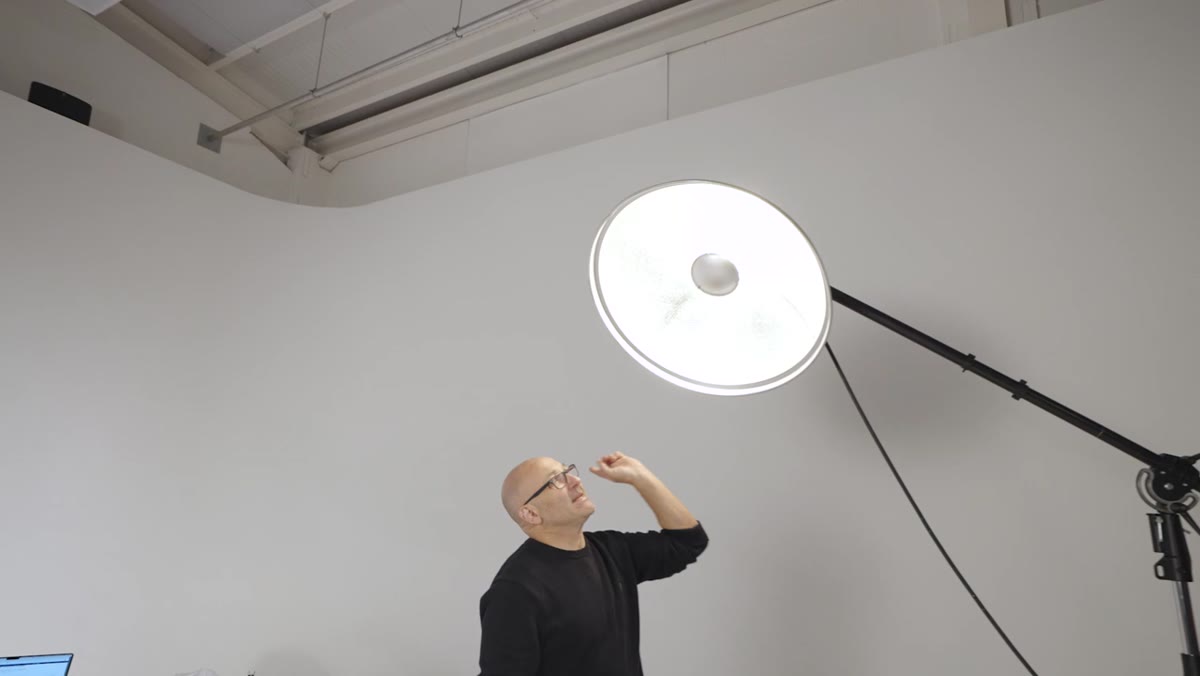 Silver 70cm beauty dish shown up close in studio
The specific modifier Carl uses is a 70-centimeter silver beauty dish from an independent brand, not a name-brand option, picked up for around $150. That price point matters, because Carl positions this as the best-value beauty modifier available short of true parabolic reflectors that cost many times more. The silver interior is not a cosmetic choice. White-interior dishes behave differently because they diffuse light more broadly. The silver version reflects with more contrast and directionality, which is what creates the signature beauty dish look.
Silver 70cm beauty dish shown up close in studio
The specific modifier Carl uses is a 70-centimeter silver beauty dish from an independent brand, not a name-brand option, picked up for around $150. That price point matters, because Carl positions this as the best-value beauty modifier available short of true parabolic reflectors that cost many times more. The silver interior is not a cosmetic choice. White-interior dishes behave differently because they diffuse light more broadly. The silver version reflects with more contrast and directionality, which is what creates the signature beauty dish look.
What you’re buying for that $150 is a specific light quality that soft boxes and umbrellas genuinely cannot replicate at any price.
Step 2: Learn the Physics Behind the Light Pattern
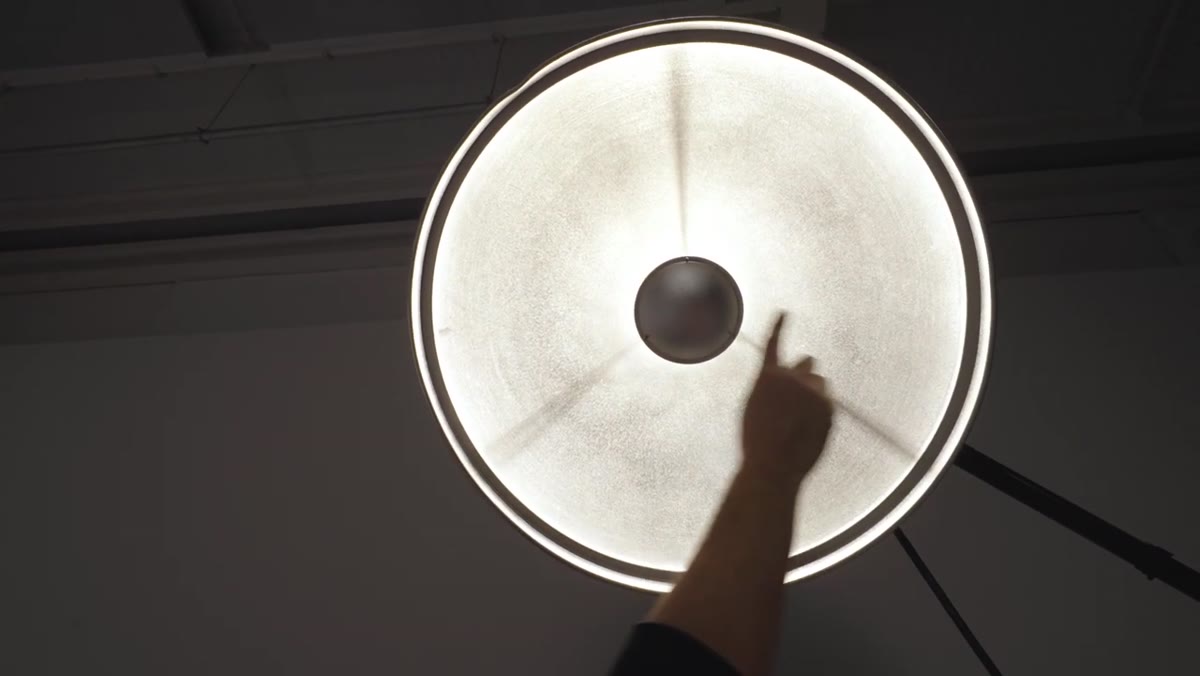 Carl demonstrating the outer ring brightness of the beauty dish
The beauty dish produces a light pattern that’s brighter at the outer perimeter than at the center. This is a function of its geometry: the central reflector blocks the flash tube directly, bounces light back into the dish, and that light then radiates outward. The result is a slightly hotter ring around the edge of the modifier with a broad, well-exposed center area. That peripheral brightness is what creates the sculpted, three-dimensional quality on skin, particularly around cheekbones, the bridge of the nose, and the jaw.
Carl demonstrating the outer ring brightness of the beauty dish
The beauty dish produces a light pattern that’s brighter at the outer perimeter than at the center. This is a function of its geometry: the central reflector blocks the flash tube directly, bounces light back into the dish, and that light then radiates outward. The result is a slightly hotter ring around the edge of the modifier with a broad, well-exposed center area. That peripheral brightness is what creates the sculpted, three-dimensional quality on skin, particularly around cheekbones, the bridge of the nose, and the jaw.
Carl also explains that the light is partially collimated, meaning it travels in a more focused beam than a softbox. Standing off to the side of the dish, he demonstrates that you receive very little spill. The light stays concentrated in its intended direction, which gives you clean falloff and minimal contamination of your background or hair light.
Step 3: Position the Dish Correctly Relative to Your Subject
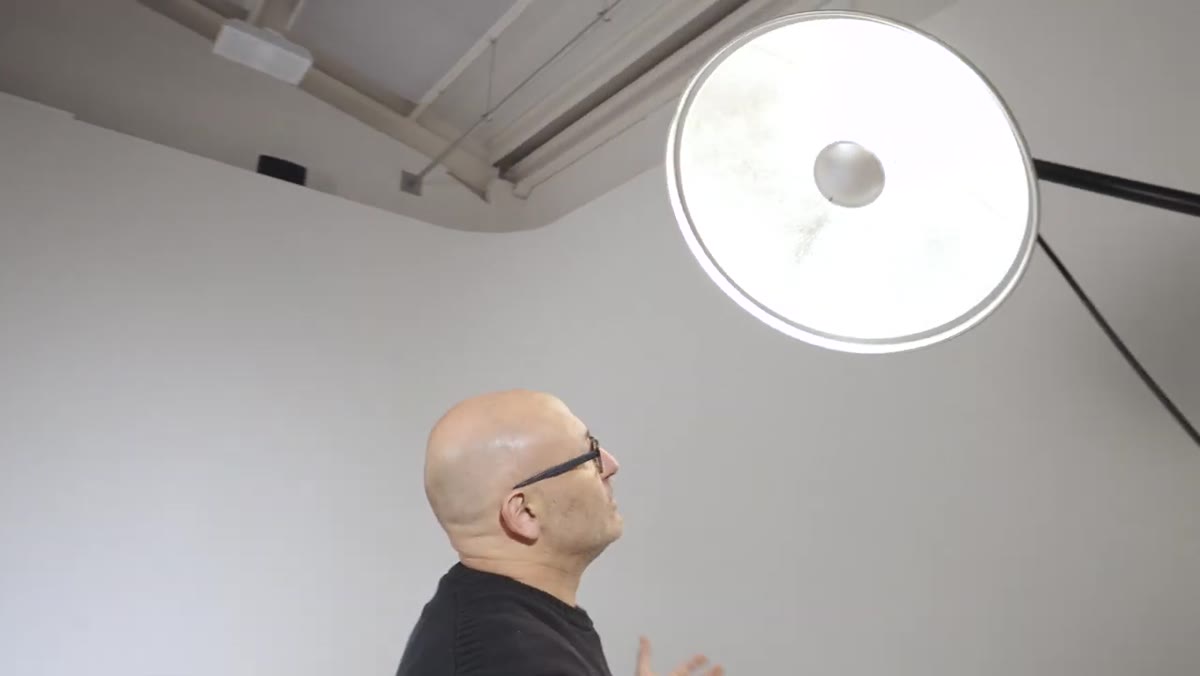 Beauty dish positioned at 45-degree angle just above head height
Placement is specific and it matters. Carl puts the dish at roughly a 45-degree angle above the subject, just past head height. The key detail: the subject should be able to look directly at the center of the dish and have that central blocking reflector visible to them. If the model can’t see the center disk, the dish is too far off-axis and you lose the characteristic light pattern.
Beauty dish positioned at 45-degree angle just above head height
Placement is specific and it matters. Carl puts the dish at roughly a 45-degree angle above the subject, just past head height. The key detail: the subject should be able to look directly at the center of the dish and have that central blocking reflector visible to them. If the model can’t see the center disk, the dish is too far off-axis and you lose the characteristic light pattern.
The working distance is closer than most photographers expect. Carl describes it as almost touching distance, which maximizes the dimensional quality of the light on the face and upper body. He uses a giraffe boom arm rather than a straight stand specifically because a straight stand would end up directly in the photographer’s shooting lane. If you’re setting this up, factor the boom into your equipment list from the start.
Step 4: Set Up the Photographer’s Position
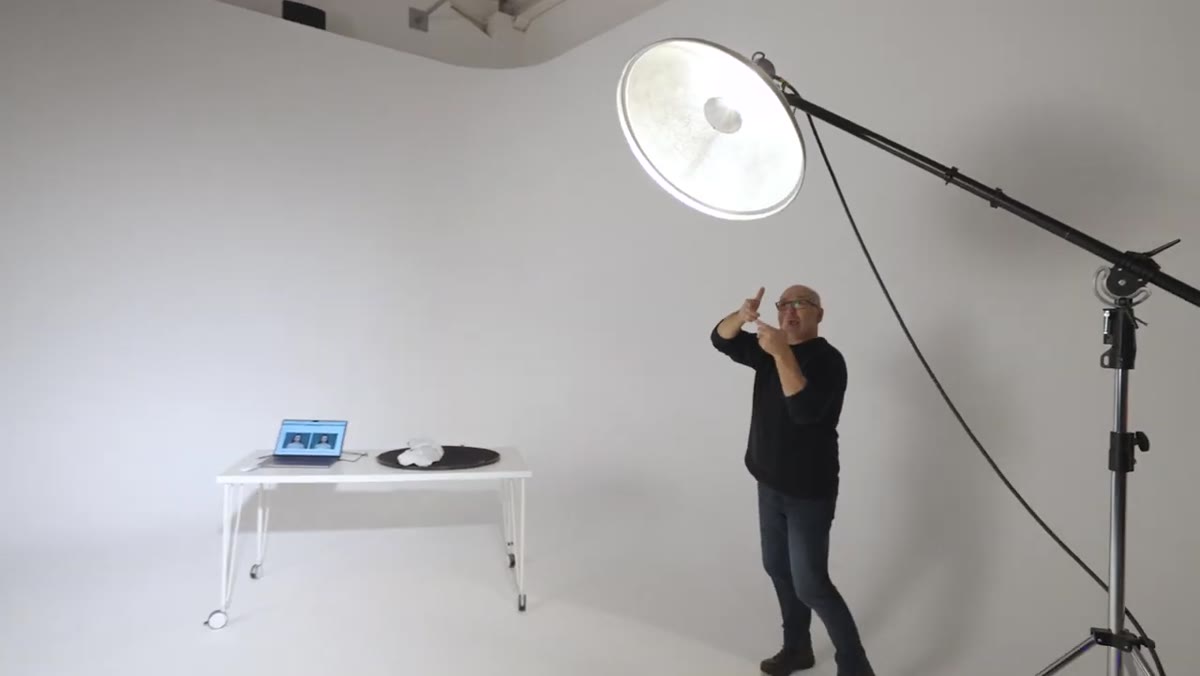 Carl showing ideal photographer position relative to dish and subject
With the dish on a boom at 45 degrees above and in front of the subject, the photographer stands slightly to the side, at roughly eye level or just above it. This triangle between photographer, subject, and light source is the classic beauty setup, and the beauty dish is designed to work within it. You’re close enough to fill the frame with the face but positioned so the dish can do its job without interference.
Carl showing ideal photographer position relative to dish and subject
With the dish on a boom at 45 degrees above and in front of the subject, the photographer stands slightly to the side, at roughly eye level or just above it. This triangle between photographer, subject, and light source is the classic beauty setup, and the beauty dish is designed to work within it. You’re close enough to fill the frame with the face but positioned so the dish can do its job without interference.
Carl notes this configuration is ideal for makeup shots, beauty portraits, and fashion close-ups. It’s a contained, controlled setup that rewards precise placement over experimentation.
Step 5: Skip the Accessories
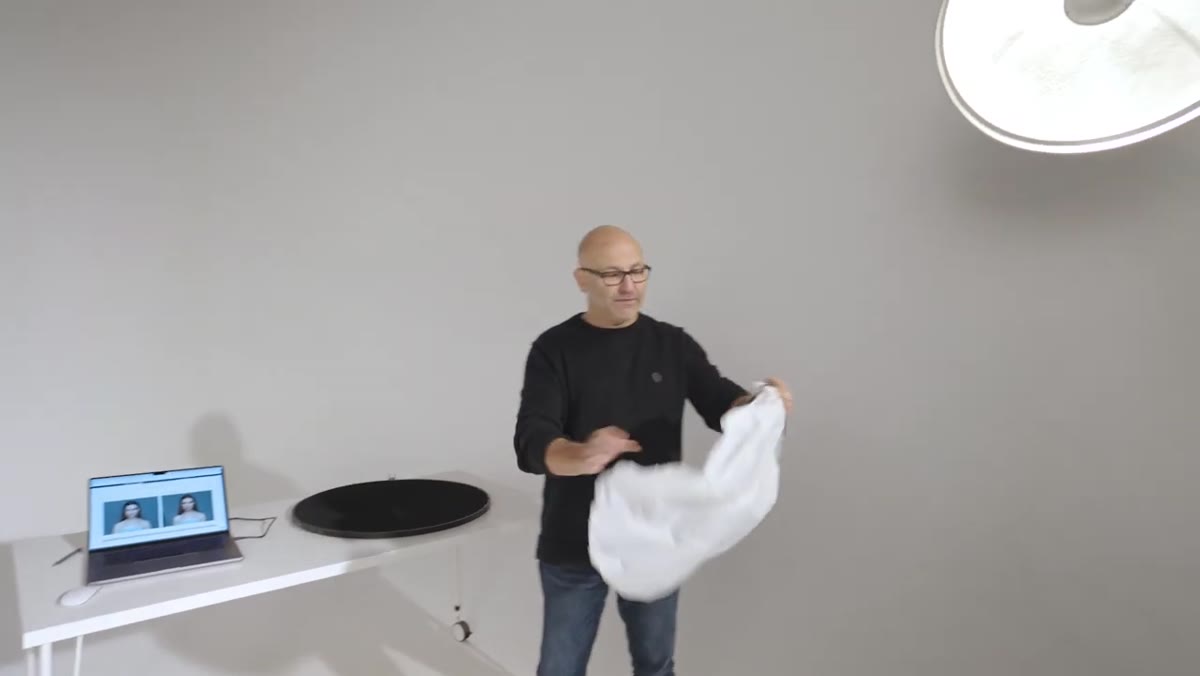 Diffusion sock and grid shown as optional beauty dish add-ons
The beauty dish typically comes with two accessories: a diffusion sock that fits over the front, and a honeycomb grid that slides inside the dish. Carl is blunt about both of them. The diffusion sock softens the light to the point where you’ve essentially turned the dish into a round softbox. You lose the contrast and the peripheral brightness that define the modifier. It becomes something you could have achieved more cheaply.
Diffusion sock and grid shown as optional beauty dish add-ons
The beauty dish typically comes with two accessories: a diffusion sock that fits over the front, and a honeycomb grid that slides inside the dish. Carl is blunt about both of them. The diffusion sock softens the light to the point where you’ve essentially turned the dish into a round softbox. You lose the contrast and the peripheral brightness that define the modifier. It becomes something you could have achieved more cheaply.
The grid is equally problematic. It narrows the beam and controls spill, but it does so by cutting into that outer perimeter brightness that makes the dish worth using in the first place. The grid sits inside the dish and physically blocks the zone responsible for the sculpted rim quality. Carl’s recommendation is straightforward: use the dish as it was designed and leave the accessories off.
What I’d Add from the Retouching Side
Shooting with a beauty dish gives retouchers a gift that doesn’t show up in the EXIF data: natural micro-contrast on the skin. That slight differential between the brighter perimeter zone and the mid-exposure center actually maps onto facial structure in a way that makes frequency separation work more intuitively. The texture layer already has dimension baked in. You’re not trying to manufacture it with dodge and burn from scratch.
If you’re a retoucher working with photographers, it’s worth having this conversation with them before a shoot. Asking specifically for beauty dish coverage at close range is a concrete request they can act on, and the images you get back will be structurally richer before you’ve opened a single layer. I’ve found that images lit this way tend to need less heavy retouching overall, which keeps the results looking natural rather than processed.
The single most important thing Carl demonstrates in this tutorial is that the beauty dish’s value comes entirely from using it as designed, at close range, without the accessories that flatten its distinctive qualities. The physics only work when you let them. Watch the full tutorial on YouTube to see Carl walk through the positioning live, because seeing the falloff demonstrated in real space makes the geometry click in a way that description alone doesn’t quite capture.
Comments (3)
Would love to see a follow-up going deeper into this topic.
This should be required reading for anyone starting out.
Love this. I referenced a similar technique in one of my recent posts. Always good to see other perspectives.
Leave a Comment