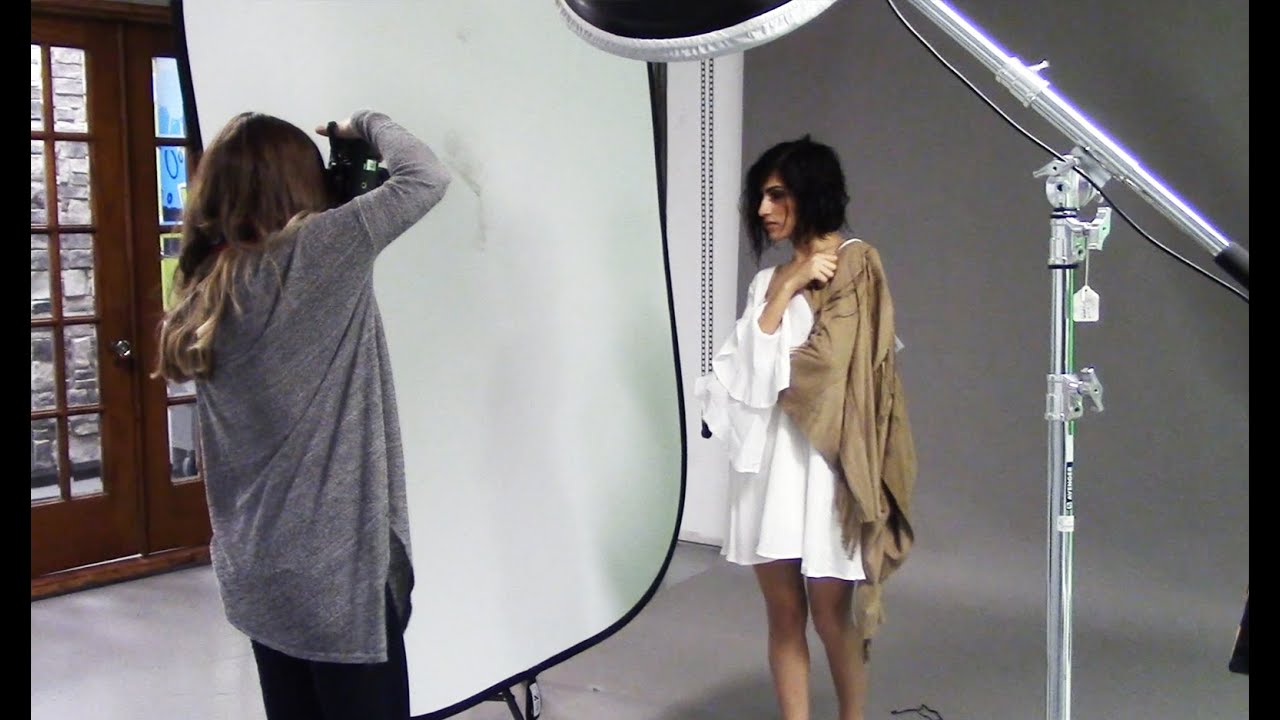
There is a particular kind of exhaustion that comes from overcomplicating a studio setup. I spent years as a wedding photographer hauling cases of gear, and when I finally moved into beauty and portrait work full-time, I assumed more equipment meant better results. It took watching photographers who clearly knew what they were doing with minimal setups to shake that assumption loose. Watch the full tutorial on YouTube before diving in here, or follow along with the breakdown below and come back to the video after.
In this Jessica Kobeissi tutorial, she shoots a full studio beauty session with model Sarah using a beauty dish as her primary light source and a 50mm f/1.2 lens. The session is casual and candid, but the lighting decisions underneath all that energy are deliberate. What I find most useful about watching working photographers shoot, as opposed to watching packaged courses, is that you see the real rhythm of a session. You see when they adjust, when they commit, and what they leave alone.
For anyone doing beauty retouching, the choices made in-camera during a shoot like this one have a direct effect on what lands on your editing desk later. The quality of light from a beauty dish creates a specific kind of shadow falloff that behaves differently in retouching than, say, a softbox or a ring light. Understanding what Jessica is building in-camera helps you understand what you’re working with in post.
Step 1: Set Up Your Shooting Environment Before the Model Arrives
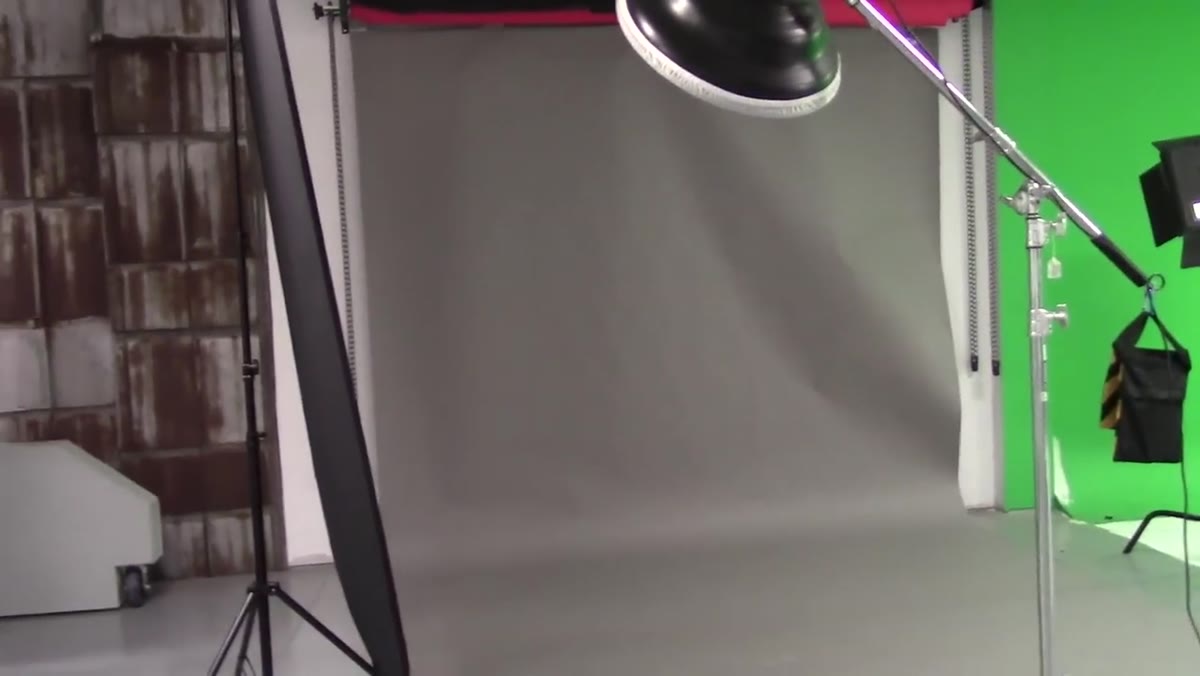 Interior studio space as filming begins
Jessica opens the session already inside the studio, camera in hand. The environment matters before a single frame is shot. A studio with controlled light means you are not fighting windows, you are not color-correcting mixed sources, and your model is not squinting. For retouching purposes, this consistency across frames means your skin tone baseline stays stable throughout the shoot, which makes batch editing far more efficient.
Interior studio space as filming begins
Jessica opens the session already inside the studio, camera in hand. The environment matters before a single frame is shot. A studio with controlled light means you are not fighting windows, you are not color-correcting mixed sources, and your model is not squinting. For retouching purposes, this consistency across frames means your skin tone baseline stays stable throughout the shoot, which makes batch editing far more efficient.
If you are shooting to retouch later, treat the setup phase as the most important creative decision you make. Lock in your white balance manually rather than leaving it on auto. A shift in white balance between frames can mean the difference between a smooth retouching session and one where you are chasing color casts image by image.
Step 2: Choose Your Lens with the Final Look in Mind
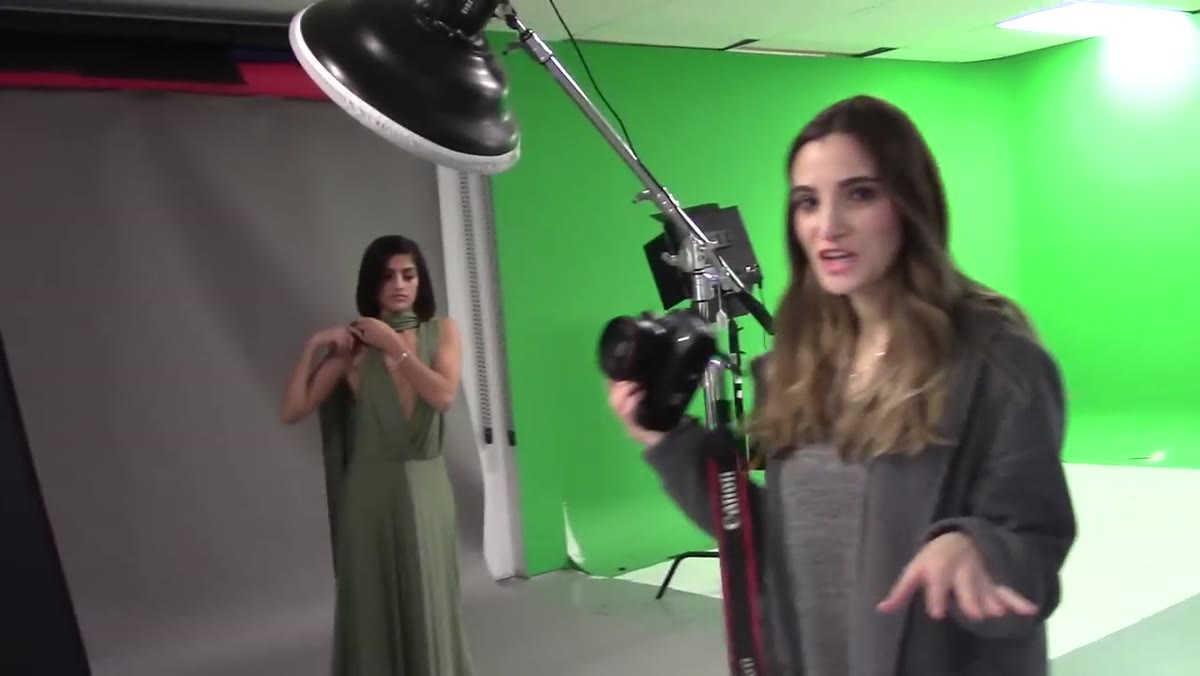 Jessica holding camera preparing to shoot
The 50mm f/1.2 is doing specific work here. At that aperture, the depth of field is narrow enough to separate the subject from the background cleanly, but the focal length itself does not compress or distort facial features the way a wider lens would. This matters enormously in beauty work. A 35mm up close can make a nose appear wider. A 50mm at a reasonable working distance renders faces closer to how the eye actually perceives them.
Jessica holding camera preparing to shoot
The 50mm f/1.2 is doing specific work here. At that aperture, the depth of field is narrow enough to separate the subject from the background cleanly, but the focal length itself does not compress or distort facial features the way a wider lens would. This matters enormously in beauty work. A 35mm up close can make a nose appear wider. A 50mm at a reasonable working distance renders faces closer to how the eye actually perceives them.
When you receive images shot on a 50mm at f/1.2, you will typically find the eyes or the lips in focus while the ears fall slightly soft. This is not a flaw to fix in retouching. It is the intended rendering. Resist the urge to over-sharpen the out-of-focus areas. Let the lens do what it was chosen to do.
Step 3: Position the Beauty Dish for Dimensional Light
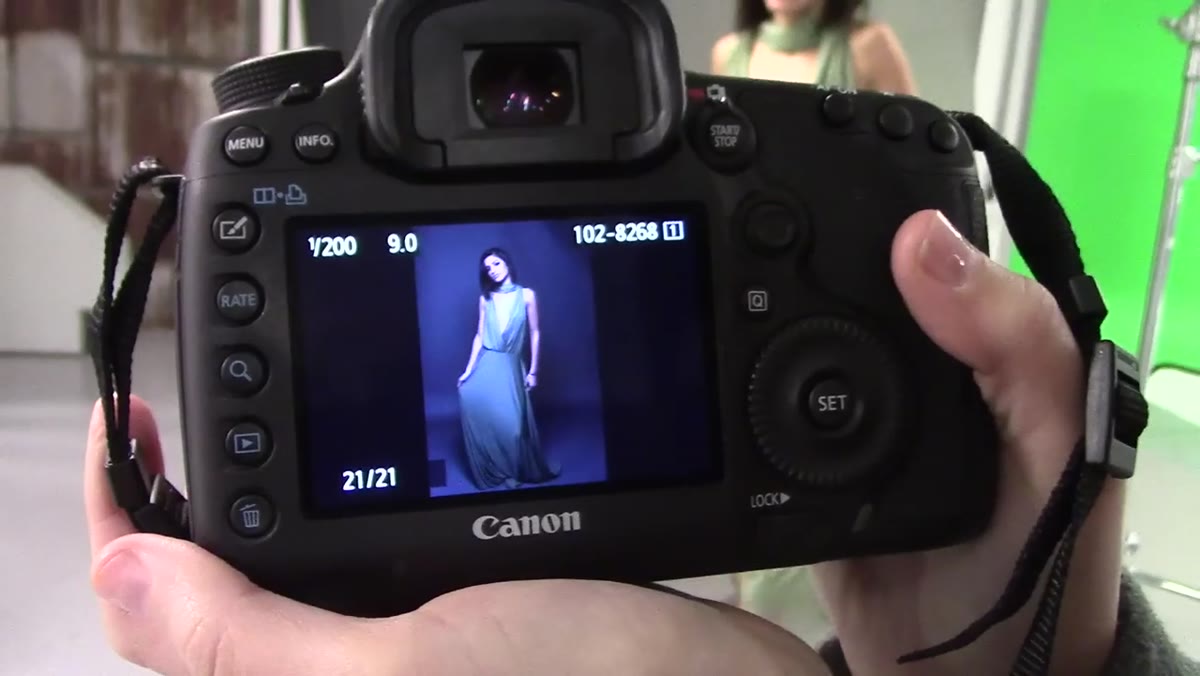 First frames appearing on camera, model lit from front
A beauty dish sits between a reflector and a softbox in terms of light quality. It is harder than a softbox, meaning it creates more defined shadows under the cheekbones and nose, but it wraps slightly more than a bare strobe. The result is a light that flatters bone structure while still giving the skin some dimension.
First frames appearing on camera, model lit from front
A beauty dish sits between a reflector and a softbox in terms of light quality. It is harder than a softbox, meaning it creates more defined shadows under the cheekbones and nose, but it wraps slightly more than a bare strobe. The result is a light that flatters bone structure while still giving the skin some dimension.
Jessica positions the dish close and slightly above eye level, which creates that classic catchlight shape in the eyes and a subtle shadow under the chin. For retouchers, this light direction is a gift. The shadow under the nose and along the side of the face actually does a lot of the contouring work for you in-camera. You are not trying to create dimension in Photoshop from flat light. You are refining what the light already established.
Step 4: Shoot Multiple Outfit Looks Within the Same Light Setup
 Session continuing toward final outfit change
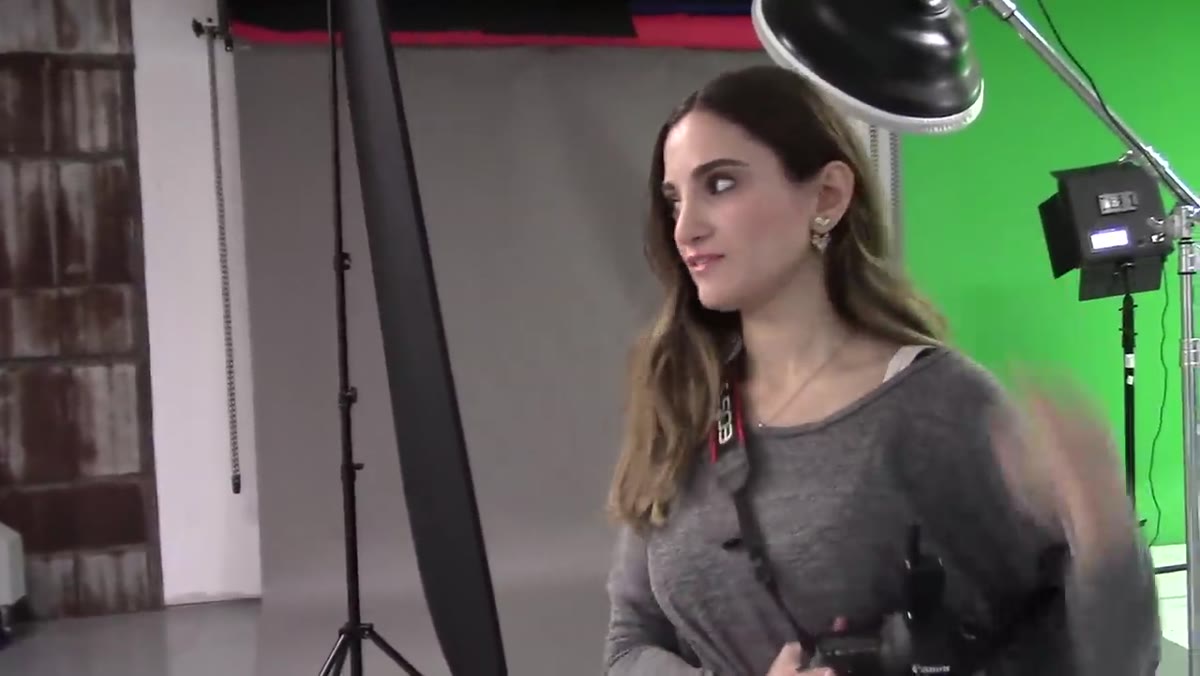
Jessica runs through several outfit changes with Sarah during the session, all within the same studio and light configuration. This is smart studio economics, but it also has a retouching implication. When your light is consistent across looks, you can develop a single Lightroom preset or Camera Raw starting point and apply it across the entire shoot. The skin tone, the shadow depth, the highlight rolloff, all behave the same way from look to look.
Session continuing toward final outfit change
Jessica runs through several outfit changes with Sarah during the session, all within the same studio and light configuration. This is smart studio economics, but it also has a retouching implication. When your light is consistent across looks, you can develop a single Lightroom preset or Camera Raw starting point and apply it across the entire shoot. The skin tone, the shadow depth, the highlight rolloff, all behave the same way from look to look.
If you are editing a multi-look beauty shoot and your corrections feel dramatically different from set to set, that is usually a sign the light shifted between setups. Jessica avoids that problem by keeping her dish in place and changing only the styling.
Step 5: Use the Wet Hair Look as a Texture-Forward Creative Direction
 Model’s hair being wetted for final look
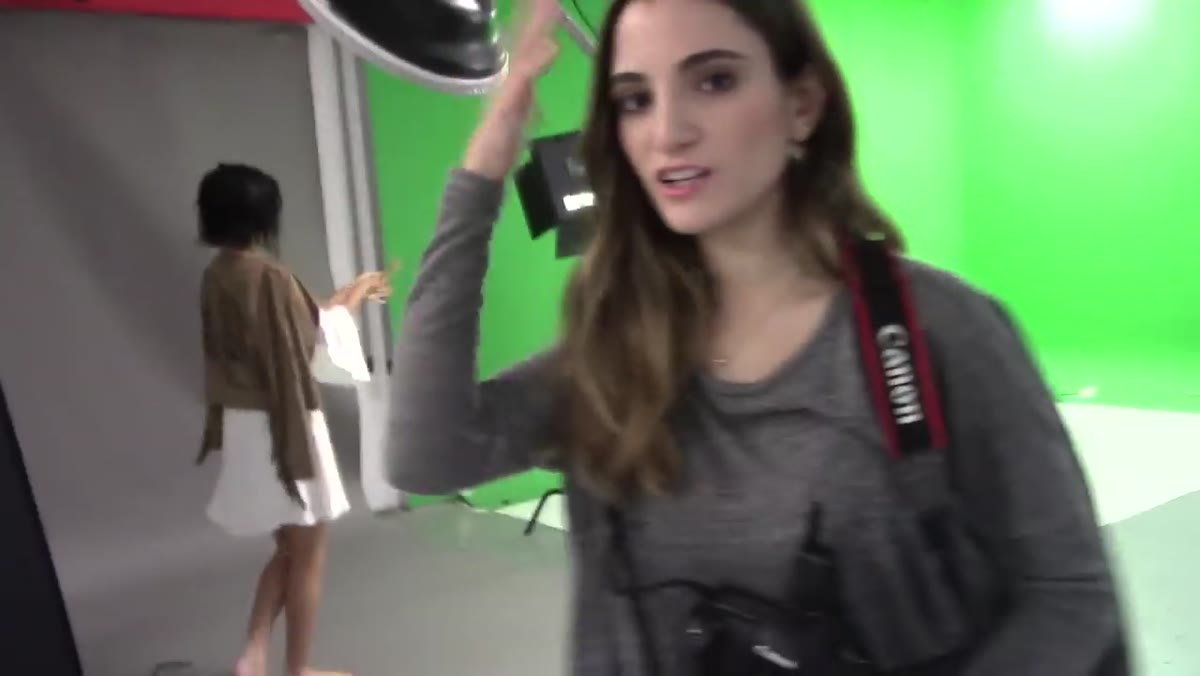
For the final setup, Jessica introduces water directly to the model’s hair to create a wet, slicked look. This is a deliberate shift in texture and mood. Wet hair reads darker and more graphic, which creates strong contrast against skin tones.
Model’s hair being wetted for final look
For the final setup, Jessica introduces water directly to the model’s hair to create a wet, slicked look. This is a deliberate shift in texture and mood. Wet hair reads darker and more graphic, which creates strong contrast against skin tones.
From a retouching standpoint, wet hair shots require a different approach than dry, voluminous styles. Individual strands are more defined and more visible, which means your hair masking needs to be precise. Tools like Select and Mask in Photoshop, or the AI masking in Lightroom, tend to perform better on defined wet strands than on flyaway dry hair, so this is actually a technically easier image type to mask cleanly. The skin also tends to look more luminous in wet-look shots because the styling creates a unified, low-distraction frame around the face.
What I’d Add from My Own Retouching Practice
The kind of natural, slightly imperfect light you see in this session is what I find easiest to retouch well. I learned this the hard way early in my career, when I was over-smoothing skin to compensate for flat, unflattering light that had already flattened the face before I even opened Photoshop. A client told me the results looked “plastic.” That word stuck.
Beauty dish light like this gives you peaks and shadows in the skin texture that frequency separation can work with rather than fight against. When I bring these files into Photoshop, I use a lighter hand on the low-frequency layer because the light has already done the sculpting. My job is mostly refinement. If you are finding your retouching looks overworked, ask yourself whether the problem started in the lighting before the file ever reached you.
The single most important idea from this session is that a simple, well-placed beauty dish does more for a portrait than almost any amount of post-processing can replicate. Good light makes retouching feel effortless. Complicated or flat light makes every step feel like damage control.
Watch the full tutorial on YouTube and pay attention to how the light wraps across Sarah’s face in those first test frames. That moment is worth pausing on before you see anything else.
Comments (2)
Just used this on a wedding shoot edit. Client was thrilled.
Tried this technique this morning. Game changer for real.
Leave a Comment