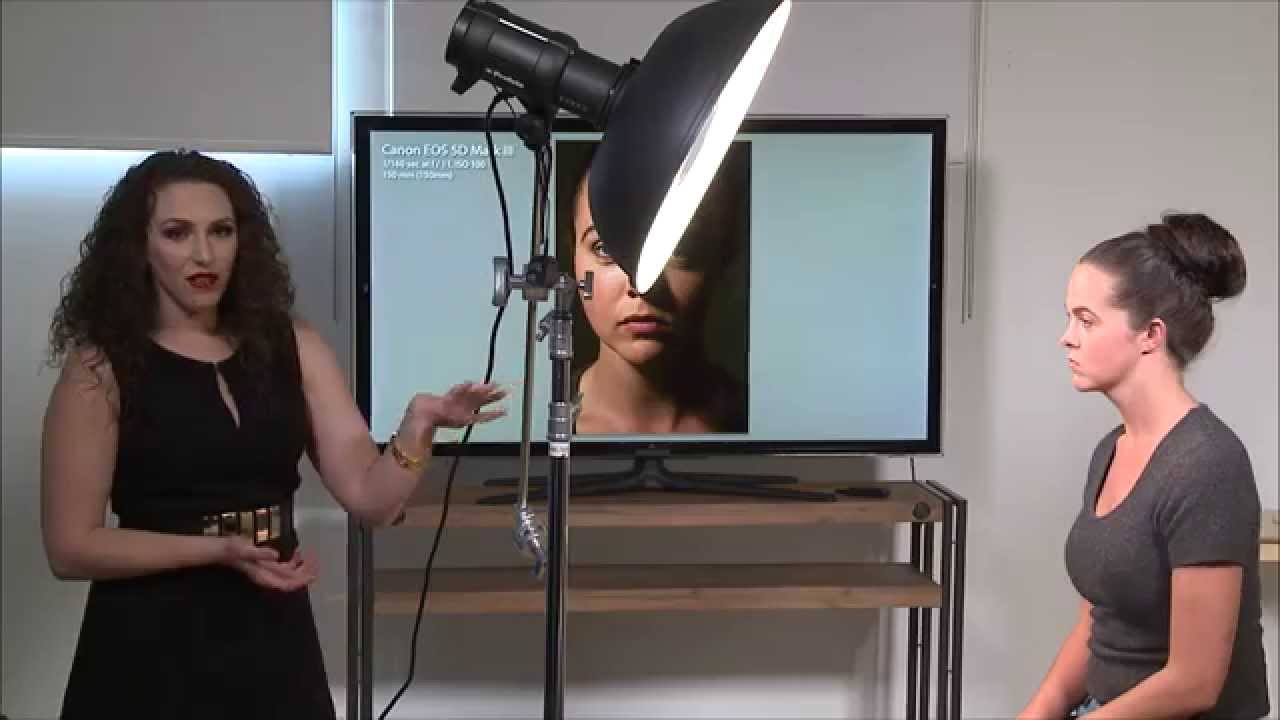
There’s a gap between knowing a beauty dish produces beautiful light and actually understanding why it does — and that gap shows up in your photos. For years when I was shooting weddings, I treated modifiers like interchangeable parts. A beauty dish was just the round thing that made skin look good. It wasn’t until I slowed down and started studying the mechanics of light that the results in my work actually changed. When I transitioned into beauty retouching, that understanding became even more critical, because I started seeing every lighting mistake land on my desk as something I was expected to fix in post. A poorly placed beauty dish creates specular hotspots, uneven shadow falloff, and texture problems that no frequency separation technique fully rescues.
In this CreativeLive tutorial, photographer and educator Lindsay Adler walks through the specific mechanics of beauty dish positioning in a way that finally made the logic click for me. Watch the full tutorial on YouTube — but if you want a written breakdown you can reference during a shoot or share with a photographer you’re collaborating with, here’s how she works through it.
Step 1: Understand How the Beauty Dish Actually Works
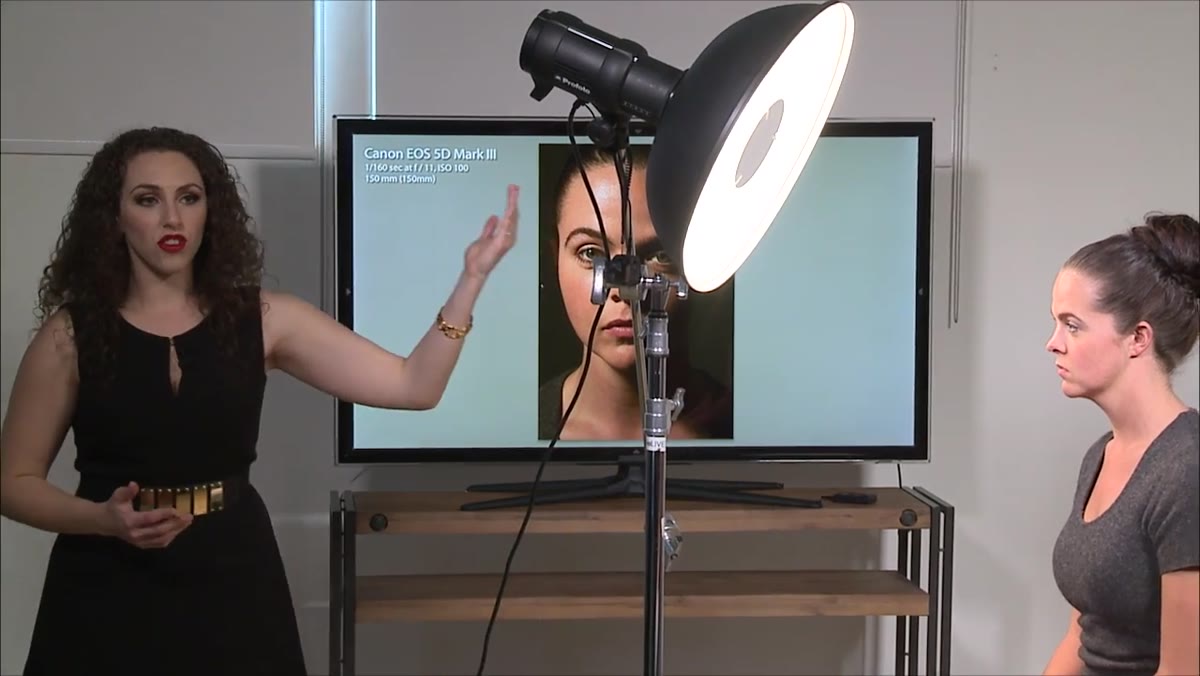
 Beauty dish on stand, instructor pointing to center reflector
A beauty dish has a small central reflector that bounces the flash back into the dish before it wraps forward toward the subject. That double-bounce is what gives it the slightly harder-edged softness that sits between a bare strobe and a softbox. Knowing this tells you something important: the center of the dish is where the most controlled, flattering light lives. The edges are where things go wrong.
Beauty dish on stand, instructor pointing to center reflector
A beauty dish has a small central reflector that bounces the flash back into the dish before it wraps forward toward the subject. That double-bounce is what gives it the slightly harder-edged softness that sits between a bare strobe and a softbox. Knowing this tells you something important: the center of the dish is where the most controlled, flattering light lives. The edges are where things go wrong.
Step 2: Keep the Center Reflector Aligned With the Subject’s Face
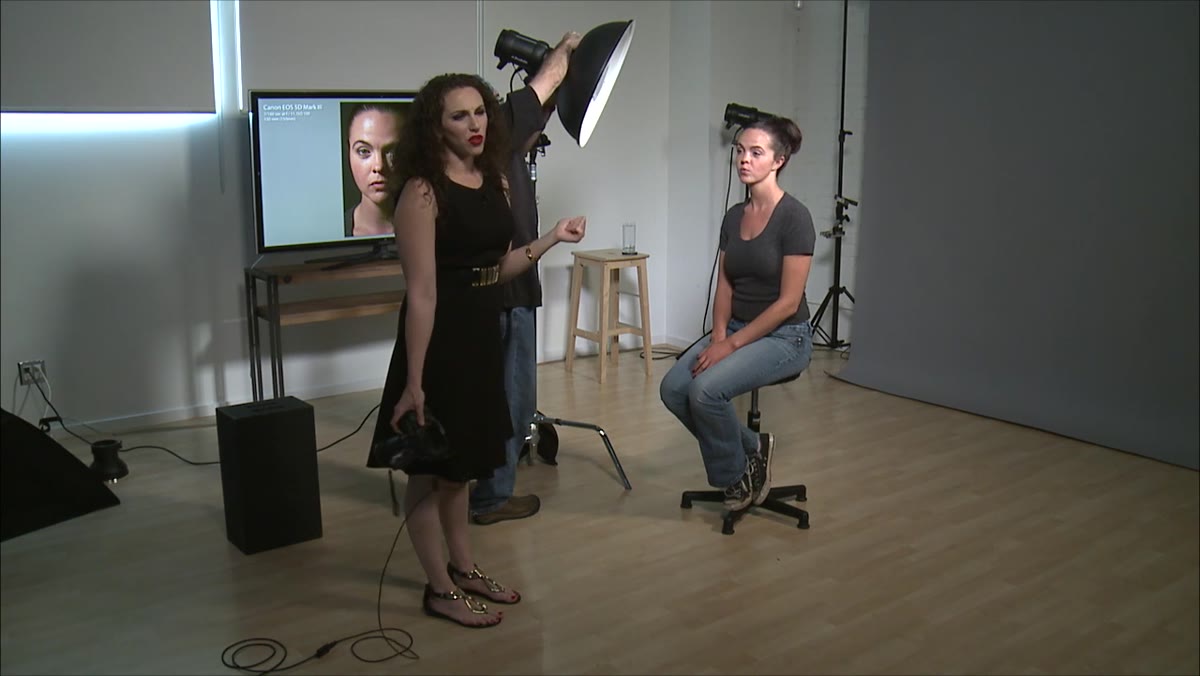
 Instructor demonstrating off-axis dish angle, subject receiving edge light
If your subject shifts sideways and moves out of alignment with that center reflector, they start catching the raw edge of the dish. The quality difference is noticeable even in a still frame. You get a harsher, uneven quality with a blown center and duller edges rather than that smooth wrap. This matters most when your subject is moving, dancing, or turning their head. The fix is simple but requires attention: keep repositioning the dish so the center stays pointed at the face, not at where the face was two seconds ago. When I’m retouching portraits that came in with strange dual-quality skin highlights, misaligned dish placement is often the culprit.
Instructor demonstrating off-axis dish angle, subject receiving edge light
If your subject shifts sideways and moves out of alignment with that center reflector, they start catching the raw edge of the dish. The quality difference is noticeable even in a still frame. You get a harsher, uneven quality with a blown center and duller edges rather than that smooth wrap. This matters most when your subject is moving, dancing, or turning their head. The fix is simple but requires attention: keep repositioning the dish so the center stays pointed at the face, not at where the face was two seconds ago. When I’m retouching portraits that came in with strange dual-quality skin highlights, misaligned dish placement is often the culprit.
Step 3: Work Close - Distance Is Not Optional
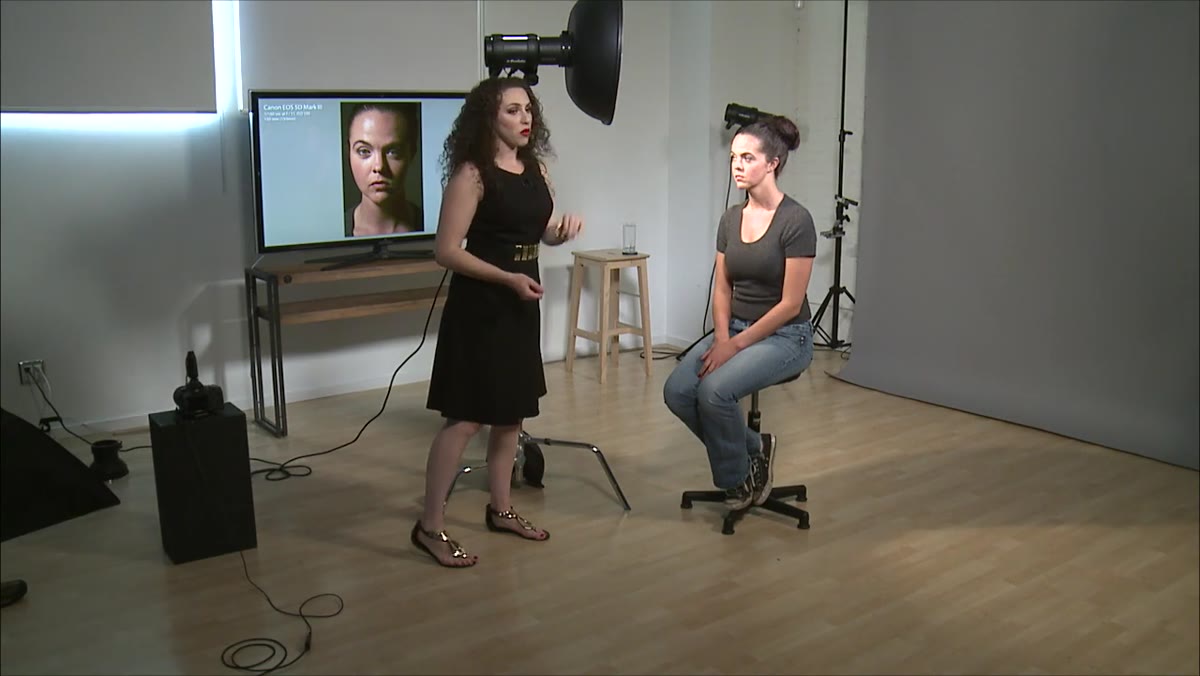
 Instructor moving beauty dish closer to subject, approximately 2-4 feet away
This is the step most photographers underestimate. A beauty dish is a relatively small modifier, which means it follows the same physics as everything else: the further away it gets, the smaller and harsher the light source appears relative to the subject. Lindsay recommends working at roughly two and a half to four feet from the subject. That feels uncomfortably close if you’re used to backing your lights up for compositional breathing room, but it’s the distance where the dish actually performs as intended. Past four feet, you start introducing the kind of skin texture accentuation that sends people to retouchers asking for a miracle. Keep it close, and the light is doing most of the flattering work before the image ever opens in Lightroom.
Instructor moving beauty dish closer to subject, approximately 2-4 feet away
This is the step most photographers underestimate. A beauty dish is a relatively small modifier, which means it follows the same physics as everything else: the further away it gets, the smaller and harsher the light source appears relative to the subject. Lindsay recommends working at roughly two and a half to four feet from the subject. That feels uncomfortably close if you’re used to backing your lights up for compositional breathing room, but it’s the distance where the dish actually performs as intended. Past four feet, you start introducing the kind of skin texture accentuation that sends people to retouchers asking for a miracle. Keep it close, and the light is doing most of the flattering work before the image ever opens in Lightroom.
Step 4: Add a Diffusion Sock When Highlights Run Hot
 Instructor attaching diffusion sock to front of beauty dish
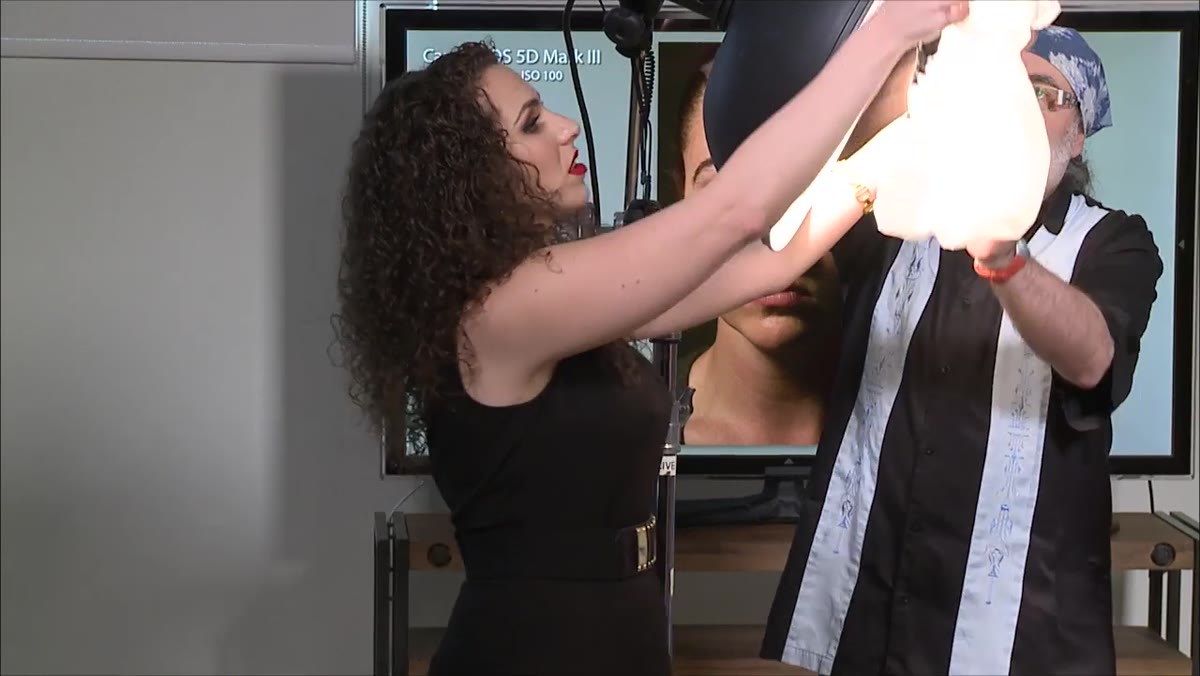
Some subjects, particularly those with oilier skin, will reflect the beauty dish in a way that blows out highlights even at a reasonable distance. The solution is a diffusion sock - a fabric cover that fits over the front of the dish and brings the contrast down just enough to tame those bright specular hits. It will not transform a beauty dish into a softbox. The light will still have directional character and shape. But it takes the edge off without requiring you to back the light away, which would reintroduce the harshness you’re trying to avoid. Lindsay is direct about when she uses one: she reaches for it specifically when the highlights are the problem, not as a default setup. If she wants truly soft light, she moves to an octabox or softbox rather than diffusing a beauty dish into something it wasn’t built to be.
Instructor attaching diffusion sock to front of beauty dish
Some subjects, particularly those with oilier skin, will reflect the beauty dish in a way that blows out highlights even at a reasonable distance. The solution is a diffusion sock - a fabric cover that fits over the front of the dish and brings the contrast down just enough to tame those bright specular hits. It will not transform a beauty dish into a softbox. The light will still have directional character and shape. But it takes the edge off without requiring you to back the light away, which would reintroduce the harshness you’re trying to avoid. Lindsay is direct about when she uses one: she reaches for it specifically when the highlights are the problem, not as a default setup. If she wants truly soft light, she moves to an octabox or softbox rather than diffusing a beauty dish into something it wasn’t built to be.
Step 5: Position for Beauty vs. Position for Shape - They’re Different Choices
 Beauty dish centered on boom arm, directly above and in front of subject
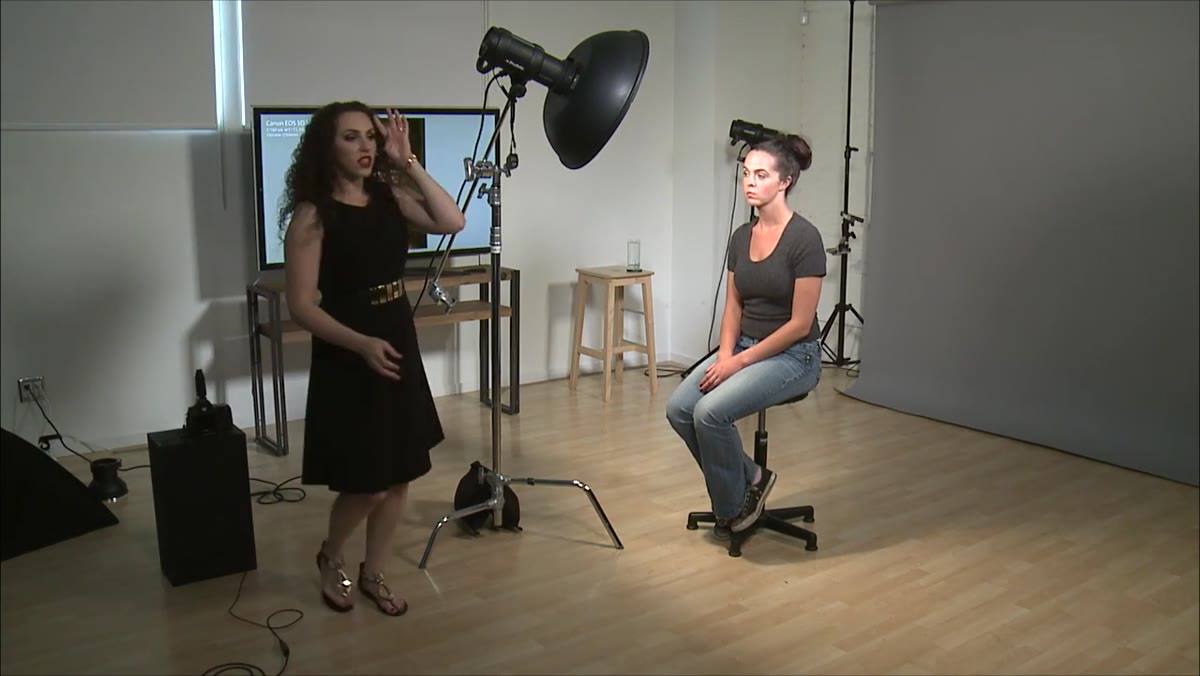
Where you place the dish horizontally and vertically changes the entire story of the image. For pure beauty work, centered placement directly in front of and slightly above the subject produces flat, even light with minimal shadow. No raking, no texture, just clean skin. To do this properly you need a boom arm or similar rigging so the dish can float directly over the lens axis without the stand appearing in frame. For editorial or more sculpted looks, raising the light higher starts carving cheekbones and jawlines with shadow. The tradeoff is that raised light also emphasizes texture, so the decision about how high to go should factor in your subject’s skin and the final use of the image.
Beauty dish centered on boom arm, directly above and in front of subject
Where you place the dish horizontally and vertically changes the entire story of the image. For pure beauty work, centered placement directly in front of and slightly above the subject produces flat, even light with minimal shadow. No raking, no texture, just clean skin. To do this properly you need a boom arm or similar rigging so the dish can float directly over the lens axis without the stand appearing in frame. For editorial or more sculpted looks, raising the light higher starts carving cheekbones and jawlines with shadow. The tradeoff is that raised light also emphasizes texture, so the decision about how high to go should factor in your subject’s skin and the final use of the image.
Step 6: Watch for Hotspots on the Top of the Head
 Instructor noting bright hotspot on top of subject’s head from dish angle
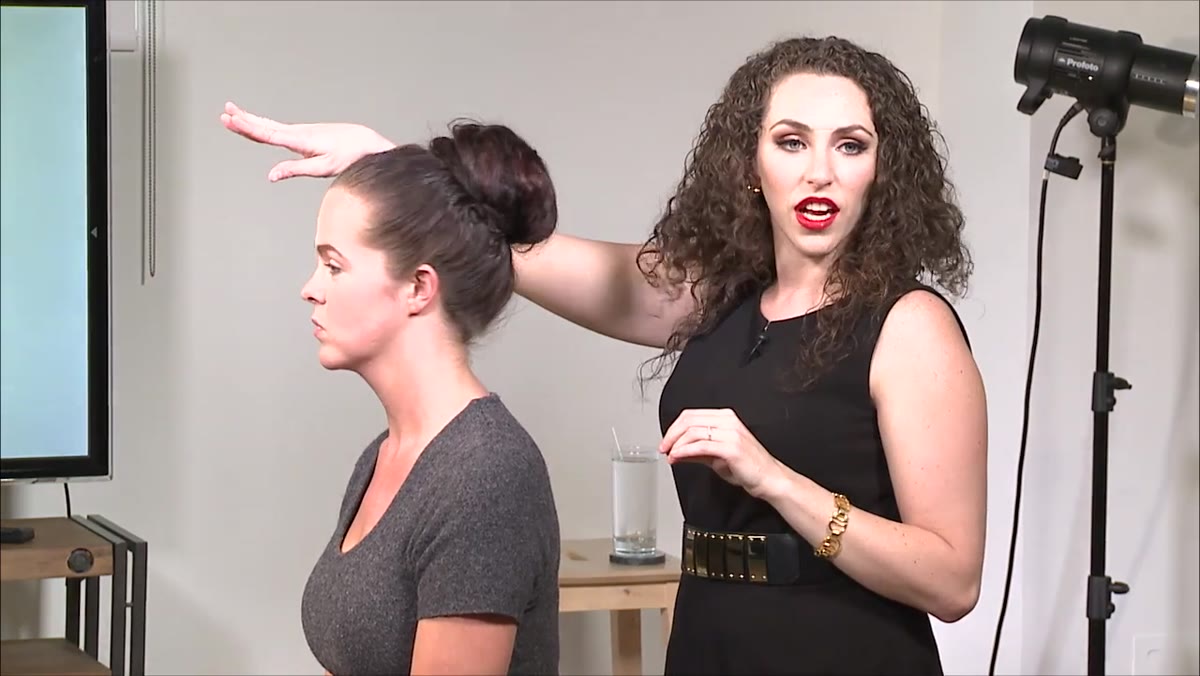
Once the dish is raised, check the top of the subject’s head in your test frames. A raised beauty dish pointed slightly downward will often create a concentrated bright spot on the crown of the head. It’s easy to miss because you’re watching the face, but it lands in the final file and creates an unnatural glow that reads as a lighting mistake rather than an intentional choice. Lindsay checks for this actively and adjusts the dish angle or asks the subject to tilt slightly to redistribute where that center reflector energy is landing.
Instructor noting bright hotspot on top of subject’s head from dish angle
Once the dish is raised, check the top of the subject’s head in your test frames. A raised beauty dish pointed slightly downward will often create a concentrated bright spot on the crown of the head. It’s easy to miss because you’re watching the face, but it lands in the final file and creates an unnatural glow that reads as a lighting mistake rather than an intentional choice. Lindsay checks for this actively and adjusts the dish angle or asks the subject to tilt slightly to redistribute where that center reflector energy is landing.
What I’d Add From My Own Experience
When I’m retouching images that were shot with a beauty dish and the skin still looks rough, nine times out of ten I can trace it back to Steps 3 or 2: the dish was too far away, or the subject drifted off-center. The retouching ask then becomes “fix the lighting” rather than “clean up the skin,” and those are very different scopes of work. If you’re a photographer who works with a retoucher, getting your beauty dish placement dialed in before you shoot reduces revision rounds significantly. And if you’re a retoucher like me who occasionally advises clients on their shoots, this is the single most useful piece of lighting knowledge to pass along. The closer the dish, the less work lands on the dodge-and-burn layer.
The single most important thing to take away from Lindsay’s tutorial is this: proximity and alignment are not secondary concerns you adjust after you’ve framed the shot. They are the technique. Get close, keep the center reflector tracking the face, and make a deliberate choice about height based on whether you’re after flat beauty light or sculpted shape. Everything else is refinement.
Watch the full tutorial on YouTube to see the before-and-after frames Lindsay pulls up mid-shoot. Seeing the difference between aligned and off-axis placement on an actual subject in real time is worth the watch on its own.
Comments
Leave a Comment