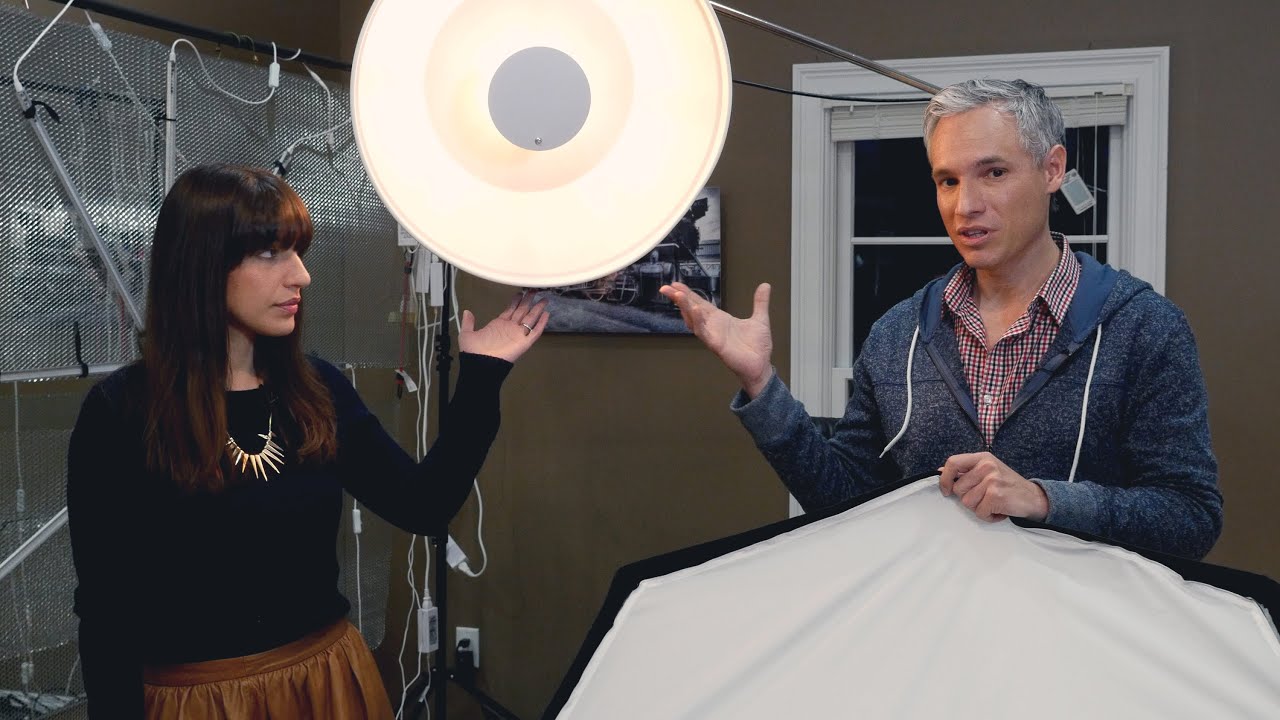
When I was still shooting weddings, I thought retouching could fix anything. Bad light, flat faces, muddy shadows – I’d just handle it in post. What I learned, slowly and sometimes painfully, is that the light captured in the camera determines how much work lands on my desk afterward. A beautifully lit portrait might need thirty minutes of retouching. A flatly lit one can eat an entire afternoon. That’s why I keep coming back to lighting education even though I’m primarily behind a screen now, not a camera.
Watch the full tutorial on YouTube
In this Tony and Chelsea Northrup tutorial, the two photographers do something I genuinely appreciate: they explain not just how these two modifiers work, but when to reach for each one and why that choice matters for the final image. For anyone retouching beauty and portrait work, understanding what your photographer was trying to achieve with their lighting setup will completely change how you approach the edit. Shadow structure, skin texture, highlight placement – all of it starts here.
Step 1: Understand What a Beauty Dish Actually Does
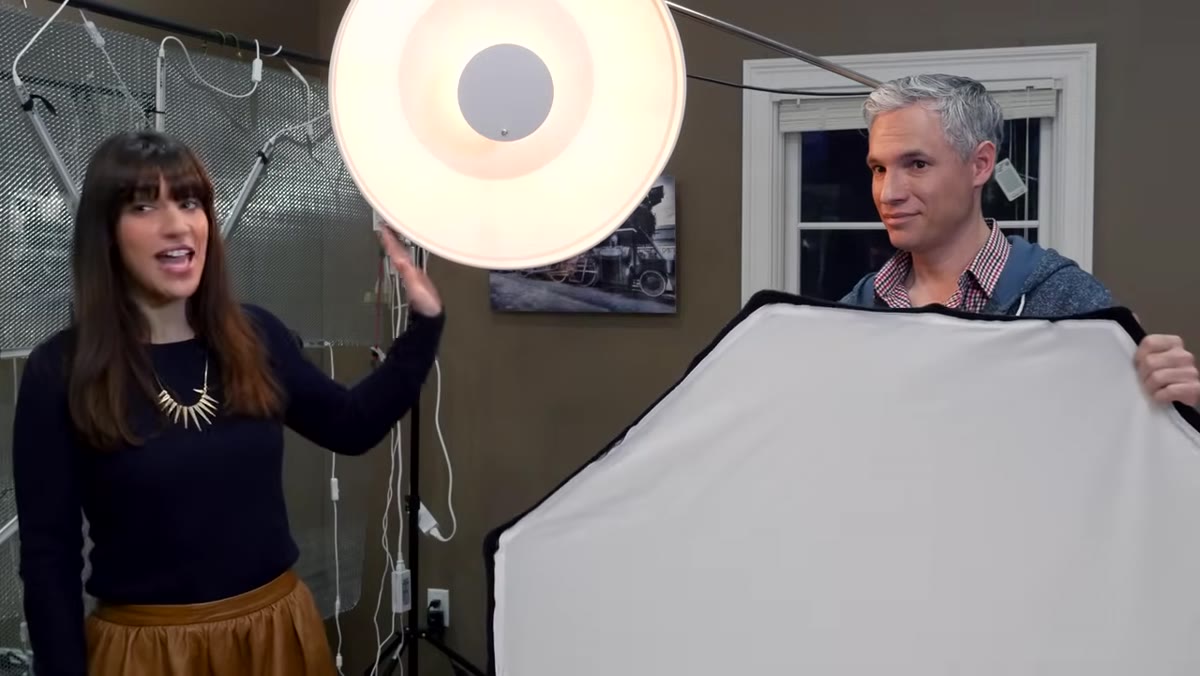 Beauty dish with center reflector visible up close
A beauty dish is a round, shallow modifier with a small reflector plate mounted at its center, directly in front of the strobe head. The light fires forward, hits that center plate, bounces outward, and then reflects off the inner walls of the dish before it reaches the subject. That two-step bounce is what gives a beauty dish its distinctive quality: it is harder and more directional than a softbox, but it still wraps around the face more gently than a bare strobe or a reflector with no diffusion.
Beauty dish with center reflector visible up close
A beauty dish is a round, shallow modifier with a small reflector plate mounted at its center, directly in front of the strobe head. The light fires forward, hits that center plate, bounces outward, and then reflects off the inner walls of the dish before it reaches the subject. That two-step bounce is what gives a beauty dish its distinctive quality: it is harder and more directional than a softbox, but it still wraps around the face more gently than a bare strobe or a reflector with no diffusion.
For retouchers, this matters because beauty dish light preserves shadow structure. Cheekbones cast real shadows. The underside of the chin gets dimension. Skin texture stays present. When you open a file shot with a beauty dish, expect to do less frequency separation work to recover structure – and more careful dodging and burning to ensure those intentional shadows are clean and flattering rather than harsh.
Step 2: Learn How a Softbox (and Octobox) Spreads Light Differently
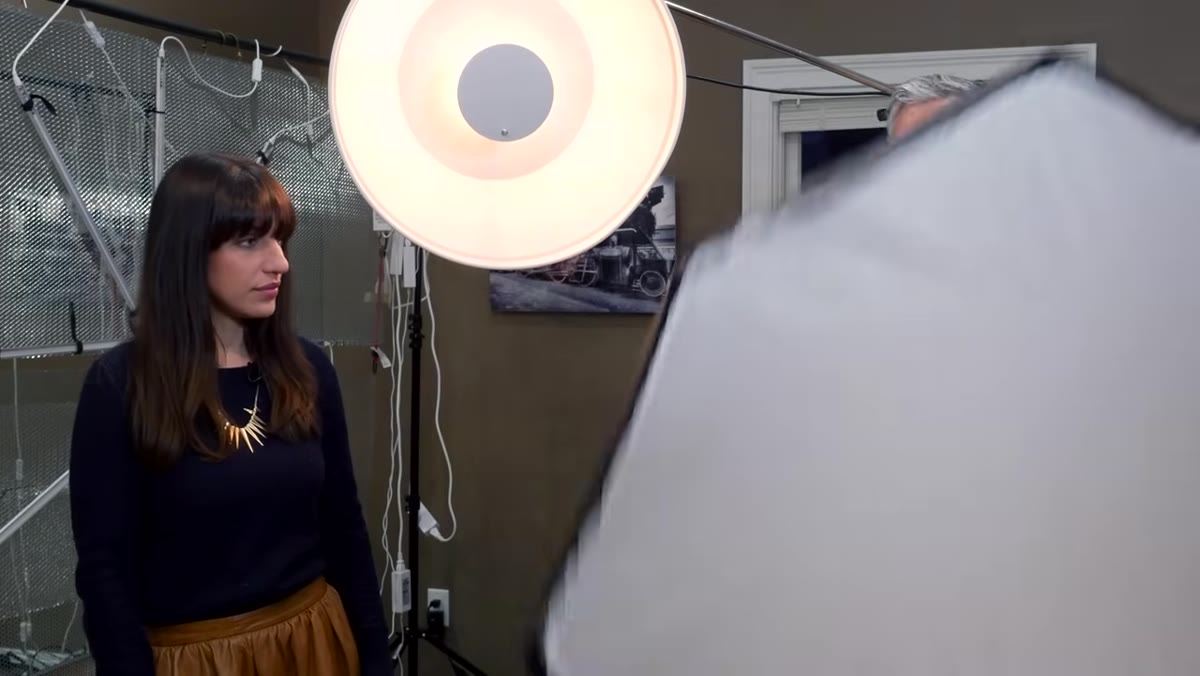 Large octobox beside beauty dish showing size difference
The softbox Tony and Chelsea use in this tutorial is an octobox – eight-sided, large, and equipped with two internal layers of diffusion material. Light from the strobe fires into the box, bounces around inside, passes through the first diffusion layer, scatters further, and then exits through the front panel traveling in many directions simultaneously. The result is that the subject receives light from multiple angles at once, which fills in shadows and softens transitions across the face.
Large octobox beside beauty dish showing size difference
The softbox Tony and Chelsea use in this tutorial is an octobox – eight-sided, large, and equipped with two internal layers of diffusion material. Light from the strobe fires into the box, bounces around inside, passes through the first diffusion layer, scatters further, and then exits through the front panel traveling in many directions simultaneously. The result is that the subject receives light from multiple angles at once, which fills in shadows and softens transitions across the face.
A square softbox works on the same principle, just with a rectangular catchlight rather than a rounded one. Either way, the practical effect for retouchers is the inverse of the beauty dish: expect smoother, more even skin tones with fewer deep shadows, but also less natural contour in the face. Skin imperfections can be more visible in that even light, but heavy contouring from shadows is mostly absent. Your dodge-and-burn pass will focus more on tonal evenness than on shadow cleanup.
Step 3: Compare the Catchlights Each Modifier Produces
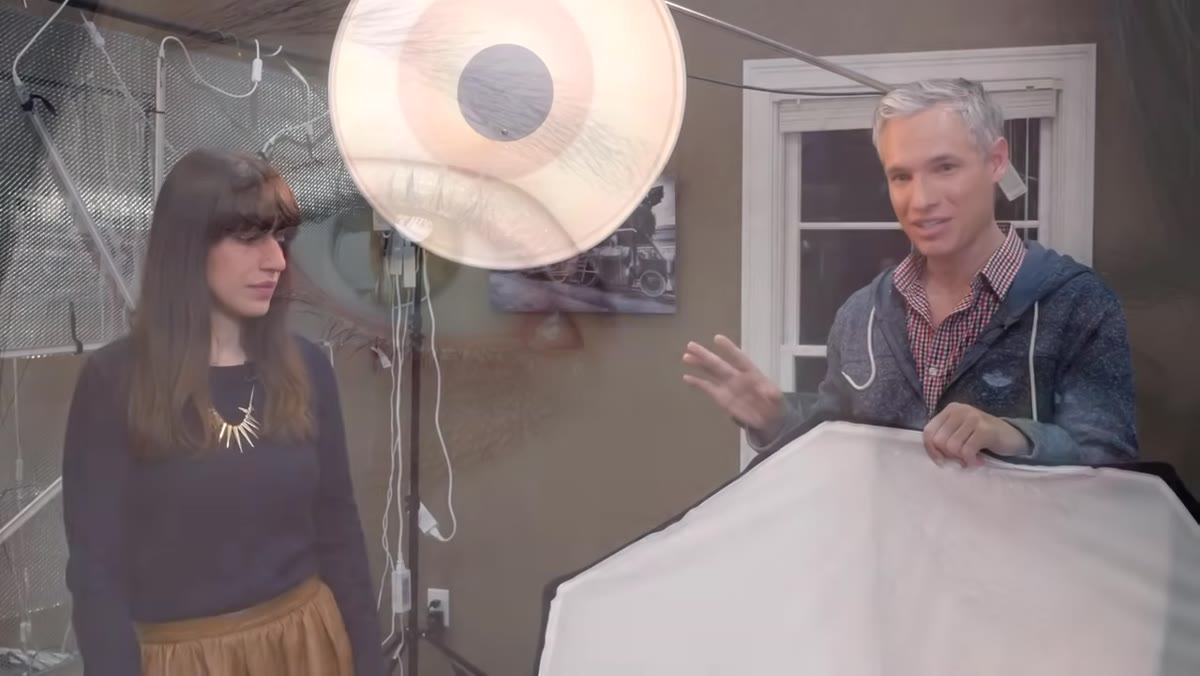 Close-up discussion of catchlight shapes in subject’s eyes
One of the most telling signs of which modifier was used in a portrait is the catchlight – the small reflection of the light source visible in the subject’s eyes. A beauty dish produces a round catchlight with a dark center circle (from the blocking plate), giving it a distinctive ring shape. An octobox produces a soft, rounded octagonal catchlight. A square softbox produces a rectangular one.
Close-up discussion of catchlight shapes in subject’s eyes
One of the most telling signs of which modifier was used in a portrait is the catchlight – the small reflection of the light source visible in the subject’s eyes. A beauty dish produces a round catchlight with a dark center circle (from the blocking plate), giving it a distinctive ring shape. An octobox produces a soft, rounded octagonal catchlight. A square softbox produces a rectangular one.
As a retoucher, this is useful information in two ways. First, it tells you something about the intent of the photographer and what kind of light quality the image was built around. Second, if you are doing any compositing or eye brightening work, you want to preserve rather than paint over those catchlights – they carry the natural signature of the light and removing them makes portraits read as fake almost immediately.
Step 4: Recognize When Drama Calls for the Beauty Dish
 Chelsea explaining beauty dish choice for dramatic portraits
Chelsea makes a direct and useful distinction here: she reaches for the beauty dish when she wants drama. Accentuated cheekbones, stronger shadows under the chin, a sense of depth and structure in the face – these are beauty dish qualities. It is not the modifier you use when your goal is soft and glowing. It is the one you use when you want the face to have presence.
Chelsea explaining beauty dish choice for dramatic portraits
Chelsea makes a direct and useful distinction here: she reaches for the beauty dish when she wants drama. Accentuated cheekbones, stronger shadows under the chin, a sense of depth and structure in the face – these are beauty dish qualities. It is not the modifier you use when your goal is soft and glowing. It is the one you use when you want the face to have presence.
For portrait retouchers, receiving a beauty dish file is a signal to work with the shadow structure rather than against it. Resist the urge to lift every shadow in Lightroom. Those darker tones under the cheekbones are doing compositional work. Your job is to make them clean and smooth, not to eliminate them.
Step 5: Know When to Reach for the Softbox Instead
 Tony describing softbox use cases for groups and moving subjects
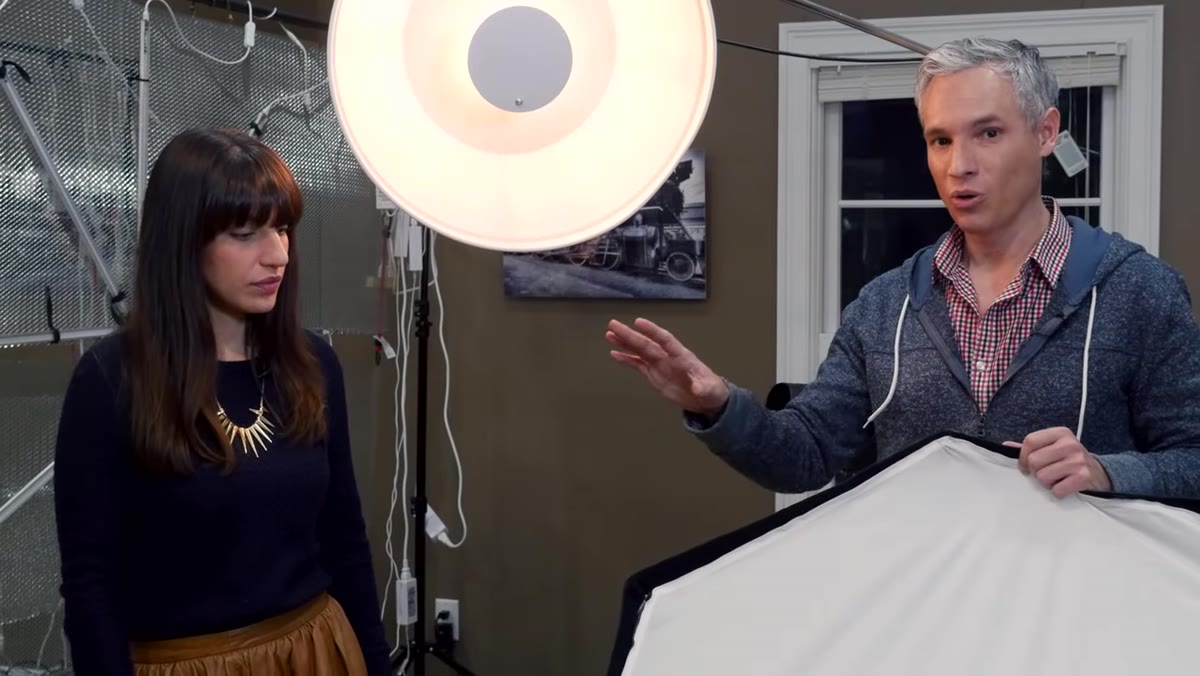
Tony’s use cases for the softbox are practical and worth committing to memory: groups, children, and any subject who is moving around rather than holding a precise position. Because a softbox floods a broader area with light, it is more forgiving of small position changes. A beauty dish, by contrast, needs to be aimed deliberately at a relatively stationary subject to do its job properly.
Tony describing softbox use cases for groups and moving subjects
Tony’s use cases for the softbox are practical and worth committing to memory: groups, children, and any subject who is moving around rather than holding a precise position. Because a softbox floods a broader area with light, it is more forgiving of small position changes. A beauty dish, by contrast, needs to be aimed deliberately at a relatively stationary subject to do its job properly.
From a retouching perspective, softbox portraits often come from shoots involving multiple subjects or less controlled environments. Expect more variation in light across individual faces in a group shot. Expect slightly flatter skin rendering that may benefit from a light dodge-and-burn pass to restore some contour. The softbox gives you smoother raw material to work with, but you may need to add back some dimension the light naturally removed.
Step 6: Factor in Location and Portability
 Comparison of packing and setup difficulty for each modifier
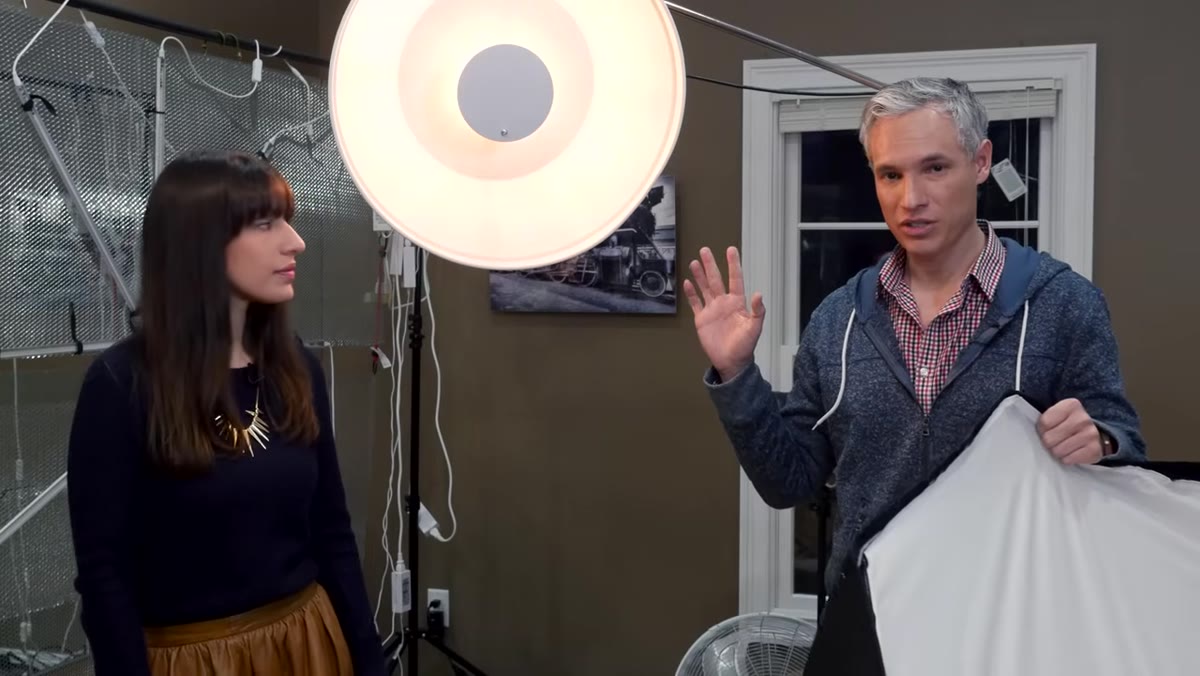
On location, the softbox becomes a genuine logistical problem. Even a collapsible version takes time to set up and turns into a wind sail outdoors. The beauty dish is compact, faster to position, and less affected by a breeze. For retouchers who also shoot or who consult with photographers on location workflows, understanding these constraints helps you give useful advice about what to expect from location files versus controlled studio work.
Comparison of packing and setup difficulty for each modifier
On location, the softbox becomes a genuine logistical problem. Even a collapsible version takes time to set up and turns into a wind sail outdoors. The beauty dish is compact, faster to position, and less affected by a breeze. For retouchers who also shoot or who consult with photographers on location workflows, understanding these constraints helps you give useful advice about what to expect from location files versus controlled studio work.
Step 7: Study the Sample Images for Light Direction and Angle
 Tony positioning beauty dish close to Chelsea’s face on axis
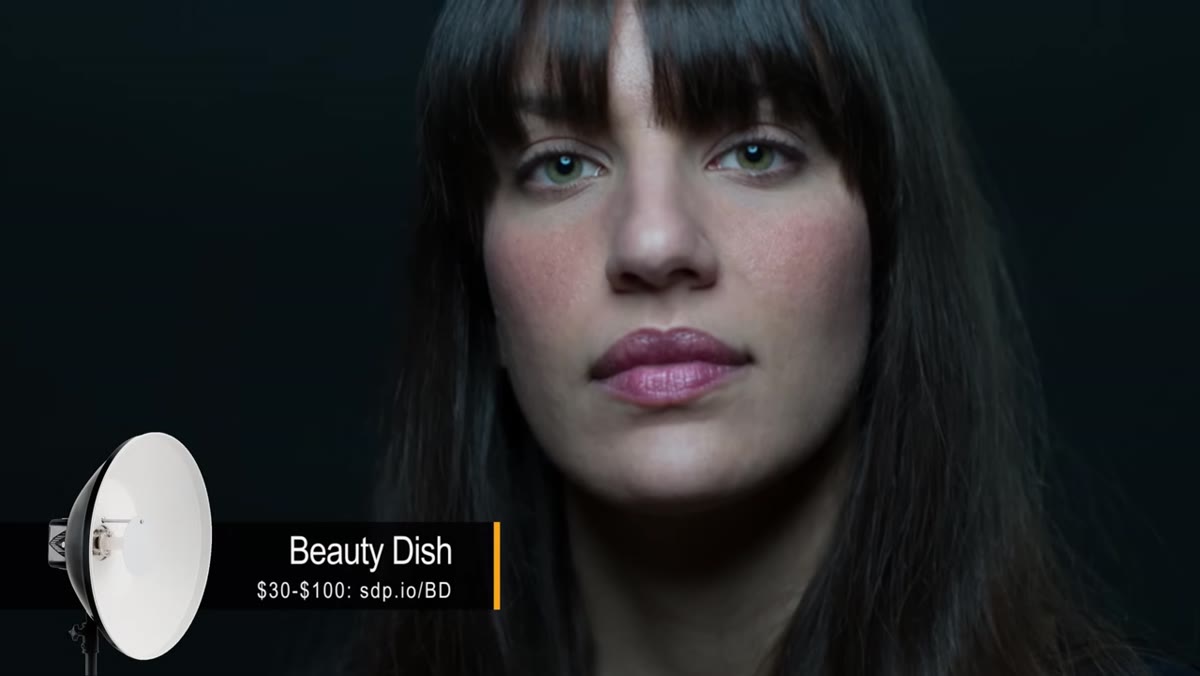
The tutorial’s sample images are where the theory becomes visible. Tony positions the beauty dish close to Chelsea’s face, roughly on axis with the camera and angled slightly downward. That positioning produces the most flattering version of beauty dish light: shadow falls naturally under the cheekbones and chin without creating unflattering dark patches on one side of the face.
Tony positioning beauty dish close to Chelsea’s face on axis
The tutorial’s sample images are where the theory becomes visible. Tony positions the beauty dish close to Chelsea’s face, roughly on axis with the camera and angled slightly downward. That positioning produces the most flattering version of beauty dish light: shadow falls naturally under the cheekbones and chin without creating unflattering dark patches on one side of the face.
When the light is moved off-axis, Chelsea notes that she has the model look into the light rather than away from it. This is a crucial detail for retouchers reviewing lighting notes or working with photographers: off-axis beauty dish light on a face that is also turned away from the source creates very deep uneven shadows that are genuinely difficult to correct in post without the edit looking manipulated.
What I’d Add From My Own Experience
The tutorial doesn’t get deeply into what happens when photographers mix these modifiers, but in beauty and commercial work that combination is extremely common. A beauty dish as the key light paired with a large softbox or a bounce panel as fill is one of the most practical studio setups I encounter in files from photographers I work with. The beauty dish carves out the structure, the fill softens the deep shadows just enough to keep skin detail in the darker areas. When you open a file like that, you get the best of both worlds – dimension and detail – and your retouching time drops significantly because the light is already doing thoughtful work.
If you are newer to retouching and you want to train your eye, spend time studying the shadow patterns in portraits before you start editing. Ask yourself what modifier created this light. That habit alone will make your edits more responsive to what the photographer intended and less likely to accidentally flatten or over-smooth what was meant to have shape.
The single most important idea in this tutorial is simple: the modifier you choose determines the shadow structure of the face, and shadow structure is the foundation every retoucher builds on. Choose deliberately before the shot, and the edit almost takes care of itself.
Watch the full tutorial on YouTube
Comments
Leave a Comment