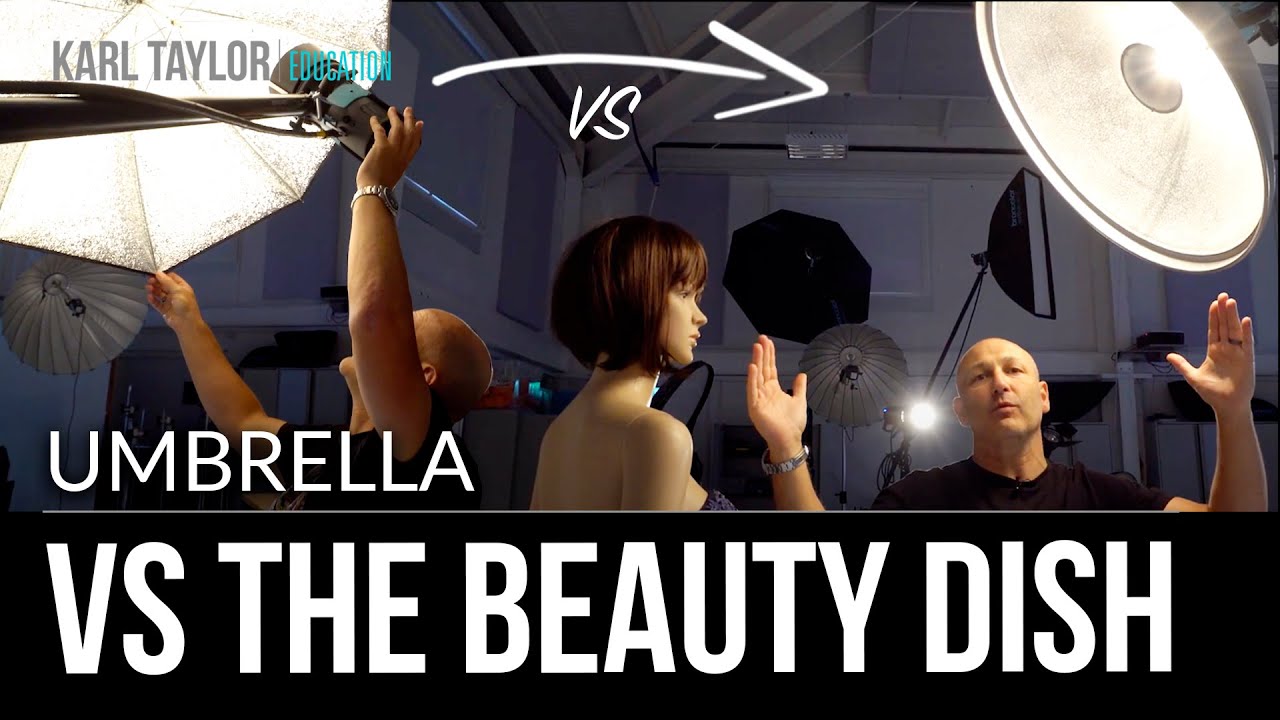
There’s a moment every retoucher knows well. You open a file, squint at the skin, and realize the problem isn’t texture or tone. It’s the light itself. Shadows landing in the wrong places, catchlights that look chaotic, a general scrappiness to the image that no frequency separation layer is going to fix. I spent years treating lighting as the photographer’s problem and post-processing as mine, and that division cost me hours of unnecessary work. Understanding what creates beautiful light before the shutter fires has made me a faster, better retoucher. That’s exactly why I keep coming back to tutorials like this one.
In this Visual Education tutorial, photographer Karl Taylor puts two common studio modifiers head-to-head against a beauty dish, running controlled tests at identical power settings so the differences speak for themselves. Watch the full tutorial on YouTube before you read, or follow along here if you want the breakdown in retoucher-friendly language. What Taylor demonstrates in a single session reframed how I talk to photographers before a shoot, and it changed what I look for the moment I open a RAW file.
The modifiers being compared are a 70cm silver beauty dish, an 80cm shiny silver umbrella, and an 80cm textured silver umbrella. All three are inexpensive, widely available, and frequently misunderstood. Here is what the test actually shows.
Step 1: Set Up the Beauty Dish Correctly
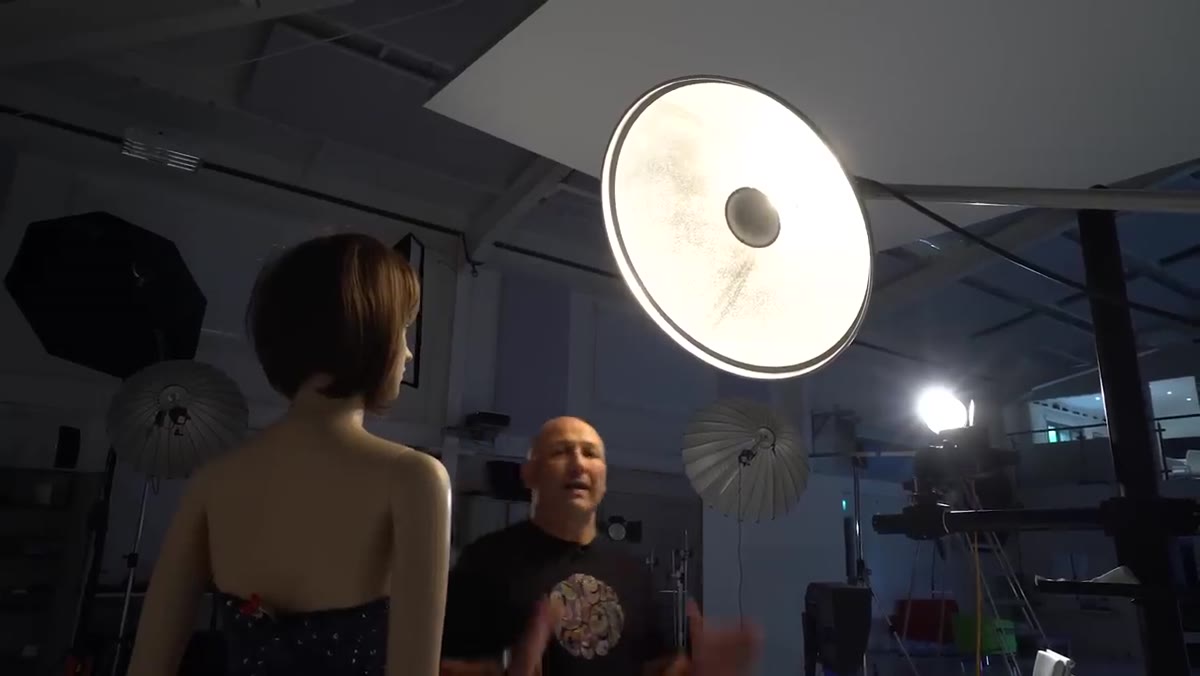 Beauty dish positioned at 45 degrees above model’s head
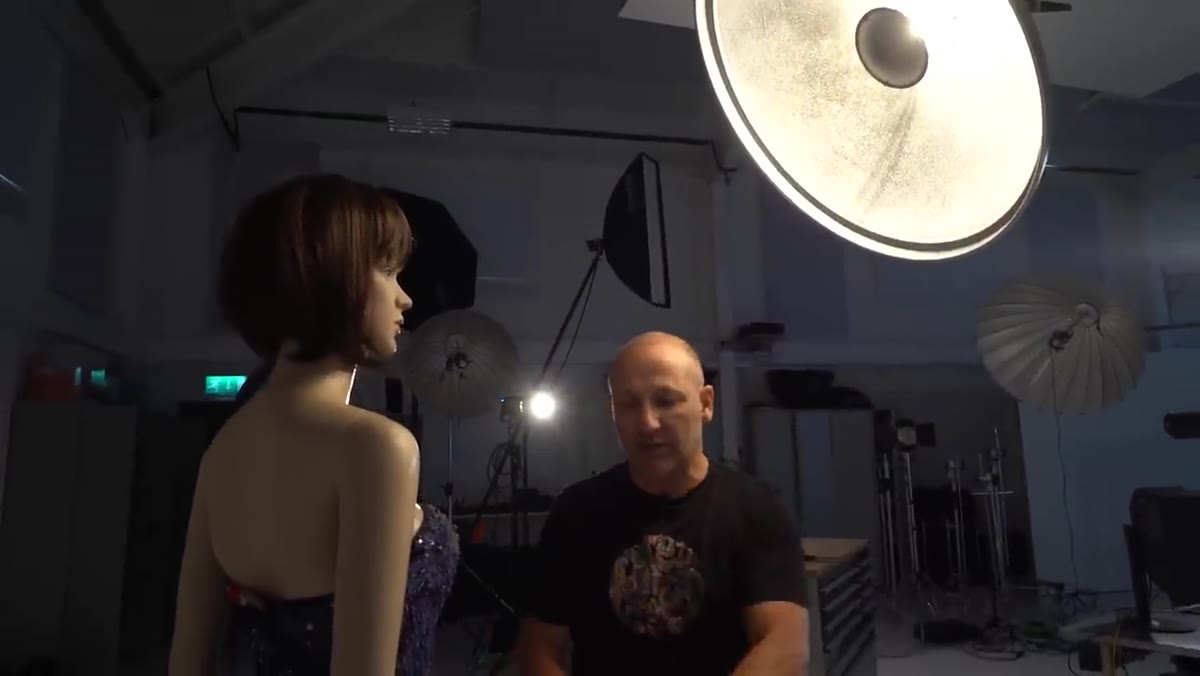
Positioning matters as much as the modifier itself. Taylor places the beauty dish at roughly a 45-degree angle above the model, somewhere between one and one and a half meters from the subject’s face. The key check: from the model’s point of view, the dark central plate of the dish should be visible, with a ring of light surrounding it. If the model can’t see that dark center, the dish is angled wrong and you lose the quality that makes it worth using. Aim the center of the dish directly at the model’s head, not the body.
Beauty dish positioned at 45 degrees above model’s head
Positioning matters as much as the modifier itself. Taylor places the beauty dish at roughly a 45-degree angle above the model, somewhere between one and one and a half meters from the subject’s face. The key check: from the model’s point of view, the dark central plate of the dish should be visible, with a ring of light surrounding it. If the model can’t see that dark center, the dish is angled wrong and you lose the quality that makes it worth using. Aim the center of the dish directly at the model’s head, not the body.
Step 2: Understand Why That Center Plate Exists
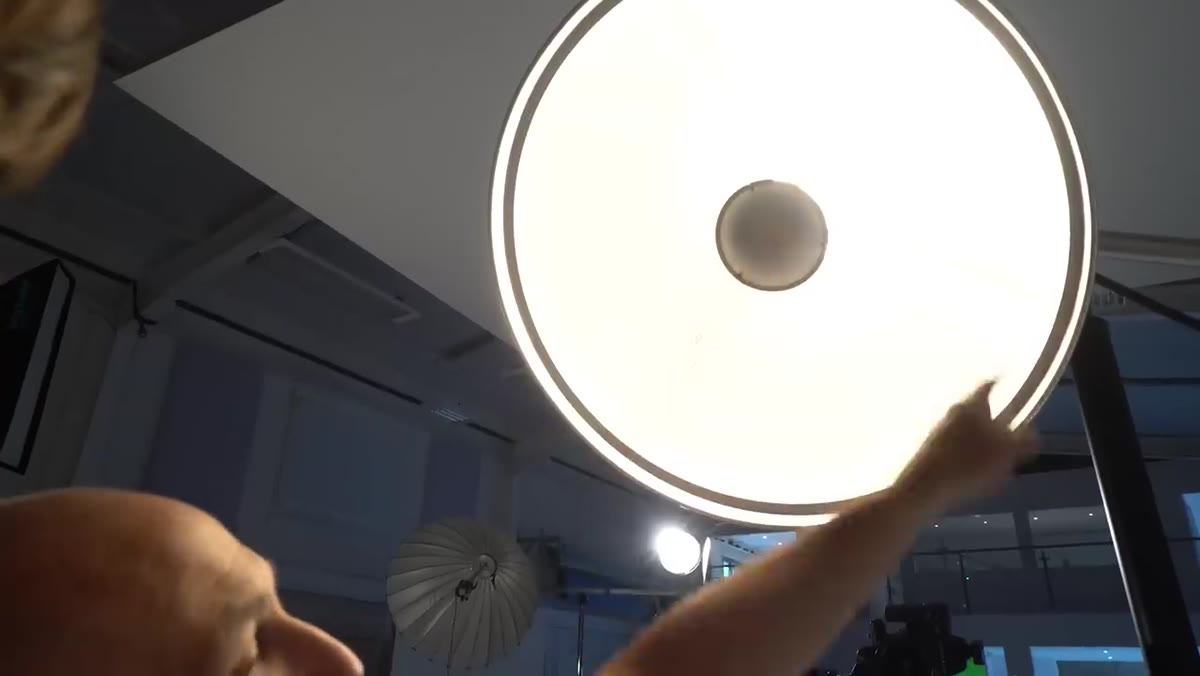 Close-up of beauty dish showing center plate and ring effect
The beauty dish works differently from most reflective modifiers. The flash fires into a small central plate that blocks direct light from reaching the subject and instead bounces it back into the dish’s curved interior. That light then reflects forward in a controlled, wrap-around way. The result is light that is harder than a softbox but softer than a bare head, with a characteristic wrap and falloff that flatters facial structure. For retouchers, this translates to shadows under the nose and jaw that are defined but not harsh, and skin that reads as three-dimensional without needing heavy dodge-and-burn work to compensate.
Close-up of beauty dish showing center plate and ring effect
The beauty dish works differently from most reflective modifiers. The flash fires into a small central plate that blocks direct light from reaching the subject and instead bounces it back into the dish’s curved interior. That light then reflects forward in a controlled, wrap-around way. The result is light that is harder than a softbox but softer than a bare head, with a characteristic wrap and falloff that flatters facial structure. For retouchers, this translates to shadows under the nose and jaw that are defined but not harsh, and skin that reads as three-dimensional without needing heavy dodge-and-burn work to compensate.
Step 3: Shoot the Beauty Dish at a Fixed Exposure
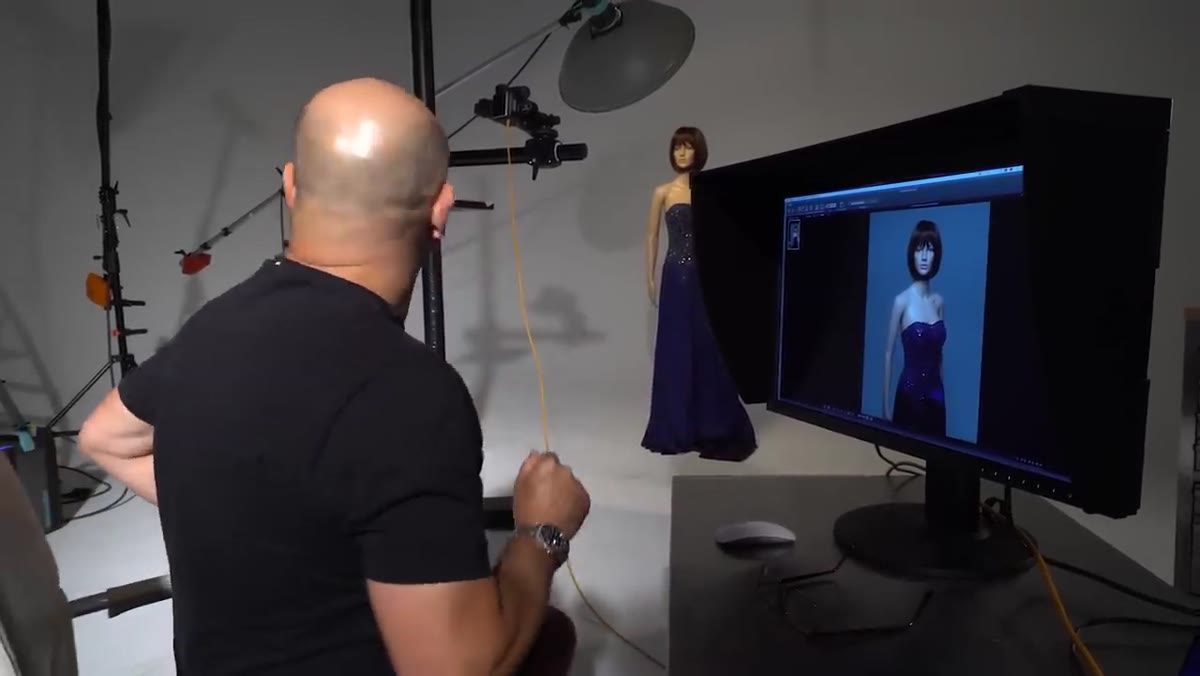
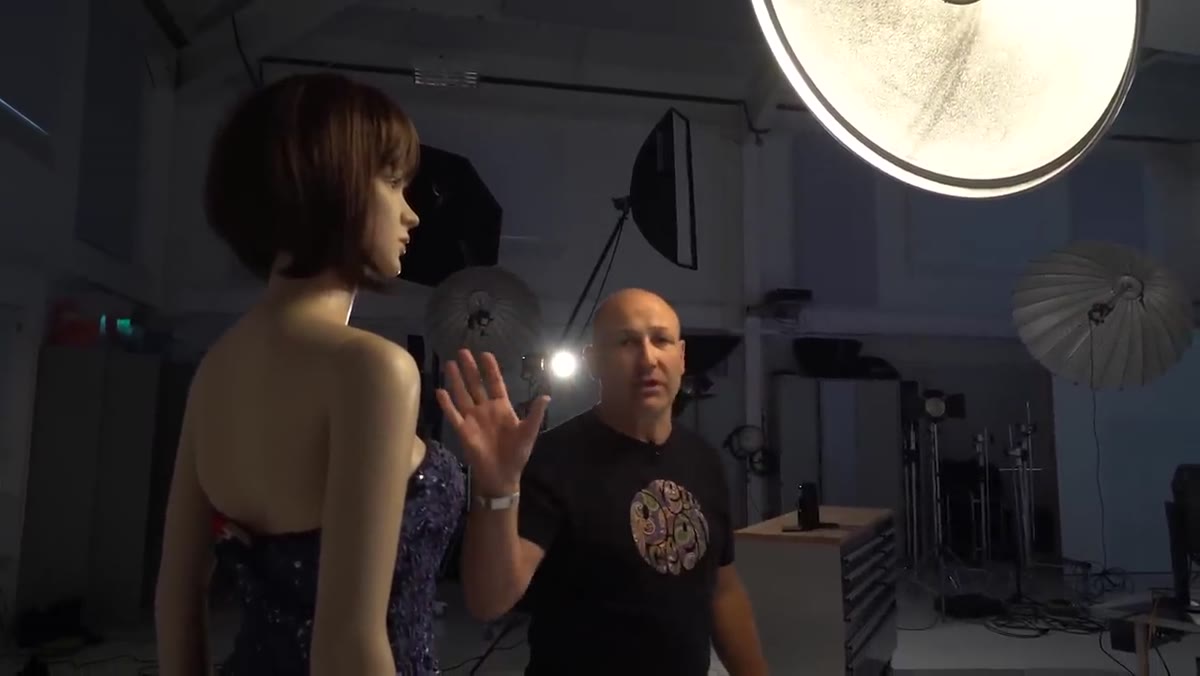 Camera tethered to screen showing beauty dish result at f/16
Taylor locks his exposure at f/16, ISO 100, and keeps the pack at a constant power setting across all three tests. This is the right way to run a modifier comparison because it isolates the variable you actually care about: how efficiently and evenly each modifier pushes light toward the subject. When you look at the beauty dish result, note two things. First, the light on the background is relatively even. Second, the falloff down the arm and body is gradual and predictable. Both of those qualities reduce retouching time significantly.
Camera tethered to screen showing beauty dish result at f/16
Taylor locks his exposure at f/16, ISO 100, and keeps the pack at a constant power setting across all three tests. This is the right way to run a modifier comparison because it isolates the variable you actually care about: how efficiently and evenly each modifier pushes light toward the subject. When you look at the beauty dish result, note two things. First, the light on the background is relatively even. Second, the falloff down the arm and body is gradual and predictable. Both of those qualities reduce retouching time significantly.
Step 4: Swap In the Shiny Silver Umbrella at the Same Position
 Shiny silver umbrella replacing beauty dish, same angle and height
With the shiny silver umbrella in the exact same position and angle, the exposure reads as similar, but the light quality shifts immediately. The background tells the story most clearly. Instead of an even wash, there are multiple shadows and irregular pools of brightness across the backdrop. Taylor explains why: the shiny interior of the umbrella picks up specular highlights from the flash and scatters them forward as several distinct points of harder light, plus a layer of softer fill. It’s essentially multiple light sources pretending to be one, and your camera sees all of them.
Shiny silver umbrella replacing beauty dish, same angle and height
With the shiny silver umbrella in the exact same position and angle, the exposure reads as similar, but the light quality shifts immediately. The background tells the story most clearly. Instead of an even wash, there are multiple shadows and irregular pools of brightness across the backdrop. Taylor explains why: the shiny interior of the umbrella picks up specular highlights from the flash and scatters them forward as several distinct points of harder light, plus a layer of softer fill. It’s essentially multiple light sources pretending to be one, and your camera sees all of them.
Step 5: Read What the Shiny Umbrella Does to Skin
 Side-by-side zoom on catchlights and shadow quality between modifiers
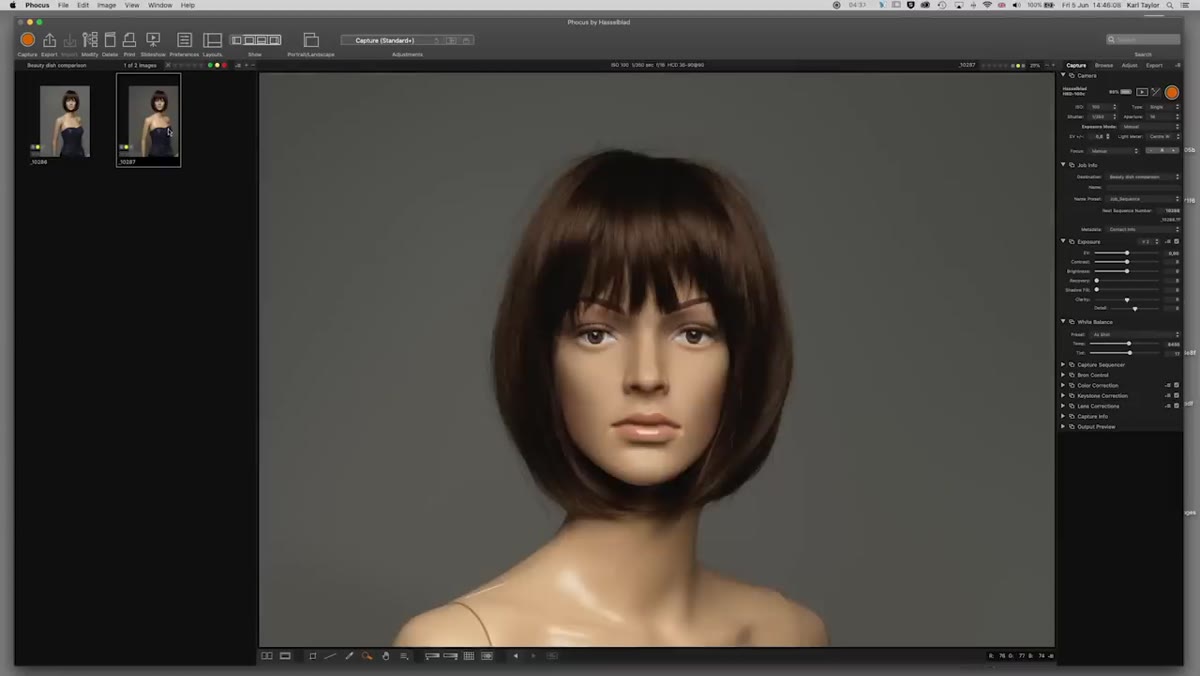
Zoom into the face on both images and the difference is subtler than the background suggests, but it’s there. The shadows under the chin and nose are present in both shots, but the beauty dish version reads as cleaner. There’s also a warmth and cohesion to the beauty dish result that the shiny umbrella doesn’t match. On the hair, the catchlights differ in shape and crispness. As someone who spends real time on catchlights in post, seeing that difference created in-camera rather than fixed with a brush is genuinely satisfying.
Side-by-side zoom on catchlights and shadow quality between modifiers
Zoom into the face on both images and the difference is subtler than the background suggests, but it’s there. The shadows under the chin and nose are present in both shots, but the beauty dish version reads as cleaner. There’s also a warmth and cohesion to the beauty dish result that the shiny umbrella doesn’t match. On the hair, the catchlights differ in shape and crispness. As someone who spends real time on catchlights in post, seeing that difference created in-camera rather than fixed with a brush is genuinely satisfying.
Step 6: Compare the Textured Silver Umbrella
 Textured silver umbrella in position, shot taken for comparison
The textured silver umbrella performs more evenly than its shiny counterpart. The texture scatters the specular highlights internally and produces a more diffused result, which means fewer competing shadow directions on the background and a gentler overall quality. It still doesn’t match the beauty dish for crispness and control, but it behaves more predictably. If you’re advising a photographer who doesn’t own a beauty dish yet, the textured silver umbrella is a more retoucher-friendly starting point than the shiny version.
Textured silver umbrella in position, shot taken for comparison
The textured silver umbrella performs more evenly than its shiny counterpart. The texture scatters the specular highlights internally and produces a more diffused result, which means fewer competing shadow directions on the background and a gentler overall quality. It still doesn’t match the beauty dish for crispness and control, but it behaves more predictably. If you’re advising a photographer who doesn’t own a beauty dish yet, the textured silver umbrella is a more retoucher-friendly starting point than the shiny version.
Step 7: Note the Role of the Tri-Reflector
 Tri-reflector positioned below model to fill shadow area
Taylor mentions using a tri-reflector below the model’s chin to bounce light back into the shadow side of the face. He skips it for this comparison test to keep the variables clean, but it’s worth understanding. In a standard beauty setup, that fill from below is what keeps the look flattering rather than dramatic. In retouching terms, it’s the difference between shadows you need to lift in post and shadows that are already sitting where you want them. If you’re working on files that look underlit below the chin and jaw, ask whether a reflector was part of the setup. If it wasn’t, that’s useful context.
Tri-reflector positioned below model to fill shadow area
Taylor mentions using a tri-reflector below the model’s chin to bounce light back into the shadow side of the face. He skips it for this comparison test to keep the variables clean, but it’s worth understanding. In a standard beauty setup, that fill from below is what keeps the look flattering rather than dramatic. In retouching terms, it’s the difference between shadows you need to lift in post and shadows that are already sitting where you want them. If you’re working on files that look underlit below the chin and jaw, ask whether a reflector was part of the setup. If it wasn’t, that’s useful context.
What I Do Differently After Watching This
I now include modifier questions in every pre-shoot brief I send to photographers. It sounds like overreach until you factor in how much time certain lighting decisions cost in post. A shiny silver umbrella on a beauty shoot can mean an extra thirty minutes of background cleanup and shadow correction that a beauty dish would have avoided entirely. I’m not trying to art-direct anyone’s shoot. I’m trying to protect both of our time. Asking “what modifier are you planning to use?” opens a conversation that consistently improves the files I receive, and this tutorial gave me the vocabulary to have it.
The single most important thing Taylor demonstrates here is that light quality is not just a photographer’s concern. The modifier choice shapes the raw material you’re working with in post, and a beauty dish, even an inexpensive independent brand one, produces a more organized, more flattering starting point than a shiny umbrella at the same power setting. Knowing that makes you a better collaborator and a smarter editor.
Watch the full tutorial on YouTube to see the side-by-side comparisons in real time. The visual difference on the background alone is worth the watch.
Comments (2)
Love how you break down complex stuff into manageable steps.
This is exactly what I needed today. Been struggling with this for weeks.
Leave a Comment