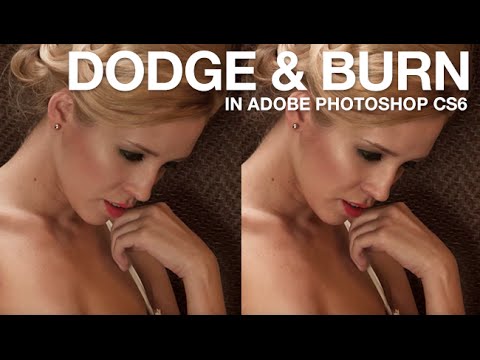
For the first couple of years I worked in beauty retouching, dodge and burn was the technique I was most intimidated by and most likely to skip. I’d smooth skin, clean up stray hairs, fix the background, and then tell myself the light was already pretty good. It wasn’t. I was just avoiding the one tool that separates a flat, processed-looking edit from a portrait that actually breathes. When I finally committed to understanding it properly, the results were immediate enough that a longtime client asked if I’d switched cameras.
In this Aaron Nace (PHLEARN) tutorial on dodge and burn in Adobe Photoshop CS6, Aaron cuts through a lot of the confusion around this technique and shares a method that’s cleaner and more flexible than the classic 50% gray layer approach most of us learned first. Watch the full tutorial on YouTube – but read through this first so you know exactly what to look for and why each step matters.
The core idea is straightforward: instead of painting white and black on a single soft-light gray layer, you work with two separate layers – one for lightening, one for darkening. This gives you independent control over each. You can adjust opacity, blend mode, or mask them separately without one affecting the other. It sounds like a small difference, but in practice it’s the kind of workflow shift that makes you wonder how you worked any other way.
Step 1: Understand What Dodging and Burning Actually Does to a Face
 Aaron explaining dodge and burn effect on cheekbone structure
Before touching a single tool, it helps to think sculpturally. Dodging lightens an area, burning darkens it. The practical application in portrait retouching is that you’re using both in combination to enhance three-dimensional form that already exists in the image. A cheekbone, for instance, catches the light on top and falls into shadow underneath. By gently lightening the highlight side and deepening the shadow side, we’re reinforcing what the light source already started. We’re not inventing dimension – we’re making it more readable.
Aaron explaining dodge and burn effect on cheekbone structure
Before touching a single tool, it helps to think sculpturally. Dodging lightens an area, burning darkens it. The practical application in portrait retouching is that you’re using both in combination to enhance three-dimensional form that already exists in the image. A cheekbone, for instance, catches the light on top and falls into shadow underneath. By gently lightening the highlight side and deepening the shadow side, we’re reinforcing what the light source already started. We’re not inventing dimension – we’re making it more readable.
This framing matters because it keeps the work feeling natural rather than painted. If we think of dodge and burn as a sculpting pass rather than a brightening or darkening pass, we stay anchored to the actual anatomy in front of us.
Step 2: Create Two Separate New Layers – One for Light, One for Dark
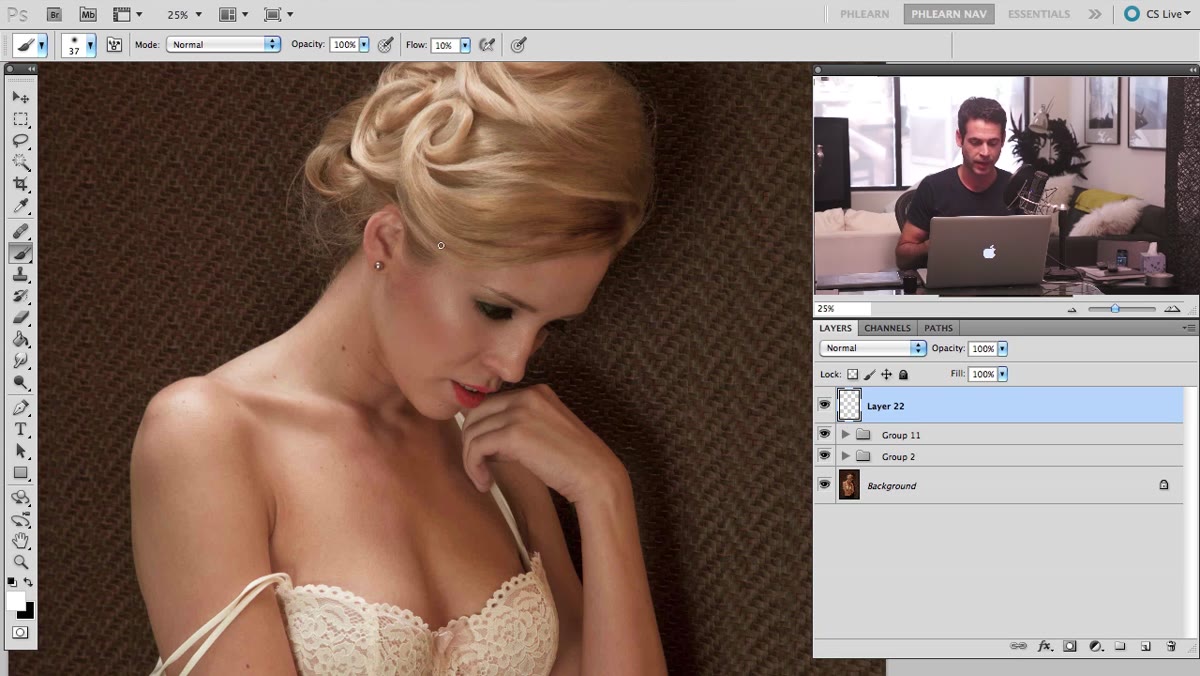 New blank layer created above the retouching stack in Layers panel
At the top of your layer stack, create a new blank layer and label it something like “Dodge” or “Lighten.” Then create a second blank layer directly above it and label it “Burn” or “Darken.” These layers will stay in Normal blend mode for now – we’ll address blend modes when we actually start painting. Keeping them labeled clearly is worth the extra two seconds. When you’re deep in a multi-hour retouch, ambiguity in your layer panel costs you focus.
New blank layer created above the retouching stack in Layers panel
At the top of your layer stack, create a new blank layer and label it something like “Dodge” or “Lighten.” Then create a second blank layer directly above it and label it “Burn” or “Darken.” These layers will stay in Normal blend mode for now – we’ll address blend modes when we actually start painting. Keeping them labeled clearly is worth the extra two seconds. When you’re deep in a multi-hour retouch, ambiguity in your layer panel costs you focus.
Having two layers means you can lower the opacity of just your burn work if the shadows feel too heavy, without touching your highlight layer at all. That kind of surgical control is what makes this method worth learning over the single-layer approach.
Step 3: Build Your Brush for Dodge and Burn Work
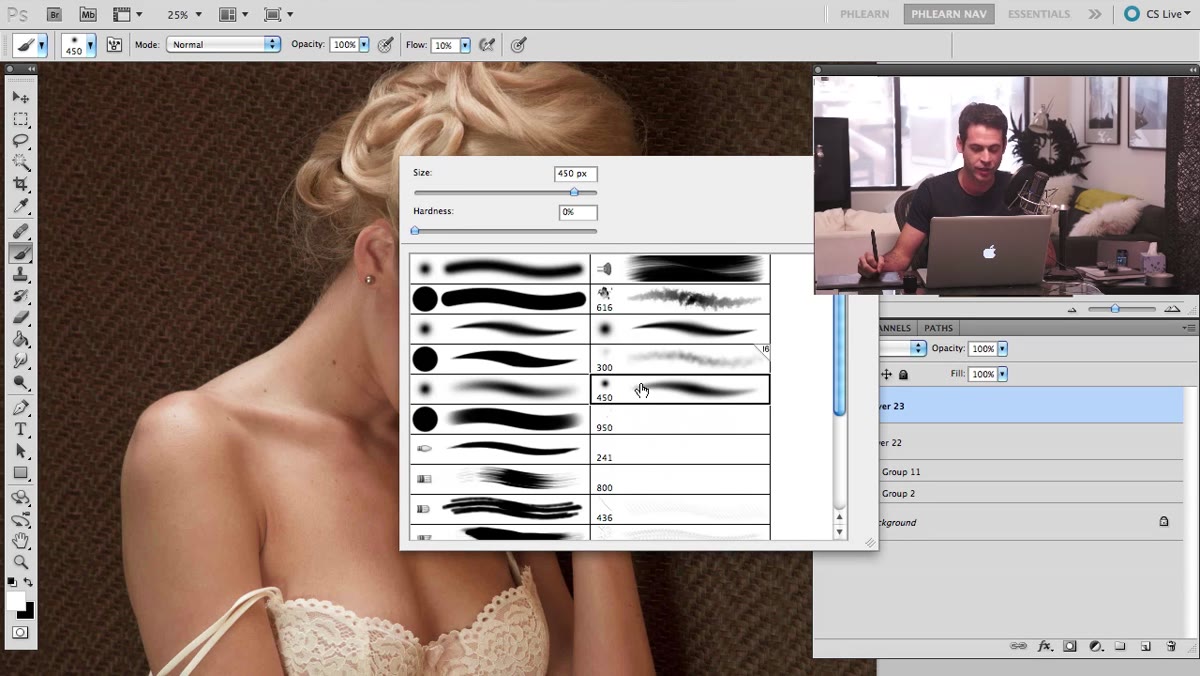 Brush settings panel open showing Shape Dynamics and Transfer options
The brush setup here is specific and intentional, so don’t skip it. Open the Brush panel (Window - Brush) and turn on Shape Dynamics with a minimum diameter around 40%. Then enable Transfer and set the Flow Jitter to Pen Pressure. This means the harder you press on your tablet, the more paint you deposit – which gives you the gradual, feathered control that dodge and burn demands.
Brush settings panel open showing Shape Dynamics and Transfer options
The brush setup here is specific and intentional, so don’t skip it. Open the Brush panel (Window - Brush) and turn on Shape Dynamics with a minimum diameter around 40%. Then enable Transfer and set the Flow Jitter to Pen Pressure. This means the harder you press on your tablet, the more paint you deposit – which gives you the gradual, feathered control that dodge and burn demands.
Set your flow to somewhere between 5% and 10%. Aaron settles around 7%, which I also land on most of the time. The logic is simple: you want to build up the effect in multiple passes rather than making one heavy stroke you immediately have to undo. Low flow is your best protection against over-doing it. If you’re working with a mouse rather than a tablet, set flow to around 3-5% and use multiple careful strokes.
Step 4: Paint White to Dodge (Lighten) on the Highlight Layer
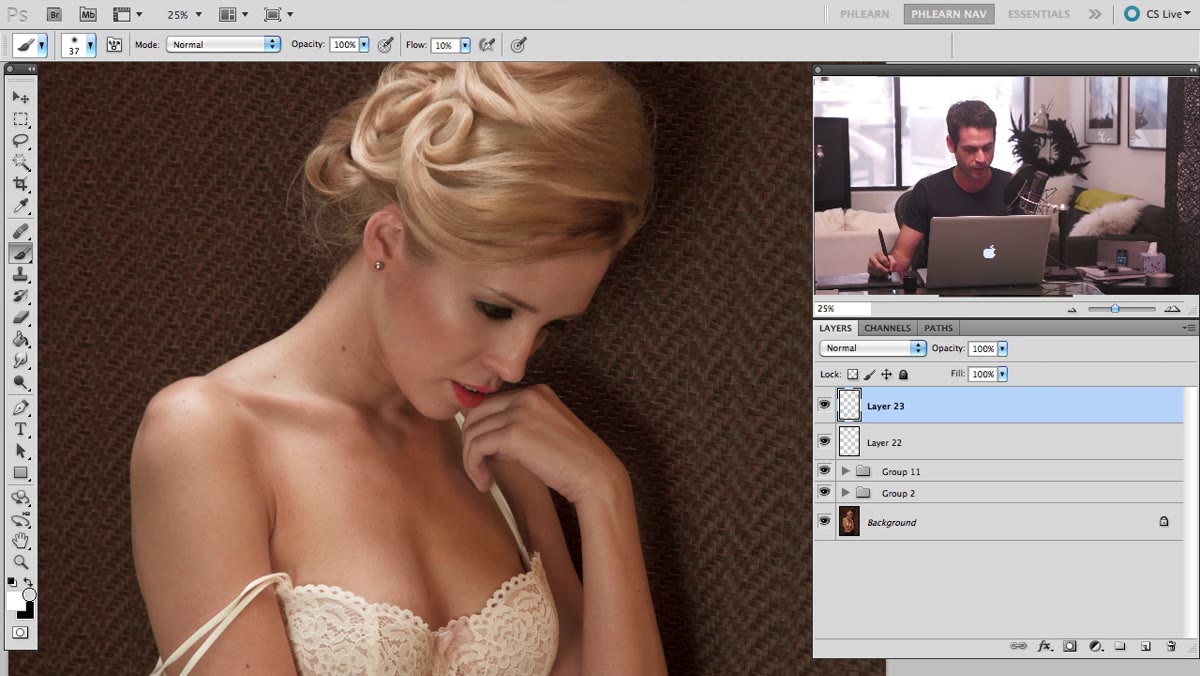 White paint being applied with soft brush on a new layer over skin
Select your Dodge layer, set your foreground color to white, and begin painting over the areas that naturally catch the most light. Think forehead center, bridge of the nose, tops of cheekbones, the cupid’s bow, and any highlight areas on the skin that you want to pop a little more. Use a large, soft brush for broad areas and a smaller one for the finer details like the ridge of the nose.
White paint being applied with soft brush on a new layer over skin
Select your Dodge layer, set your foreground color to white, and begin painting over the areas that naturally catch the most light. Think forehead center, bridge of the nose, tops of cheekbones, the cupid’s bow, and any highlight areas on the skin that you want to pop a little more. Use a large, soft brush for broad areas and a smaller one for the finer details like the ridge of the nose.
The key is building slowly. Make one pass, step back visually, and assess. It’s much easier to add another pass than to walk back an overworked highlight. If at any point the effect looks like you’ve pasted a white shape onto the face, your flow is too high or your brush edges are too hard.
Step 5: Paint Black to Burn (Darken) on the Shadow Layer
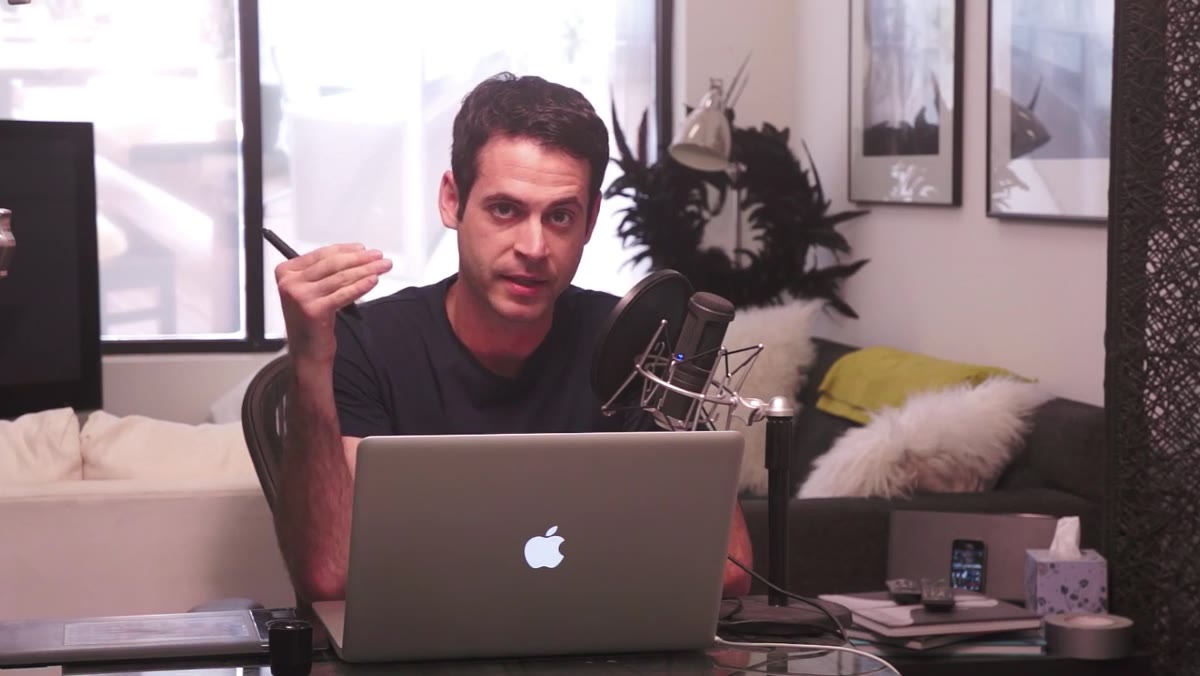 Aaron describing burn technique with reference to shadow areas on face
Switch to your Burn layer, change your foreground color to black, and work into the shadow areas – under the cheekbones, along the jaw, the sides of the nose, beneath the lower lip, and into the eye socket areas. The same low-flow, multi-pass approach applies here. You’re deepening shadow, not painting it from scratch.
Aaron describing burn technique with reference to shadow areas on face
Switch to your Burn layer, change your foreground color to black, and work into the shadow areas – under the cheekbones, along the jaw, the sides of the nose, beneath the lower lip, and into the eye socket areas. The same low-flow, multi-pass approach applies here. You’re deepening shadow, not painting it from scratch.
One thing that helps me is to zoom out to roughly 50% every few minutes and look at the face as a whole. It’s easy to get too close and lose the proportional read of the light. Stepping back helps you see whether you’re enhancing the existing light logic or accidentally creating a new, inconsistent one.
A Note on Using Blend If to Protect Skin Tone
Aaron mentions Blend If in the tutorial, and I want to give it the attention it deserves because it’s genuinely underused. After painting your dodge or burn layer, you can double-click the layer thumbnail to open Layer Style, then use the Blend If sliders under “Underlying Layer” to restrict where your paint affects the image based on the tonal values beneath it.
In practice, this means your lighten layer can be set to only affect the midtones and highlights while leaving the shadows untouched – which prevents you from accidentally blowing out an already-bright area. Hold Alt and drag the black slider to split it, which creates a smooth transition. It adds maybe 90 seconds to your workflow and removes a whole category of mistakes.
The single most important thing dodge and burn taught me is that good retouching follows light – it doesn’t fight it. Every stroke should feel like you’re helping the viewer see what was already there, not imposing a new reality on the portrait. That restraint is what keeps skin looking like skin.
Watch the full tutorial on YouTube and follow along with Aaron’s full demonstration to see the technique applied to a complete portrait from start to finish.
Comments (2)
Just used this on a wedding shoot edit. Client was thrilled.
This is fantastic. I've been recommending this approach to my readers too.
Leave a Comment