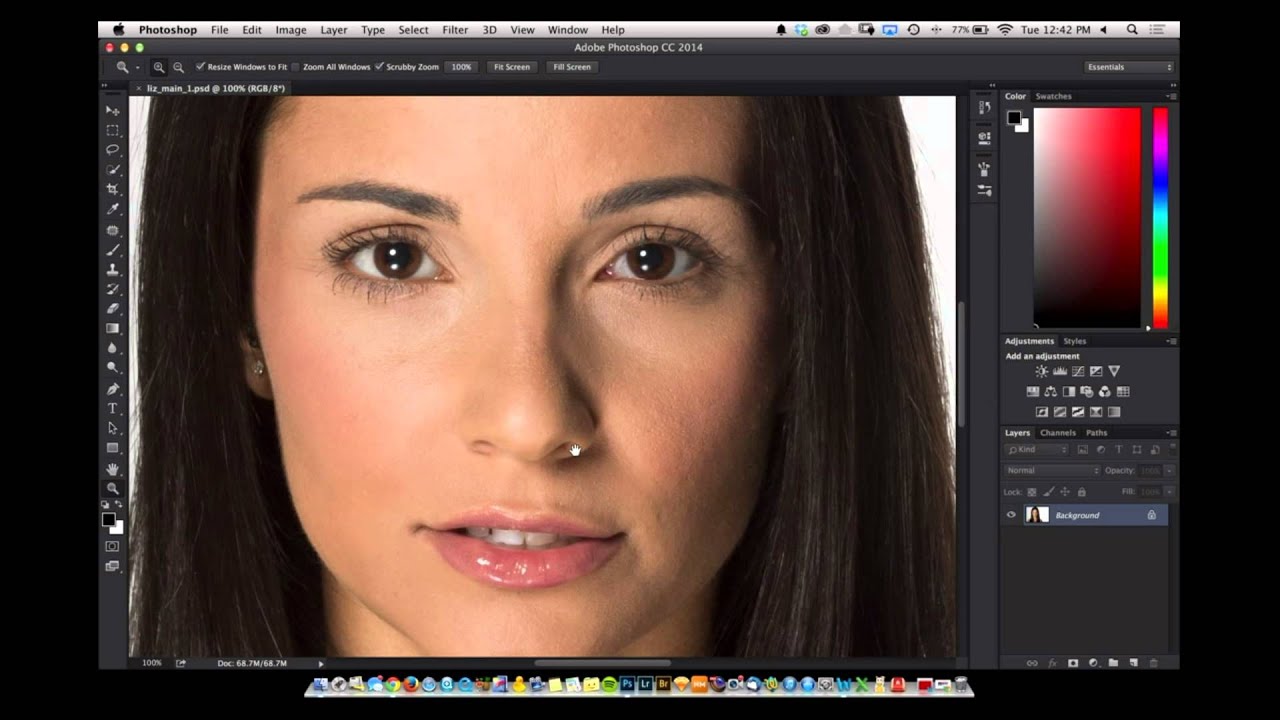
There is a specific kind of panic that hits when a client asks for a short behind-the-scenes video alongside their portraits and you realize your DSLR is sitting there fully capable of shooting it, and you have no idea where to start. I ran into this exact wall a couple of years into my freelance work. I knew how to light a face, how to direct a subject, how to get a technically clean RAW file. But the moment I switched that dial to video mode, something always looked off. Too bright, too jittery, too much like security camera footage. The shallow, filmic quality I could get in a still image evaporated the second things started moving.
That is why I kept coming back to this KelbyOne tutorial hosted by RC, featuring broadcast journalist and instructor Mia McCormack. Watch the full tutorial on YouTube. Mia works specifically in the world of DSLR video and breaks down exactly what makes these cameras both exciting and tricky for video work. What she outlines comes down to three core decisions, and once you understand why each one matters, the results genuinely shift. Here is the walkthrough, step by step.
Step 1: Choose a Lens with a Wide Aperture
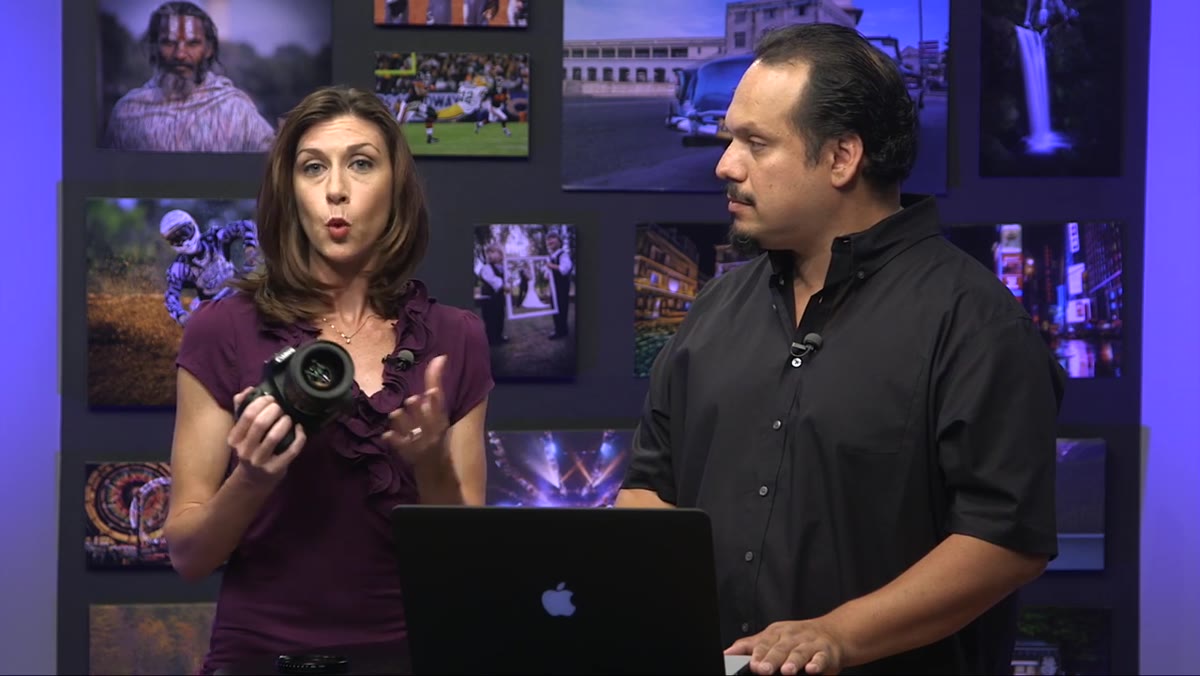 Wide aperture lens setting for cinematic shallow depth of field
The same instinct that drives portrait photographers toward fast glass applies directly to video. Mia’s first recommendation is to work with a lens that opens to at least f/2.8, and faster if you have it. The large sensor inside a DSLR is one of the main reasons these cameras became popular for video in the first place. Dedicated video cameras with smaller sensors push into much higher price ranges to get that same quality of image. Your DSLR already has the hardware. A wide aperture is how you take advantage of it.
Wide aperture lens setting for cinematic shallow depth of field
The same instinct that drives portrait photographers toward fast glass applies directly to video. Mia’s first recommendation is to work with a lens that opens to at least f/2.8, and faster if you have it. The large sensor inside a DSLR is one of the main reasons these cameras became popular for video in the first place. Dedicated video cameras with smaller sensors push into much higher price ranges to get that same quality of image. Your DSLR already has the hardware. A wide aperture is how you take advantage of it.
Shooting wide open gives you that shallow depth of field that makes a subject pop off the background. In portrait work, we chase this constantly in stills. In video, it does the same thing, and it also signals to the viewer’s eye that what they are watching was made with intention. It reads as cinematic rather than documentary. Keep this setting in mind as we work through the next two steps, because everything is connected.
Step 2: Set Your Frame Rate to 24fps
 Camera menu open showing video frame rate options
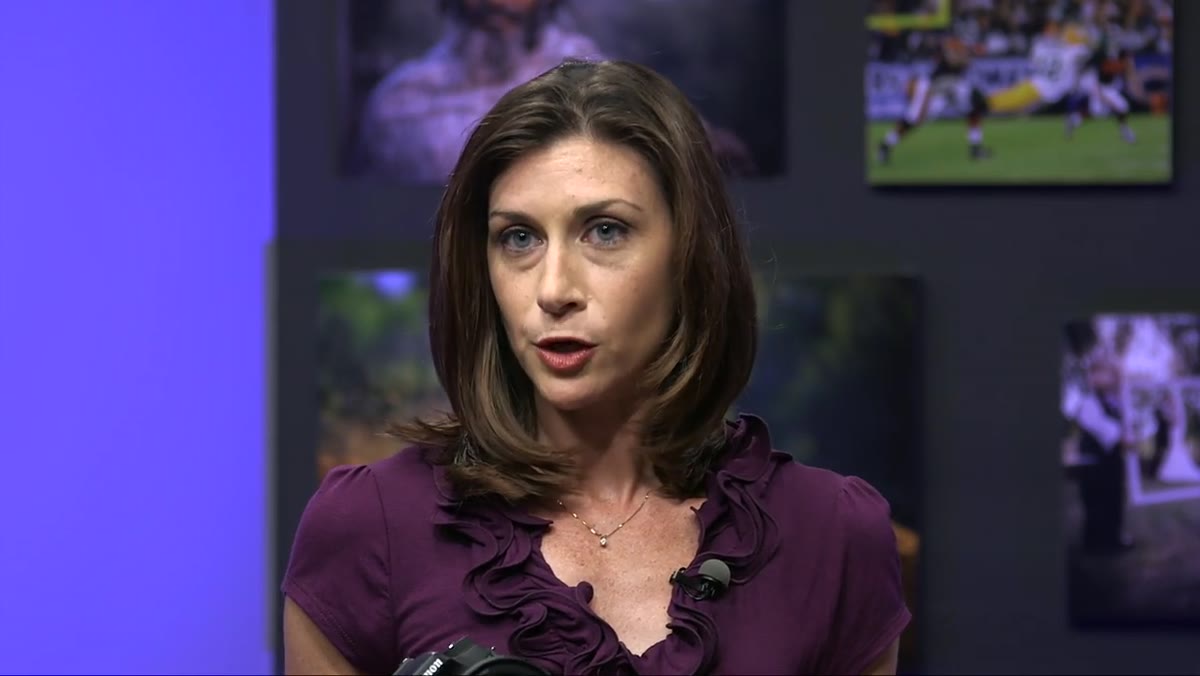
Go into your camera’s menu and find the video settings. Most DSLRs will show you frame rate options of 24, 30, or sometimes 60 frames per second. The number you want for narrative, emotional, or portrait-style footage is 24. This is the frame rate that film has used for decades. Your brain is trained to associate it with what you see in a movie theater, and that association is not subtle. It gives footage a particular quality that 30fps simply does not have.
Camera menu open showing video frame rate options
Go into your camera’s menu and find the video settings. Most DSLRs will show you frame rate options of 24, 30, or sometimes 60 frames per second. The number you want for narrative, emotional, or portrait-style footage is 24. This is the frame rate that film has used for decades. Your brain is trained to associate it with what you see in a movie theater, and that association is not subtle. It gives footage a particular quality that 30fps simply does not have.
Mia is clear about one important caveat here. If you are capturing fast action, 24fps will struggle to keep up and the result will look choppy. But for the kind of footage that complements portrait and beauty work, think candid moments, a subject moving through soft light, lifestyle content for a brand, 24fps is exactly right. Set it and leave it there.
Step 3: Lock In Your Shutter Speed and Aperture Before You Start
 Camera settings for shutter speed and aperture in video mode
This is where video diverges sharply from still photography, and it tripped me up for a long time. In stills, if the exposure is off, you adjust. You bump the aperture, you shift the shutter speed, you compensate in the moment. In video, those adjustments create problems. Changing your shutter speed mid-shoot affects how motion is rendered in every frame. Moving your aperture shifts the depth of field. Both of those things should be dialed in before you hit record, and then left alone.
Camera settings for shutter speed and aperture in video mode
This is where video diverges sharply from still photography, and it tripped me up for a long time. In stills, if the exposure is off, you adjust. You bump the aperture, you shift the shutter speed, you compensate in the moment. In video, those adjustments create problems. Changing your shutter speed mid-shoot affects how motion is rendered in every frame. Moving your aperture shifts the depth of field. Both of those things should be dialed in before you hit record, and then left alone.
The general guideline for shutter speed in video is to use double your frame rate. At 24fps, that means 1/50 of a second. This keeps motion looking natural rather than too smooth or too stuttery. Lock that in, set your aperture for the look you want, and resist the temptation to touch either one once the camera is rolling.
Step 4: Add an ND Filter for Outdoor Shooting
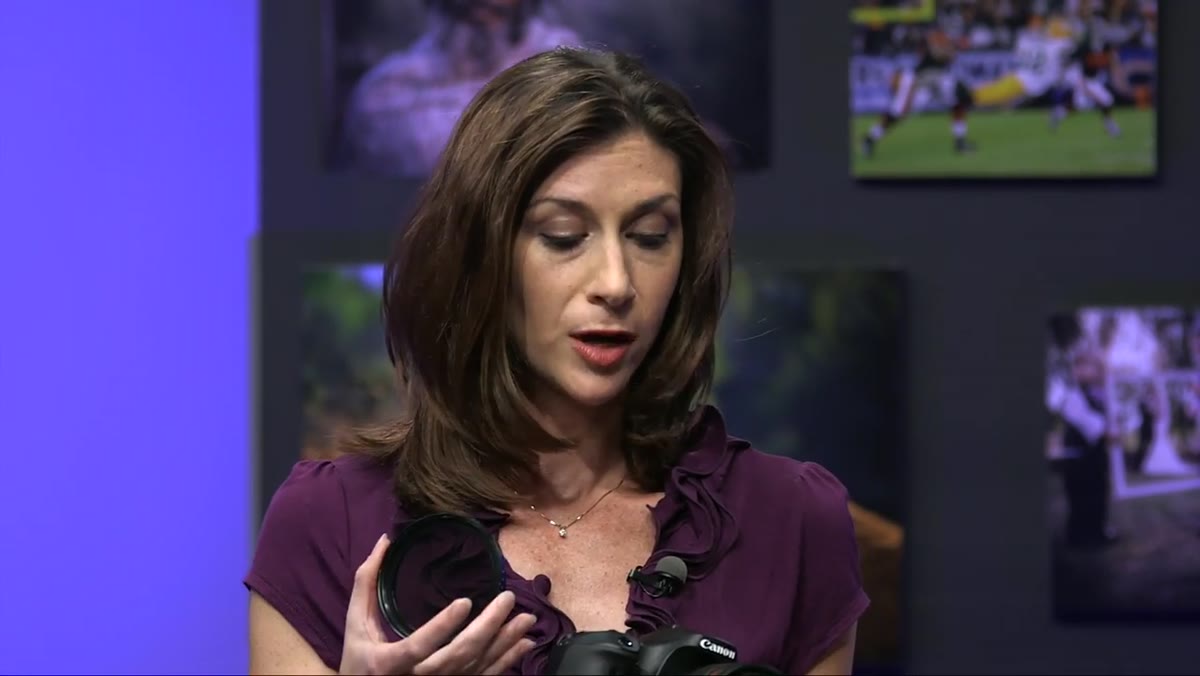
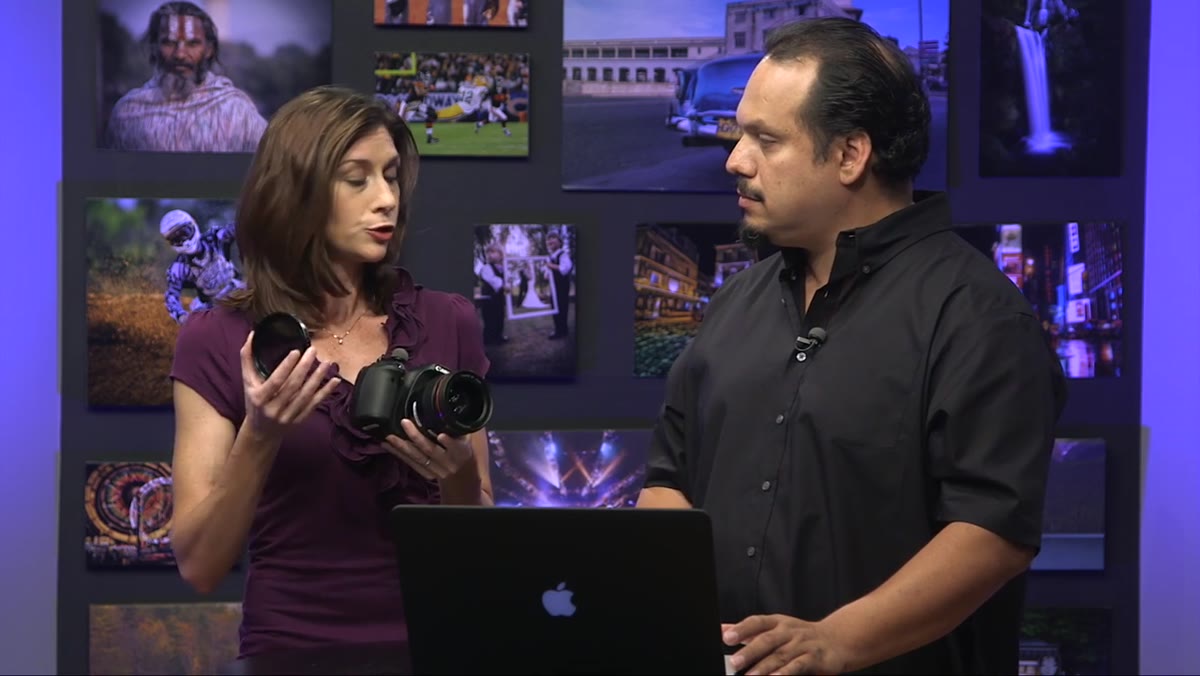 ND filter being described as a solution for bright outdoor exposure
Once your shutter speed and aperture are fixed, you lose one of your main tools for managing exposure. In bright outdoor conditions, this becomes a real problem. Your image will blow out, and you cannot just stop down the lens without losing that shallow depth of field you set up in Step 1. The solution is an ND filter, and Mia describes it exactly the way I think about it: sunglasses for your lens.
ND filter being described as a solution for bright outdoor exposure
Once your shutter speed and aperture are fixed, you lose one of your main tools for managing exposure. In bright outdoor conditions, this becomes a real problem. Your image will blow out, and you cannot just stop down the lens without losing that shallow depth of field you set up in Step 1. The solution is an ND filter, and Mia describes it exactly the way I think about it: sunglasses for your lens.
An ND filter reduces the amount of light entering the camera without touching any of the settings you have carefully locked in. You can shoot wide open at f/2 on a sunny afternoon and still get a correctly exposed image. ND filters come in different strengths, often described as stops of light reduction, and a variable ND gives you flexibility to dial in exposure across changing light conditions. If you plan to shoot video outdoors at any point, this is not an accessory. It is a necessity.
What I Would Add From My Own Experience
The piece Mia’s tutorial touches on but leaves room to explore is how these video principles feed back into the way you think about your portrait stills. Once I started working more carefully with frame rates and fixed exposures for video, I became more deliberate about my still settings too. Locking your mindset into “commit to the look before you press anything” carries over. You stop second-guessing mid-shoot.
I would also add that if you are a retoucher or a photographer who works in beauty, the footage you capture between setups can be some of the most valuable content you give a client. A few seconds of a subject laughing before the shot, hair moving in natural light, a product being applied, shot with good depth of field and cinematic frame rate, that footage looks polished without any post work. And that makes it worth learning properly.
The single most important thing to take from this is that cinematic video from a DSLR is not about buying different equipment. It is about understanding why each setting exists and committing to it before you shoot rather than trying to fix things after. Wide aperture, 24fps, locked shutter speed, ND filter for outdoor work. That is the whole framework.
Watch the full tutorial on YouTube to hear Mia walk through these concepts in her own words. She covers additional nuances in her full KelbyOne class, which is worth the time if you are serious about adding video to your portrait or beauty work.
Comments
Leave a Comment