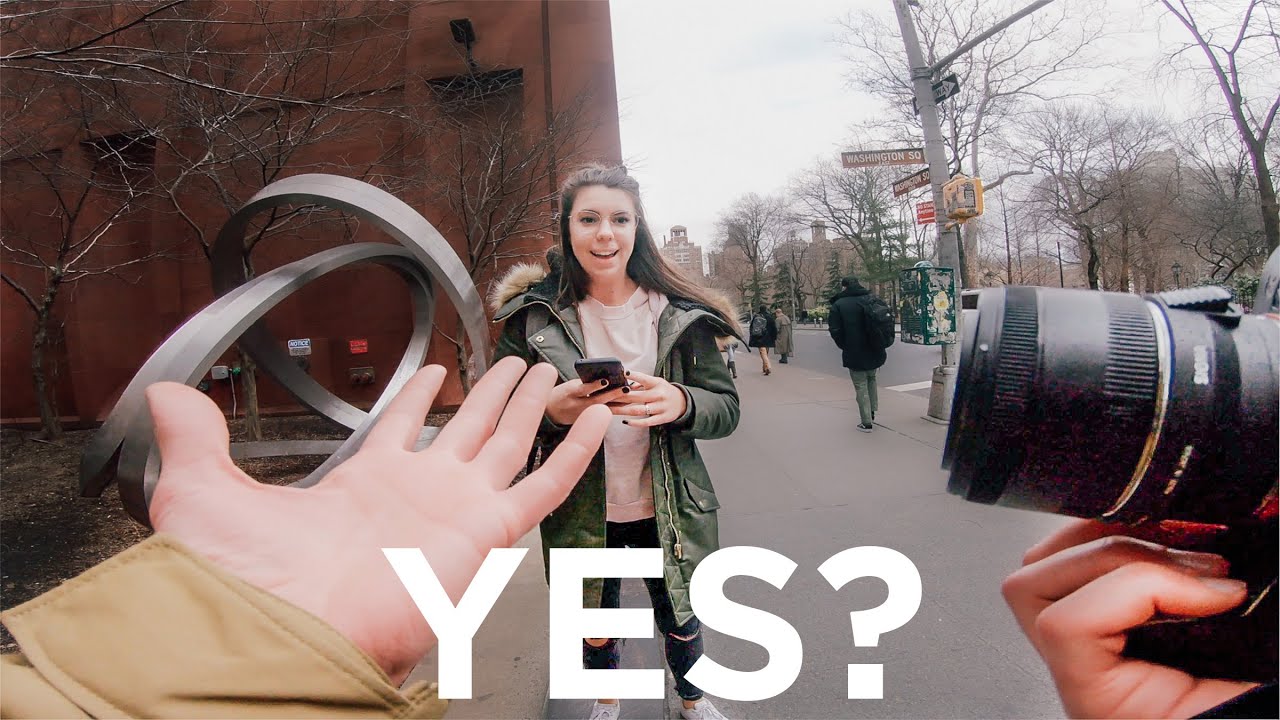
There is a particular kind of paralysis that hits even experienced photographers the moment they consider walking up to a complete stranger and asking to take their picture. I spent years doing wedding work, photographing people in high-emotion moments, and I still felt that knot in my stomach the first time I tried street portraits. The technical side of photography is something you can practice alone in a studio. The human side, the actual asking, has to be learned in the field, usually through a string of awkward moments before it clicks.
That is exactly why I keep coming back to Watch the full tutorial on YouTube this challenge video from Pierre T. Lambert. In it, he and a friend compete to photograph as many strangers as possible on the streets of New York City in ten minutes flat. It sounds like a stunt, and on the surface it is. But watching how Pierre moves, speaks, and adapts in real time is one of the most practical street portrait lessons I have found. For anyone who photographs people, whether for beauty work, editorial, or personal projects, the mechanics of how he earns trust in under thirty seconds are worth studying closely.
Step 1: Set Yourself Up with a Simple, Fast Lens
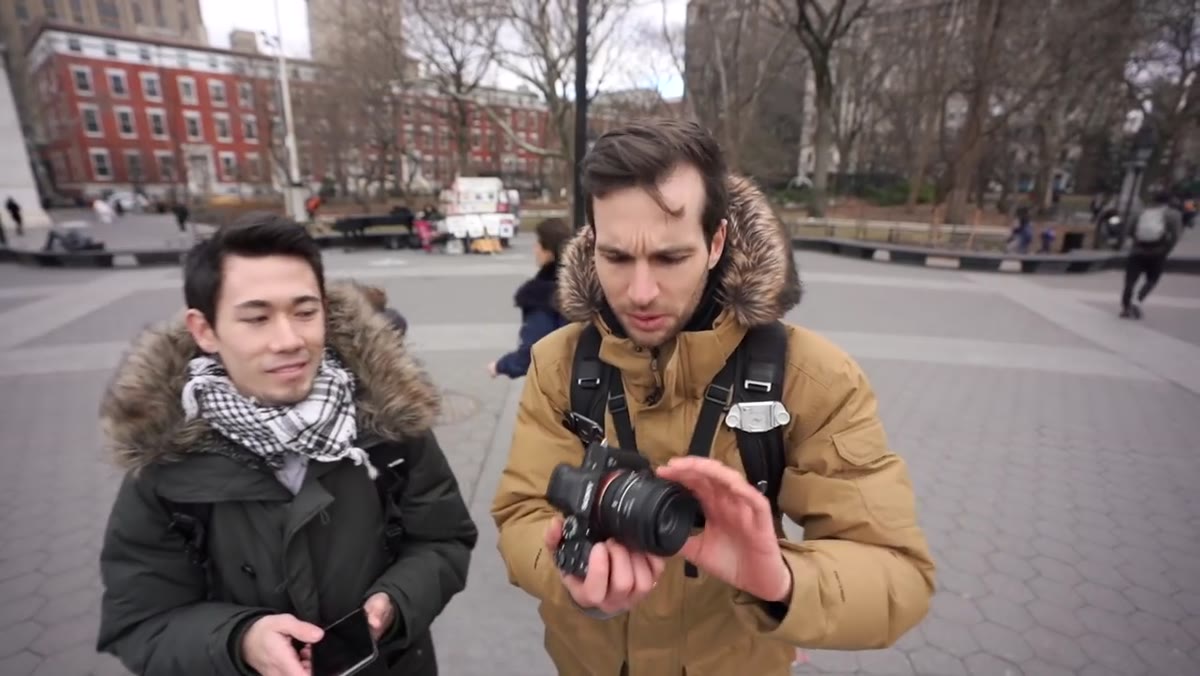 Pierre holding camera with 50mm lens attached
Before the timer starts, Pierre makes a quiet but important gear choice. He shoots on a 50mm f/1.8 with a Canon converter, and he mentions it specifically because the setup is lightweight and non-threatening. A large telephoto zoom signals surveillance. A small prime signals artist. When you are approaching strangers, your camera is part of your body language before you even open your mouth. Choose something compact, set your exposure ahead of time, and switch to continuous autofocus so you are not fussing with settings mid-conversation. The goal is to appear confident and ready, not like you are troubleshooting.
Pierre holding camera with 50mm lens attached
Before the timer starts, Pierre makes a quiet but important gear choice. He shoots on a 50mm f/1.8 with a Canon converter, and he mentions it specifically because the setup is lightweight and non-threatening. A large telephoto zoom signals surveillance. A small prime signals artist. When you are approaching strangers, your camera is part of your body language before you even open your mouth. Choose something compact, set your exposure ahead of time, and switch to continuous autofocus so you are not fussing with settings mid-conversation. The goal is to appear confident and ready, not like you are troubleshooting.
Step 2: Use a Specific Compliment as Your Opening
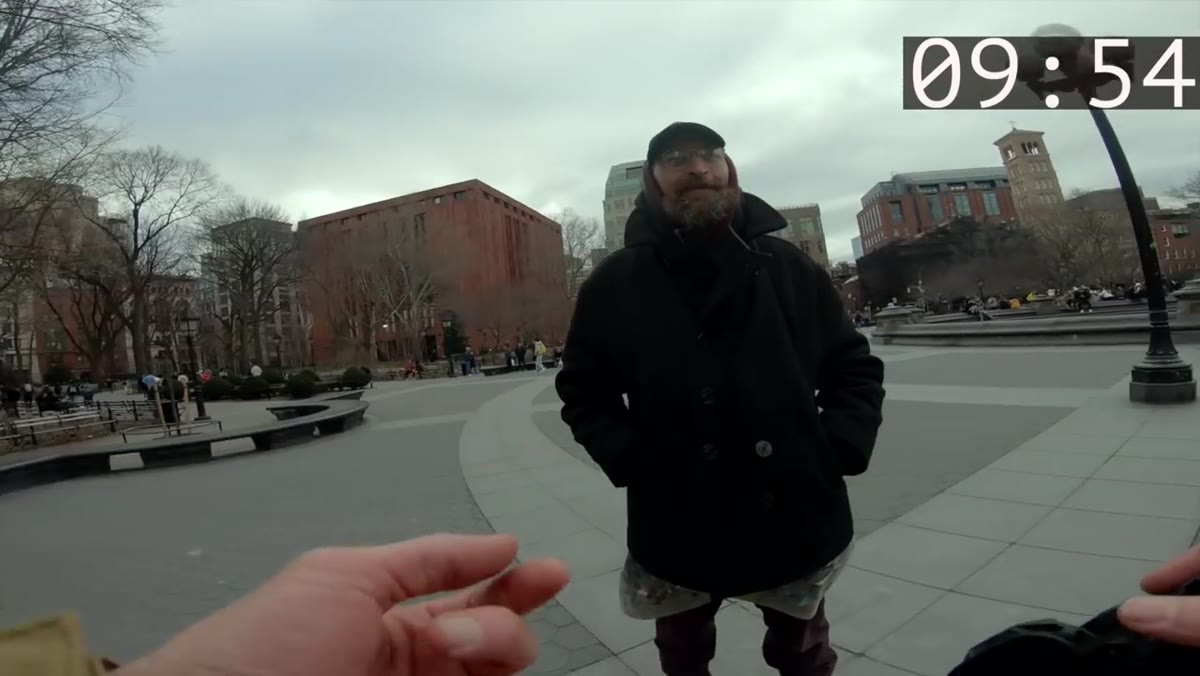 Pierre speaking directly to a stranger on the sidewalk
The moment the timer starts, Pierre does not wander or hesitate. He walks directly toward a subject and opens with something specific and genuine. Rather than a vague “can I take your photo,” he leads with an observation, something he actually noticed about the person. A man with a standout look, someone reading a book, a person whose energy catches his eye. This specificity matters because it communicates that you see them as an individual, not a random face. The request lands differently when it is attached to a real reason. Practice noticing one concrete detail about a person before you approach. That detail becomes your opening line and your first frame.
Pierre speaking directly to a stranger on the sidewalk
The moment the timer starts, Pierre does not wander or hesitate. He walks directly toward a subject and opens with something specific and genuine. Rather than a vague “can I take your photo,” he leads with an observation, something he actually noticed about the person. A man with a standout look, someone reading a book, a person whose energy catches his eye. This specificity matters because it communicates that you see them as an individual, not a random face. The request lands differently when it is attached to a real reason. Practice noticing one concrete detail about a person before you approach. That detail becomes your opening line and your first frame.
Step 3: Keep the Brief Honest and Short
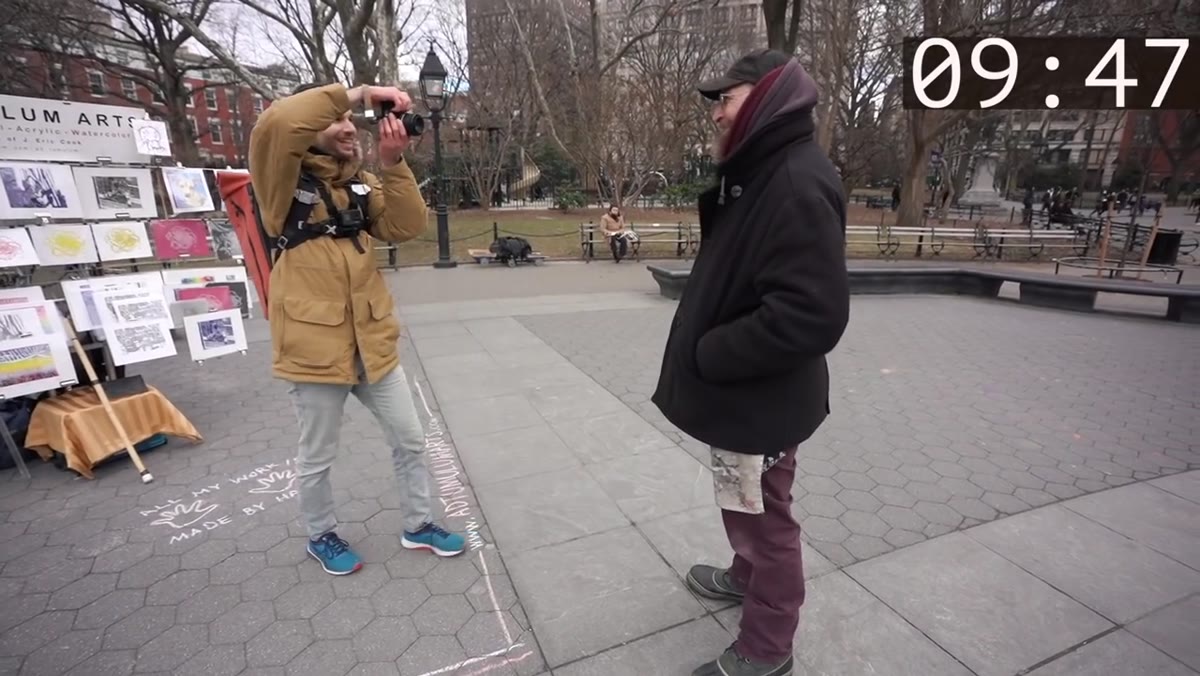 Pierre explaining the challenge to a subject while gesturing briefly
Pierre’s pitch is three sentences at most. He explains he is doing a timed challenge, that he is trying to photograph as many people as possible, and that he would love to include them. There is no elaborate setup, no lengthy flattery, and no hard sell. This honesty works in two ways. First, it removes pressure because people understand the context immediately. Second, it respects their time, which is the thing strangers in a city guard most fiercely. When I started doing street work, I used to over-explain. Cutting my ask down to fifteen seconds made a noticeable difference in how often people said yes.
Pierre explaining the challenge to a subject while gesturing briefly
Pierre’s pitch is three sentences at most. He explains he is doing a timed challenge, that he is trying to photograph as many people as possible, and that he would love to include them. There is no elaborate setup, no lengthy flattery, and no hard sell. This honesty works in two ways. First, it removes pressure because people understand the context immediately. Second, it respects their time, which is the thing strangers in a city guard most fiercely. When I started doing street work, I used to over-explain. Cutting my ask down to fifteen seconds made a noticeable difference in how often people said yes.
Step 4: Shoot Immediately After Getting Permission
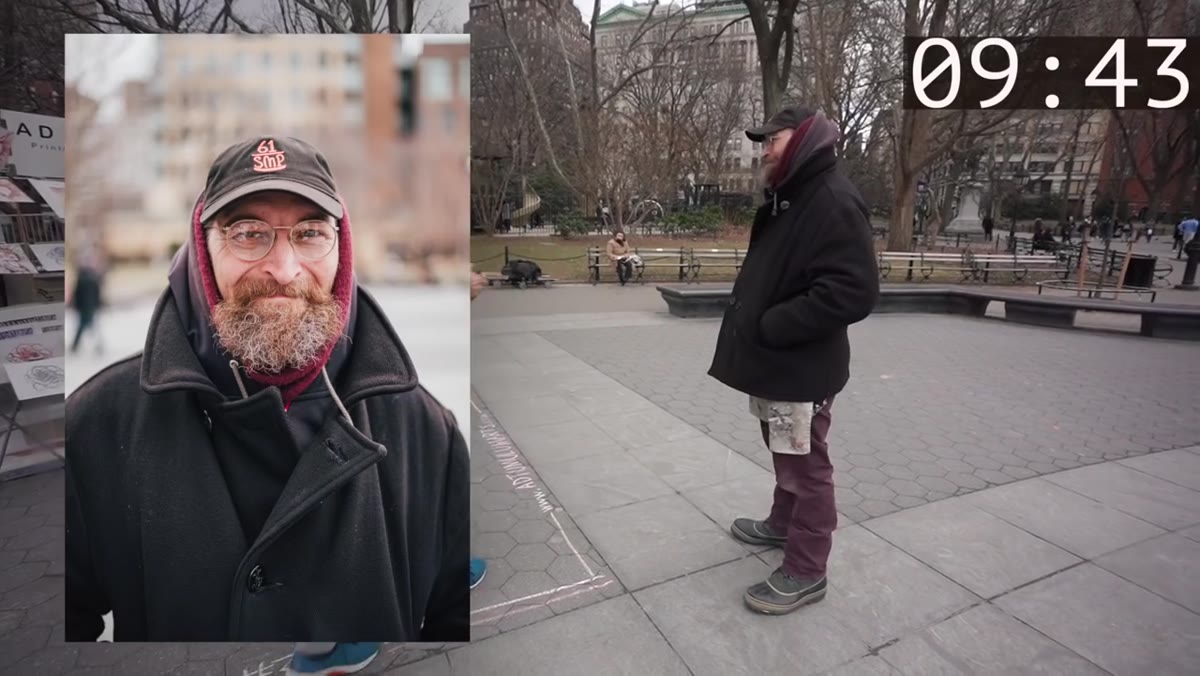 Pierre raising camera and shooting within seconds of agreement
The window between a yes and a subject becoming self-conscious is very short. Pierre lifts the camera the moment someone agrees, sometimes while still mid-sentence. He does not rearrange them, ask them to move to a better spot, or fiddle with settings. He shoots what is in front of him. This is partly a time-management move given the ten-minute format, but it also captures something that over-directed portraits often lose: the natural energy of a person who has not yet had time to perform for a camera. For beauty and portrait retouching, this means your raw material already has life in it. A genuine expression is always easier to work with in post than a frozen, coached smile.
Pierre raising camera and shooting within seconds of agreement
The window between a yes and a subject becoming self-conscious is very short. Pierre lifts the camera the moment someone agrees, sometimes while still mid-sentence. He does not rearrange them, ask them to move to a better spot, or fiddle with settings. He shoots what is in front of him. This is partly a time-management move given the ten-minute format, but it also captures something that over-directed portraits often lose: the natural energy of a person who has not yet had time to perform for a camera. For beauty and portrait retouching, this means your raw material already has life in it. A genuine expression is always easier to work with in post than a frozen, coached smile.
Step 5: Give One Simple Posing Direction If Needed
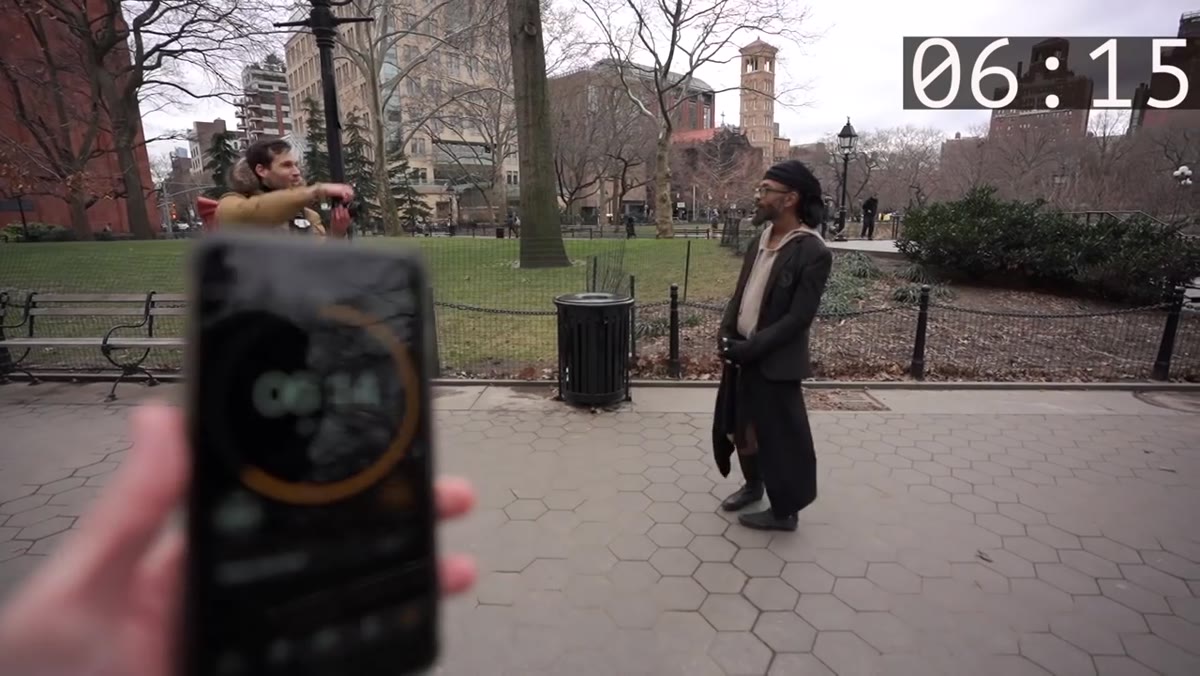 Pierre directing a subject to walk toward him while shooting
When Pierre does give direction, it is one instruction, not five. Walk toward me. Keep writing. Look that way. The simplicity keeps the subject relaxed and keeps the momentum going. Over-directing kills spontaneity and slows down the interaction until both parties feel uncomfortable. If you are newer to this, prepare two or three go-to directions that work across body types and lighting situations. Something like “just keep doing what you were doing” is genuinely useful because it returns the subject to their natural state. Your job in that moment is to get out of the way of a good photograph.
Pierre directing a subject to walk toward him while shooting
When Pierre does give direction, it is one instruction, not five. Walk toward me. Keep writing. Look that way. The simplicity keeps the subject relaxed and keeps the momentum going. Over-directing kills spontaneity and slows down the interaction until both parties feel uncomfortable. If you are newer to this, prepare two or three go-to directions that work across body types and lighting situations. Something like “just keep doing what you were doing” is genuinely useful because it returns the subject to their natural state. Your job in that moment is to get out of the way of a good photograph.
Step 6: Move Quickly and Reset Your Energy Between Subjects
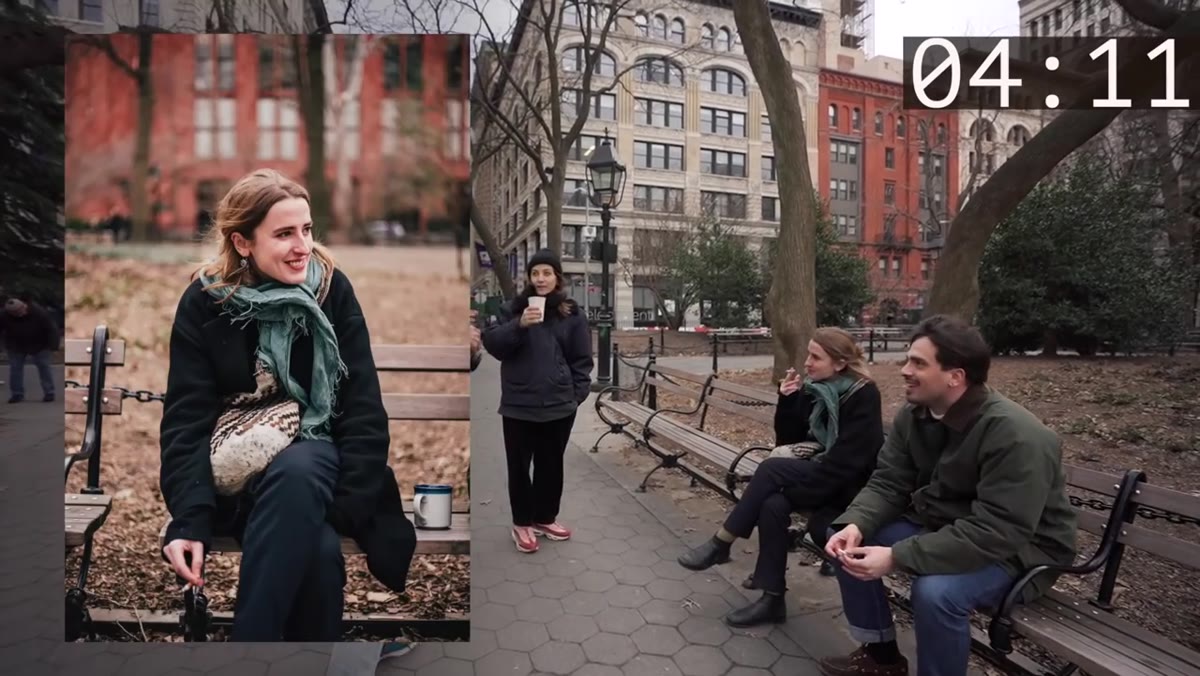 Pierre walking quickly between subjects, already scanning the street
Between each approach, Pierre resets almost instantly. He walks with purpose, scans the environment, and does not let a refusal or an awkward moment linger. This is a mental skill as much as a physical one. On busy urban streets, momentum is protective. If you slow down and start second-guessing yourself after one no, your body language shifts and the next approach suffers for it. Treat each interaction as its own contained event. The previous one, good or bad, is already finished.
Pierre walking quickly between subjects, already scanning the street
Between each approach, Pierre resets almost instantly. He walks with purpose, scans the environment, and does not let a refusal or an awkward moment linger. This is a mental skill as much as a physical one. On busy urban streets, momentum is protective. If you slow down and start second-guessing yourself after one no, your body language shifts and the next approach suffers for it. Treat each interaction as its own contained event. The previous one, good or bad, is already finished.
Step 7: Note the Light and Use the Environment
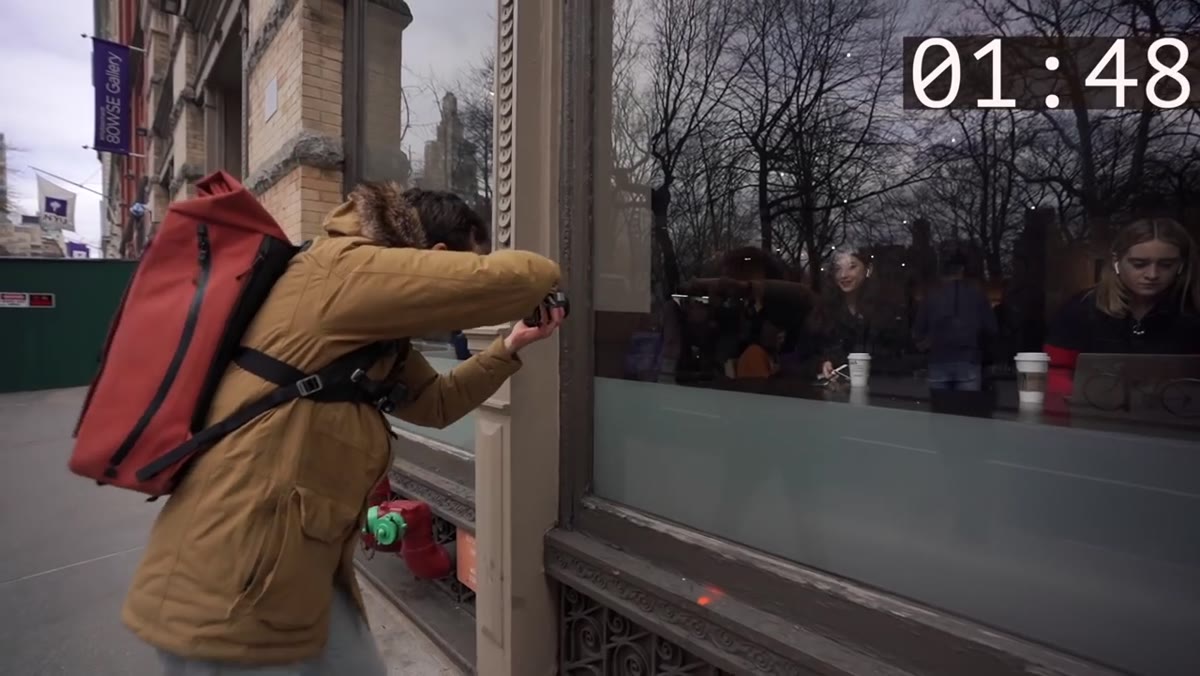 Pierre shooting a subject near a reflective window for natural fill light
Even at speed, Pierre consistently positions subjects in relationship to available light. A reflective storefront window, open shade on a building corner, the directionality of late-morning sun. He is not setting up a shot, he is recognizing one. This is the habit that separates street portraits that need heavy correction in post from ones that already have dimensional, flattering light baked in. Before you approach anyone, take three seconds to scan the light around you. If the subject is standing in harsh midday sun, a single step to one side can mean the difference between a usable file and a difficult one.
Pierre shooting a subject near a reflective window for natural fill light
Even at speed, Pierre consistently positions subjects in relationship to available light. A reflective storefront window, open shade on a building corner, the directionality of late-morning sun. He is not setting up a shot, he is recognizing one. This is the habit that separates street portraits that need heavy correction in post from ones that already have dimensional, flattering light baked in. Before you approach anyone, take three seconds to scan the light around you. If the subject is standing in harsh midday sun, a single step to one side can mean the difference between a usable file and a difficult one.
What I Would Add From My Own Experience
The part of this challenge that gets skipped over is what happens after. Pierre mentions editing briefly, but the real portrait workflow does not end at capture. The images from fast street sessions tend to need careful skin work precisely because you were not controlling the light perfectly. Frequency separation is your best friend here, it lets you smooth uneven texture from mixed lighting without that plastic, over-processed look that flattens a face. I learned this the hard way after a client told me my early retouching made her look like a wax figure. Now I always keep my structure layer untouched and work exclusively on tone when the light was mixed at capture. The character that makes a street portrait worth taking is in the texture. Protect it.
The single most useful thing Pierre demonstrates in this video is that rejection is survivable and brief. Most people in this challenge said yes. The ones who didn’t moved on immediately and so did he. That ratio is the real lesson. Approach often, keep it human, and trust the light.
Watch the full tutorial on YouTube and pay attention to how Pierre’s body language changes as the ten minutes progress. The confidence is not there at the start. It builds. That part is not in the tips, but it is the whole point.
Comments (2)
This saved me so much time on my last edit. Wish I'd found this sooner.
Clear and practical. No fluff. Appreciate that.
Leave a Comment