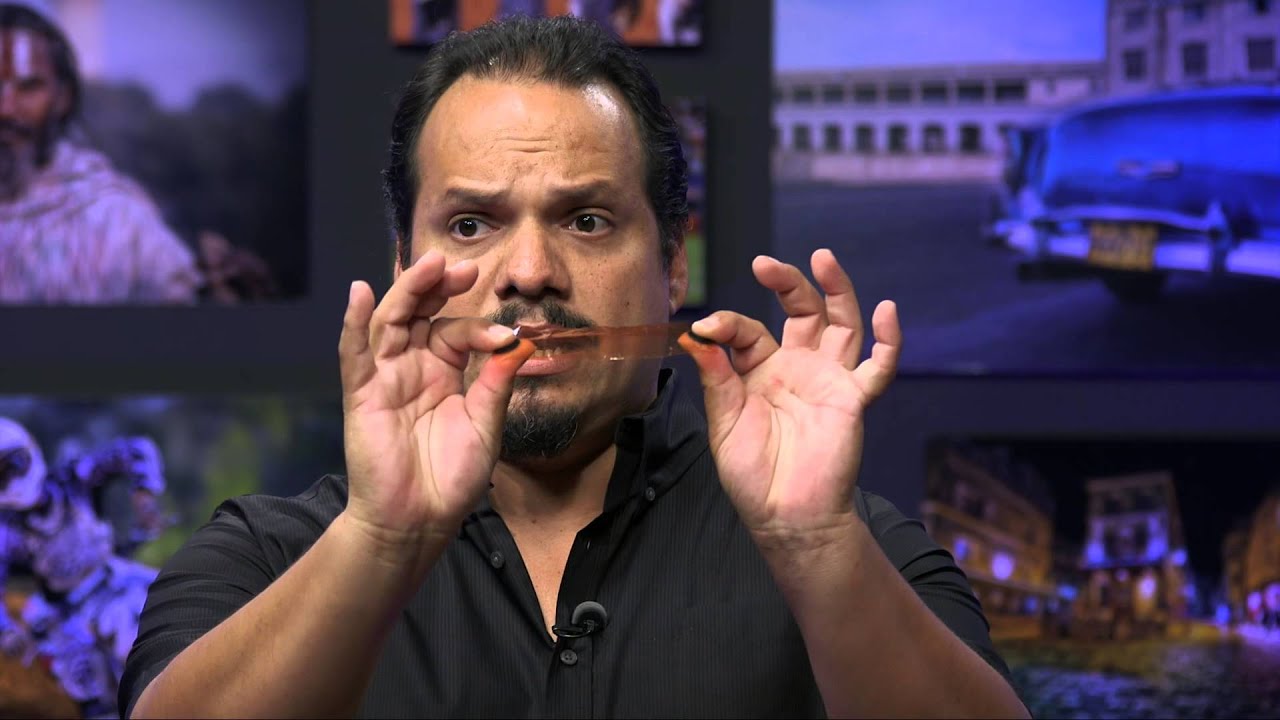
There’s a moment in almost every portrait shoot where the lighting feels close but not quite right, and you end up chasing your tail, adjusting everything at once and making it worse. I spent an embarrassing amount of time doing exactly that before I started treating each light as its own separate problem to solve. When I came across this KelbyOne tutorial with RC Concepcion breaking down a two-light over-under setup, I recognized the workflow immediately, not because I’d seen it taught this way before, but because it’s the method I had to learn the hard way after too many frustrating test shots. Watch the full tutorial on YouTube if you want to see RC walk through it live.
The setup he demonstrates is deceptively simple: one large light source angled down from above, and a second light hitting the background to the side. But what makes this tutorial worth your time isn’t the gear list. It’s the troubleshooting logic behind how you position, test, and balance those lights without letting them fight each other. Whether you’re shooting beauty work, editorial portraits, or just trying to get cleaner source images for retouching, this approach gives you a repeatable process instead of happy accidents.
Step 1: Position Your Main Light High, Angled Down at About 45 Degrees
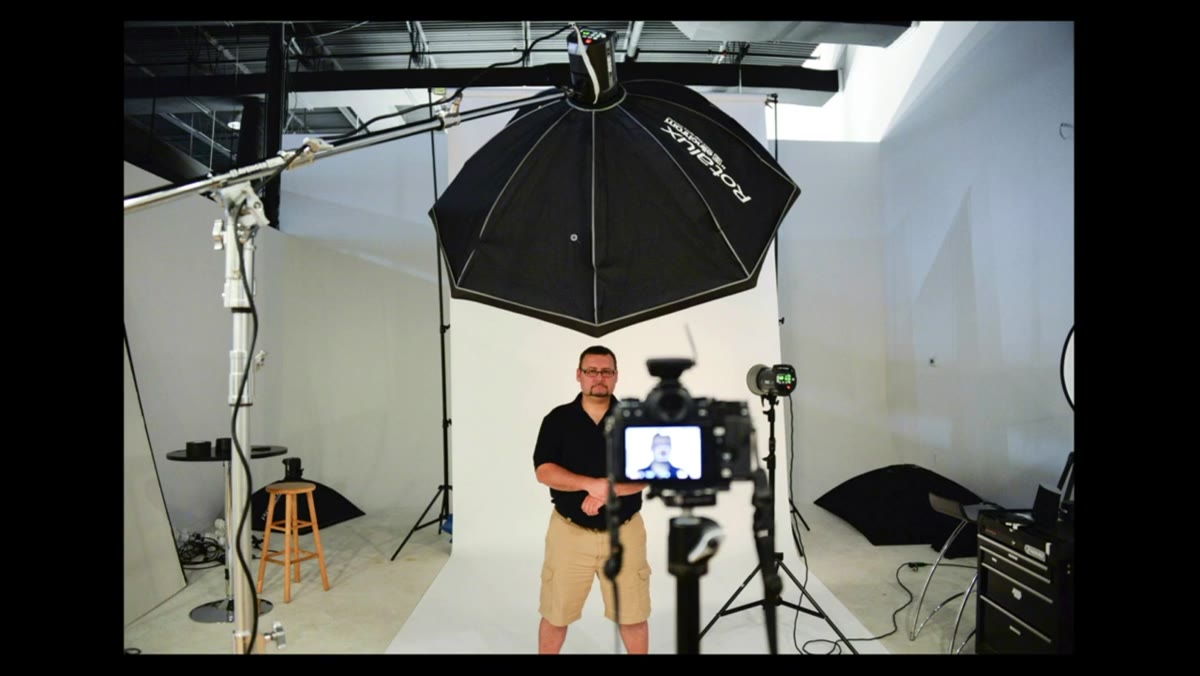 Large light source positioned high above subject at 45-degree angle
The first thing RC establishes is the main light placement, and the logic here is worth sitting with. A large light source positioned well above the subject and angled downward at roughly 45 degrees creates that sculpted, directional quality that works beautifully for editorial and beauty portraits. The size of the modifier matters because a bigger source wraps light more softly around the face and reduces harsh shadows at the edges.
Large light source positioned high above subject at 45-degree angle
The first thing RC establishes is the main light placement, and the logic here is worth sitting with. A large light source positioned well above the subject and angled downward at roughly 45 degrees creates that sculpted, directional quality that works beautifully for editorial and beauty portraits. The size of the modifier matters because a bigger source wraps light more softly around the face and reduces harsh shadows at the edges.
What you’re watching for in your test shot is shadow depth under the brow and cheekbones. A well-placed main light gives you natural contour without making the subject look like they’re lit from a horror film. If the shadows under the eyes feel too heavy, the light is either too high or the modifier isn’t large enough for the distance you’re working at.
Step 2: Evaluate the Main Light on Its Own Before Adding Anything Else
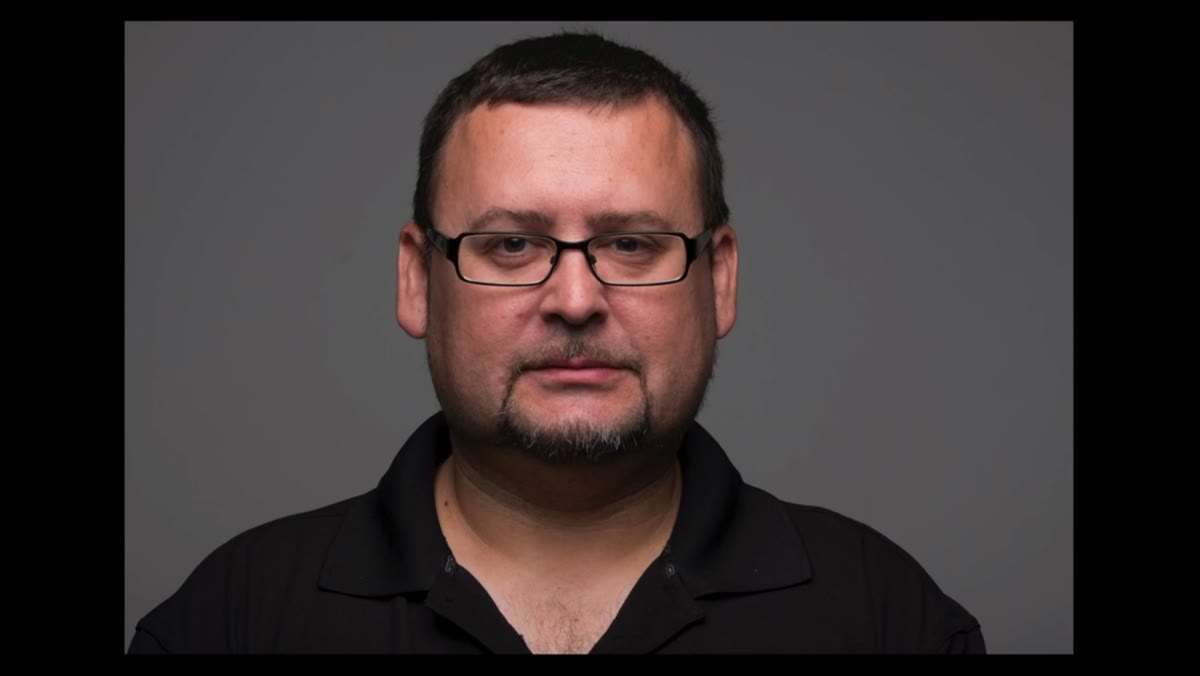 Single main light result showing contoured shadow under subject’s eyes
RC makes a point here that I wish someone had told me earlier: look at your main light in isolation before you introduce a second source. Take a test shot with only the main light firing. Is the exposure where you want it? Are the shadows doing what you need them to do? Only once that answer is yes should you move on.
Single main light result showing contoured shadow under subject’s eyes
RC makes a point here that I wish someone had told me earlier: look at your main light in isolation before you introduce a second source. Take a test shot with only the main light firing. Is the exposure where you want it? Are the shadows doing what you need them to do? Only once that answer is yes should you move on.
For a masculine, contoured look, deeper shadows under the eyes read as strong and graphic. For a softer beauty setup, you’ll want to note where the light is falling short so you know exactly what job you need the second light to do. The main light isn’t just about illumination, it’s about the story you want the shadows to tell.
Step 3: Add a Background Light to the Side for High-Key Lift
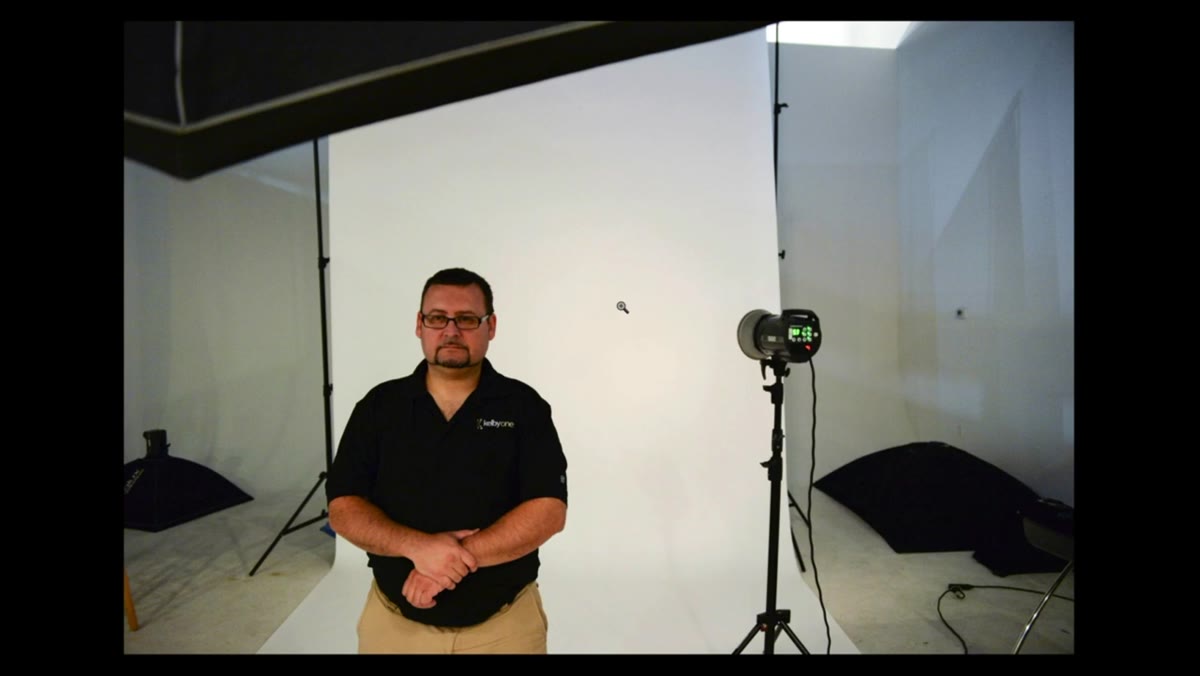 Second strobe positioned to camera right, aimed at background
The second light goes off to the right and points at the background rather than directly at the subject. This is the move that separates a flat, dark background from a clean high-key look. The power setting on this light determines how bright that background reads, but RC notes something worth remembering: pushed too far, that background light starts to wrap around the edges of the subject and can create problems depending on what they’re wearing or, in this case, what eyewear they have on.
Second strobe positioned to camera right, aimed at background
The second light goes off to the right and points at the background rather than directly at the subject. This is the move that separates a flat, dark background from a clean high-key look. The power setting on this light determines how bright that background reads, but RC notes something worth remembering: pushed too far, that background light starts to wrap around the edges of the subject and can create problems depending on what they’re wearing or, in this case, what eyewear they have on.
Start with the background light at lower power and bring it up incrementally. You’re looking for even illumination on the background without spillover onto the subject’s face or clothing that you didn’t ask for.
Step 4: Watch for Light Spill on Reflective Surfaces
 Background light causing edge wrap, visible on subject’s glasses frames
If your subject is wearing glasses, jewelry, or anything with a reflective surface, the background light will find it. RC flags this specifically because a strong background light bouncing off glasses frames creates a hotspot that’s distracting and difficult to retouch cleanly later. It’s much easier to manage in camera than to fix it in post.
Background light causing edge wrap, visible on subject’s glasses frames
If your subject is wearing glasses, jewelry, or anything with a reflective surface, the background light will find it. RC flags this specifically because a strong background light bouncing off glasses frames creates a hotspot that’s distracting and difficult to retouch cleanly later. It’s much easier to manage in camera than to fix it in post.
The fix is usually one of two things: reduce the power on the background light until the spill disappears, or flag the side of the light closest to the subject using a piece of black foam core. A few inches of blocking can make the difference between a clean edge and a headache in Photoshop.
Step 5: Combine the Lights and Read the Full Image
 Both lights firing together, clean high-key portrait result on screen
Once each light has been tested and approved separately, fire them together and take your first combined test shot. The goal is a setup where both lights are doing their specific job without either one undermining the other. The background should look bright and clean, the main light should still be defining the face with the same quality it showed in isolation, and any edge wrap from the background light should feel intentional rather than accidental.
Both lights firing together, clean high-key portrait result on screen
Once each light has been tested and approved separately, fire them together and take your first combined test shot. The goal is a setup where both lights are doing their specific job without either one undermining the other. The background should look bright and clean, the main light should still be defining the face with the same quality it showed in isolation, and any edge wrap from the background light should feel intentional rather than accidental.
If something looks off now, you already know which light is causing it because you evaluated them separately. That’s the whole point of the one-light-at-a-time method. You’re not guessing.
What I’d Add From My Own Work
The over-under framing RC mentions is particularly useful when you’re planning for digital beauty work downstream. I shoot beauty campaigns where the source image quality directly affects how long I’ll spend retouching, and a clean high-key setup like this one reduces that time significantly. Flat shadows and good separation from the background mean fewer complex masks and less work managing tones in post.
One thing I’d layer onto this setup for strictly beauty work: a small reflector or white bounce card placed low and close to the subject, just outside the frame. It fills the under-eye area from below without adding a whole third light to manage. You get a softer look with almost none of the setup complexity. If you’re planning to do any digital makeup or skin retouching on the final image, that under-eye fill is your best friend before you even open Photoshop.
The single most important thing RC demonstrates in this tutorial isn’t a piece of gear or a specific power setting. It’s the discipline of solving one problem at a time. Evaluate your main light alone, then your background light alone, then bring them together. That habit will save you more time and frustration than any modifier upgrade ever will.
Watch the full tutorial on YouTube to see RC’s complete breakdown and the before-and-after results of the setup in action.
Comments (3)
Would love to see a follow-up going deeper into this topic.
Just used this on a wedding shoot edit. Client was thrilled.
This is fantastic. I've been recommending this approach to my readers too.
Leave a Comment