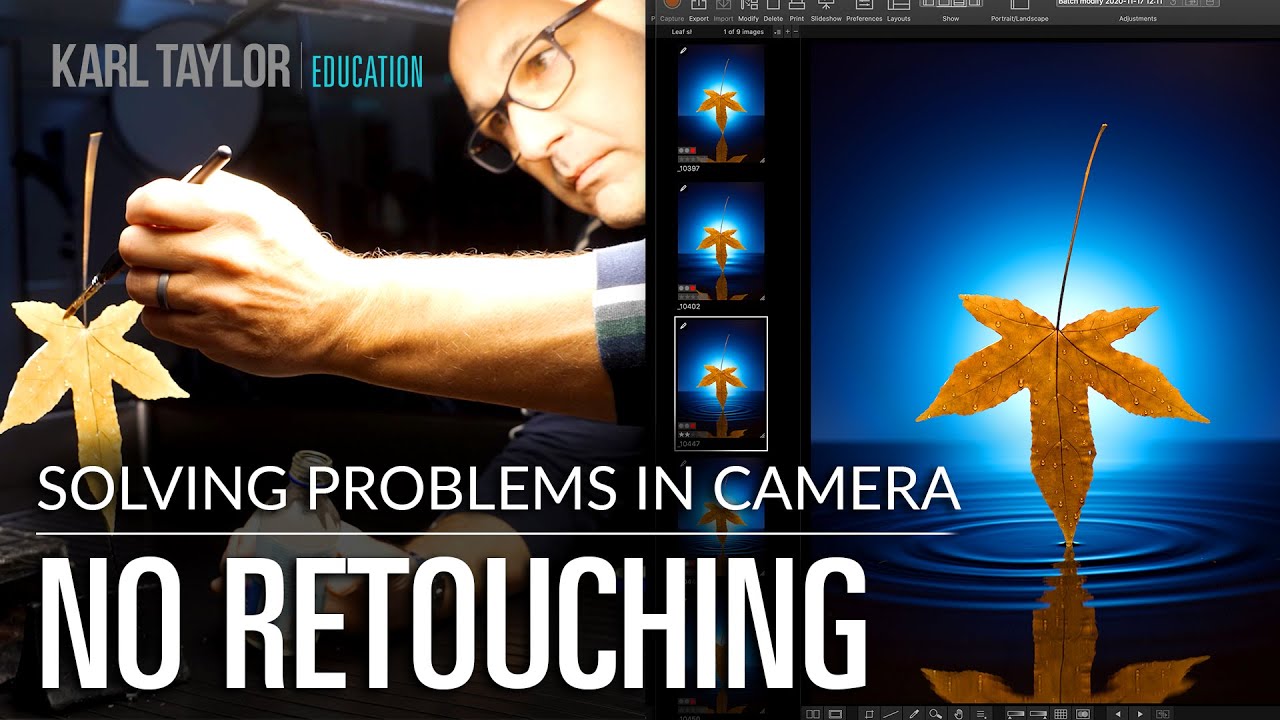
There’s a particular kind of client email I’ve learned to dread. It comes in after the first round of edits, and it says something like: “These look great, but can you make the water look more… real?” That note used to send me straight to Photoshop, layering displacement maps and water texture overlays until two hours had vanished and the result still looked slightly off. What I’ve come to understand, after years of retouching beauty and product work, is that some things genuinely cannot be fixed in post as convincingly as they can be built on set. The “fix it in Photoshop” reflex, for all its usefulness, can actually cost more time than it saves.
That’s exactly why I keep coming back to this Visual Education tutorial. Watch the full tutorial on YouTube – the creator walks through two complete in-camera shoots, no compositing, no heavy post-processing, just smart problem-solving before the shutter fires. The philosophy here isn’t anti-Photoshop (I have too many named action sets to ever be anti-Photoshop), but rather a reminder that the best retouching outcome is sometimes the one you engineer before you ever open a file.
What struck me most watching this was how transferable the thinking is. Whether you’re shooting a flat-lay for a skincare brand or a moody editorial portrait, the same logic applies: identify the problem, find a physical solution, then shoot. Let me walk you through what the tutorial actually demonstrates, step by step.
Step 1: Reframe the Problem Before Reaching for a Tool
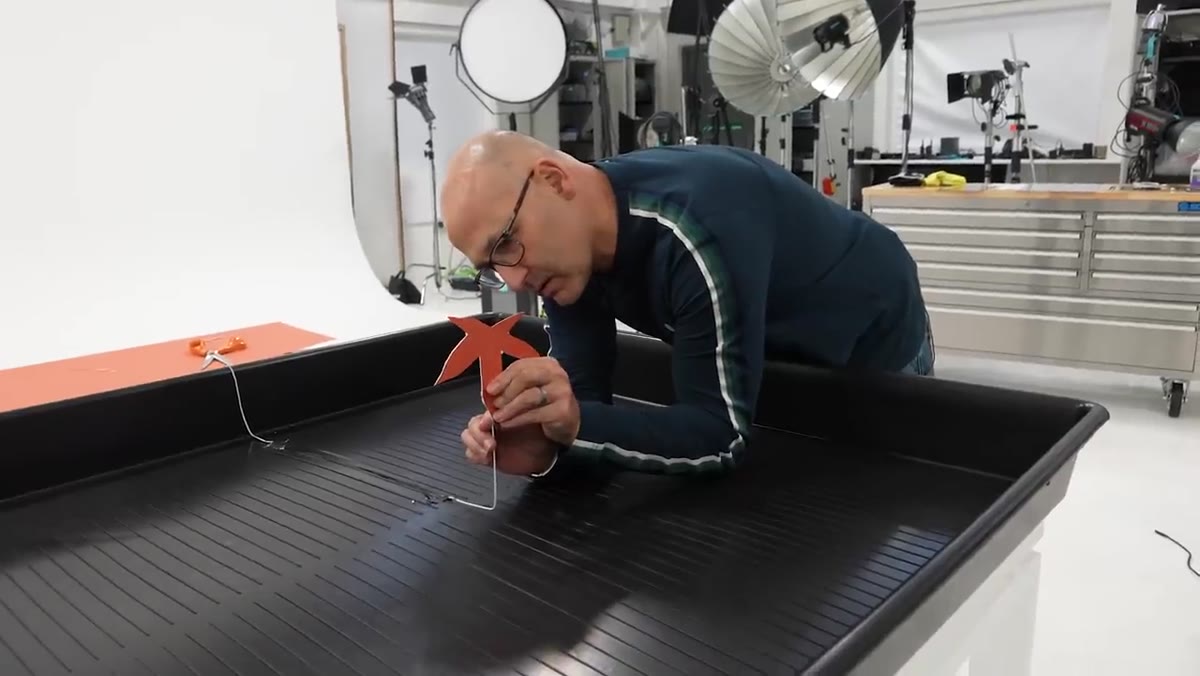 Presenter explaining problem-solving approach to camera versus post
The tutorial opens with a key mindset shift. Rather than asking “how do I fix this in post?”, the approach is to ask “how do I solve this on set?” The presenter is direct about it: how much post-production you need is directly proportional to how willing you are to troubleshoot while you’re still shooting. This isn’t a criticism of retouching. It’s a workflow efficiency argument, and it holds up. When I transitioned from weddings into beauty retouching, one of the biggest adjustments was learning that a well-lit, well-composed original file takes a fraction of the time to retouch as a salvage job. Good retouching starts at capture.
Presenter explaining problem-solving approach to camera versus post
The tutorial opens with a key mindset shift. Rather than asking “how do I fix this in post?”, the approach is to ask “how do I solve this on set?” The presenter is direct about it: how much post-production you need is directly proportional to how willing you are to troubleshoot while you’re still shooting. This isn’t a criticism of retouching. It’s a workflow efficiency argument, and it holds up. When I transitioned from weddings into beauty retouching, one of the biggest adjustments was learning that a well-lit, well-composed original file takes a fraction of the time to retouch as a salvage job. Good retouching starts at capture.
Step 2: Plan a Long-Exposure Practical Effect Instead of Compositing
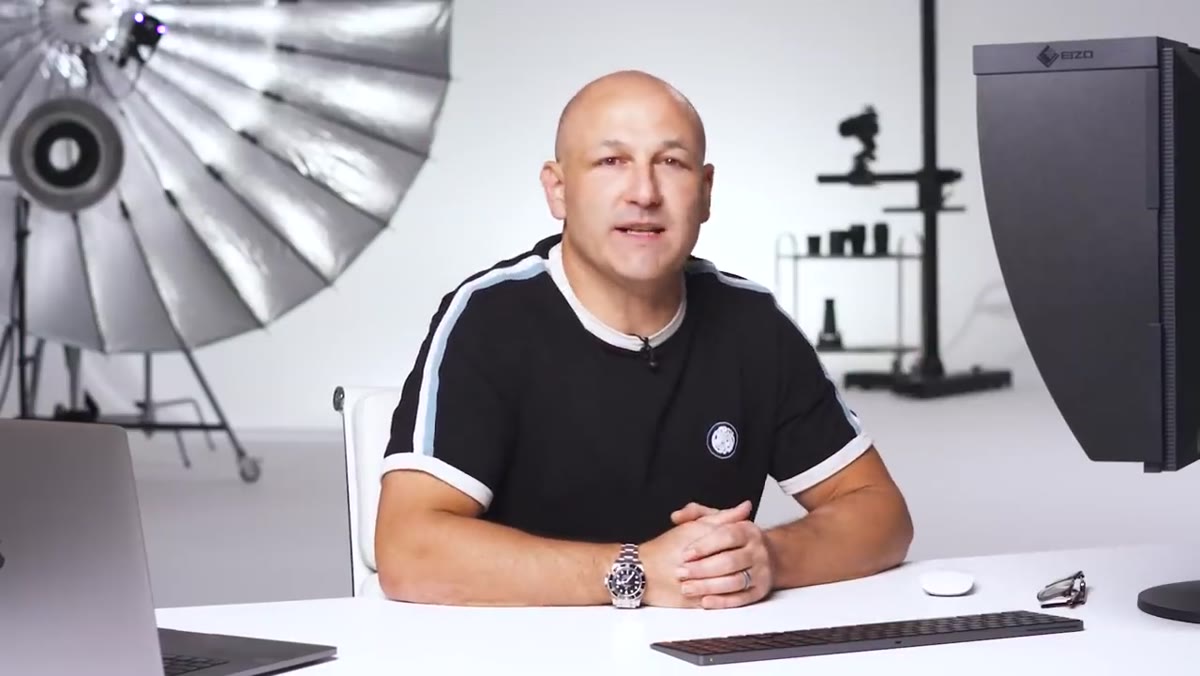 Presenter describing 11-second studio exposure technique with fluorescent tube
The first example the tutorial covers is a dramatic image that reads, at first glance, like a CGI composite. The trick is a long exposure in a completely darkened studio. An assistant dressed entirely in black moves a fluorescent light tube around the subject during an 11-second exposure. Because the assistant is wearing black and the studio is dark, they effectively disappear into the background. The studio flash fires only at the very end of the exposure, once the assistant has stepped out of frame, freezing the subject sharply while the light trails remain.
Presenter describing 11-second studio exposure technique with fluorescent tube
The first example the tutorial covers is a dramatic image that reads, at first glance, like a CGI composite. The trick is a long exposure in a completely darkened studio. An assistant dressed entirely in black moves a fluorescent light tube around the subject during an 11-second exposure. Because the assistant is wearing black and the studio is dark, they effectively disappear into the background. The studio flash fires only at the very end of the exposure, once the assistant has stepped out of frame, freezing the subject sharply while the light trails remain.
To replicate this: set your camera to Bulb or a long manual exposure (start around 10-12 seconds). Darken the studio completely. Have your assistant wear matte black clothing. Use a bare fluorescent tube or a similar continuous light source for the movement. Fire your studio strobe only at the end of the sequence. The result is a single, unretouched frame with what looks like a complex light-painting composite baked right in.
Step 3: Build a Simple Physical Set for Water and Nature Effects
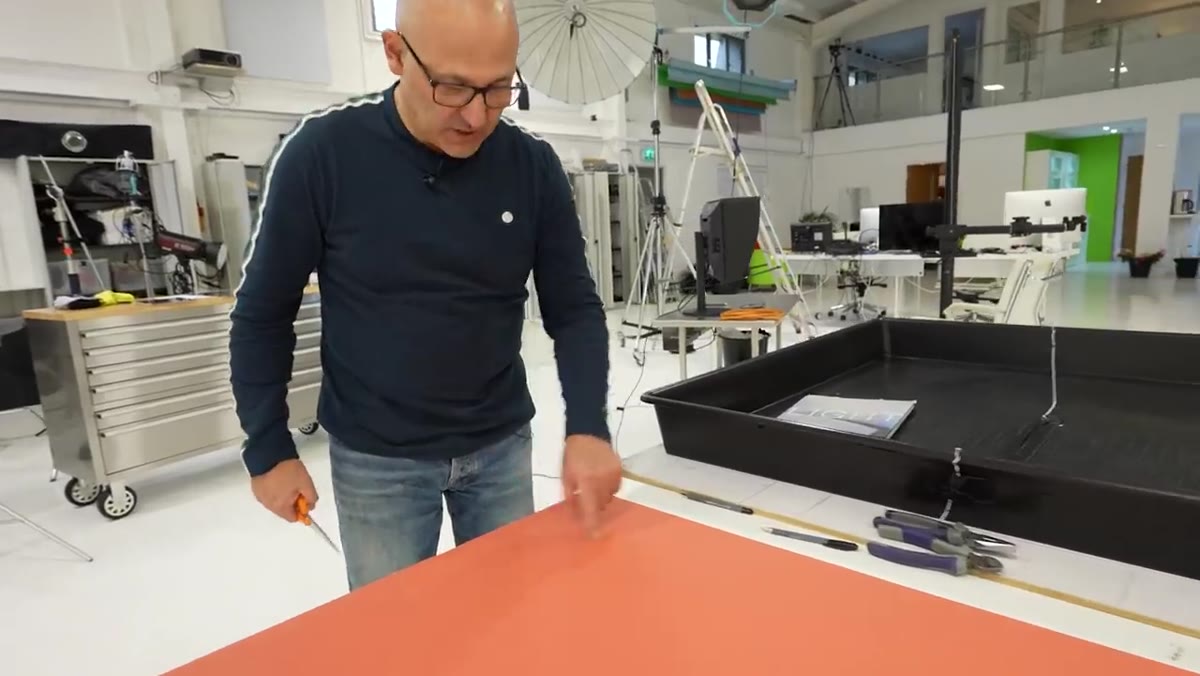 Hands cutting leaf shape from cardboard on work surface
The second shoot in the tutorial is the more instructive one for beauty and product photographers. The goal is a shot of a leaf sitting at the surface of water, with the horizon line of the water sitting perfectly at the edge of the frame. The first physical step is creating a template: tracing the leaf shape onto cardboard and cutting it out slightly smaller than the actual leaf. This cardboard version acts as a stand-in for positioning before the real subject goes in.
Hands cutting leaf shape from cardboard on work surface
The second shoot in the tutorial is the more instructive one for beauty and product photographers. The goal is a shot of a leaf sitting at the surface of water, with the horizon line of the water sitting perfectly at the edge of the frame. The first physical step is creating a template: tracing the leaf shape onto cardboard and cutting it out slightly smaller than the actual leaf. This cardboard version acts as a stand-in for positioning before the real subject goes in.
This approach matters because it protects your actual subject. Whether you’re working with a delicate leaf, a product label, or a beauty compact, having a dummy stand-in lets you solve all the positioning problems without risking damage to the hero item.
Step 4: Use a Level to Nail Your Water Horizon
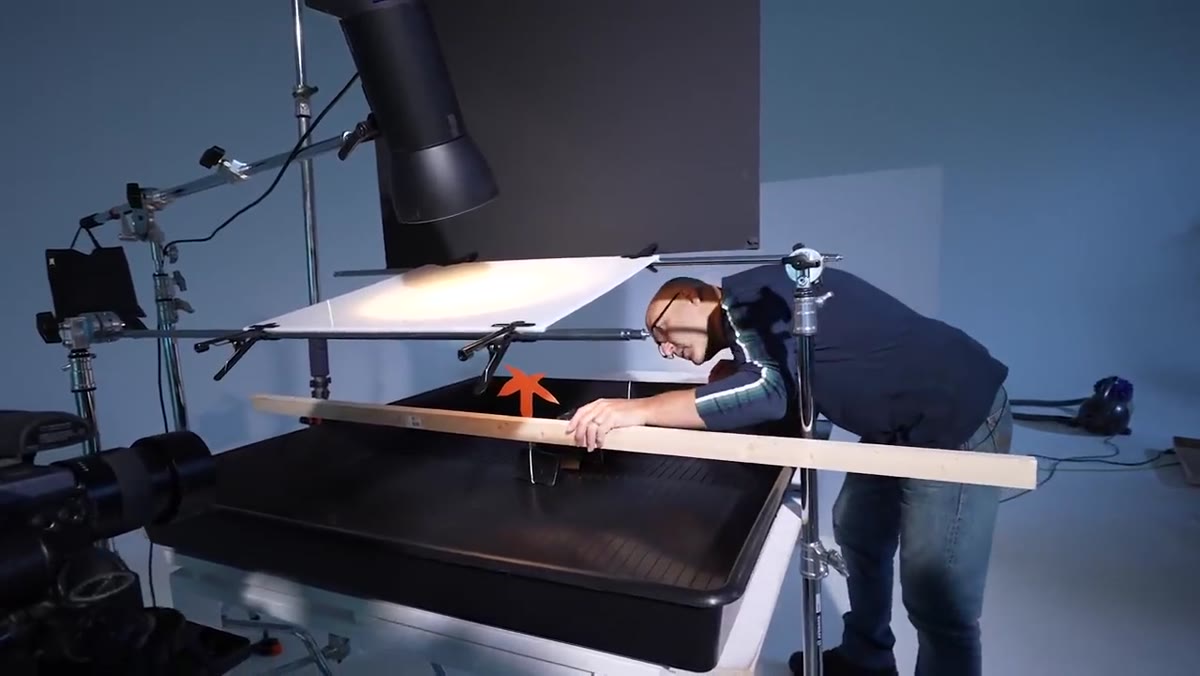 Spirit level being used to estimate water surface height relative to leaf
Precision is everything when you want the water’s surface to land exactly at the lip of the frame. The tutorial shows using a simple spirit level to estimate where the waterline will sit relative to the leaf tip. The cardboard stand-in is positioned first, the level confirms the geometry, and only then does the real leaf go in. Filling the container to the right depth before placing the final subject saves you from repeated trial and error with a delicate prop.
Spirit level being used to estimate water surface height relative to leaf
Precision is everything when you want the water’s surface to land exactly at the lip of the frame. The tutorial shows using a simple spirit level to estimate where the waterline will sit relative to the leaf tip. The cardboard stand-in is positioned first, the level confirms the geometry, and only then does the real leaf go in. Filling the container to the right depth before placing the final subject saves you from repeated trial and error with a delicate prop.
For product shoots, I’d apply this same logic with a ruler and gaffer tape marks on the tank. Getting this geometry right in-camera means you don’t need to warp or liquefy the waterline later.
Step 5: Apply Glycerine for Controlled Water Droplets
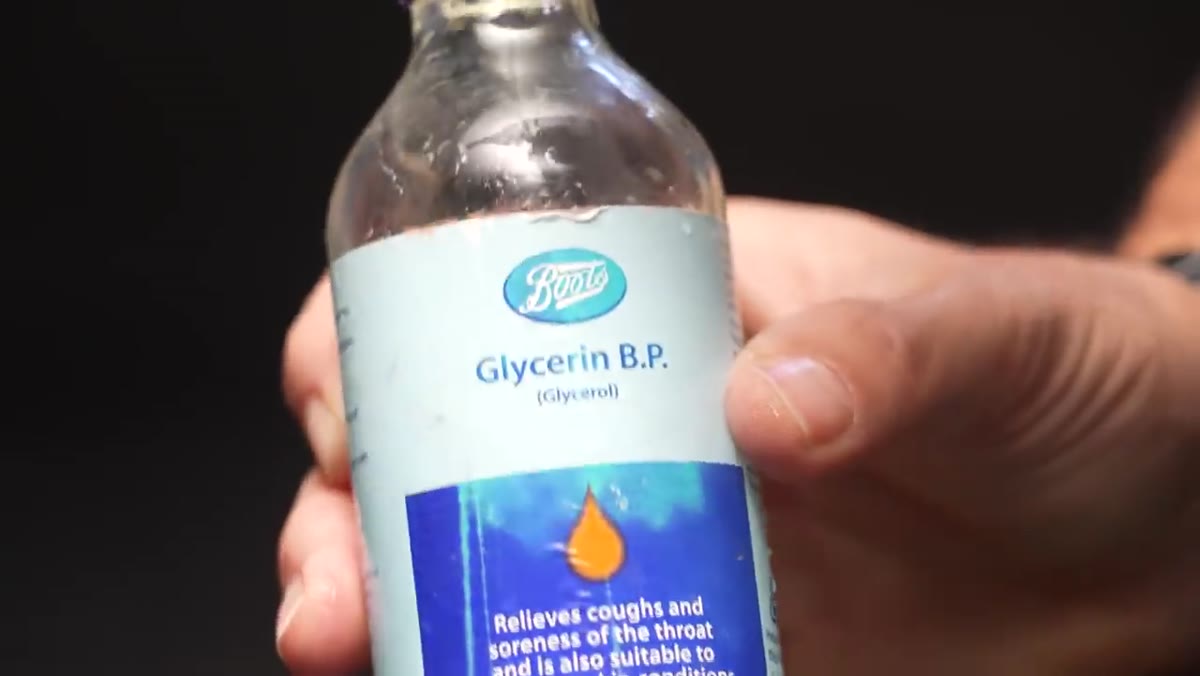 Glycerine being applied to leaf surface to create water droplets
Once the leaf is positioned, the tutorial introduces glycerine for creating water droplets. Glycerine sits differently on a surface than plain water: it forms rounder, slower-moving drops that catch light more cleanly and hold their shape longer during a shoot. For condensation effects on glass or bottles, the presenter mentions using a custom mixture, but for a natural leaf surface, glycerine on its own delivers excellent results.
Glycerine being applied to leaf surface to create water droplets
Once the leaf is positioned, the tutorial introduces glycerine for creating water droplets. Glycerine sits differently on a surface than plain water: it forms rounder, slower-moving drops that catch light more cleanly and hold their shape longer during a shoot. For condensation effects on glass or bottles, the presenter mentions using a custom mixture, but for a natural leaf surface, glycerine on its own delivers excellent results.
Apply it with a small dropper or a fine brush for control. Build up a few drops at a time and review through the viewfinder before committing to a full application. Because glycerine moves slowly, you have time to adjust individual drops before they shift.
Step 6: Create Movement in the Water for a Natural Ocean Effect
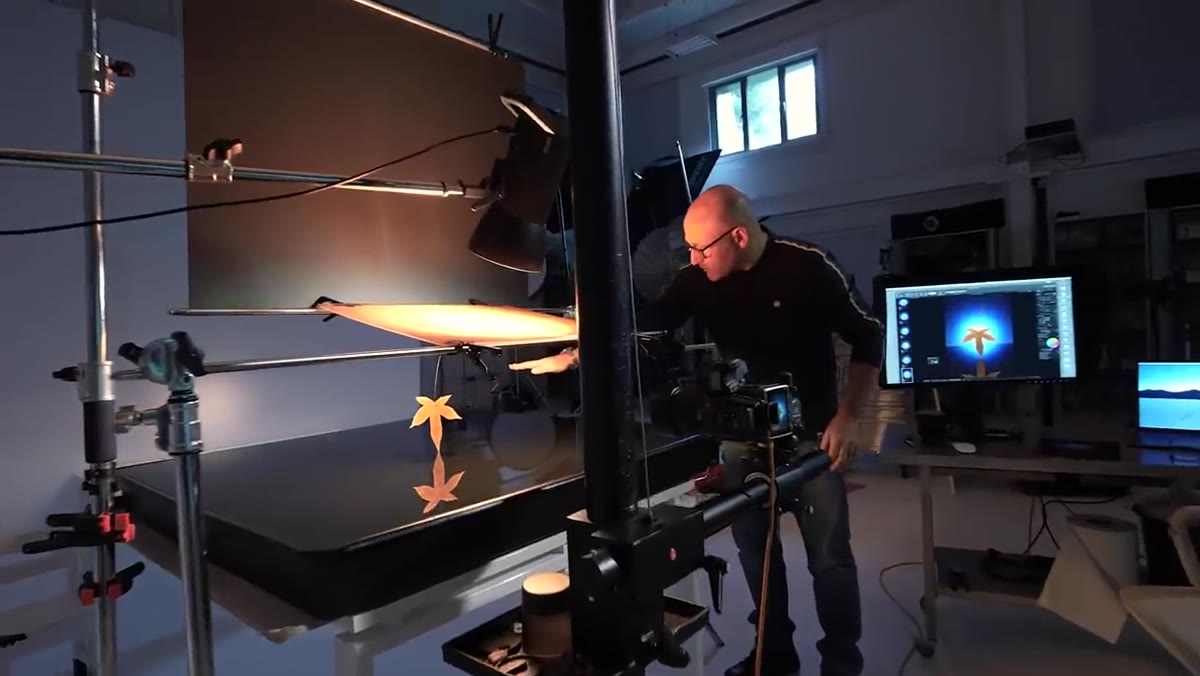 Hand moving through water to create surface ripples and swirls
The final element is bringing the water itself to life. The tutorial demonstrates that moving your hand gently through the water is enough to create convincing ripples and surface variation. A slow circular motion produces soft swirling patterns. A light tap on the surface creates radiating rings. Both can read, in the final frame, like open water rather than a shallow tank.
Hand moving through water to create surface ripples and swirls
The final element is bringing the water itself to life. The tutorial demonstrates that moving your hand gently through the water is enough to create convincing ripples and surface variation. A slow circular motion produces soft swirling patterns. A light tap on the surface creates radiating rings. Both can read, in the final frame, like open water rather than a shallow tank.
Shoot a burst during the movement and select the frame where the ripple pattern best complements the leaf position. This gives you multiple viable options without resetting the entire setup.
What I’d Add From My Own Workflow
The tutorial focuses on solving physical problems physically, which is exactly right. Where I’d extend this for beauty and product retouching specifically: the less you have to reconstruct texture in post, the more authentic the result looks. I spent a long time learning frequency separation well enough to rebuild skin texture convincingly, and it is a genuinely useful skill. But the work I’m proudest of starts with a file that already has real texture, real light, and real material behavior in it. Techniques like the water tank setup in this tutorial give you something no amount of Photoshop can fully replicate: actual physics. Glycerine drops refract light the way glycerine drops actually refract light. That’s not something a texture overlay can fully fake.
If you’re a retoucher who also directs shoots or advises clients on set, start bringing this problem-solving mindset into pre-production conversations. Ask whether an effect can be built practically before quoting post-production time. You’ll often save everyone time, and the final image will be stronger for it.
The single most important takeaway here is that creative problem-solving during the shoot is a skill with the same ROI as any Photoshop technique. Invest in it. The more fluent you become at building shots in-camera, the less your post-production becomes about damage control and the more it becomes about refinement.
Watch the full tutorial on YouTube to see both shoots from start to finish – the light-painting sequence especially is worth watching in motion.
Comments
Leave a Comment