
When I was still shooting weddings, I spent a lot of time copying lighting setups I found on Pinterest without really understanding why they worked. I’d recreate the diagram, fire the strobes, and still end up with images that felt flat or inconsistent. The real problem wasn’t my gear. It was that I had no framework for reading light. I was memorizing recipes without understanding the ingredients.
That gap became even more obvious when I moved into beauty retouching. Suddenly I was working on files from photographers all over the world, and understanding how an image was lit changed everything about how I approached the skin, the shadows, and the overall edit. Knowing that a shot was lit with a large, close softbox versus a tight parabolic reflector told me what to preserve and what to correct. In this Visual Education tutorial, Watch the full tutorial on YouTube, the instructor walks through exactly how to develop that skill systematically, using physics as the foundation. What I love about this approach is that it is not about memorizing setups. It is about understanding why light behaves the way it does, so you can read any image with confidence.
Step 1: Shift Your Mindset - Light Follows Rules You Can Use
 Instructor explaining that lighting is governed by physics
Before looking at a single image, accept one foundational truth: light is governed by physics, and physics does not make exceptions. This is not abstract theory. It is practical. Because light always behaves predictably, every photograph contains clues about how it was made. Think of it like forensics. A forensic investigator does not guess. They look at the evidence and draw conclusions based on known principles. That is exactly the approach to bring to every image you analyze or retouch.
Instructor explaining that lighting is governed by physics
Before looking at a single image, accept one foundational truth: light is governed by physics, and physics does not make exceptions. This is not abstract theory. It is practical. Because light always behaves predictably, every photograph contains clues about how it was made. Think of it like forensics. A forensic investigator does not guess. They look at the evidence and draw conclusions based on known principles. That is exactly the approach to bring to every image you analyze or retouch.
This shift in mindset is what separates someone who looks at a photo and says “I think there might be a light over there?” from someone who can say “that is a medium-sized source positioned about 45 degrees above and slightly to camera left.” One is guessing. The other is reading.
Step 2: Start With Shadows to Find Light Direction
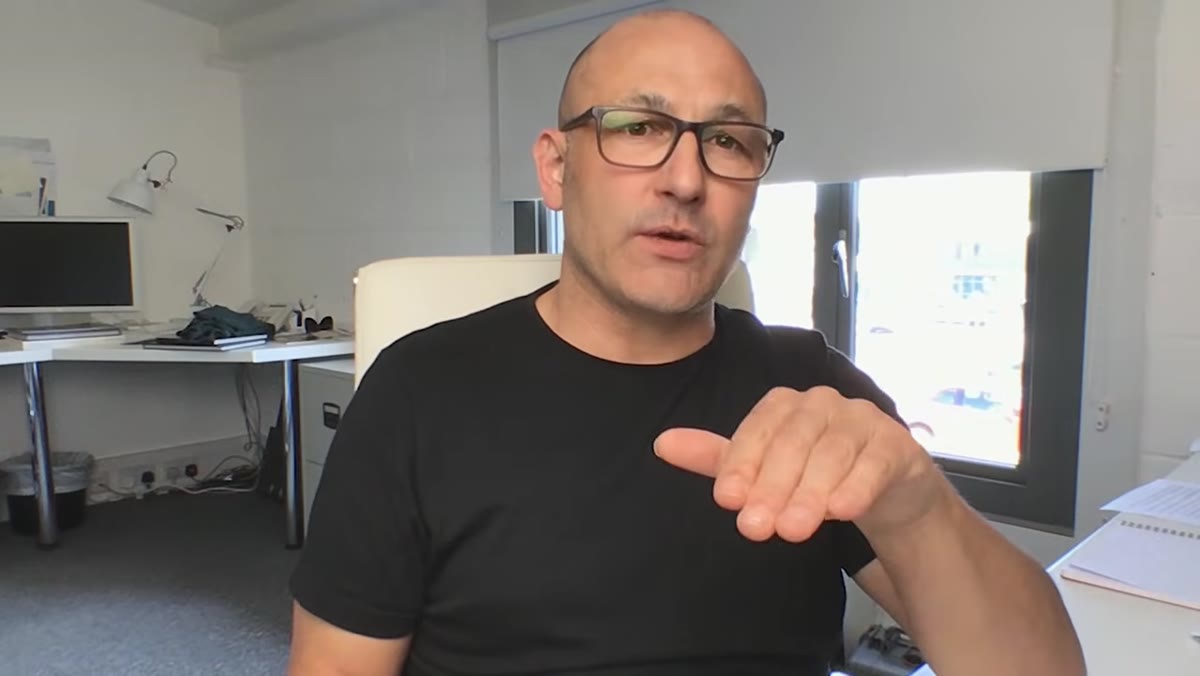 Instructor’s face showing shadow under chin and nose from front light
Shadows are your first and most reliable clue. When you look at a portrait, locate the shadows under the chin, beneath the nose, and along the sides of the face. The position of those shadows tells you directly where the light source was placed. A soft, nearly symmetrical shadow sitting straight under the nose and chin indicates a front-facing light source positioned at roughly eye level or slightly above. A shadow that falls hard to one side of the nose tells you the light was off to the side.
Instructor’s face showing shadow under chin and nose from front light
Shadows are your first and most reliable clue. When you look at a portrait, locate the shadows under the chin, beneath the nose, and along the sides of the face. The position of those shadows tells you directly where the light source was placed. A soft, nearly symmetrical shadow sitting straight under the nose and chin indicates a front-facing light source positioned at roughly eye level or slightly above. A shadow that falls hard to one side of the nose tells you the light was off to the side.
The density and sharpness of the shadow edge also tells you about source size. A soft, gradual transition from light to shadow means a large or close light source. A hard, crisp shadow edge points to a smaller or more distant source. For retouchers, this matters because it tells you how much natural micro-shadow to expect on the skin and how aggressively to dodge and burn without breaking the logic of the original light.
Step 3: Read Form Shadows Separately From Cast Shadows
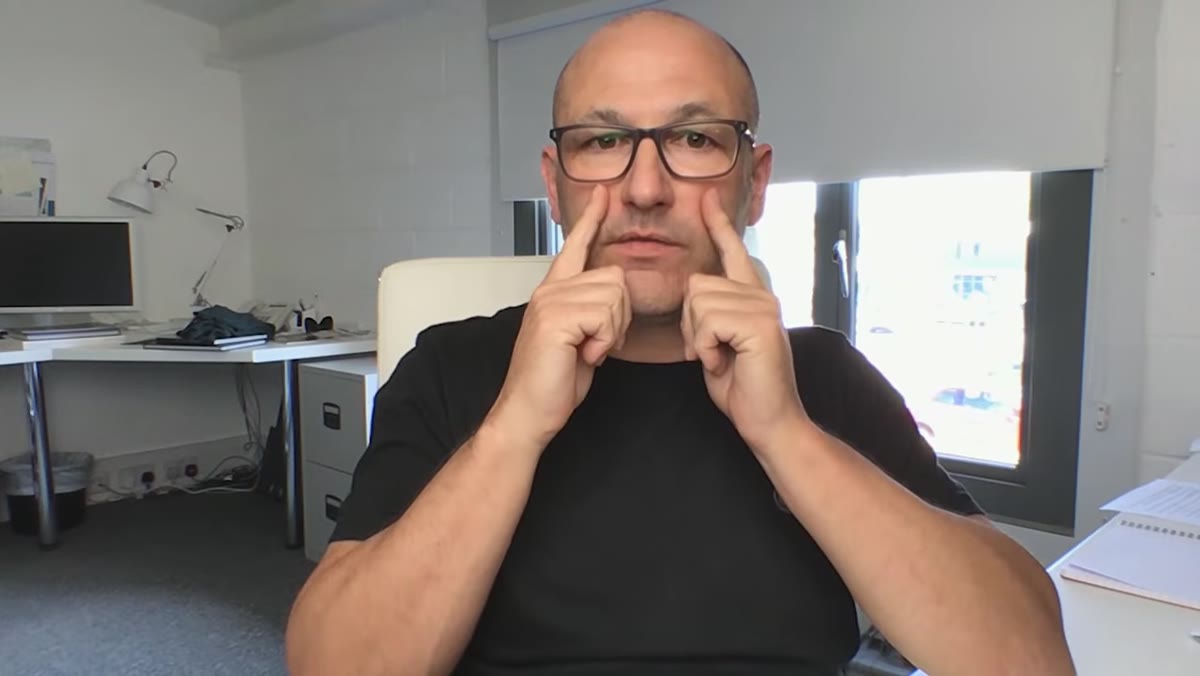 Side of instructor’s face in shadow due to surface angle, not blocked light
There are two distinct types of shadow in any portrait, and conflating them leads to bad retouching decisions. Cast shadows are the ones you already looked for in Step 2, the ones that fall on a surface because an object blocked the light. Form shadows are different. They are the darker areas that appear on a surface simply because that surface is angled away from the light source.
Side of instructor’s face in shadow due to surface angle, not blocked light
There are two distinct types of shadow in any portrait, and conflating them leads to bad retouching decisions. Cast shadows are the ones you already looked for in Step 2, the ones that fall on a surface because an object blocked the light. Form shadows are different. They are the darker areas that appear on a surface simply because that surface is angled away from the light source.
On a face, the sides of the nose, the temples, and the jaw often sit in form shadow even when there is no hard cast shadow nearby. The surface is not blocked from the light. It is just oriented at an angle where the light grazes across it rather than hitting it directly. Understanding this distinction stops you from over-brightening areas during retouching that are supposed to be darker. Those form shadows are what give a face its three-dimensionality, and preserving them is one of the most important things we can do as retouchers.
Step 4: Use the Inverse Square Law to Gauge Light Distance
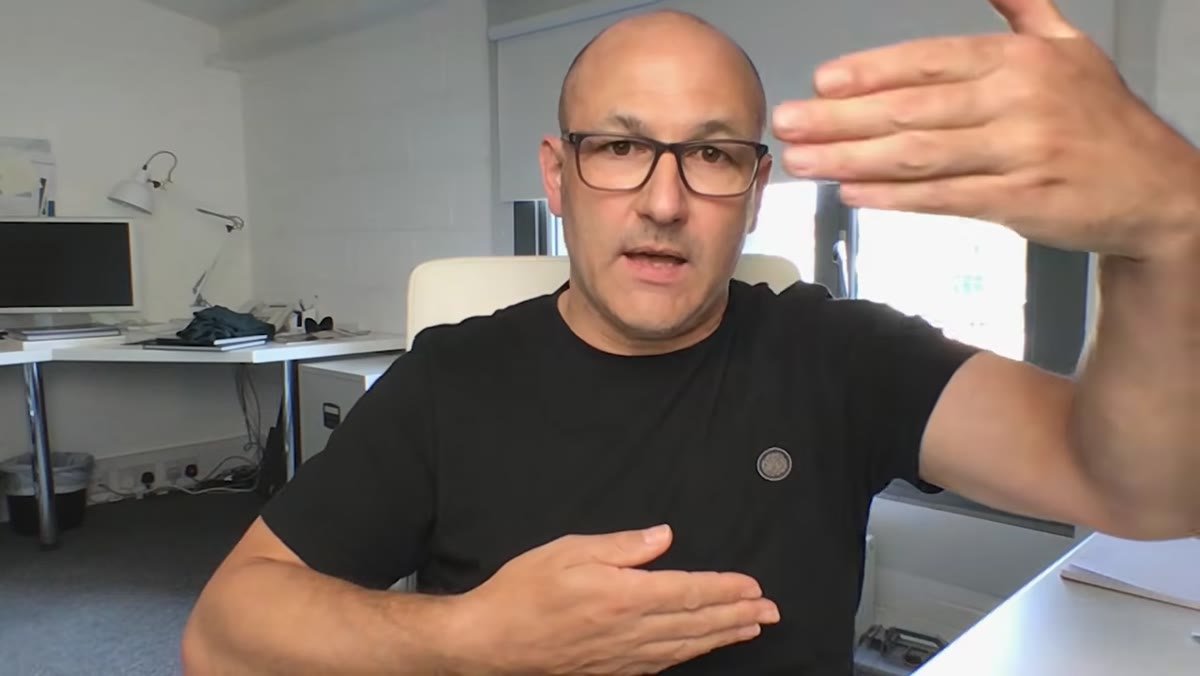 Instructor holding one hand closer to light, showing brightness difference between hands
Here is where physics becomes immediately visual. The inverse square law describes how light intensity drops off as distance increases. A surface twice as far from the light source receives only one quarter of the light, not half. In practical terms, this means that in a photograph, objects or parts of a face closer to the light source will be noticeably brighter than those farther away.
Instructor holding one hand closer to light, showing brightness difference between hands
Here is where physics becomes immediately visual. The inverse square law describes how light intensity drops off as distance increases. A surface twice as far from the light source receives only one quarter of the light, not half. In practical terms, this means that in a photograph, objects or parts of a face closer to the light source will be noticeably brighter than those farther away.
When analyzing an image, look for areas of the same subject that are clearly brighter or darker based on their proximity to the apparent light source. A shoulder closer to the key light will be brighter than the far shoulder. A hand raised toward the light will glow compared to one resting at the hip. The steepness of that brightness falloff tells you roughly how close the light was. Steep, rapid falloff suggests a close source. Gradual, even falloff suggests the light was placed farther back. For retouchers, this helps you decide how much luminosity variation across the skin is natural versus accidental exposure error.
Step 5: Look for Reflections to Confirm Source Shape and Size
 Reflection of octabox visible in instructor’s glasses lenses
Shiny surfaces are essentially accidental mirrors, and they are incredibly useful. Catchlights in the eyes are the most obvious example. A large square catchlight points to a softbox. A round one with a slight dark center is a beauty dish. A circular shape with a bright, concentrated center is often a parabolic reflector. The shape, size, and position of catchlights in the eyes can confirm everything you inferred from the shadow analysis in the earlier steps.
Reflection of octabox visible in instructor’s glasses lenses
Shiny surfaces are essentially accidental mirrors, and they are incredibly useful. Catchlights in the eyes are the most obvious example. A large square catchlight points to a softbox. A round one with a slight dark center is a beauty dish. A circular shape with a bright, concentrated center is often a parabolic reflector. The shape, size, and position of catchlights in the eyes can confirm everything you inferred from the shadow analysis in the earlier steps.
Glossy skin, glasses, jewelry, and leather or patent fabrics all behave similarly. Any specular highlight on a shiny surface will show you the rough shape and position of the light source. When working on beauty close-ups, I always zoom into the eyes early in my process. The catchlight is a cheat code for understanding the whole lighting setup before I touch a single slider.
How This Changed My Retouching Workflow
I used to start every retouch by jumping straight into frequency separation and dodging and burning by feel. The results were technically clean but often felt disconnected from the original light. Since building the habit of reading the light first, I spend the first few minutes of any retouch asking the same questions from this tutorial. Where is the key light? How large is it? How far was it placed? What is the natural shadow logic I need to preserve?
That analysis now drives every decision I make with the dodge and burn brush. I am not just smoothing skin. I am working with the physics of the original light, and that is what keeps retouching from looking artificial.
The single most important idea in this tutorial is also the simplest: light cannot lie. It always leaves a trail of physical evidence, and once you learn to read that evidence, you can analyze any photograph and retouch it with far more intention. Watch the full tutorial on YouTube and pay special attention to the comparison of modifiers near the end. Seeing how a beauty dish versus a softbox versus a parabolic reflector changes skin texture in practice is something that sticks with you long after the video ends.
Comments
Leave a Comment