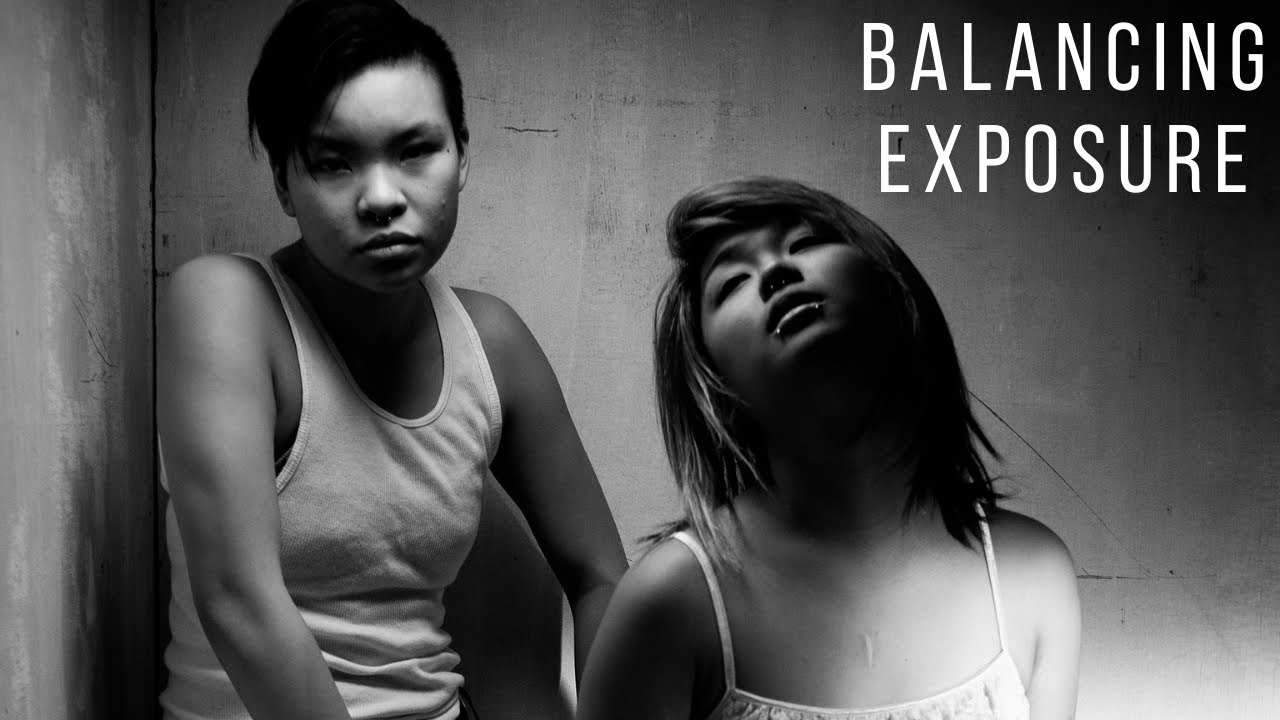
Group portraits are one of those assignments that look simple on paper until you’re actually standing there with three people in front of your lens, each with a completely different skin tone, and your camera is doing something odd with the exposure. I’ve been there more times than I’d like to admit. Even after years of shooting weddings and transitioning into beauty work, mixed-skin-tone group shots still require deliberate thinking at every stage, from how you set your light to how you read your meter. That’s exactly why I was glad to find Watch the full tutorial on YouTube by Daniel Norton Photographer, a New York-based photographer who breaks down the logic behind this problem in a way that actually sticks.
What makes Daniel’s approach worth paying attention to is that he doesn’t just tell you to “adjust for skin tone” and move on. He explains why that old advice exists, where it breaks down, and what modern tools and techniques actually give you. This is one of those tutorials that reframes a question you thought you already understood.
Step 1: Understand What Your Meter Is Actually Doing
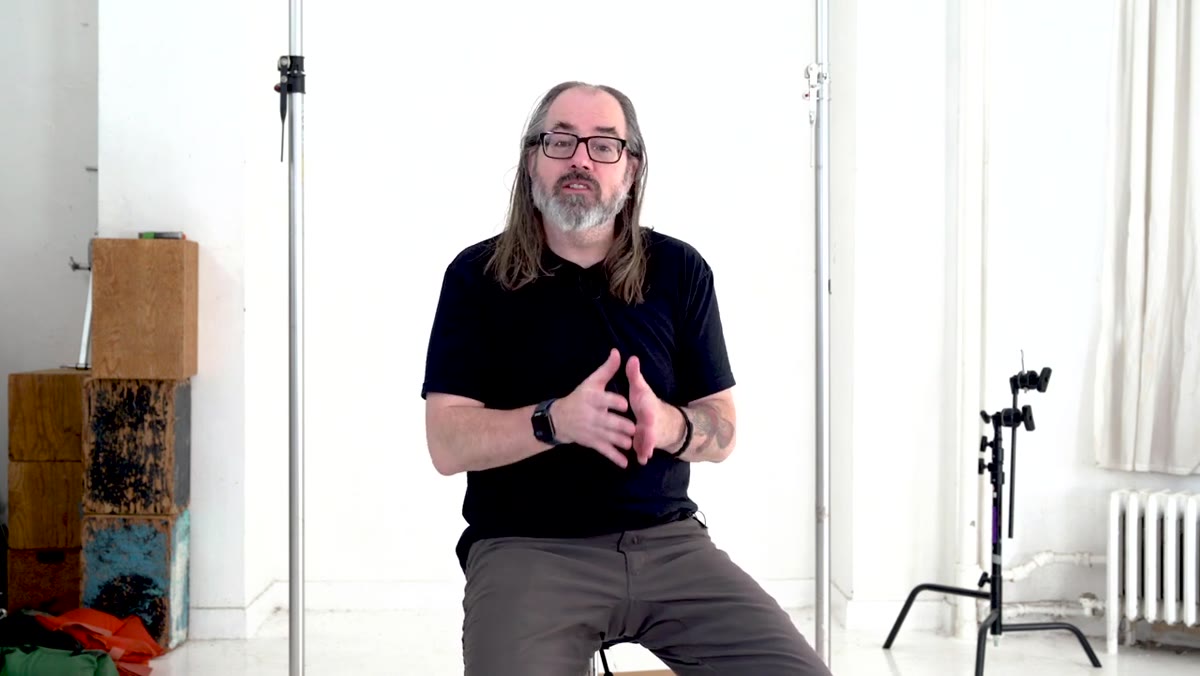 Diagram showing reflected light meter averaging to 18% gray
Before you touch a light or adjust an f-stop, it helps to understand the tool you’re relying on. The in-camera meter is a reflected light meter, meaning it reads the light bouncing off your subject and tries to render whatever it sees as 18% gray. That’s not a flaw; it’s just what the meter does. The problem comes when you point it at something very dark, like a black shirt, or very light, like pale skin. The meter will try to average that to a middle gray, which can push your overall exposure in the wrong direction.
Diagram showing reflected light meter averaging to 18% gray
Before you touch a light or adjust an f-stop, it helps to understand the tool you’re relying on. The in-camera meter is a reflected light meter, meaning it reads the light bouncing off your subject and tries to render whatever it sees as 18% gray. That’s not a flaw; it’s just what the meter does. The problem comes when you point it at something very dark, like a black shirt, or very light, like pale skin. The meter will try to average that to a middle gray, which can push your overall exposure in the wrong direction.
For group shots with varied skin tones, this matters because the meter is making assumptions about the whole frame. If darker-skinned subjects dominate the frame, the meter may try to compensate in a way that blows out lighter-skinned subjects, and vice versa. Knowing this going in means you’re not guessing when the histogram looks off.
Step 2: Meter Each Subject Individually to Find Your Baseline
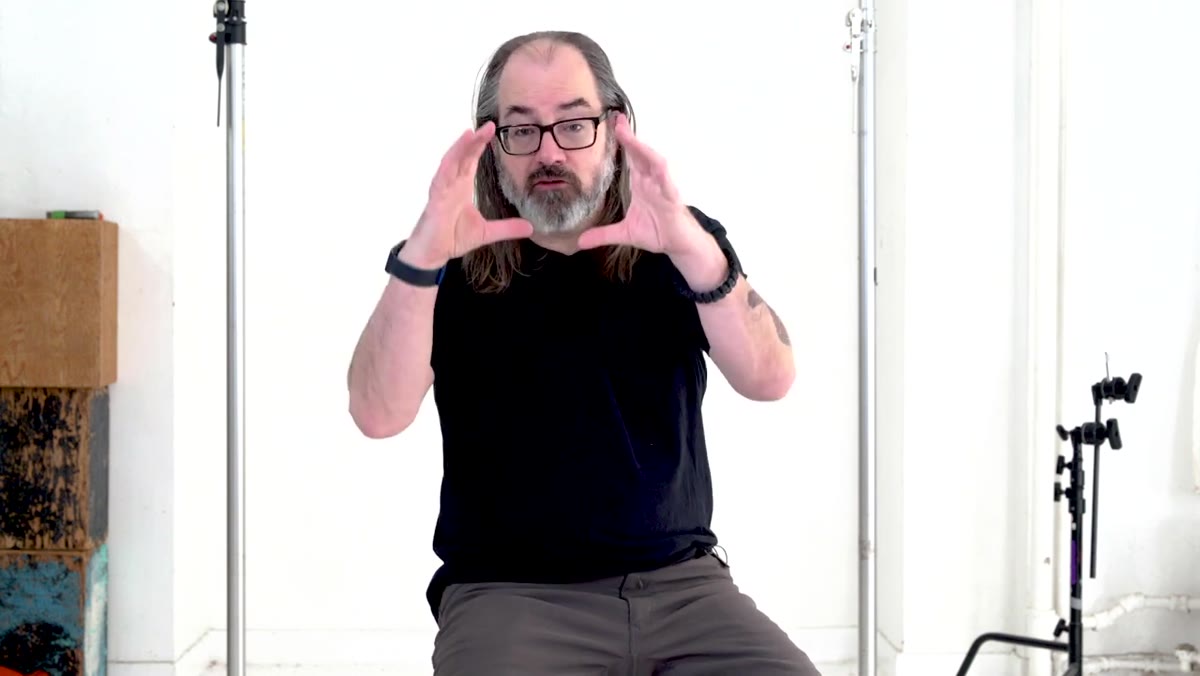 Photographer moving close to subject to take individual meter reading
One of the most practical techniques Daniel shares is going close to each person in your group before you finalize your exposure. Move in tight, fill the frame with their face or the tonal area you care about most, take a meter reading, and note what the camera suggests. Don’t worry about composition at this stage. You’re just gathering information.
Photographer moving close to subject to take individual meter reading
One of the most practical techniques Daniel shares is going close to each person in your group before you finalize your exposure. Move in tight, fill the frame with their face or the tonal area you care about most, take a meter reading, and note what the camera suggests. Don’t worry about composition at this stage. You’re just gathering information.
Do this for the lightest and darkest subjects in your group. The gap between those readings tells you how much tonal range you’re working with. If both subjects meter at the same f-stop without any compensation, your light is doing its job evenly. If there’s a significant difference, you’ll need to decide whether to adjust your lighting setup, your exposure, or both before you shoot a single final frame.
Step 3: Use a More Sophisticated Metering Mode
 Camera menu showing evaluative or matrix metering mode selected
Older cameras with simple center-weighted meters were much more likely to misread scenes with strong tonal contrasts. That’s where the old rule of “add exposure for dark skin, pull back for light skin” came from. Modern cameras with evaluative or matrix metering are significantly better at reading a complex scene, identifying faces and tonal regions, and balancing the exposure across all of them.
Camera menu showing evaluative or matrix metering mode selected
Older cameras with simple center-weighted meters were much more likely to misread scenes with strong tonal contrasts. That’s where the old rule of “add exposure for dark skin, pull back for light skin” came from. Modern cameras with evaluative or matrix metering are significantly better at reading a complex scene, identifying faces and tonal regions, and balancing the exposure across all of them.
Switch to your camera’s most advanced metering mode for group work. On Canon bodies this is Evaluative; on Nikon it’s Matrix. These systems look at the entire frame, not just the center, and they weight recognized subjects like faces more heavily. You’ll still need to review and adjust, but you’re starting from a smarter baseline. Think of it as the camera doing a first pass, and you doing the refinement.
Step 4: Light for Even Exposure Across the Group, Not for a Single Subject
 Studio lighting setup illuminating group of subjects evenly
The real answer to the mixed-skin-tone problem isn’t a post-processing trick. It’s lighting. If you meter each person in the group at the same f-stop under your lights, the camera has no problem. A dark complexion that’s properly exposed at f/8 and a fair complexion that’s properly exposed at f/8 should both record correctly in the same frame. The sensor doesn’t care about skin tone; it cares about light.
Studio lighting setup illuminating group of subjects evenly
The real answer to the mixed-skin-tone problem isn’t a post-processing trick. It’s lighting. If you meter each person in the group at the same f-stop under your lights, the camera has no problem. A dark complexion that’s properly exposed at f/8 and a fair complexion that’s properly exposed at f/8 should both record correctly in the same frame. The sensor doesn’t care about skin tone; it cares about light.
Set your lights so that the illumination reaching each subject is consistent. Use a handheld incident meter (the kind with the white dome) to check the light falling on each person rather than the light reflecting off them. An incident meter isn’t guessing about tonal value; it’s measuring actual light volume. If every subject in your group reads the same, you’re in a good position regardless of how different their complexions are.
Step 5: Review Your Histogram, Not Just the Preview
 Camera LCD showing histogram with highlights and shadow detail preserved
The LCD preview on the back of your camera will lie to you, especially in bright environments where it’s hard to read. Train yourself to check the histogram after every test shot in a new setup. For a mixed-tone group, you want to see detail preserved in both the highlights (lighter skin, bright clothing) and the shadows (darker skin, darker clothing). If either end is clipping hard, your exposure needs adjustment before you continue.
Camera LCD showing histogram with highlights and shadow detail preserved
The LCD preview on the back of your camera will lie to you, especially in bright environments where it’s hard to read. Train yourself to check the histogram after every test shot in a new setup. For a mixed-tone group, you want to see detail preserved in both the highlights (lighter skin, bright clothing) and the shadows (darker skin, darker clothing). If either end is clipping hard, your exposure needs adjustment before you continue.
A slight lean to the right on the histogram (exposing a little brighter than middle) can actually help with darker skin tones by giving you more shadow detail to work with in post. Just make sure the highlights on fairer subjects aren’t blowing out. Pull back a third or two-thirds of a stop if needed, and check again.
What I’d Add From My Own Experience
Coming from wedding photography, I spent a lot of Saturday afternoons stressed out about mixed-tone bridal parties, often with no time to do individual meter checks before the next shot. The thing that saved me most consistently was building a reliable light setup I trusted before anyone walked in front of it. When I knew my lights were balanced and I’d checked my incident readings at multiple spots in the frame, the camera metering almost didn’t matter. I was solving the problem with light, not correcting it with settings.
That principle carries directly into beauty retouching work. The images that are hardest to retouch are always the ones where the exposure was uneven to start. Trying to lift shadow detail on a dark complexion that was underexposed while keeping a fair complexion from looking washed out is genuinely difficult work. Getting it right in camera, the way Daniel describes, protects the integrity of every skin tone from the moment of capture and makes everything that comes after, including any retouching, far more straightforward.
The single most important idea in this tutorial is also the simplest one: exposure is about light, not skin tone. If every person in your group receives the same amount of light and you meter accordingly, the camera will record each complexion accurately. Skin tone is not a variable you compensate for; it’s a result you protect by doing the lighting work properly. Watch the full tutorial on YouTube to hear Daniel walk through the reasoning in his own words.
Comments (2)
Love how you break down complex stuff into manageable steps.
I tried this on a client project yesterday and the results were way better than expected.
Leave a Comment