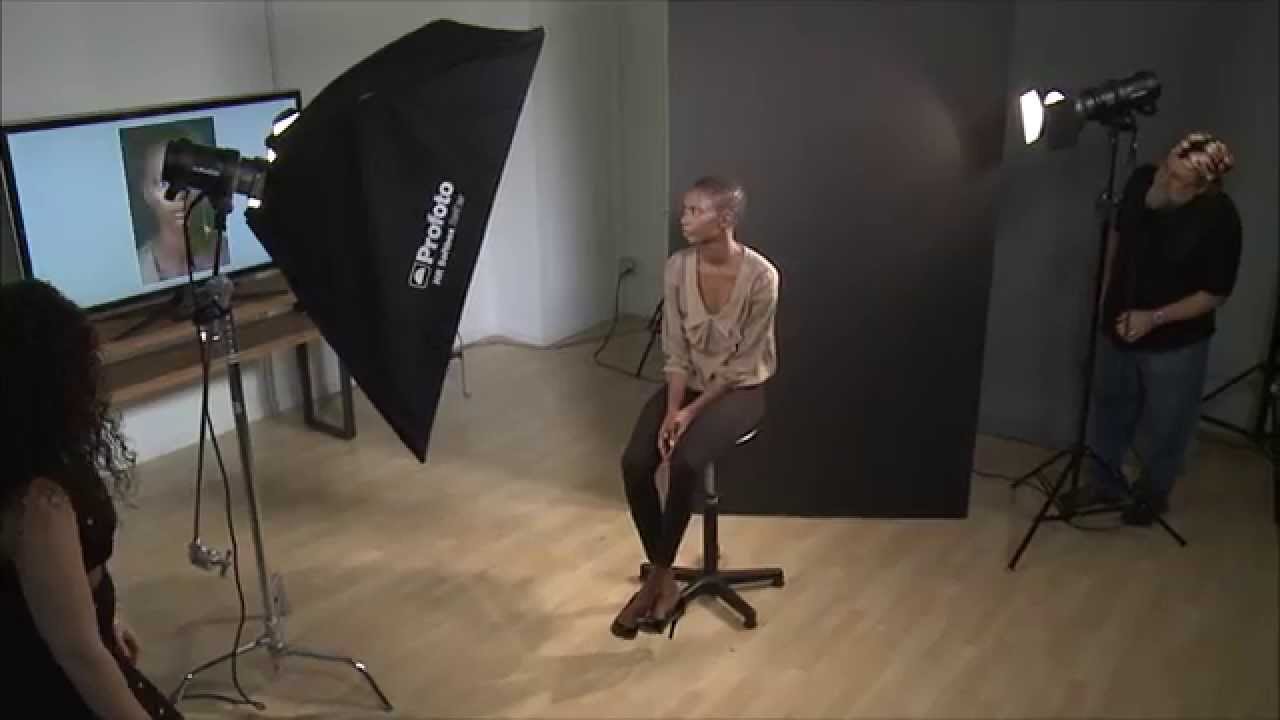
There’s a specific kind of frustration that comes from reviewing a shoot and realizing the lighting that looked gorgeous on a lighter-skinned subject is completely washing out your subject’s jaw line, or worse, creating highlights so cool they look almost gray against warm brown skin. I’ve been there more times than I’d like to admit, usually late at night with a client’s gallery due the next morning. When I stumbled across this CreativeLive tutorial on photographing brown skin tones, I recognized immediately that the photographer was solving a problem I’d been fumbling through on my own for years. Watch the full tutorial on YouTube before or alongside this breakdown - the live comparisons are genuinely worth seeing.
What makes this tutorial stand out isn’t that it introduces exotic gear nobody owns. It’s that it walks through the small, specific decisions - reflector color, light modifier width, barn door positioning - that most lighting tutorials skip right past. These are the decisions that separate a technically correct portrait from one that actually flatters its subject. For those of us who do beauty retouching work downstream from the photographer, understanding what’s happening at this stage helps us know what we’re working with and what can’t be fixed in post.
I’ve organized the key techniques below as a step-by-step workflow you can follow in your own studio. Even if you’re primarily a retoucher rather than a photographer, this is the kind of lighting knowledge that makes you a better collaborator with the photographers whose files land on your desk.
Step 1: Understand How Dark Backgrounds Create a Separation Problem
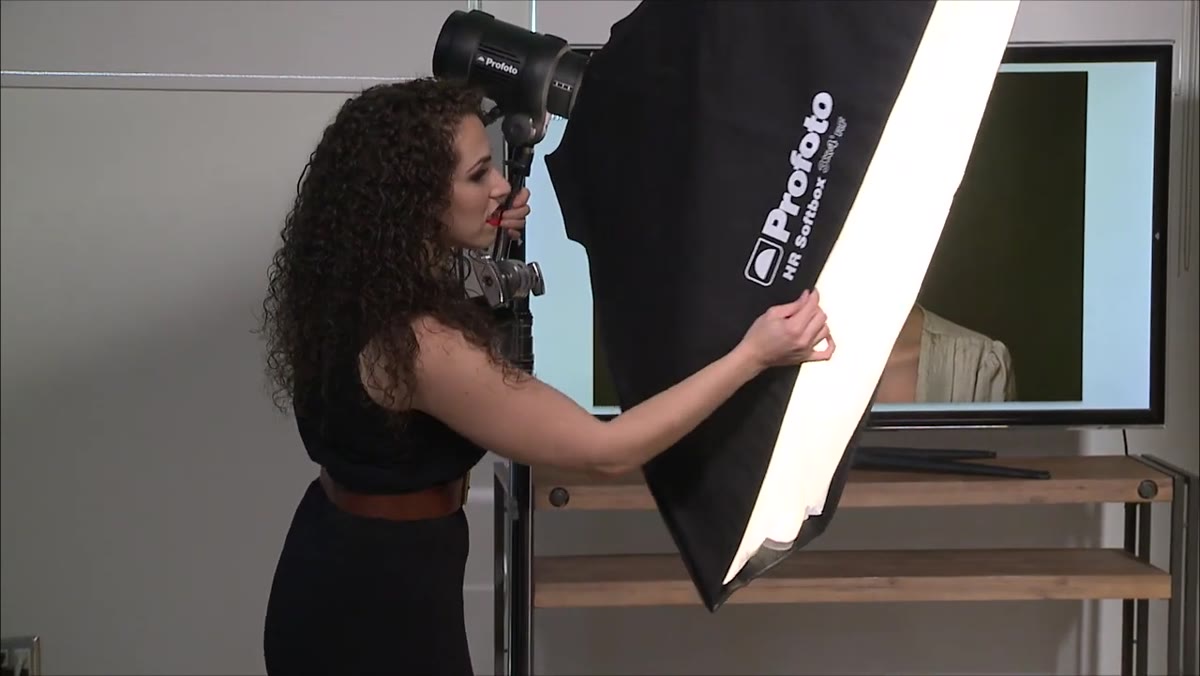 Photographer positioning light; subject blending into black background
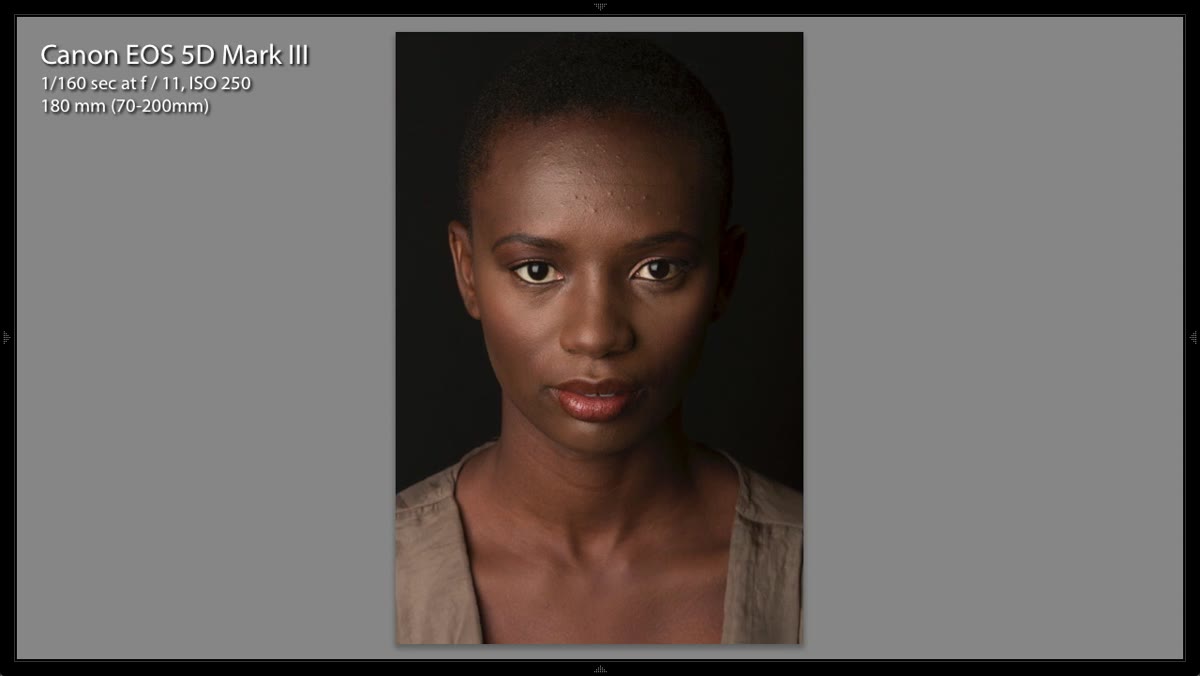
The starting point in this tutorial is a concrete visual problem: when you’re photographing a subject with deep brown skin on a black background, if you direct shadow toward one side of the face, that side simply disappears. There’s no edge, no separation, no jaw definition - just a fade into the backdrop. This isn’t a flaw in the subject or the camera. It’s a lighting problem, and it requires a lighting solution. Recognizing this early means you can plan your setup intentionally rather than discovering the issue in Lightroom.
Photographer positioning light; subject blending into black background
The starting point in this tutorial is a concrete visual problem: when you’re photographing a subject with deep brown skin on a black background, if you direct shadow toward one side of the face, that side simply disappears. There’s no edge, no separation, no jaw definition - just a fade into the backdrop. This isn’t a flaw in the subject or the camera. It’s a lighting problem, and it requires a lighting solution. Recognizing this early means you can plan your setup intentionally rather than discovering the issue in Lightroom.
Step 2: Use a Reflector to Kick Light Back for Edge Separation
 Reflector being positioned behind subject to add rim highlight
The first solution introduced is having an assistant hold a reflector behind and to the side of the subject, angled to bounce the main light back as a subtle rim or highlight. This creates just enough separation from the background to define the face and body without introducing a harsh second light source. The key word here is subtle - you want the viewer’s eye to register dimension, not a competing light.
Reflector being positioned behind subject to add rim highlight
The first solution introduced is having an assistant hold a reflector behind and to the side of the subject, angled to bounce the main light back as a subtle rim or highlight. This creates just enough separation from the background to define the face and body without introducing a harsh second light source. The key word here is subtle - you want the viewer’s eye to register dimension, not a competing light.
Step 3: Choose Gold Over Silver for Warm Skin Tones
 Side-by-side comparison showing silver versus gold reflector highlight
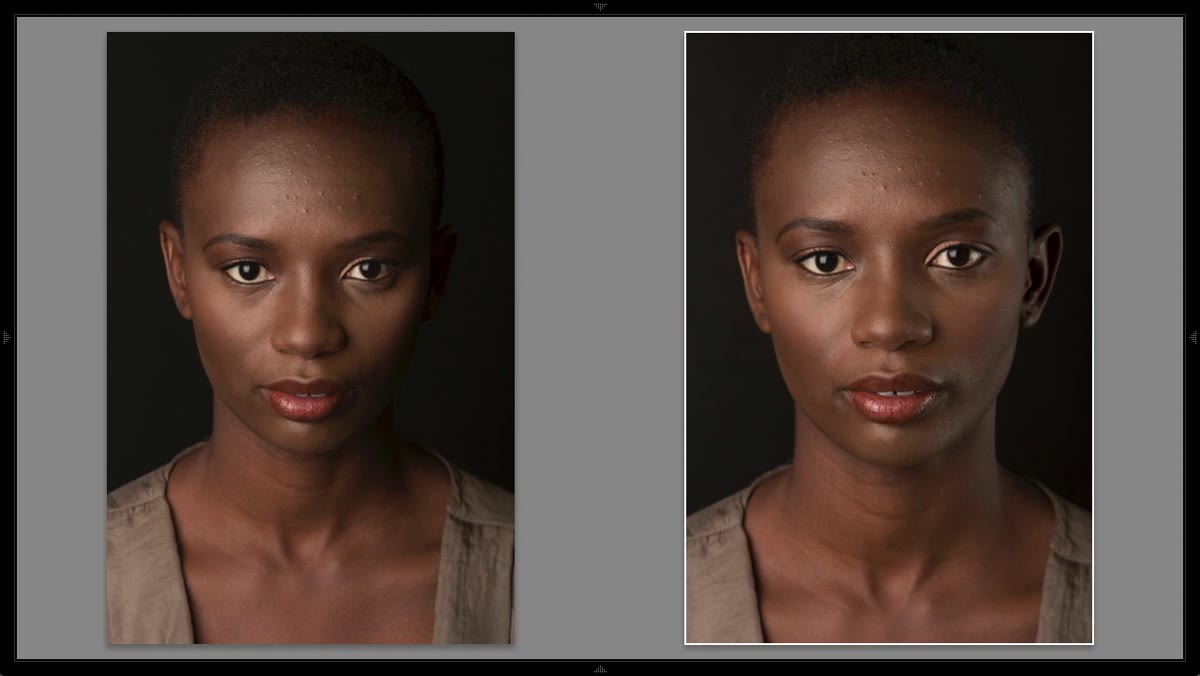
This is the step that genuinely changed how I think about reflectors. The tutorial demonstrates a direct before-and-after comparison: the silver side of a reversible reflector kicks back a highlight that reads visually cooler and slightly blue against warm brown skin. Flip to the gold side, and the highlight matches the subject’s skin tone much more naturally. Silver works beautifully on cooler or lighter complexions, but on warm brown skin it creates a disconnect that’s immediately obvious when you flip between the two shots. If you’re working with warm skin tones, default to gold or a silver-gold mix, and save the silver for post-processing decisions where you have more control.
Side-by-side comparison showing silver versus gold reflector highlight
This is the step that genuinely changed how I think about reflectors. The tutorial demonstrates a direct before-and-after comparison: the silver side of a reversible reflector kicks back a highlight that reads visually cooler and slightly blue against warm brown skin. Flip to the gold side, and the highlight matches the subject’s skin tone much more naturally. Silver works beautifully on cooler or lighter complexions, but on warm brown skin it creates a disconnect that’s immediately obvious when you flip between the two shots. If you’re working with warm skin tones, default to gold or a silver-gold mix, and save the silver for post-processing decisions where you have more control.
Step 4: Consider a Dedicated Rim Light Instead of a Reflector
 Second light source being introduced from behind the subject
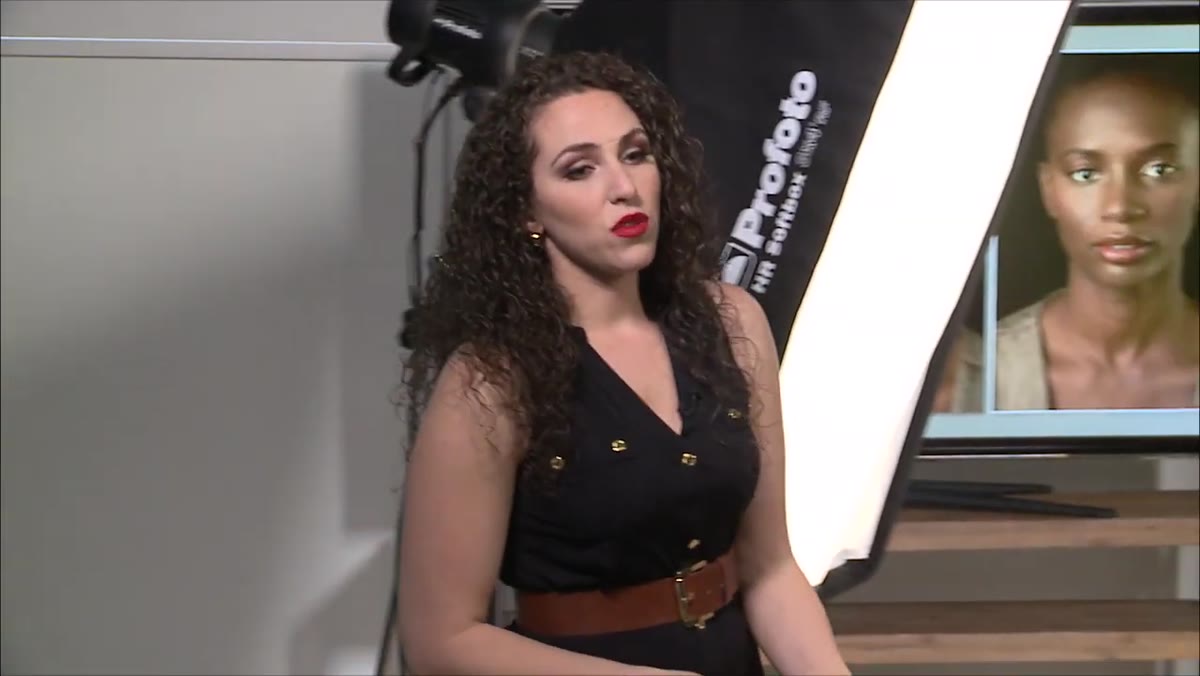
Reflectors are dependent on your main light’s output - they can only give back what they receive. If you need more reliable control over the rim highlight, especially across a longer shoot with changing angles, bringing in a second dedicated light source gives you independent control. The tutorial walks through this transition from reflector to an actual strobe positioned behind the subject, which lets you dial in the intensity separately from your key light.
Second light source being introduced from behind the subject
Reflectors are dependent on your main light’s output - they can only give back what they receive. If you need more reliable control over the rim highlight, especially across a longer shoot with changing angles, bringing in a second dedicated light source gives you independent control. The tutorial walks through this transition from reflector to an actual strobe positioned behind the subject, which lets you dial in the intensity separately from your key light.
Step 5: Use Barn Doors to Narrow the Beam
 Barn doors on light modifier being adjusted to narrow the light beam
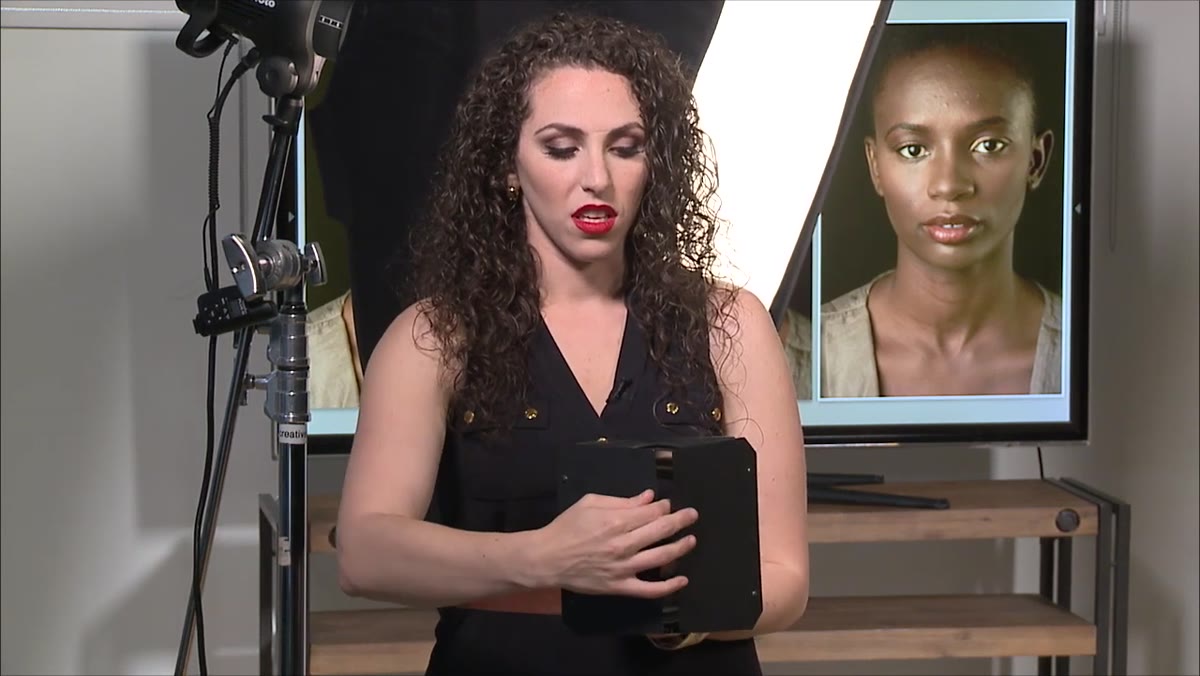
With a second light in play, the shape of that light matters enormously. Wide modifiers create broad highlights that can spread across the shoulder, neck, and cheek in a way that feels muddy rather than sculpted. Barn doors - the adjustable metal flaps that attach to many studio strobes - let you close down the beam to a thin vertical strip. For darker skin tones specifically, this narrow beam is critical because you want to suggest the edge of the face, not flood it. Even a small adjustment to the barn door width changes the character of the highlight completely.
Barn doors on light modifier being adjusted to narrow the light beam
With a second light in play, the shape of that light matters enormously. Wide modifiers create broad highlights that can spread across the shoulder, neck, and cheek in a way that feels muddy rather than sculpted. Barn doors - the adjustable metal flaps that attach to many studio strobes - let you close down the beam to a thin vertical strip. For darker skin tones specifically, this narrow beam is critical because you want to suggest the edge of the face, not flood it. Even a small adjustment to the barn door width changes the character of the highlight completely.
Step 6: Match Power Settings Carefully to Avoid Overexposure
 Photographer checking highlight on subject’s head; highlight reading too hot
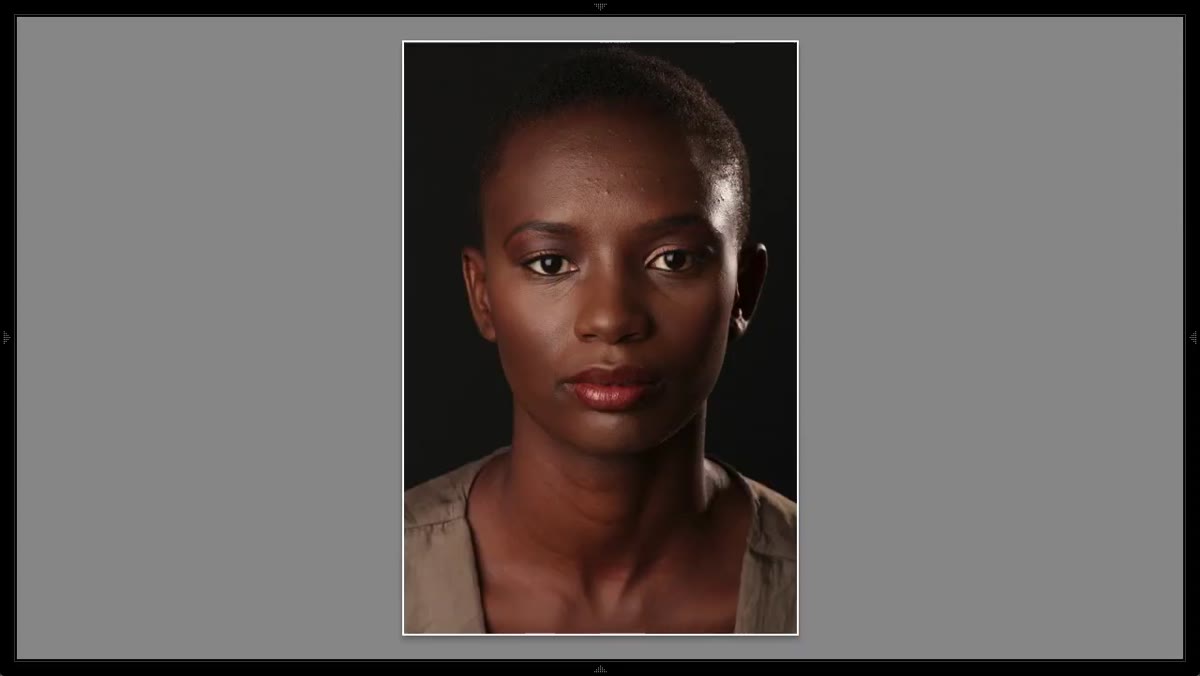
This step is where the tutorial gets refreshingly honest. The photographer tests the rim light on the top of the subject’s head and immediately sees the highlight blowing out. Darker skin tones have a smaller window between “no highlight” and “overexposed highlight” than lighter skin tones do, so power settings that work at f/8 for one subject may need to drop significantly for another. The tutorial suggests starting low - around f/4.5 for a subtle kick - and building up slowly rather than pulling the power back after the fact. Pulling back after overexposure doesn’t recover the texture you lost; it just reduces the brightness of a blown-out patch.
Photographer checking highlight on subject’s head; highlight reading too hot
This step is where the tutorial gets refreshingly honest. The photographer tests the rim light on the top of the subject’s head and immediately sees the highlight blowing out. Darker skin tones have a smaller window between “no highlight” and “overexposed highlight” than lighter skin tones do, so power settings that work at f/8 for one subject may need to drop significantly for another. The tutorial suggests starting low - around f/4.5 for a subtle kick - and building up slowly rather than pulling the power back after the fact. Pulling back after overexposure doesn’t recover the texture you lost; it just reduces the brightness of a blown-out patch.
Step 7: Use a Strip Bank with a Grid as a Budget-Friendly Alternative
 Instructor describing strip bank and grid modifier setup
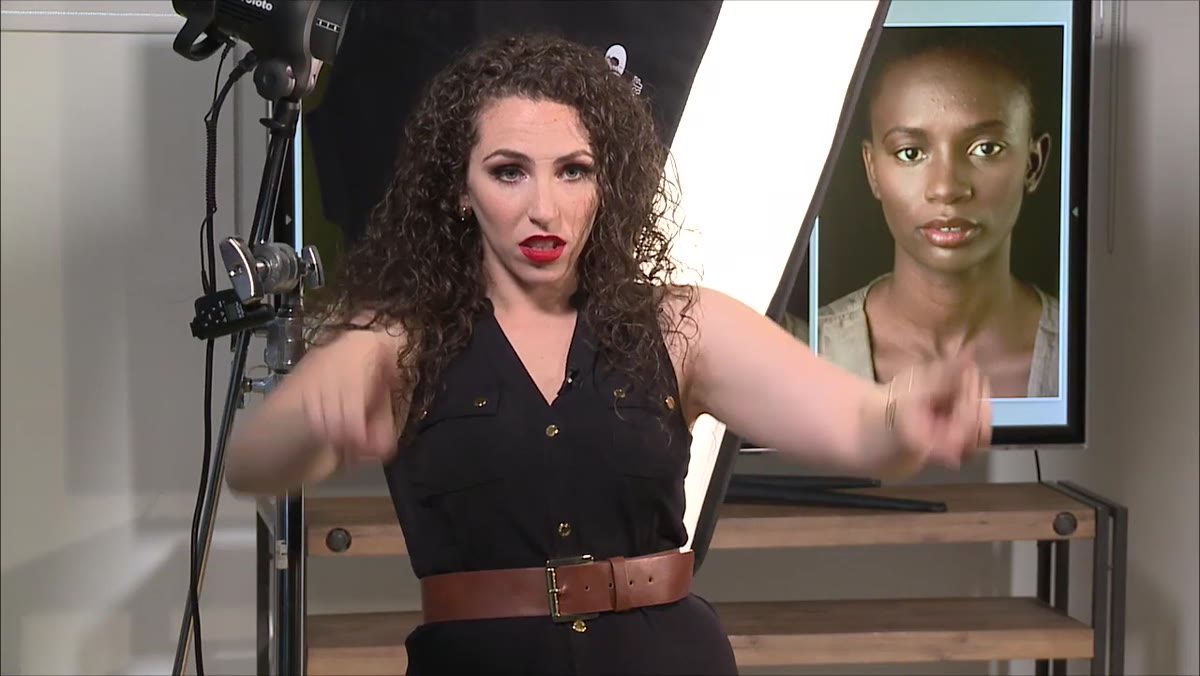
For photographers who don’t have access to high-end narrow-beam lights with built-in diffusion, the tutorial offers two practical alternatives. A strip softbox (a long, narrow rectangular modifier) paired with a honeycomb grid gives you a focused, controlled beam that behaves similarly. The grid collimates the light so it doesn’t spread as widely. If you don’t have a grid, the instructor’s own low-budget workaround was black gaffer’s tape applied across half the softbox face to physically narrow the opening. It’s unglamorous and it works.
Instructor describing strip bank and grid modifier setup
For photographers who don’t have access to high-end narrow-beam lights with built-in diffusion, the tutorial offers two practical alternatives. A strip softbox (a long, narrow rectangular modifier) paired with a honeycomb grid gives you a focused, controlled beam that behaves similarly. The grid collimates the light so it doesn’t spread as widely. If you don’t have a grid, the instructor’s own low-budget workaround was black gaffer’s tape applied across half the softbox face to physically narrow the opening. It’s unglamorous and it works.
What I’d Add From My Own Experience
The temperature difference between silver and gold reflectors is also something to watch for in post-production when you’re handed files from a shoot you didn’t light. I’ve received gallery after gallery where a rim light or reflector was clearly silver, and the edge highlight on warm brown skin has an almost lavender-gray cast. It looks like a color problem, but it’s actually a light-quality problem baked in at capture. You can warm it with selective color adjustments or a hue-saturation mask targeting that specific highlight zone, but it takes real care not to push it into orange territory. Knowing that the silver-versus-gold choice creates this in camera helps me work faster and more accurately when I see it in a file.
The single most transferable idea from this tutorial is that lighter skin tones are forgiving and darker skin tones require precision - not because one is harder to photograph beautifully, but because the margin for error is narrower and every modifier choice is amplified. Get the light color and the beam width right in camera, and the portrait practically retouches itself. Get it wrong, and no amount of work in post fully recovers what was lost.
Watch the full tutorial on YouTube to see the live before-and-after comparisons - the silver-to-gold reflector flip at around the one-minute mark is one of those moments where you see the difference immediately and can’t unsee it afterward.
Comments (2)
Bookmarked. Coming back to this one for sure.
The before and after really sells it. Incredible difference.
Leave a Comment