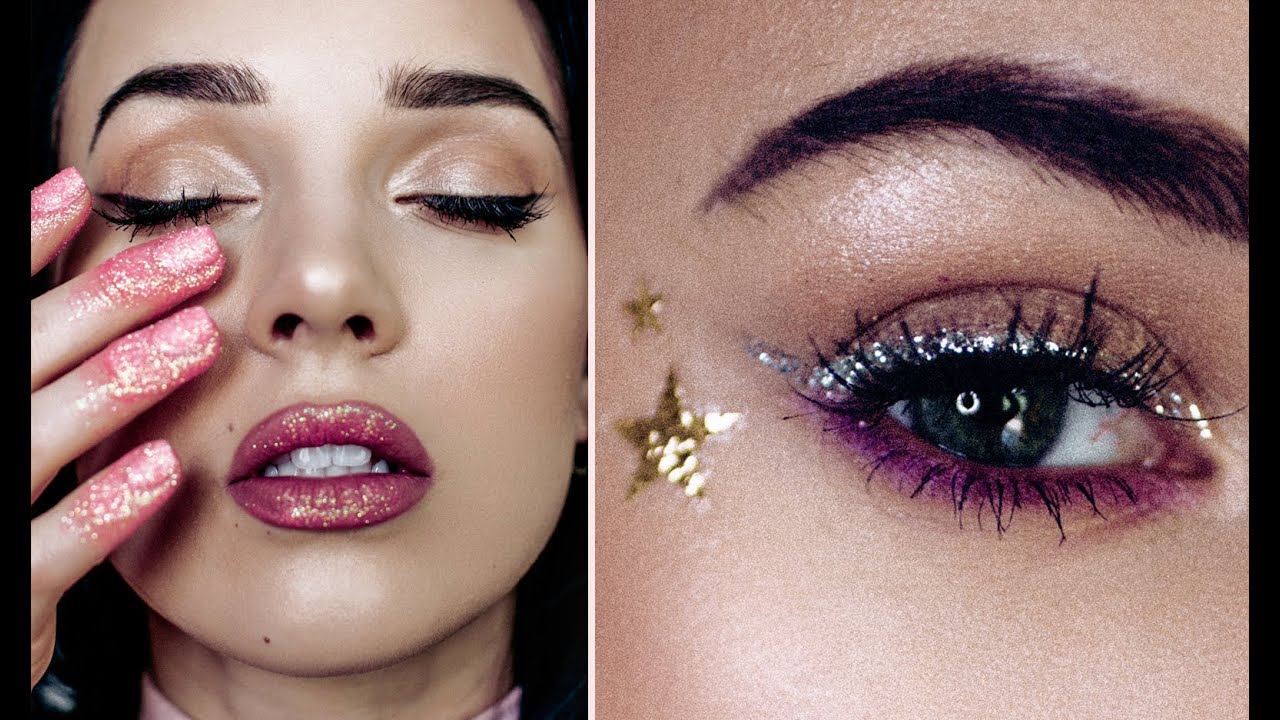
Beauty photography has a way of exposing every weak decision you made on set. I learned that early on, back when I was still shooting weddings and occasionally taking on “quick” headshot sessions on the side. If the light was muddy, if the focus landed on the wrong plane, if the angle flattened the face — no amount of time in Photoshop was going to save me. The cleanup always starts with the capture.
That’s why I keep coming back to tutorials from photographers who think like retouchers. In this Jessica Kobeissi tutorial on shooting natural light beauty portraits with a 50mm 1.2, she makes decisions on set that directly affect how much flexibility you have in post. Watch the full tutorial on YouTube if you want to follow along with the video. What I’m going to do here is pull apart her process so you can apply it step by step, whether you’re behind the camera yourself or helping a photographer client understand why their beauty shots aren’t editing the way they expected.
The setup is genuinely simple: one window, one subject, one lens. The intentionality is what makes it work.
Step 1: Choose Your Light Source and Lock Your Position
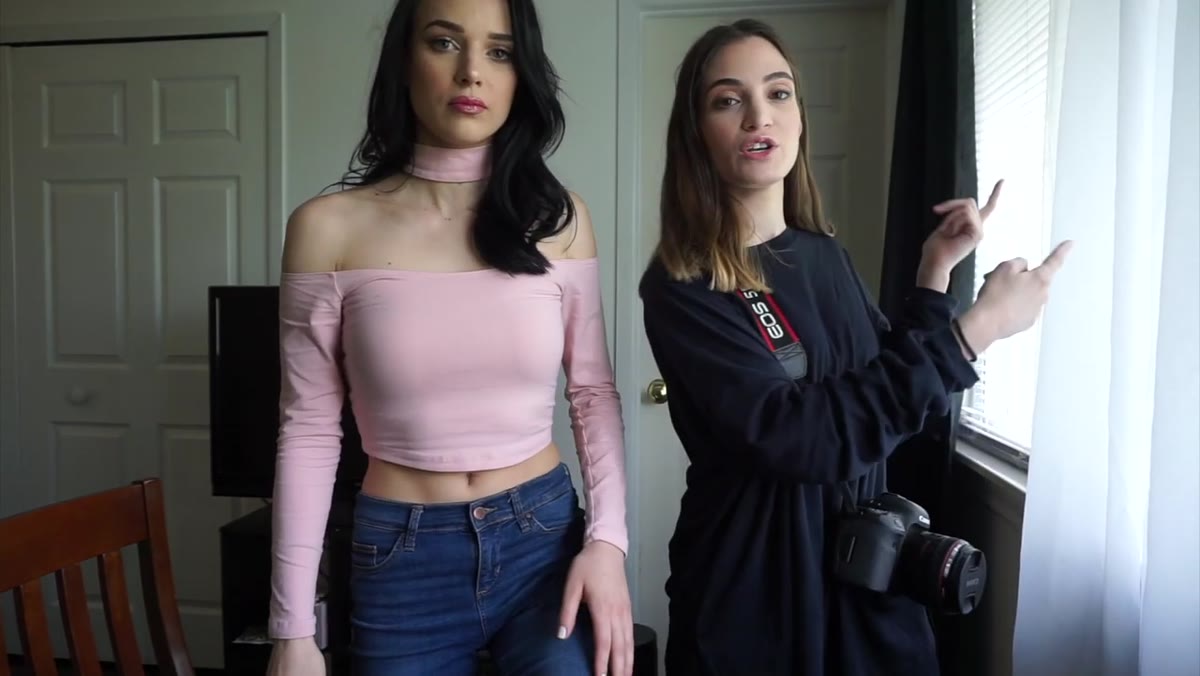 Jessica positioning Janelle beside a large window
Jessica shoots with a single window to the side of her subject. No reflectors, no softboxes. Before she fires a single frame, she places her subject on a chair positioned close enough to the window that the light wraps across the face, creating natural gradients from highlight to shadow. For beauty work, this kind of soft directional light is your best friend because it reveals texture without creating the harsh shadows that make retouching skin significantly harder. If your window light is too flat, step your subject slightly forward or back until you see dimension in the cheekbones.
Jessica positioning Janelle beside a large window
Jessica shoots with a single window to the side of her subject. No reflectors, no softboxes. Before she fires a single frame, she places her subject on a chair positioned close enough to the window that the light wraps across the face, creating natural gradients from highlight to shadow. For beauty work, this kind of soft directional light is your best friend because it reveals texture without creating the harsh shadows that make retouching skin significantly harder. If your window light is too flat, step your subject slightly forward or back until you see dimension in the cheekbones.
The positioning of your own body matters just as much. Jessica stays roughly level with her subject rather than shooting down or up. For tight beauty crops, even a slight angle change reads on the face. Get comfortable, because you’ll be there for a while.
Step 2: Set Your Aperture for Sharpness, Not Just Bokeh
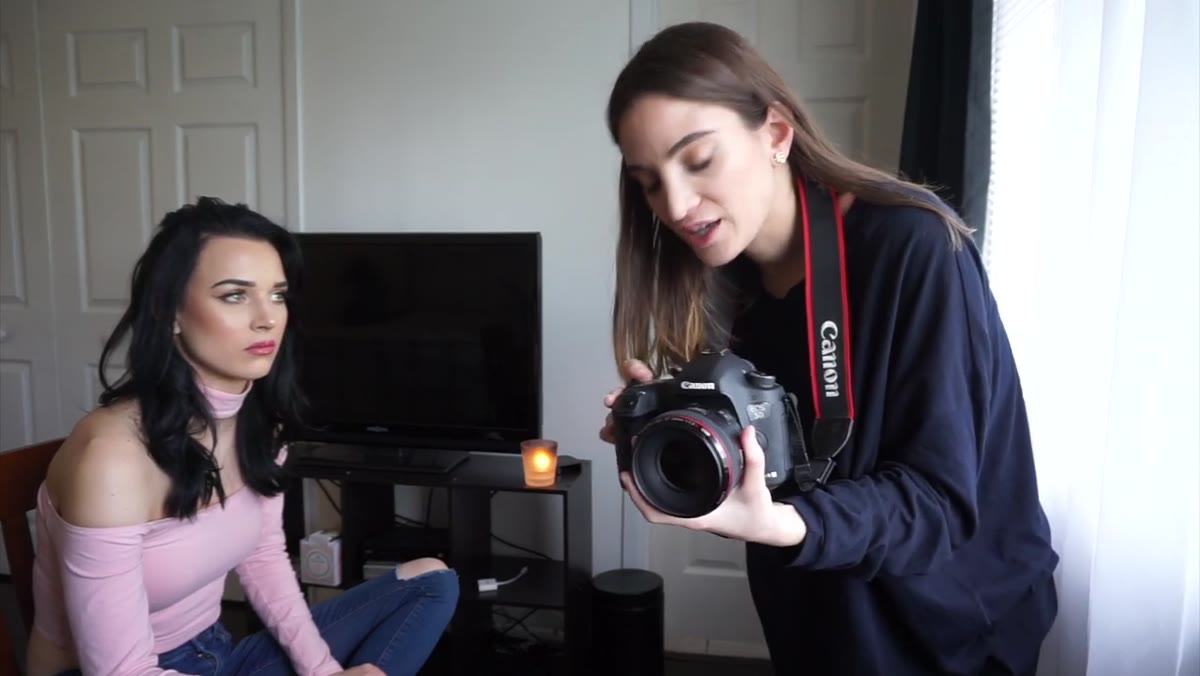 Camera settings overview, aperture at f/3.5
This is the setting decision I see beauty photographers get wrong most often. Jessica is shooting a Canon 5D Mark IV with the 50mm 1.2L, but she deliberately pulls back to f/3.5 rather than opening up to 1.2 or even 1.8. Her ISO sits at 800 and her shutter speed starts at 1/160. She explains it plainly: she wants sharpness across more of the face, not a razor-thin focal plane that might catch one eye in focus while the other drifts soft.
Camera settings overview, aperture at f/3.5
This is the setting decision I see beauty photographers get wrong most often. Jessica is shooting a Canon 5D Mark IV with the 50mm 1.2L, but she deliberately pulls back to f/3.5 rather than opening up to 1.2 or even 1.8. Her ISO sits at 800 and her shutter speed starts at 1/160. She explains it plainly: she wants sharpness across more of the face, not a razor-thin focal plane that might catch one eye in focus while the other drifts soft.
At f/1.2 on a 50mm, even small subject movement can ruin a shot. For tight beauty portraits where you need both eyes sharp and the skin texture clear enough to retouch, f/3.5 gives you breathing room. ISO 800 in good window light is completely manageable with a modern full-frame body. Don’t be afraid of it. The noise is easier to clean up than a blurry eye.
Step 3: Focus on the Near Eye Every Single Time
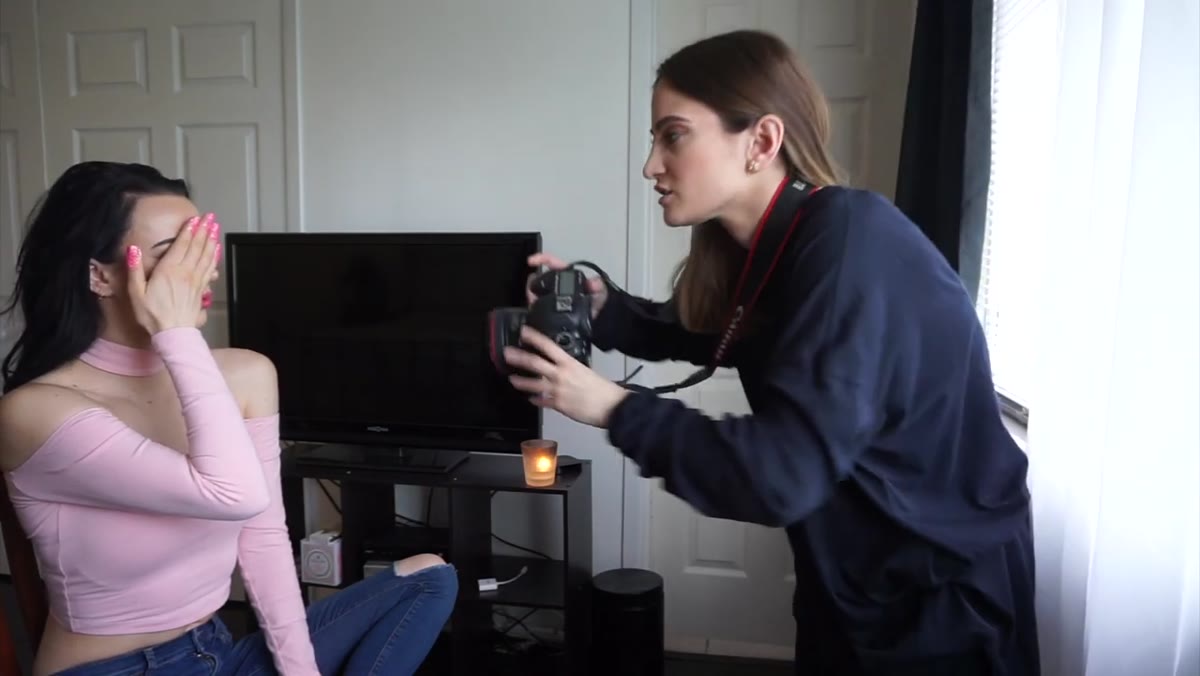 Jessica calling out eye focus while shooting
Jessica makes a point of saying she’s always focusing on her subject’s eye. For anyone newer to beauty work, this is non-negotiable. When you’re shooting close and your depth of field is measured in centimeters, your camera’s autofocus needs a specific target. The nearest eye, or the eye closer to the camera if the head is at any angle, is always that target.
Jessica calling out eye focus while shooting
Jessica makes a point of saying she’s always focusing on her subject’s eye. For anyone newer to beauty work, this is non-negotiable. When you’re shooting close and your depth of field is measured in centimeters, your camera’s autofocus needs a specific target. The nearest eye, or the eye closer to the camera if the head is at any angle, is always that target.
In practice, use a single AF point and move it rather than relying on face detection in tricky light. If your subject tilts their head, your focus point needs to follow. A beautifully exposed frame with the eye even slightly soft is going to be a problem in retouching, because sharpening soft eyes convincingly is one of the harder tasks in Photoshop. Make it easy on yourself.
Step 4: Shoot Wider Than You Think You Need
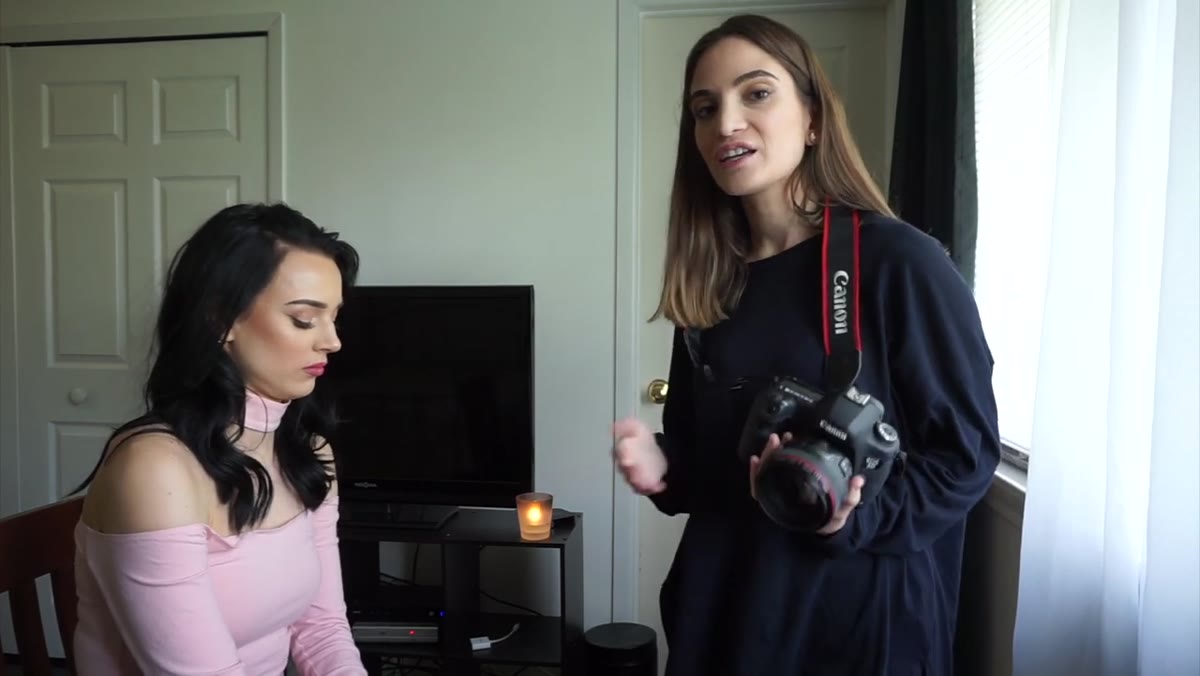 Full framing showing Jessica shooting with room around the face
Jessica shoots slightly wider than the final crop she wants. She specifically mentions that she could crop tighter in Lightroom or Photoshop later, but she wants to preserve the option to go back to a fuller portrait framing if the creative direction changes. This matters more than it sounds when you’re working for clients who sometimes change their minds after the fact.
Full framing showing Jessica shooting with room around the face
Jessica shoots slightly wider than the final crop she wants. She specifically mentions that she could crop tighter in Lightroom or Photoshop later, but she wants to preserve the option to go back to a fuller portrait framing if the creative direction changes. This matters more than it sounds when you’re working for clients who sometimes change their minds after the fact.
The practical rule here: if you want the final image to be a tight crop from chin to mid-forehead, shoot from the collarbone up. You can always crop. You cannot uncrop. And for beauty retouching purposes, having a bit of extra canvas around the subject gives you room to clone, heal, or extend backgrounds without running into hard edges.
Step 5: Pose for the Light, Not Just for the Camera
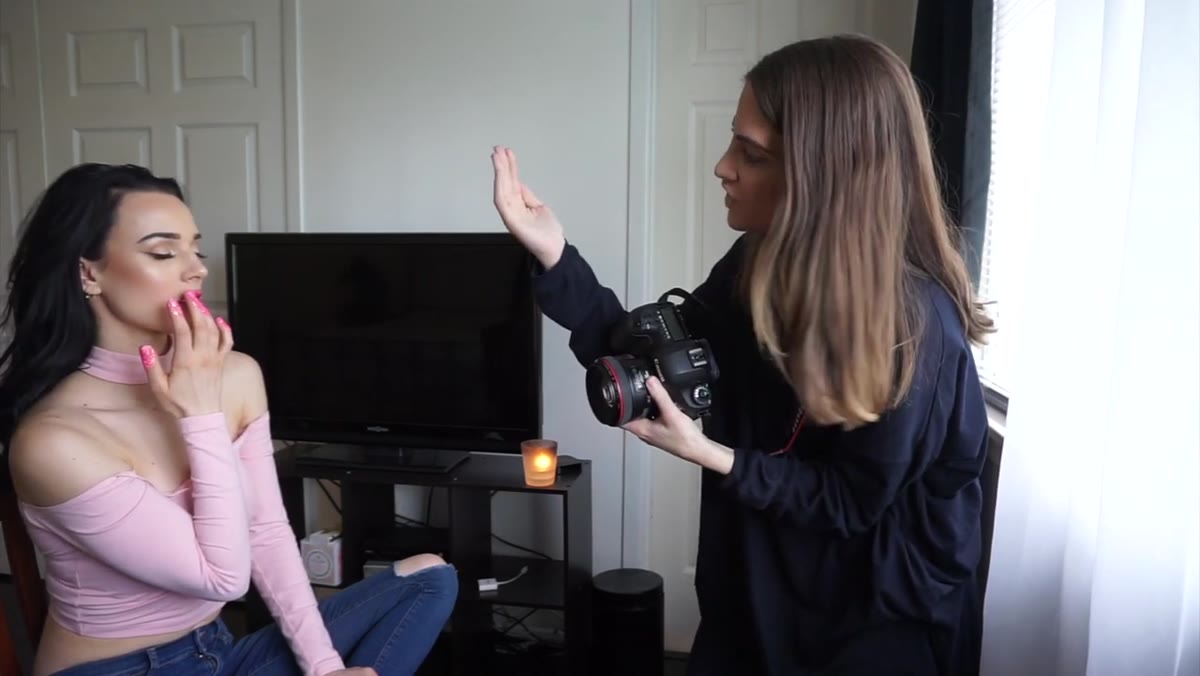 Jessica directing Janelle’s head position and chin angle
Jessica coaches her subject’s head position throughout, and her adjustments are all about how light is landing rather than what looks interesting compositionally. When she tells Janelle to bring her chin forward slightly, she’s reducing the shadow under the jawline. When she asks her to tilt less, she’s keeping both eyes on roughly the same plane relative to the light.
Jessica directing Janelle’s head position and chin angle
Jessica coaches her subject’s head position throughout, and her adjustments are all about how light is landing rather than what looks interesting compositionally. When she tells Janelle to bring her chin forward slightly, she’s reducing the shadow under the jawline. When she asks her to tilt less, she’s keeping both eyes on roughly the same plane relative to the light.
Two phrases worth internalizing from her direction: keep the face straight unless you’re intentionally choosing an angle, and if the head tilts, raise the chin to compensate. A dropped chin on a tilted head is one of the most common causes of unflattering shadows in beauty work, and it creates extra retouching work around the neck and jaw.
Step 6: Capture Both Open and Closed Eye Shots in the Same Setup
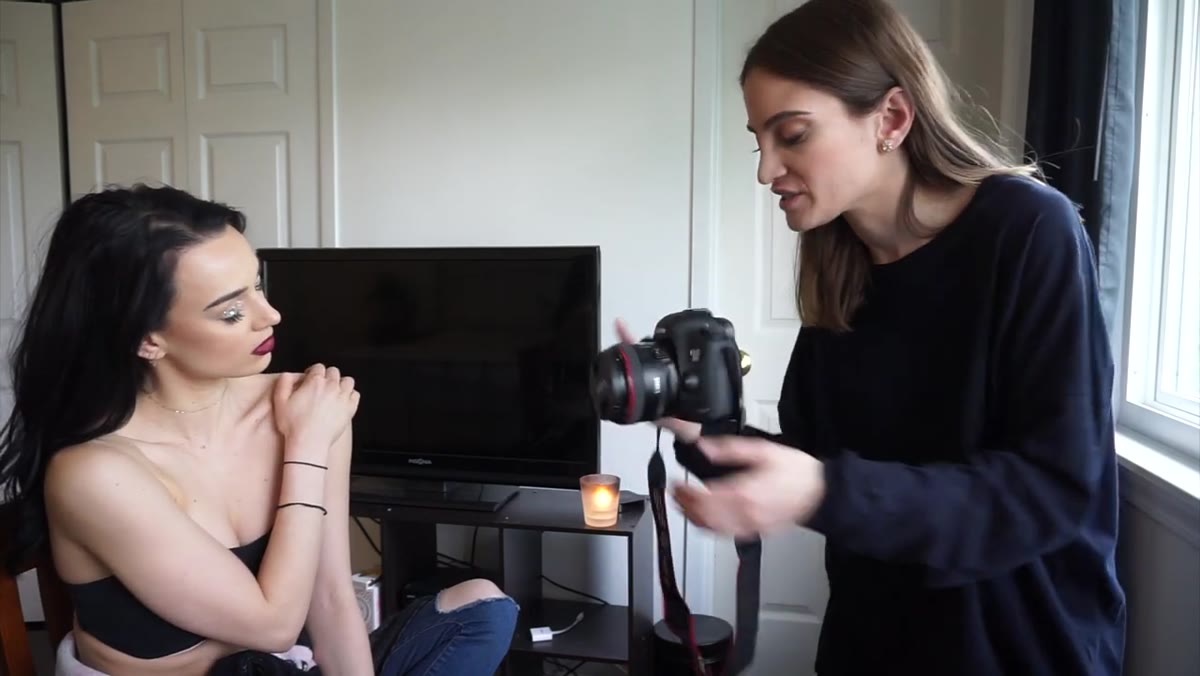 Jessica shooting eyes-closed frames before moving to open-eye shots
Jessica doesn’t reposition or change any settings between getting eyes-closed frames and eyes-open frames. She works through both variations in the same light at the same distance. From a retouching standpoint, this is useful because closed-eye frames can serve as texture reference if you ever need to blend or rebuild an eyelid area in post. More practically, it gives the client creative variety without doubling the shoot time.
Jessica shooting eyes-closed frames before moving to open-eye shots
Jessica doesn’t reposition or change any settings between getting eyes-closed frames and eyes-open frames. She works through both variations in the same light at the same distance. From a retouching standpoint, this is useful because closed-eye frames can serve as texture reference if you ever need to blend or rebuild an eyelid area in post. More practically, it gives the client creative variety without doubling the shoot time.
Make this a habit even if you don’t end up using the closed-eye shots for retouching reference. You’ll be surprised how often a client picks one of those frames as a favorite.
What I’d Add From My Own Practice
The one thing this tutorial doesn’t get into, which I always tell the photographers I work with, is to slightly overexpose for beauty work rather than underexpose. When you underexpose and then lift shadows in Lightroom, you’re pulling up noise in the skin tones, and that noise becomes incredibly visible once you start doing any frequency separation or skin smoothing in Photoshop. A properly exposed or very slightly bright raw file gives you cleaner base material to work with. The skin tones stay smooth, the highlights have room to come down gently, and your retouching time drops noticeably.
The single most important takeaway here is that beauty retouching starts with camera settings, not Photoshop. Nail the focus, protect your options with a slightly wider crop, and let the window do the heavy lifting on light. Everything else is just finishing what the camera started.
Watch the full tutorial on YouTube to see Jessica’s full session, including the glitter beauty variation she introduces toward the end of the shoot.
Comments (1)
This is exactly what I needed today. Been struggling with this for weeks.
Leave a Comment