There’s a specific kind of client photo that used to tie my stomach in knots. You know the one: a genuinely beautiful image, great light, good connection, but the angle or the pose has added visual weight in a way that doesn’t reflect how the person actually looks. Early in my retouching career, I’d reach straight for Liquify, push pixels around trying to be careful, and end up with something that looked either untouched or obviously warped. A client once told me my edits looked “like a wax figure.” I still think about that. It sent me down a long road of learning how to retouch bodies in a way that respects the person in the frame while actually serving them.
That’s why this CreativeLive tutorial with Sue Bryce stopped me mid-scroll. Watch the full tutorial on YouTube — Bryce is one of the most respected portrait photographers working today, and watching her move through a real image with a real workflow is worth more than most written guides. What she demonstrates here is a body contouring method using Photoshop’s Warp Tool that’s faster, more controlled, and more believable than Liquify alone. I’ve folded it into my own retouching workflow, and below I’ll walk you through exactly how it works.
The core philosophy running through this tutorial is one I wish someone had told me years ago: most of the work should happen in posing, and retouching should finish the job in small, targeted moves. Bryce keeps coming back to this. When she does reach for the Warp Tool, she’s making subtle adjustments that the eye reads as natural because they’re anchored in real shapes and real shadows. That’s the secret.
Step 1: Assess the Image Before Touching Anything
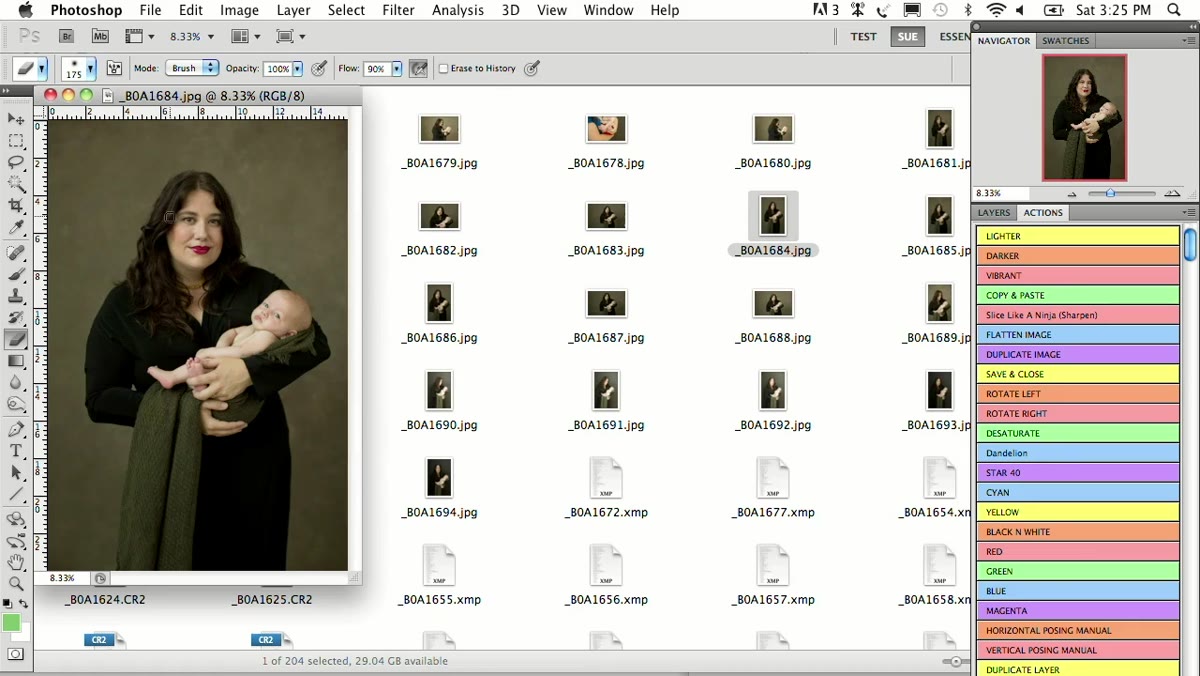
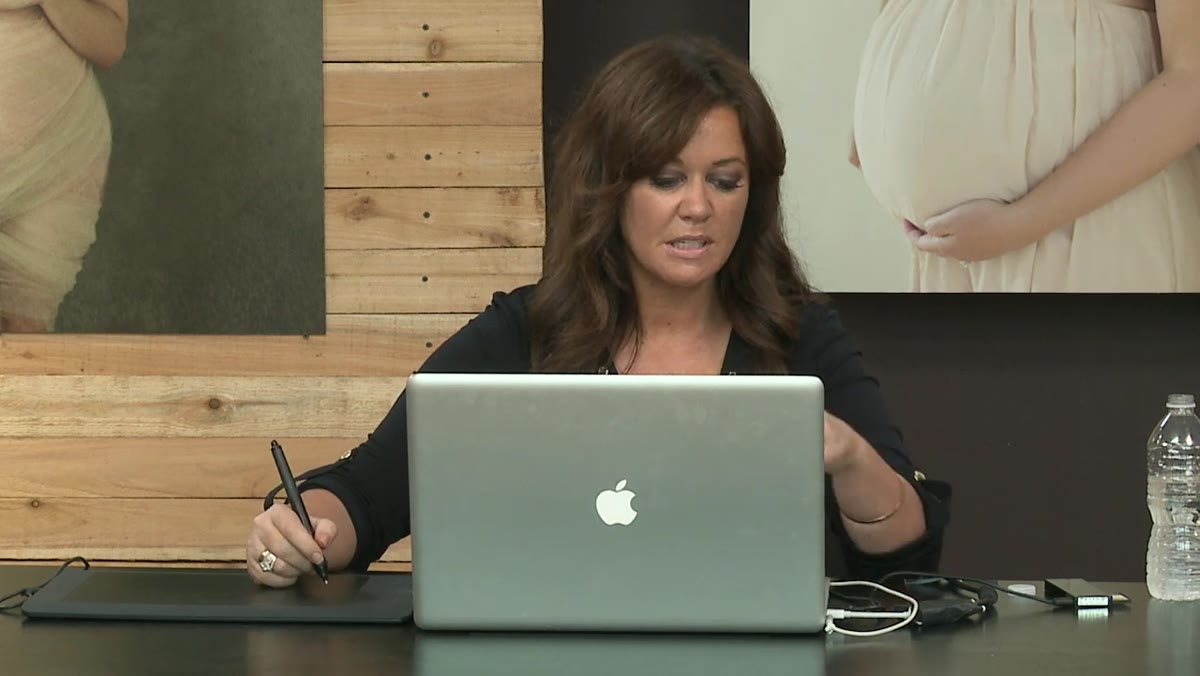
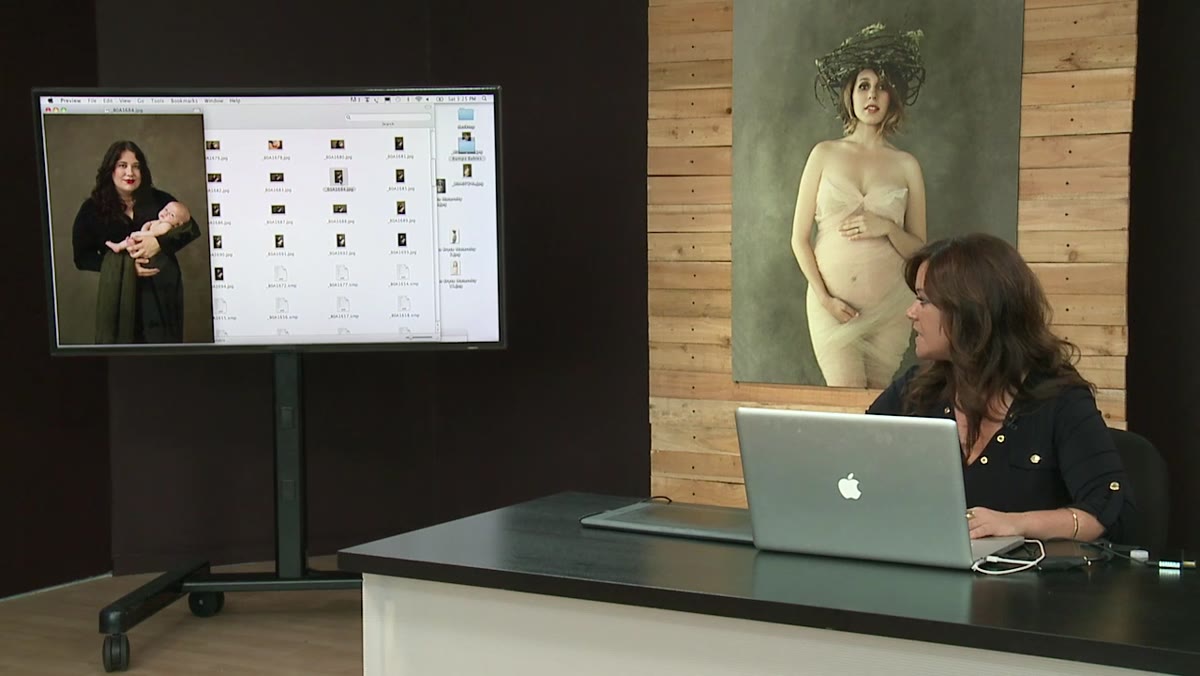 Sue reviewing the full portrait before any editing begins
Before opening a single tool, Bryce looks at the image and identifies exactly what she wants to address. In this case, she’s looking at how the arm sits in relation to the body and where the drape falls across the waist. She decides what actually needs attention and, just as importantly, what doesn’t. She explicitly says she doesn’t feel the need to do more than a couple of targeted adjustments. This restraint is the skill. Train yourself to ask: what is actually bothering me about this image, and is it worth touching?
Sue reviewing the full portrait before any editing begins
Before opening a single tool, Bryce looks at the image and identifies exactly what she wants to address. In this case, she’s looking at how the arm sits in relation to the body and where the drape falls across the waist. She decides what actually needs attention and, just as importantly, what doesn’t. She explicitly says she doesn’t feel the need to do more than a couple of targeted adjustments. This restraint is the skill. Train yourself to ask: what is actually bothering me about this image, and is it worth touching?
Step 2: Duplicate Your Layer Before Using Warp
 Layer panel showing duplicate layer ready for editing
Before using the Warp Tool on any body element, you need to be working on a duplicate layer, not the background. In Photoshop, hit Cmd+J (Mac) or Ctrl+J (Windows) to duplicate. This protects your original and, crucially, gives you the option to erase back to the layer below when you need to recover areas that shouldn’t have been moved. This step isn’t glamorous, but skipping it will cost you time every single time.
Layer panel showing duplicate layer ready for editing
Before using the Warp Tool on any body element, you need to be working on a duplicate layer, not the background. In Photoshop, hit Cmd+J (Mac) or Ctrl+J (Windows) to duplicate. This protects your original and, crucially, gives you the option to erase back to the layer below when you need to recover areas that shouldn’t have been moved. This step isn’t glamorous, but skipping it will cost you time every single time.
Step 3: Use Warp With a Wide Selection to Move the Arm
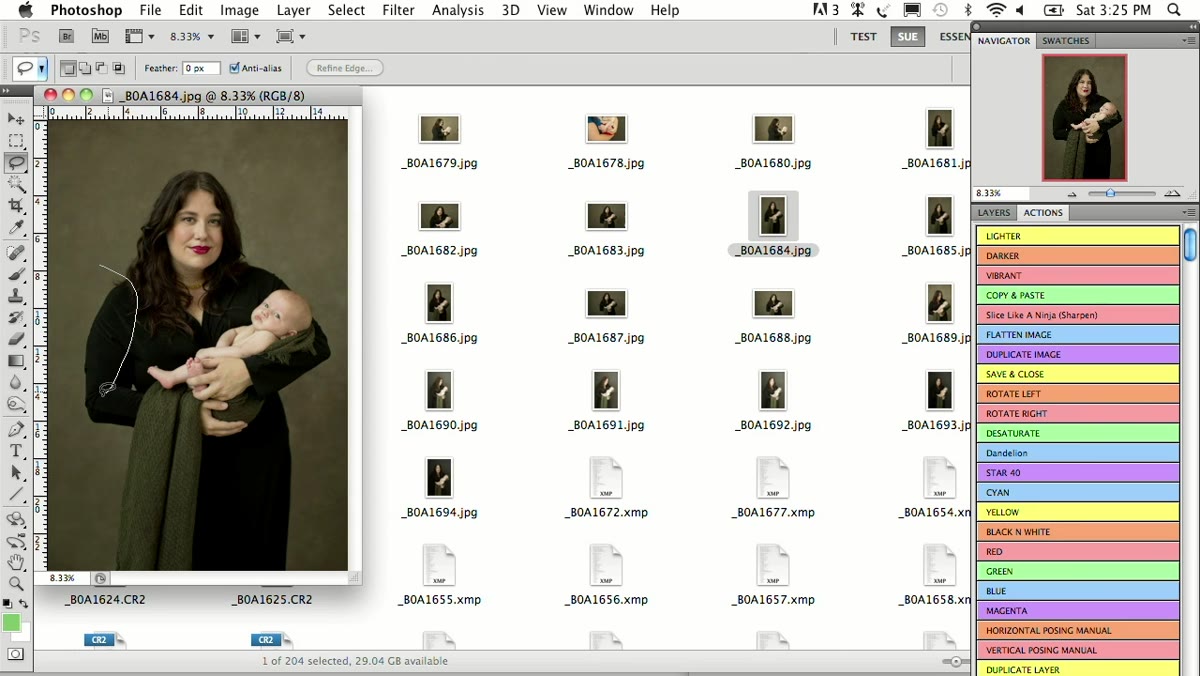 Large lasso selection drawn around the arm area before warping
Bryce draws a generous selection around the arm she wants to bring in, going well beyond the edge of the arm itself. This is important: if your selection is too tight, the warp distorts the edges of your selection in a way that’s visible and artificial-looking. She describes it as giving the adjustment “a wide berth.” With your selection active, go to Edit > Transform > Warp. You’ll see a grid appear over your selection. Gently pull the edge of the arm inward using the grid handles. The key word is gently. You’re nudging, not dragging. Accept the transformation and move on.
Large lasso selection drawn around the arm area before warping
Bryce draws a generous selection around the arm she wants to bring in, going well beyond the edge of the arm itself. This is important: if your selection is too tight, the warp distorts the edges of your selection in a way that’s visible and artificial-looking. She describes it as giving the adjustment “a wide berth.” With your selection active, go to Edit > Transform > Warp. You’ll see a grid appear over your selection. Gently pull the edge of the arm inward using the grid handles. The key word is gently. You’re nudging, not dragging. Accept the transformation and move on.
Step 4: Handle Obstacles With the Copy-Paste-Erase Method
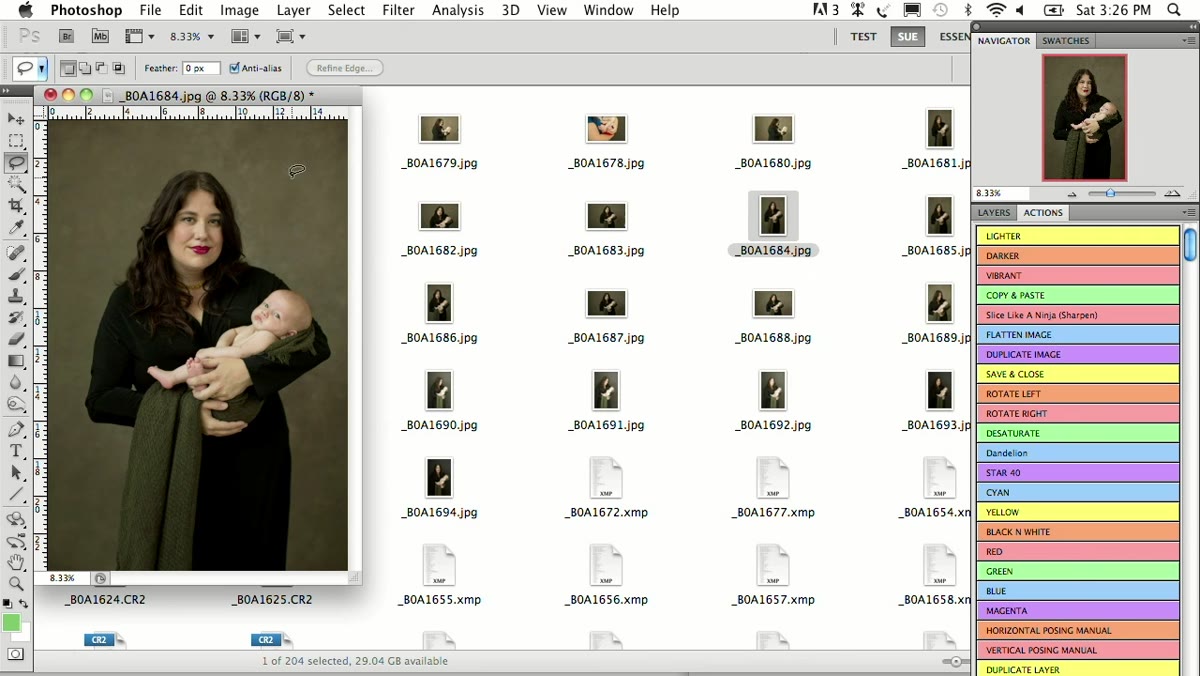 Demonstrating the copy-paste layer trick around the baby’s head
This is the technique that genuinely changed how I work. When there’s something in front of the area you want to warp, like a baby’s head resting against a parent’s arm, Liquify becomes a nightmare because you’re fighting the tool trying not to distort the face next to it. Bryce’s solution is elegant. Copy the area you want to contour onto a new layer (Cmd+C, then Cmd+V or Edit > Paste), warp that layer to your desired shape, accept it, and then use a soft-edged eraser to paint back the overlapping element (the baby’s head, in this case) from the layer below. The arm underneath is now slimmer. The baby’s face is intact. Nobody had to suffer through Liquify gymnastics.
Demonstrating the copy-paste layer trick around the baby’s head
This is the technique that genuinely changed how I work. When there’s something in front of the area you want to warp, like a baby’s head resting against a parent’s arm, Liquify becomes a nightmare because you’re fighting the tool trying not to distort the face next to it. Bryce’s solution is elegant. Copy the area you want to contour onto a new layer (Cmd+C, then Cmd+V or Edit > Paste), warp that layer to your desired shape, accept it, and then use a soft-edged eraser to paint back the overlapping element (the baby’s head, in this case) from the layer below. The arm underneath is now slimmer. The baby’s face is intact. Nobody had to suffer through Liquify gymnastics.
Step 5: Add Visual Space to Create the Illusion of a Slimmer Silhouette
 Copying background triangle of space beside the body to extend it
Here’s one I hadn’t seen demonstrated this clearly before. Bryce selects a small triangular section of background space beside the body, copies it, pastes it, and enlarges it slightly. By making the negative space around the body bigger, the body itself reads as smaller. It’s an optical principle: we perceive size relative to what surrounds it. She uses this particularly around the torso area. After pasting and scaling the background piece, she uses the Warp Tool to blend its edges, then erases any hard lines. The eye reads the space as real because it is real, just extended.
Copying background triangle of space beside the body to extend it
Here’s one I hadn’t seen demonstrated this clearly before. Bryce selects a small triangular section of background space beside the body, copies it, pastes it, and enlarges it slightly. By making the negative space around the body bigger, the body itself reads as smaller. It’s an optical principle: we perceive size relative to what surrounds it. She uses this particularly around the torso area. After pasting and scaling the background piece, she uses the Warp Tool to blend its edges, then erases any hard lines. The eye reads the space as real because it is real, just extended.
Step 6: Refine the Chin and Jaw Line With Cloning
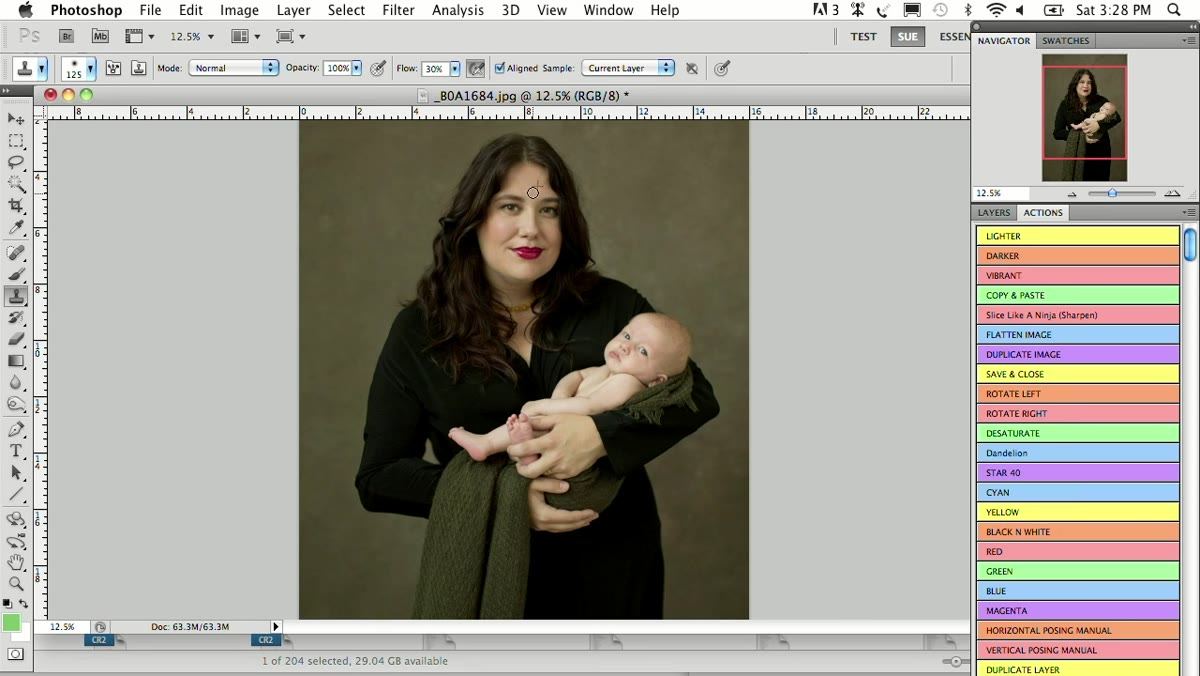 Cloning under the chin to elongate the jawline slightly
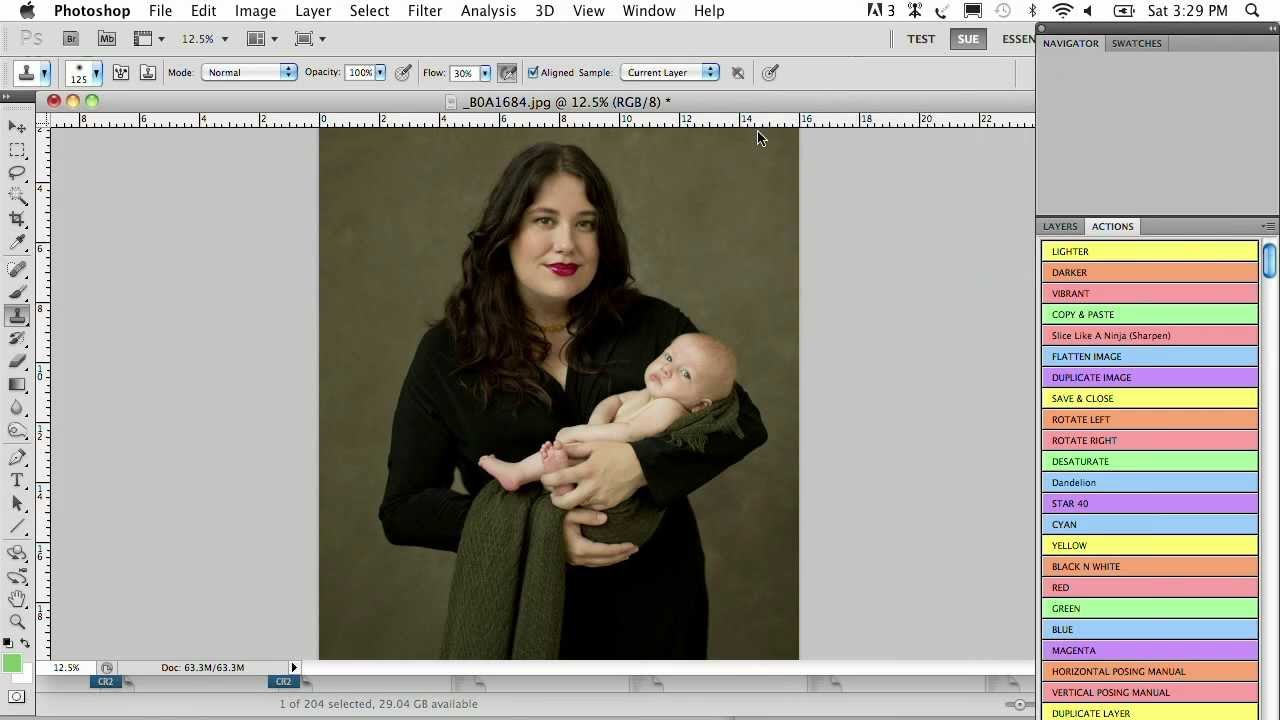
Once the body work is done, Bryce moves to the face for one specific adjustment: cloning under the chin to create a longer, cleaner jaw line. She uses the Clone Stamp Tool (S) to sample from the neck area and paint below the chin, effectively giving it a little more length. She’s not changing the face, she’s just extending the line that’s already there. This works especially well in three-quarter poses where the chin can compress toward the chest. Keep your clone stamp at a low opacity (around 40-50%) and build it up gradually so there’s no hard edge where the cloned area begins.
Cloning under the chin to elongate the jawline slightly
Once the body work is done, Bryce moves to the face for one specific adjustment: cloning under the chin to create a longer, cleaner jaw line. She uses the Clone Stamp Tool (S) to sample from the neck area and paint below the chin, effectively giving it a little more length. She’s not changing the face, she’s just extending the line that’s already there. This works especially well in three-quarter poses where the chin can compress toward the chest. Keep your clone stamp at a low opacity (around 40-50%) and build it up gradually so there’s no hard edge where the cloned area begins.
Step 7: Keep Your Total Edit Under Two Minutes
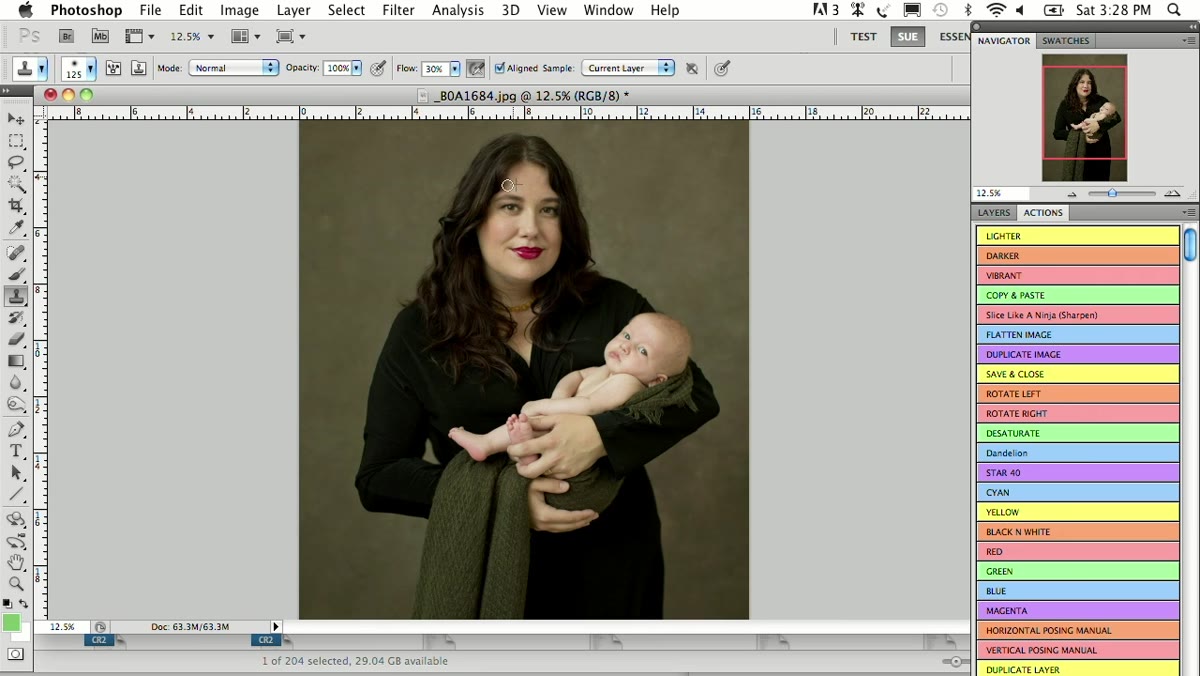 Full edited image on screen showing completed adjustments
Bryce says this directly and I want to pass it on because it reframed how I think about efficiency: once you know these tools, a full body contouring and face refinement edit should take about two minutes per image. Not because you’re rushing, but because you’re making four or five precise moves instead of twenty imprecise ones. Each move she makes is deliberate. She doesn’t revisit areas she’s already addressed. She accepts transforms quickly and moves on. Speed here is a byproduct of confidence and clarity, not cutting corners.
Full edited image on screen showing completed adjustments
Bryce says this directly and I want to pass it on because it reframed how I think about efficiency: once you know these tools, a full body contouring and face refinement edit should take about two minutes per image. Not because you’re rushing, but because you’re making four or five precise moves instead of twenty imprecise ones. Each move she makes is deliberate. She doesn’t revisit areas she’s already addressed. She accepts transforms quickly and moves on. Speed here is a byproduct of confidence and clarity, not cutting corners.
One Thing I’d Add From My Own Workflow
Bryce doesn’t mention this in the tutorial, but I always name my warp and contour layers descriptively before I merge anything. “left-arm-warp,” “background-space-right,” “chin-clone” – something that tells me exactly what that layer contains. When a client requests a revision two weeks later and I need to isolate one adjustment, named layers save me from rebuilding the entire edit from scratch. It takes three seconds per layer. Do it every time.
The single most important thing this tutorial teaches isn’t a specific tool, it’s a mindset. Effective body retouching is about strategic, targeted moves that respect what’s already in the image. You’re not rebuilding the photo. You’re finishing what good posing started. Keep your adjustments small, your selections generous, and your layers intact until you’re completely sure you’re done.
Watch the full tutorial on YouTube to see Bryce work through the full image in real time – watching her decision-making process, including what she chooses not to do, is just as instructive as the techniques themselves.
Comments
Leave a Comment