There’s a gap that most retouchers know intimately, even if we don’t talk about it out loud. We can fix almost anything in post. But when the light in the original image is genuinely good, the retouch work shrinks to almost nothing. The skin holds its texture. The shadows fall where they should. The whole edit takes a fraction of the time. That’s why I keep circling back to lighting education, even though my day job is retouching rather than shooting. Understanding what a well-lit image looks like at the capture stage makes me a sharper, faster editor every single time.
Watch the full tutorial on YouTube
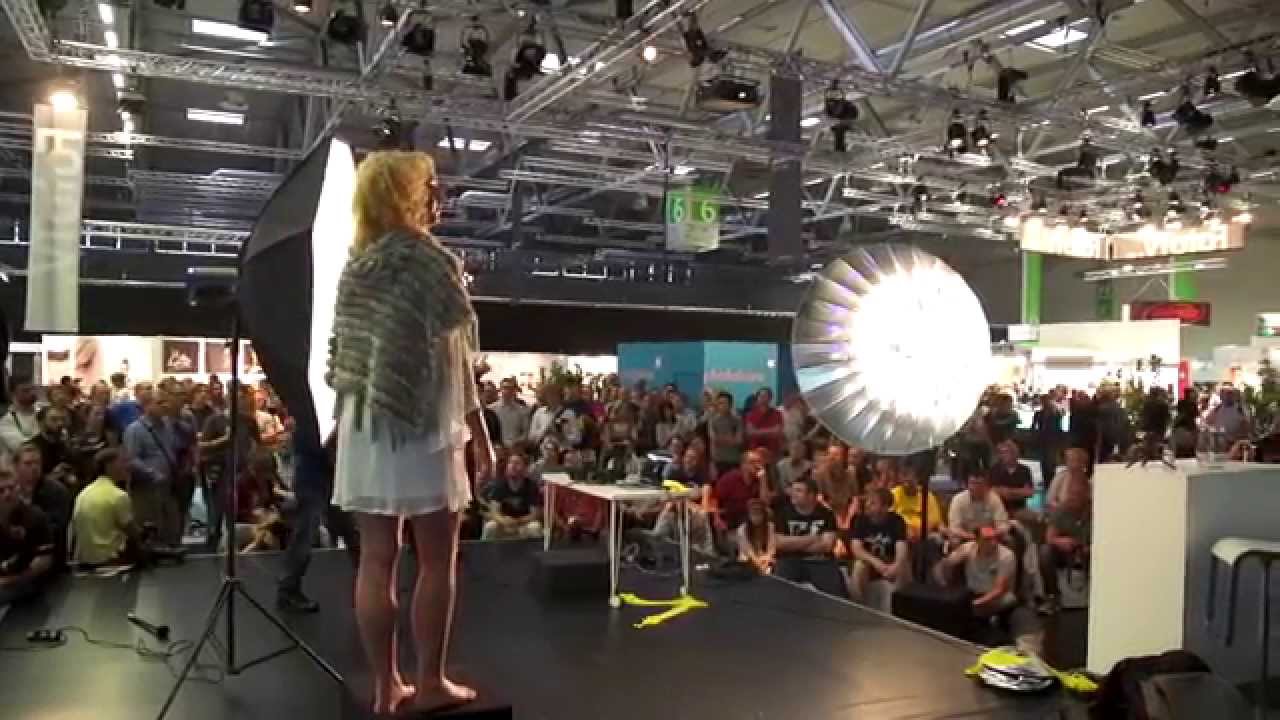
In this Visual Education tutorial, commercial photographer Karl Taylor runs a live beauty lighting demonstration at Photo Kina, working with Broncolor equipment to build a complete portrait setup, one light at a time, in front of a live audience. It is one of the clearest explanations of layered studio lighting I have seen, and the live-shoot format means you can actually watch the image change as each element is added. What follows is my walkthrough of his method, with enough detail that you can apply it in your own studio or flag it the next time you are evaluating a file for retouching.
Step 1: Start at the Back and Expose for the Background First
 Background glow from standard dish on white background
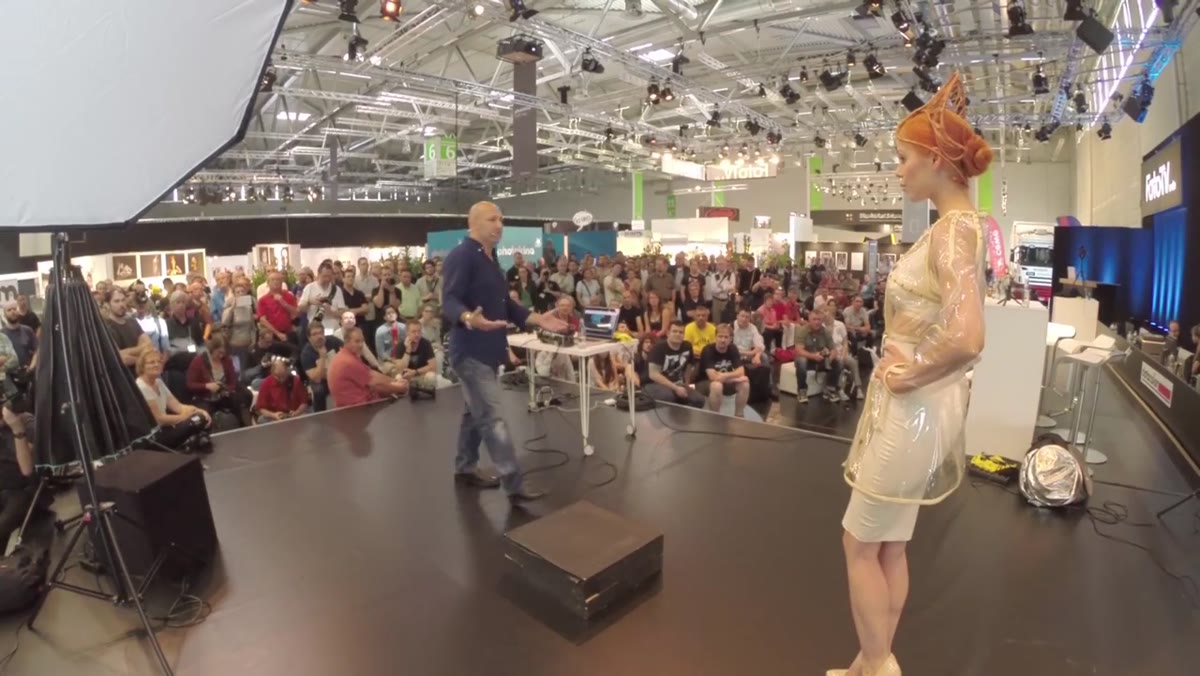
Before the model is lit at all, Karl fires his first test shots to evaluate the background light alone. He is using a standard P70 dish positioned behind the subject, and his first exposure reads too dark. He dials it up two stops before moving forward. This is the single habit that prevents the most common studio mistake: locking in your key light before you know what the background is doing.
Background glow from standard dish on white background
Before the model is lit at all, Karl fires his first test shots to evaluate the background light alone. He is using a standard P70 dish positioned behind the subject, and his first exposure reads too dark. He dials it up two stops before moving forward. This is the single habit that prevents the most common studio mistake: locking in your key light before you know what the background is doing.
For retouchers, this is worth noting because background exposure at capture determines how much masking and background correction work lands on your desk. A background that is slightly under or unevenly lit creates separation problems that are genuinely tedious to fix in post. When evaluating a raw file for beauty work, check the background before you look at the face.
Step 2: Introduce the Key Light as a Starting Point, Not a Final Answer
 Octabox 150 positioned in front of model, triangle light on face
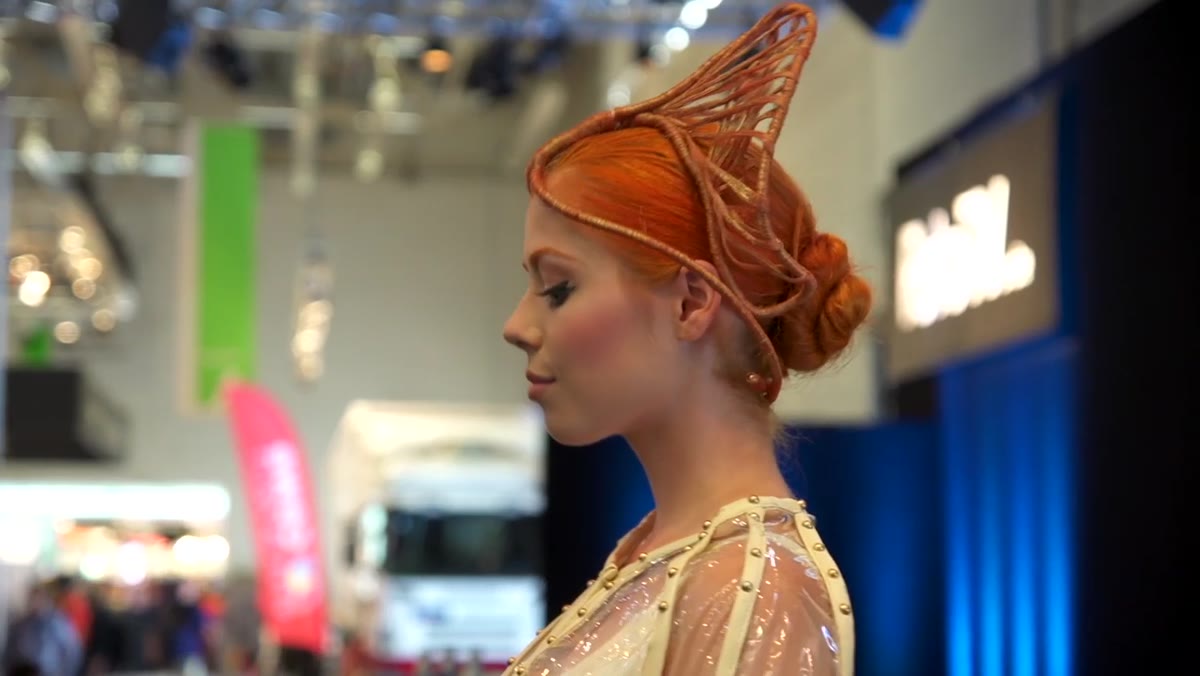
With the background dialed in, Karl brings in his main light: a 150cm octabox positioned to produce a classic triangle of light across the model’s face. He is not locking in settings yet. He is checking the shape and quality of the light before committing. The 150cm size gives a soft, wrapping light source that is flattering on skin without flattening all the facial dimension the way a very large softbox directly on-axis can.
Octabox 150 positioned in front of model, triangle light on face
With the background dialed in, Karl brings in his main light: a 150cm octabox positioned to produce a classic triangle of light across the model’s face. He is not locking in settings yet. He is checking the shape and quality of the light before committing. The 150cm size gives a soft, wrapping light source that is flattering on skin without flattening all the facial dimension the way a very large softbox directly on-axis can.
The triangle pattern he is looking for, a lit cheek with a small triangular highlight beneath the shadowed eye, is one of the most useful reference points for evaluating beauty work. When I am retouching a file and that triangle is clean and present, I know the photographer did their job. When it is muddled or absent, I know that certain skin texture and dimension that should be there simply is not in the data, and no frequency separation pass will put it back.
Step 3: Use a Reflector to Fill the Shadows Without Adding Another Power Source
 Reflector brought in close to model’s face, shadows visibly lifting
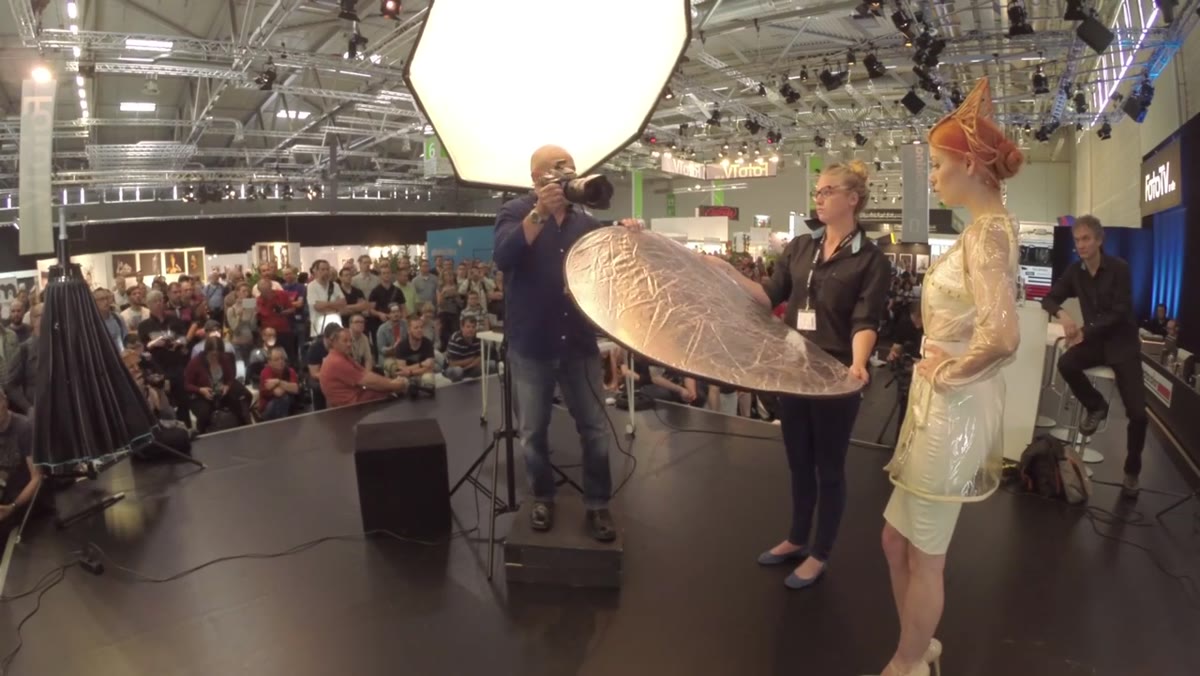
Rather than immediately reaching for a third light, Karl brings in a reflector to bounce the key light back into the shadow side of the face. The effect is significant and immediate, dramatically opening up the shadow side without creating a second distinct light source with its own directionality.
Reflector brought in close to model’s face, shadows visibly lifting
Rather than immediately reaching for a third light, Karl brings in a reflector to bounce the key light back into the shadow side of the face. The effect is significant and immediate, dramatically opening up the shadow side without creating a second distinct light source with its own directionality.
This is an underused technique that produces incredibly clean files for retouching. A reflector fill creates gentle, gradual shadow transitions rather than the hard edge you can get when two powered lights compete. Those gradual transitions mean skin texture reads more naturally, and dodging and burning in post requires far less aggressive work to look believable.
Step 4: Add a Third Light for Shape and Separation
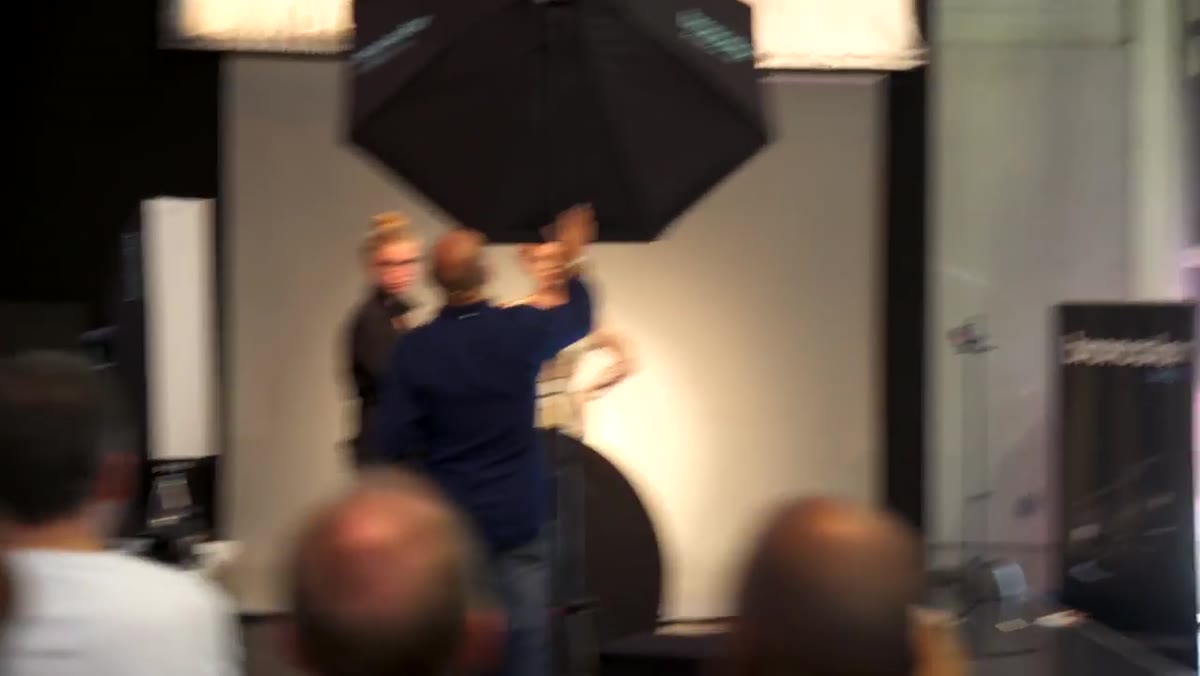 Softbox moved to side position, third light added for accent
Once the base setup is working, Karl repositions the softbox to a side angle and introduces a third light to add dimension and separation from the background. He takes a test shot to confirm the lighting has shifted intentionally rather than accidentally. The side-lit version reads more sculpted and editorial compared to the softer, more centered setup from the previous step.
Softbox moved to side position, third light added for accent
Once the base setup is working, Karl repositions the softbox to a side angle and introduces a third light to add dimension and separation from the background. He takes a test shot to confirm the lighting has shifted intentionally rather than accidentally. The side-lit version reads more sculpted and editorial compared to the softer, more centered setup from the previous step.
This is where you see the difference between lighting for a headshot and lighting for beauty or fashion. The third light is not corrective. It is expressive. For retouchers, images lit this way usually have strong, defined shadows on one side that need to be handled carefully during skin smoothing. Aggressive frequency separation or healing on a strongly directional side-lit face will kill the modeling and make your work look flat.
Step 5: Understand What a Parabolic Modifier Actually Does to Skin
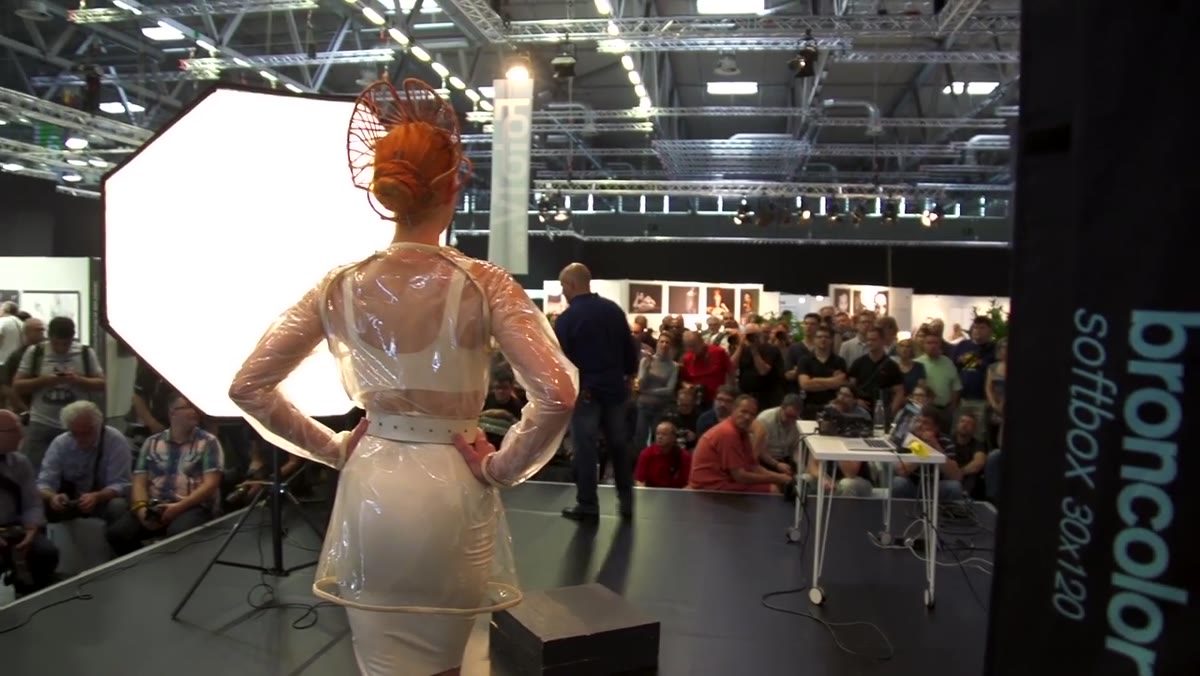 Parabolic light extended to ring position, model lit with even wrap
The final section of the demo is the most specialized. Karl switches to a Broncolor Para, a large parabolic reflector, pulling the flash head out to its extended position to create what he describes as a ring of 24 small, hard light sources around the edge of the modifier. The result is not the smooth gradient of a softbox. It is a very specific quality: bright, sharp-edged catchlights, smooth skin tones, and a wrap that stays consistent regardless of which direction the model turns.
Parabolic light extended to ring position, model lit with even wrap
The final section of the demo is the most specialized. Karl switches to a Broncolor Para, a large parabolic reflector, pulling the flash head out to its extended position to create what he describes as a ring of 24 small, hard light sources around the edge of the modifier. The result is not the smooth gradient of a softbox. It is a very specific quality: bright, sharp-edged catchlights, smooth skin tones, and a wrap that stays consistent regardless of which direction the model turns.
This is the modifier you will see credited for the “glowing skin” look in high-end beauty campaigns. From a retouching standpoint, files shot with a large para need very little skin work. The light does the flattering. What they often do need is careful highlight management, because that brightness on the skin can clip slightly in areas like the nose bridge or forehead if exposure is not controlled precisely at capture.
What I’d Add From My Own Experience
Karl’s method is ideal in a fully controlled studio environment. Where I see photographers run into trouble applying these principles is on location or in smaller spaces where a 150cm octabox is competing with ambient light they have not accounted for. My suggestion: always shoot a test frame at your working aperture with no strobes firing before you build your setup. That ambient frame tells you what you are actually fighting. I started doing this after spending too many sessions wondering why my carefully built setup was looking flat, only to realize daylight from a window two stops below my key light was still alive in the shadows and muddying everything.
Karl’s core principle, one light on at a time, confirmed before adding the next, is the most transferable skill in this entire demo. It applies whether you are photographing in a full production studio or a bedroom with two speedlights. And for those of us who spend more time behind a Wacom tablet than a camera, watching this kind of methodical light building is a genuine education in what we are actually trying to preserve when we retouch.
Watch the full tutorial on YouTube to see the full live demo, including the live audience shoot-along and the para demonstration in real time.
Comments (1)
Wow, I had no idea you could do this. Mind blown.
Leave a Comment