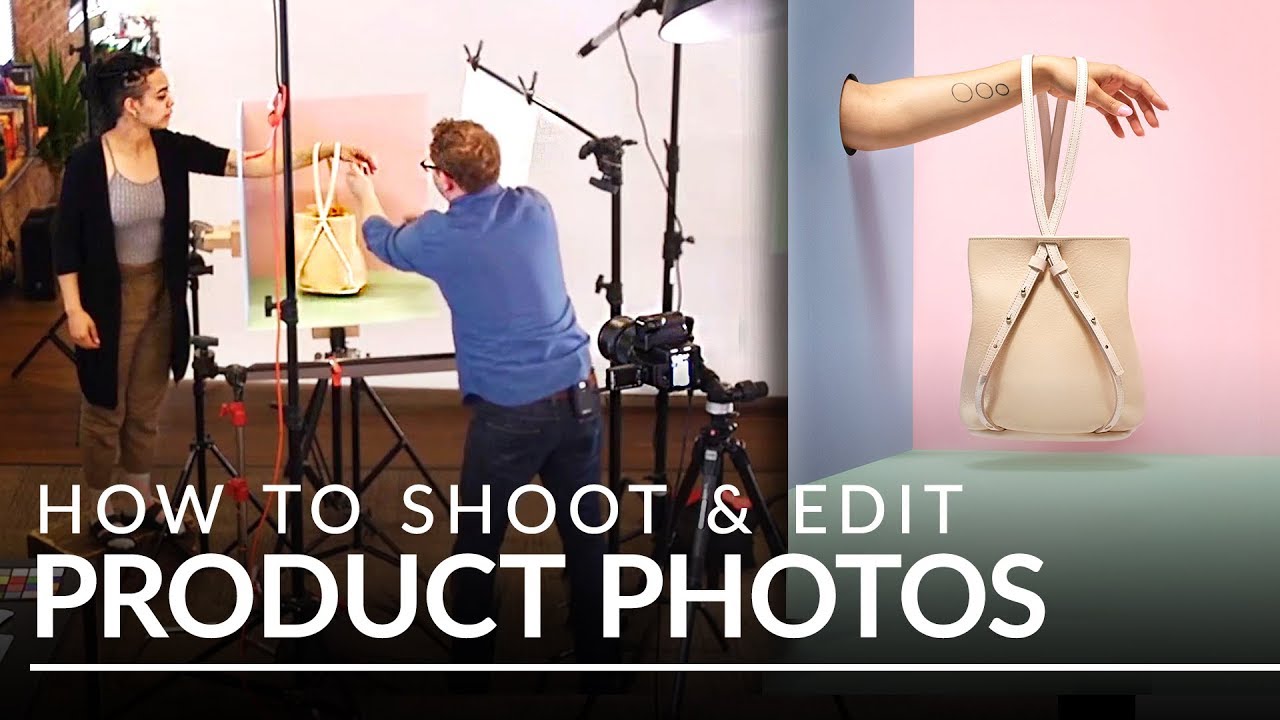
Product photography and portrait retouching overlap more than most people expect. When a beauty brand sends me a flat-lay or a packshot alongside a model image, the background work is often the thing that eats my afternoon. Wrinkled seamless paper, color casts bleeding into product surfaces, shadows that read as accidental rather than intentional. I’ve spent more time than I’d like to admit patching out the corner of a sweep or neutralizing a green bounce from a colored wall. So when I came across this Watch the full tutorial on YouTube tutorial from Aaron Nace at PHLEARN, featuring professional product photographer Ross Floyd, I kept pausing it to take notes.
Ross has shot over 70,000 individual products. That number stopped me cold when I first heard it. At that volume, you stop experimenting randomly and start building reliable systems. This tutorial, which covers a leather handbag shoot on a custom-colored set, is essentially a window into one of those systems. The photography decisions feed directly into the retouching decisions, and watching them work through problems in real time is more useful than any perfectly staged tutorial.
What I want to do here is walk you through the technique in the order they present it, because the logic builds on itself. Skip the lighting section and the Photoshop work won’t make as much sense.
Step 1: Build a Set That Controls Your Variables
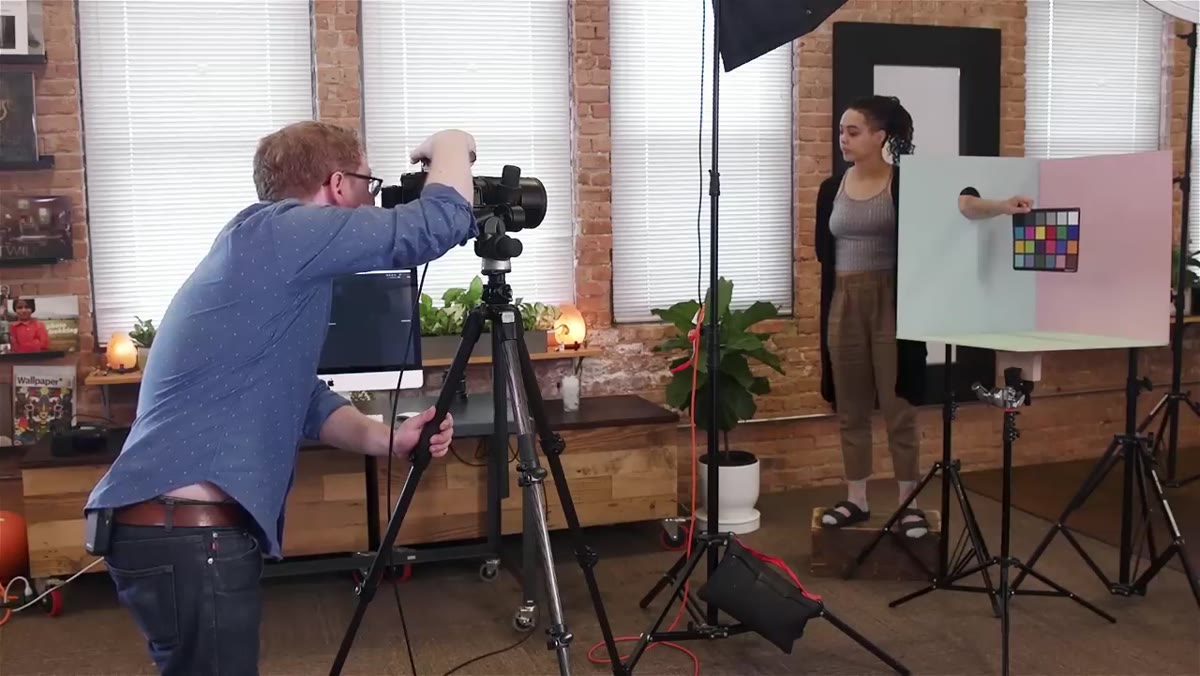 Three-sided MDF box set with hole drilled for model’s arm
Rather than shooting on open seamless paper, Ross and Aaron construct a three-sided box from MDF board. One panel has a hole cut through it so a model’s arm can pass through, holding the bag inside the set. This matters because a closed set gives you control over light spill and color environment. When you know exactly what surfaces are surrounding your subject, you can predict where color casts will come from and address them before they become a retouching problem. The lesson here isn’t “build a box every time” - it’s that intentional set design reduces the number of unknowns you’re solving in post.
Three-sided MDF box set with hole drilled for model’s arm
Rather than shooting on open seamless paper, Ross and Aaron construct a three-sided box from MDF board. One panel has a hole cut through it so a model’s arm can pass through, holding the bag inside the set. This matters because a closed set gives you control over light spill and color environment. When you know exactly what surfaces are surrounding your subject, you can predict where color casts will come from and address them before they become a retouching problem. The lesson here isn’t “build a box every time” - it’s that intentional set design reduces the number of unknowns you’re solving in post.
Step 2: Start with Maximum Diffusion, Then Pull Back
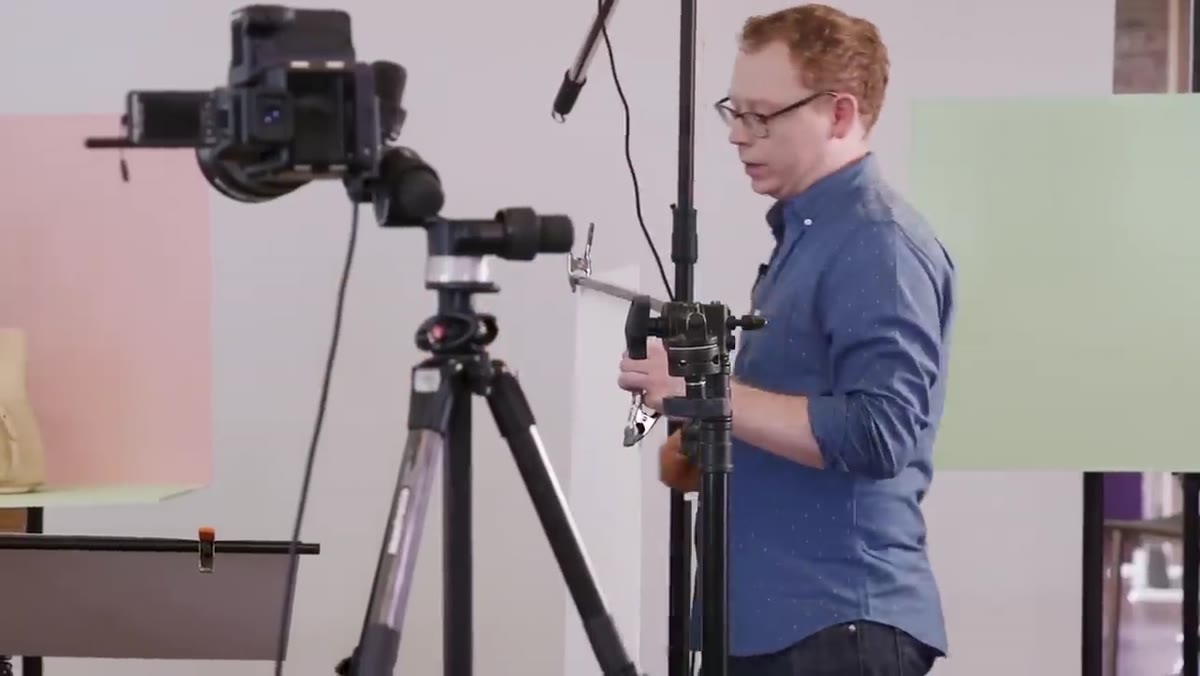
 Three-foot softbox with both diffusion baffles in place
Ross opens with a three-foot softbox running both diffusion baffles - the translucent panels that sit between the bulb and the subject. Full diffusion gives you the softest possible light, which is the safest starting point for any product with a reflective or textured surface like leather. From there, he removes one baffle to reduce diffusion and create slightly more directional light. This introduces subtle shadows that give the bag dimension and visual interest. The trade-off is that the exposure brightens because more raw light is passing through, so you compensate with your camera settings. The principle: start softer than you think you need, then introduce direction deliberately.
Three-foot softbox with both diffusion baffles in place
Ross opens with a three-foot softbox running both diffusion baffles - the translucent panels that sit between the bulb and the subject. Full diffusion gives you the softest possible light, which is the safest starting point for any product with a reflective or textured surface like leather. From there, he removes one baffle to reduce diffusion and create slightly more directional light. This introduces subtle shadows that give the bag dimension and visual interest. The trade-off is that the exposure brightens because more raw light is passing through, so you compensate with your camera settings. The principle: start softer than you think you need, then introduce direction deliberately.
Step 3: Use a White Bounce Card to Open Up Shadow Sides
 White foam core bounce card positioned beside the handbag
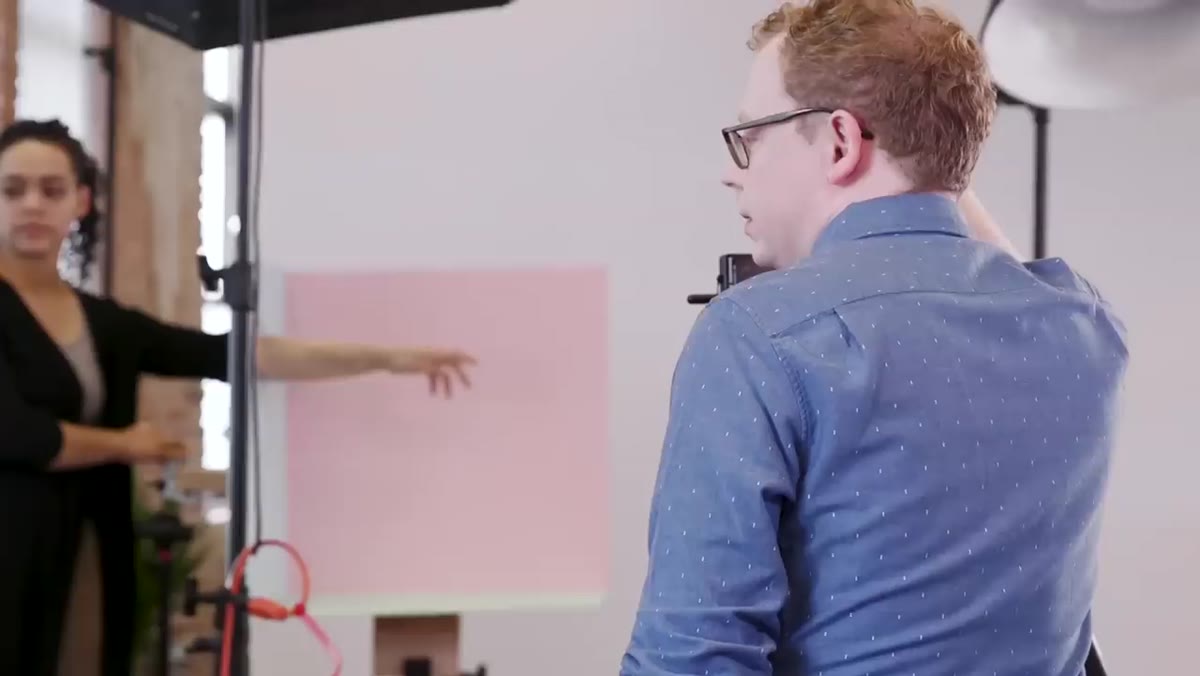
Once the bag is on the set, Ross notices the side facing away from the key light is falling into flat shadow. His fix is simple and free: a piece of white foam core positioned to catch overhead light and redirect it back onto the bag. Before and after the card is introduced, the difference is significant. The shadowed side of the bag goes from muddy and undefined to showing leather texture and depth. For retouching professionals, this is a reminder that what happens on set saves you from selective dodging later. A bounce card costs nothing and takes thirty seconds to position. That’s a trade I’ll always make.
White foam core bounce card positioned beside the handbag
Once the bag is on the set, Ross notices the side facing away from the key light is falling into flat shadow. His fix is simple and free: a piece of white foam core positioned to catch overhead light and redirect it back onto the bag. Before and after the card is introduced, the difference is significant. The shadowed side of the bag goes from muddy and undefined to showing leather texture and depth. For retouching professionals, this is a reminder that what happens on set saves you from selective dodging later. A bounce card costs nothing and takes thirty seconds to position. That’s a trade I’ll always make.
Step 4: Identify and Neutralize Color Casts on Set
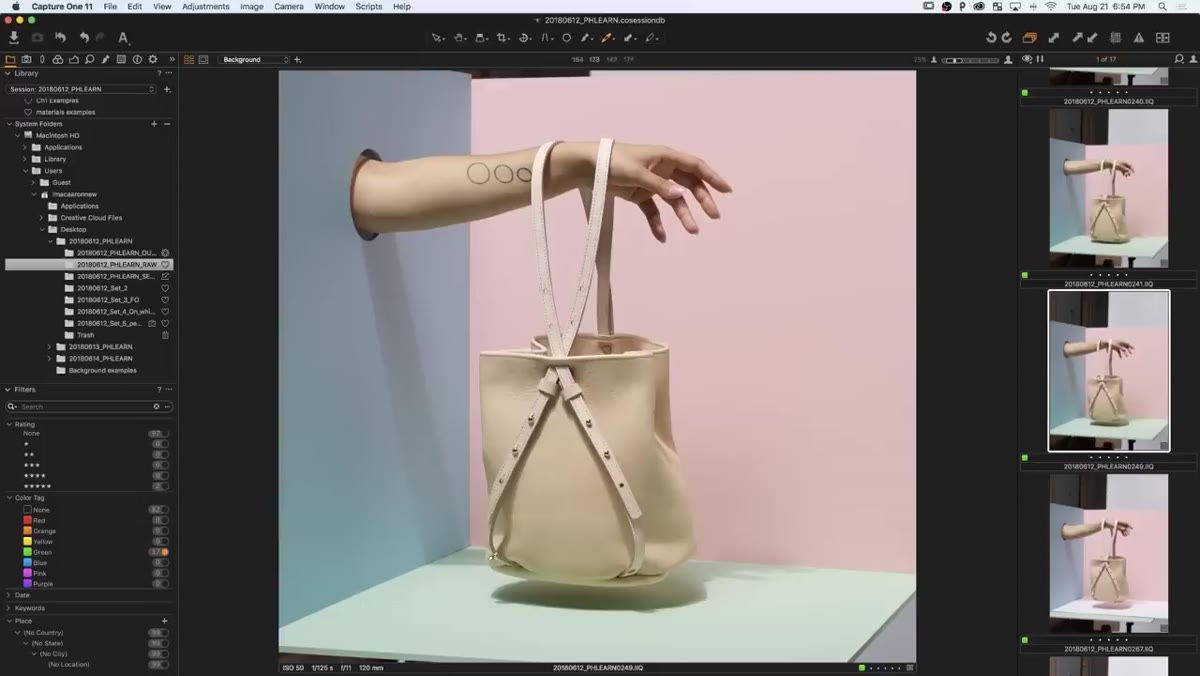 White balance card placed inside colored set to block green cast
This step is subtle but important. The green-colored set walls are reflecting a green cast directly onto the light-colored handbag. Ross introduces a white card inside the set to block that color bleed during initial shots. The goal is to capture the bag with neutral color first, then reintroduce the green environmental color in post where they can control it precisely. This is a smart split between capture and post. You’re not fighting two problems at once. You get a clean base image of the product, then composite or paint in the environmental color digitally. For anyone retouching product images after the fact, this is a useful clue about what a well-shot raw file should look like: neutral first, treated second.
White balance card placed inside colored set to block green cast
This step is subtle but important. The green-colored set walls are reflecting a green cast directly onto the light-colored handbag. Ross introduces a white card inside the set to block that color bleed during initial shots. The goal is to capture the bag with neutral color first, then reintroduce the green environmental color in post where they can control it precisely. This is a smart split between capture and post. You’re not fighting two problems at once. You get a clean base image of the product, then composite or paint in the environmental color digitally. For anyone retouching product images after the fact, this is a useful clue about what a well-shot raw file should look like: neutral first, treated second.
Step 5: Adjust Lighting When Shadows Read as Accidental
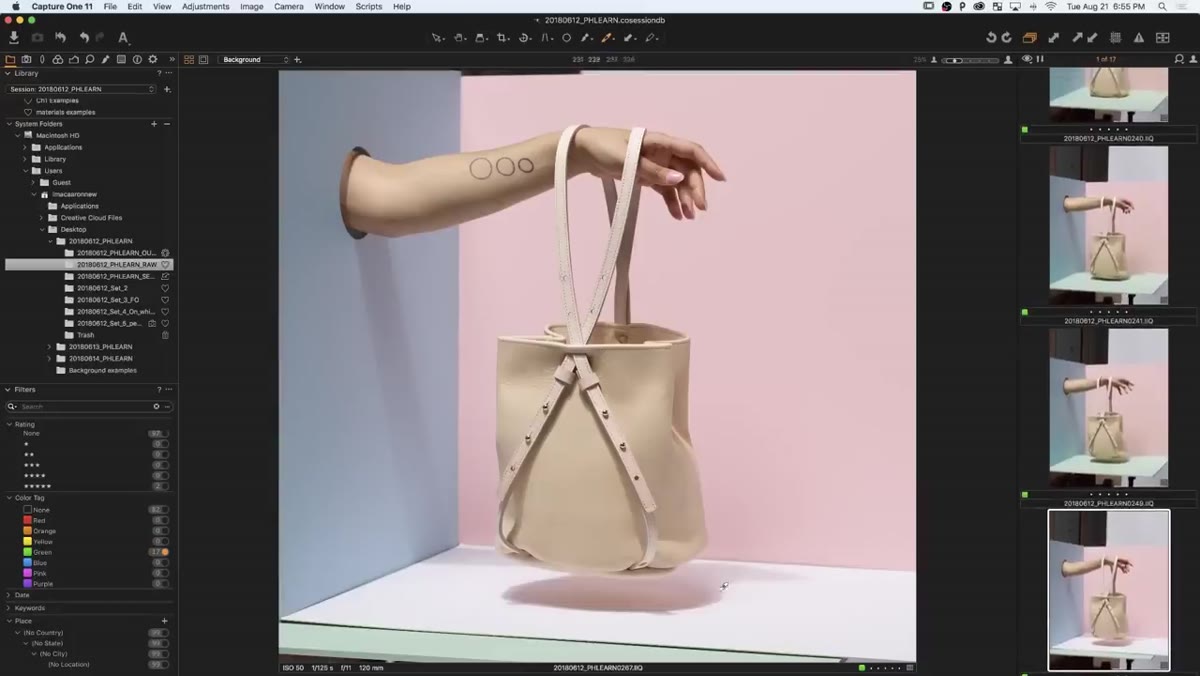 Side-by-side comparison of hard versus soft shadow beneath bag
After the model’s arm is reintroduced through the set hole, a new problem appears: the shadow cast by the arm reads as harsh and unintentional rather than as a deliberate compositional element. Ross and Aaron’s solution is to lower the light source (switching from the softbox to an octa bank) and add diffusion material back over the interior baffle - effectively doubling the diffusion. This softens the shadow edge considerably while keeping some directional quality. The side-by-side comparison in the video makes the improvement undeniable. The shadow goes from a hard line that the eye gets stuck on to a gentle gradient that supports the composition. When a shadow is the first thing a client notices, it’s already doing the wrong job.
Side-by-side comparison of hard versus soft shadow beneath bag
After the model’s arm is reintroduced through the set hole, a new problem appears: the shadow cast by the arm reads as harsh and unintentional rather than as a deliberate compositional element. Ross and Aaron’s solution is to lower the light source (switching from the softbox to an octa bank) and add diffusion material back over the interior baffle - effectively doubling the diffusion. This softens the shadow edge considerably while keeping some directional quality. The side-by-side comparison in the video makes the improvement undeniable. The shadow goes from a hard line that the eye gets stuck on to a gentle gradient that supports the composition. When a shadow is the first thing a client notices, it’s already doing the wrong job.
Step 6: Extend and Retouch the Background in Photoshop
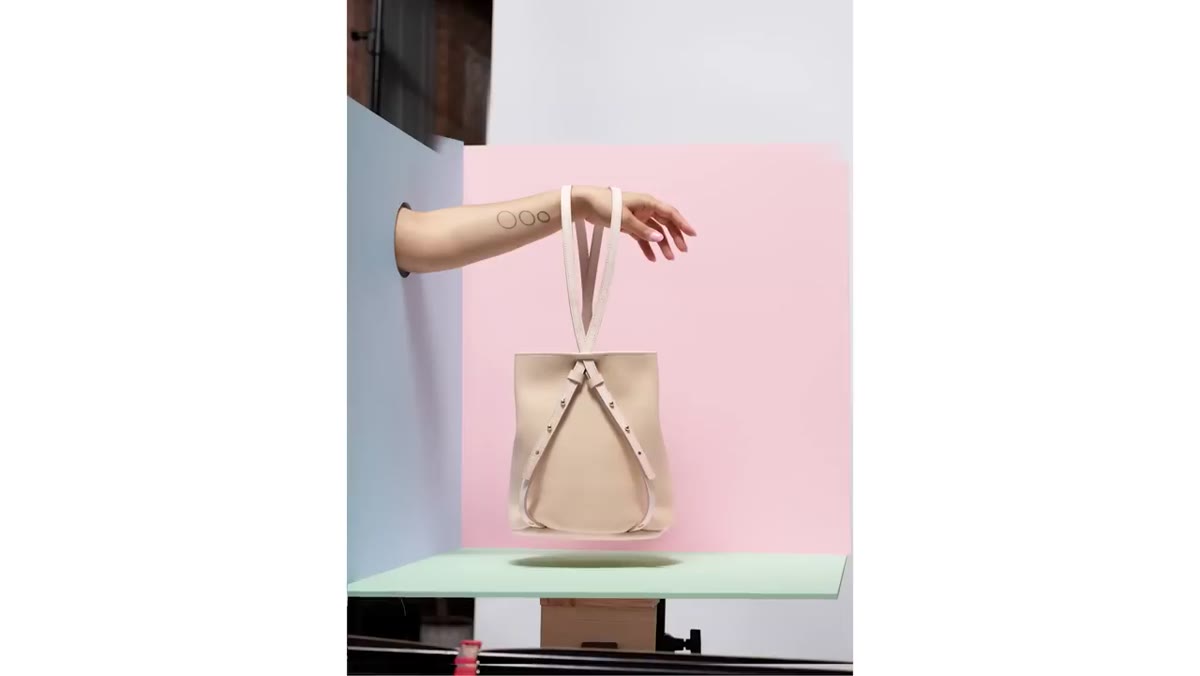 Photoshop workspace showing background extension in progress
The tutorial transitions into Photoshop for background retouching and extension. The core technique here is using Content-Aware Fill to extend the colored background beyond its original edges, then refining with the Clone Stamp and Healing Brush to remove any repeating patterns or seams Content-Aware introduces. The sequence matters: broad strokes with Content-Aware first, then detail refinement with clone work. Painting in adjustments on separate layers means you can reduce opacity or mask selectively if the generated texture doesn’t match exactly. The extended background should read as seamless - not just filled, but continuous.
Photoshop workspace showing background extension in progress
The tutorial transitions into Photoshop for background retouching and extension. The core technique here is using Content-Aware Fill to extend the colored background beyond its original edges, then refining with the Clone Stamp and Healing Brush to remove any repeating patterns or seams Content-Aware introduces. The sequence matters: broad strokes with Content-Aware first, then detail refinement with clone work. Painting in adjustments on separate layers means you can reduce opacity or mask selectively if the generated texture doesn’t match exactly. The extended background should read as seamless - not just filled, but continuous.
When Beauty Retouching Logic Meets Product Work
Coming from portrait and beauty retouching, the part of this tutorial that clicked hardest for me was the color cast management. In beauty work, we spend a lot of time dealing with color spill from clothing or backgrounds onto skin. The instinct is usually to fix it in post. But watching Ross block a cast at source with a white card, then reintroduce that environmental color intentionally, reframed the whole workflow for me. It’s the same principle I now apply when retouching product shots that come in with ambient color issues. Separate the neutralization from the color treatment. Don’t try to do both at the same time with a single Hue/Saturation layer and hope for the best. I’ve rebuilt that approach into one of my Photoshop action sets and it’s genuinely saved me time on every branded product job since.
The single most useful idea in this tutorial is that every problem you solve on set is a problem you don’t have to solve in Photoshop. Ross and Aaron demonstrate this repeatedly - adjusting a baffle, adding a bounce card, blocking a color cast - and each small intervention keeps the retouching work honest and efficient rather than remedial. Product photography and retouching aren’t separate disciplines here. They’re one continuous decision-making process.
Watch the full tutorial on YouTube to see the lighting comparisons and Photoshop background extension in real time - the before-and-after moments are worth seeing in motion.
Comments (2)
This saved me so much time on my last edit. Wish I'd found this sooner.
This is going in my reference folder. Incredibly useful.
Leave a Comment