Mastering Urban Portrait Retouching: A Complete Guide to the Bir Hakeim Bridge Technique
I’ve always found that some of the most transformative retouching lessons come from real-world shooting scenarios—especially when we’re working with the challenging lighting and composition that urban environments throw at us. In this excellent tutorial, Serge Ramelli shows us how to take a portrait shot at the iconic Bir Hakeim Bridge in Paris and transform it into a polished, professional image using systematic retouching and beauty editing techniques.
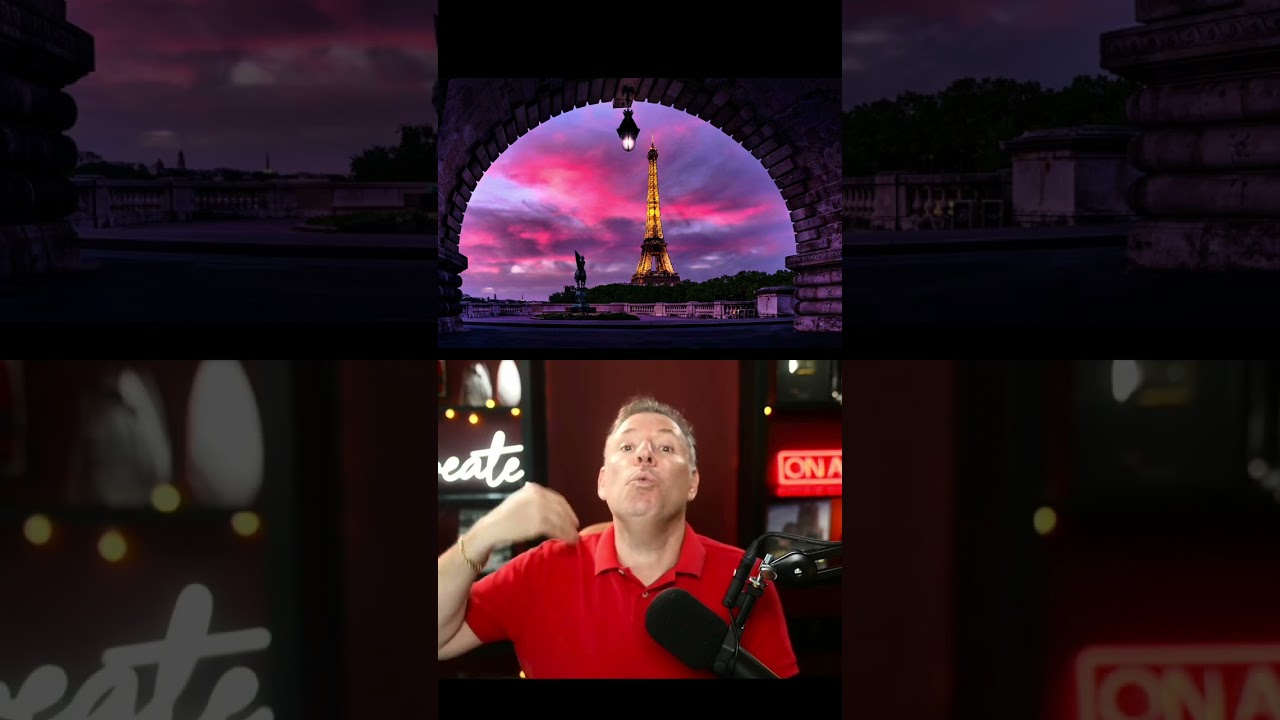
The Bir Hakeim Bridge—featured memorably in Christopher Nolan’s Inception—is one of Paris’s most photogenic locations. Its geometric iron architecture creates stunning leading lines and dramatic shadows, but it also presents real challenges for portrait work. Let me walk you through how we can master these challenges together.
Why This Tutorial Matters for Portrait Photographers
Before we dive into the techniques, I want to emphasize why this particular tutorial is so valuable. Many retouching courses focus on studio portraits in controlled lighting. But real work happens on location, with natural light, competing elements in the frame, and architectural elements that demand our attention. The Bir Hakeim Bridge scenario forces us to think critically about selective editing, maintaining natural skin tones while enhancing the environment, and creating cohesive compositions where both the subject and setting shine.
Setting Up Your Workspace for Success
When we approach a portrait like this, our first step is organizing our workspace effectively. Have your editing software ready—whether that’s Adobe Lightroom, Capture One, or another RAW processor—and make sure you’re working on a properly calibrated monitor in consistent lighting conditions. I always recommend starting with your RAW file, which gives us maximum flexibility in the shadows and highlights.
Load your image and take a moment to analyze what we’re working with. At the Bir Hakeim Bridge, we’re typically dealing with:
- Mixed lighting (natural sunlight filtered through the bridge’s iron structure)
- Strong contrasts between shadows and highlights
- A subject that needs to stand out from busy architectural backgrounds
- Potentially unflattering shadows on the face from overhead architectural elements
Step 1: Create a Solid Foundation with Exposure and White Balance
Our first adjustment isn’t about beauty—it’s about correctness. Start by establishing proper white balance. The bridge’s iron creates cool, bluish tones that can cast an unnatural color temperature on skin. We want to warm this up slightly, but not so much that we lose the mood of the location.
Next, address your overall exposure. If your subject’s face is in shadow due to the bridge’s structure, we’ll use exposure compensation carefully. Here’s my tip: instead of crushing the entire image bright, I prefer to use targeted adjustments. This way, we preserve the dramatic quality that makes urban portraits compelling while ensuring the face remains properly exposed.
Step 2: Selective Skin Retouching Without Over-Processing
This is where many retouchers go wrong. We want to enhance, not erase. When we’re working on portraits at architectural locations, the skin should still look like skin. I recommend using a combination approach:
For blemish removal: Use the healing brush or spot removal tool for any distracting spots, but maintain skin texture. We’re cleaning up, not smoothing into plastic.
For tone evening: Apply a subtle adjustment to even out skin tone, particularly around areas where the bridge’s shadows create uneven lighting on the face. Do this selectively—you don’t need to touch areas that already look natural.
For texture: If needed, apply a light clarity or texture reduction. I tend to be conservative here, especially with skin. A little texture reads as natural; too much smoothing reads as edited.
Step 3: Enhance the Eyes and Lips
The eyes are our subject’s connection point to the viewer. In urban portraits where they might be shadowed, we can subtly enhance them:
- Brighten the whites slightly (but keep them realistic)
- Deepen the iris just a touch to make them pop
- Add a subtle highlight to catch light
For lips, if the lighting has washed them out, we can bring back color and definition selectively. The key word here is “selectively”—we’re not painting new lips, we’re revealing what’s already there.
Step 4: Create Context by Enhancing the Background
Here’s where this tutorial particularly shines. The Bir Hakeim Bridge isn’t just background—it’s a character in the image. We want to enhance it without letting it overwhelm our subject.
Increase clarity and definition on the bridge’s metalwork, enhance the contrast to make its geometric patterns pop, and adjust the color to complement your subject’s skin tones. If the sky is visible, we might enhance that separately. The key is working in layers and masks so we’re not affecting the subject while we’re enhancing the environment.
Step 5: Apply Presets Strategically
Serge Ramelli is known for his excellent preset collections, and this tutorial covers how to use presets as a starting point rather than a finish line. Load a cityscape preset that resonates with the mood you want, then customize it. Reduce the intensity if it’s too strong, and always prioritize your subject’s appearance over the preset’s overall aesthetic.
Final Touches and Exporting
Once we’ve completed our retouching, we want to step back and view the full image. Does the subject stand out? Does the background enhance rather than distract? Are the colors harmonious? Make final micro-adjustments, then export with appropriate sharpening for your intended use.
Watch the Complete Tutorial
While I’ve broken down the key principles here, the real magic happens when you watch Serge walk through these steps in real-time. You’ll see his decision-making process, understand the nuances of when to push an adjustment and when to pull back, and learn the efficiency tricks that separate professionals from enthusiasts.
What aspects of portrait retouching do you find most challenging? I’d love to hear about your experiences in the comments below.
Watch the full video below:
Comments (5)
Is there a Lightroom equivalent for this or is it strictly a Photoshop technique?
Short, practical, and to the point. More of this please.
Would this approach work the same way with natural light instead of strobes?
Great article, though I think the difficulty depends a lot on your gear.
I've been building presets around concepts like this. Really useful breakdown.
Leave a Comment