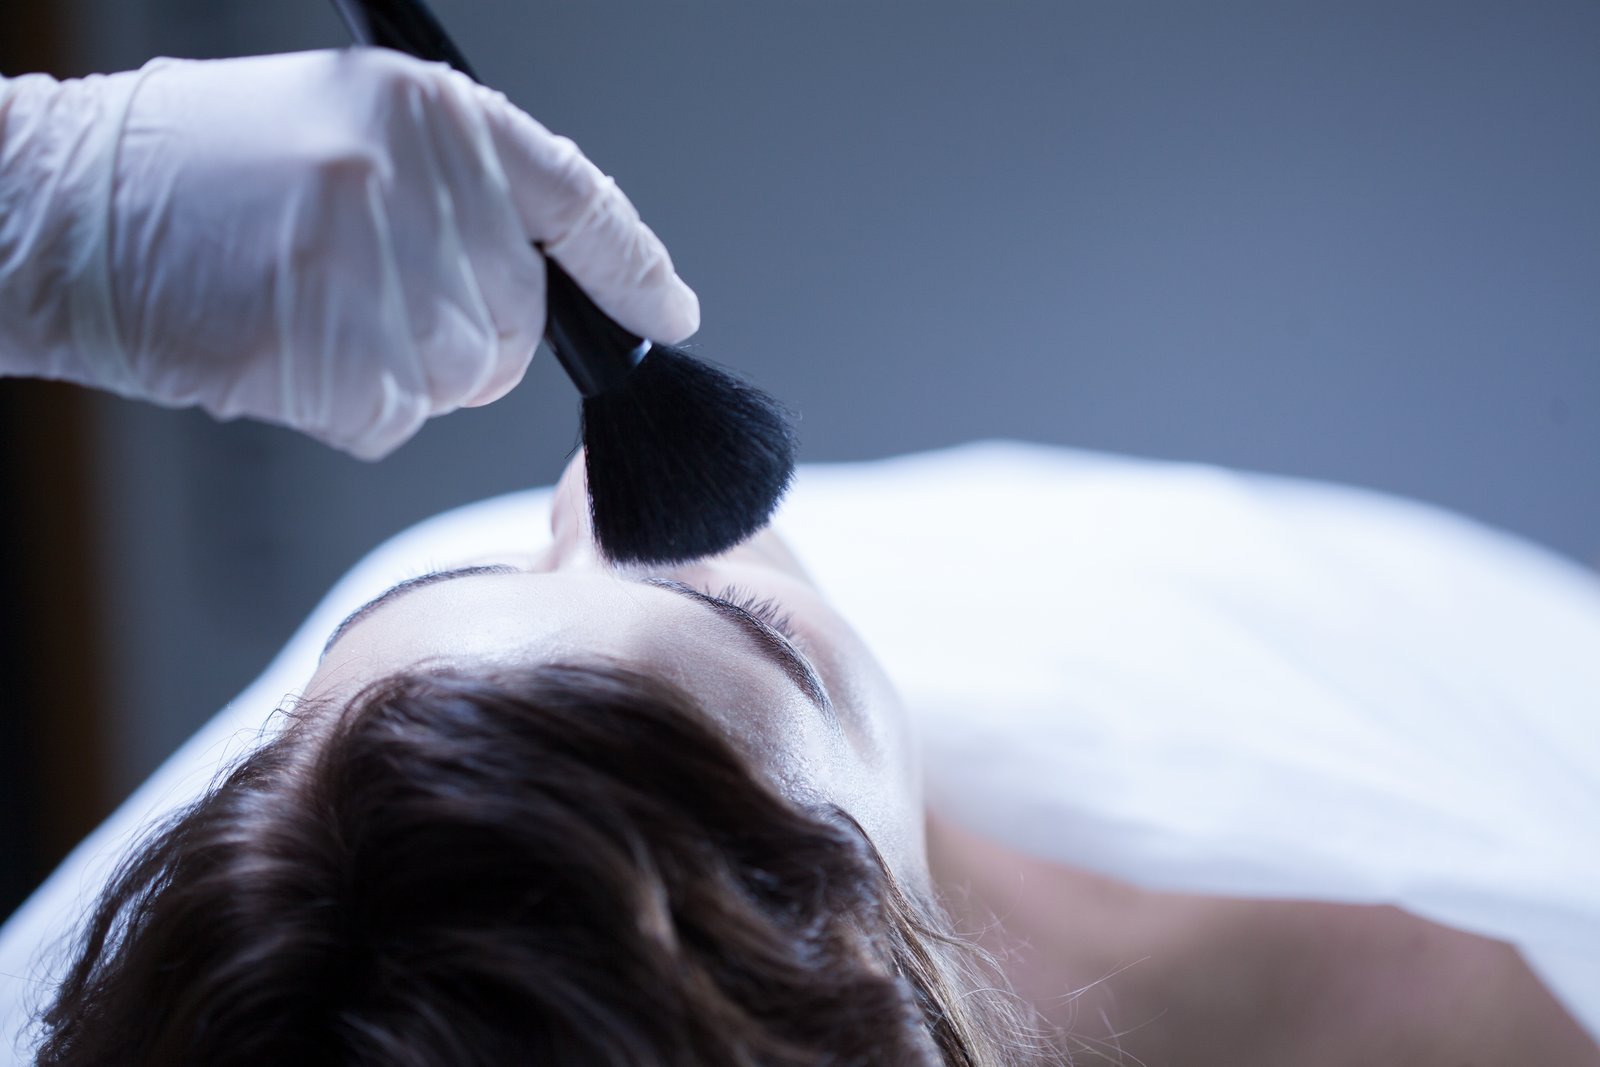
A few years into doing this work, I had a client send back a fully retouched beauty shot with a single line of feedback: “Can you fix the collar?” I zoomed out and there it was, a small wrinkle in the model’s shirt that I had somehow completely tuned out for the entire two hours I’d spent on her skin. I had gone straight into pore work and left a distracting wardrobe problem sitting right in the frame. That job taught me something I now repeat to every student in my workshops: cleanup is not the boring part you rush through to get to the fun stuff. It is the foundation everything else sits on.
What “Cleanup” Actually Means, and Why It’s Not Just Spot Healing
Most retouchers think of cleanup as removing blemishes, and that’s part of it, but the real goal is removing visual noise so your eye can read the image clearly. The human brain is constantly scanning for anomalies. A stray hair crossing the lip line, a lint speck on a dark jacket, a slightly uneven eyebrow tail, these things pull attention even when a viewer can’t name exactly why the image feels off. When you retouch skin beautifully but leave that noise in place, you’ve built a gorgeous room with a pile of shoes in the doorway.
Technically, you’re also protecting yourself downstream. When you start frequency separation or any luminosity-based technique on a file that still has physical distractions, those distractions get baked into your texture and color layers in ways that are genuinely painful to undo later. Clean first. Always.
The Order of Operations That Saves You Time
I work through every portrait in the same sequence before I touch skin. I call this pass my “Rear Window” layer, named after the Hitchcock film, because the whole job is to notice what you’d normally look past.
Start at 100% zoom in the upper left corner and pan slowly across the entire frame. Not to retouch, just to look. I keep a sticky note next to my monitor and jot down anything that catches my eye: flyaway hairs, catchlight reflections showing something that shouldn’t be there, fabric issues, jewelry that’s turned the wrong way. This pass takes about three minutes and saves me from the collar situation every single time.
Then I work the list:
Flyaways first. I use the Clone Stamp at 10 to 15% opacity, sampling from nearby clean areas of the background or hair edge. Healing tools smear edge contrast and create that telltale blur halo. For hairs crossing skin, I drop to 8% opacity and build up slowly rather than making one heavy stroke at 60%.
Background and clothing second. The Content-Aware Fill workspace in Photoshop (Edit, Content-Aware Fill) handles most fabric wrinkles well if you make a loose selection about 30 pixels outside the problem area. For anything near a sharp edge, like a collar or a jacket lapel, I switch to the Patch tool with Content-Aware mode off and source from a clean section manually. Takes an extra 90 seconds and the result is always cleaner.
Face and neck last within the cleanup pass. I’m not doing skin retouching here, just removing active blemishes, any hard-edged marks, and anything that won’t be there in a week. I use Healing Brush (not Spot Healing) at 100% hardness with a brush size about 10% larger than the blemish, sampling from the nearest matching tone and texture. The key is to sample close. Sampling from two inches away on the cheek to heal a forehead spot is how you get that flat, plastic look that everyone, and I mean everyone, can spot immediately.
The Layer Setup That Keeps Cleanup Non-Destructive
I never do any of this on the background layer. My cleanup work lives on a stamped visible layer (Cmd+Opt+Shift+E on Mac, Ctrl+Alt+Shift+E on Windows) sitting at the top of my stack, named “cleanup” and dated. If a client comes back six weeks later with a revision, I can delete that one layer and re-run the pass without unwinding hours of skin work.
For healing and cloning, I also keep a separate blank layer above the cleanup layer for anything I’m unsure about. I set the Clone Stamp and Healing Brush to “Current and Below” in the toolbar, which lets them sample from the layers underneath while writing only to my blank layer. If I hate what I did, I erase just that piece without touching anything else.
The Moment I Stopped Skipping This Step
Early in my retouching career, I had a beauty client whose image I spent nearly four hours on. I was still learning and deeply proud of the skin work. When I delivered it, her first comment was that she could see a reflection of the photographer’s arm in the model’s eye. I had never looked at the catchlights closely. I had to go back, retouch the iris, and re-export, but more than that, I had to sit with the fact that I had handed over work I hadn’t fully examined. I still keep a screenshot of that original file. It reminds me that no technique matters if you haven’t looked at the whole image first.
Making Cleanup a Habit, Not a Chore
The retouchers I see struggling most with cleanup are the ones treating it as a gate they have to pass through before the “real” retouching begins. When you shift the frame and start treating cleanup as diagnostic work, as the pass where you actually understand what the image needs, it stops feeling like overhead and starts feeling like craft.
Slow down at the start, and everything after it moves faster. That’s the whole lesson, right there.
Comments (3)
I've watched a dozen tutorials on this and yours is the clearest by far.
This is the kind of content that keeps me coming back.
Well explained. I think my audience would really benefit from this — mind if I link to it?
Leave a Comment