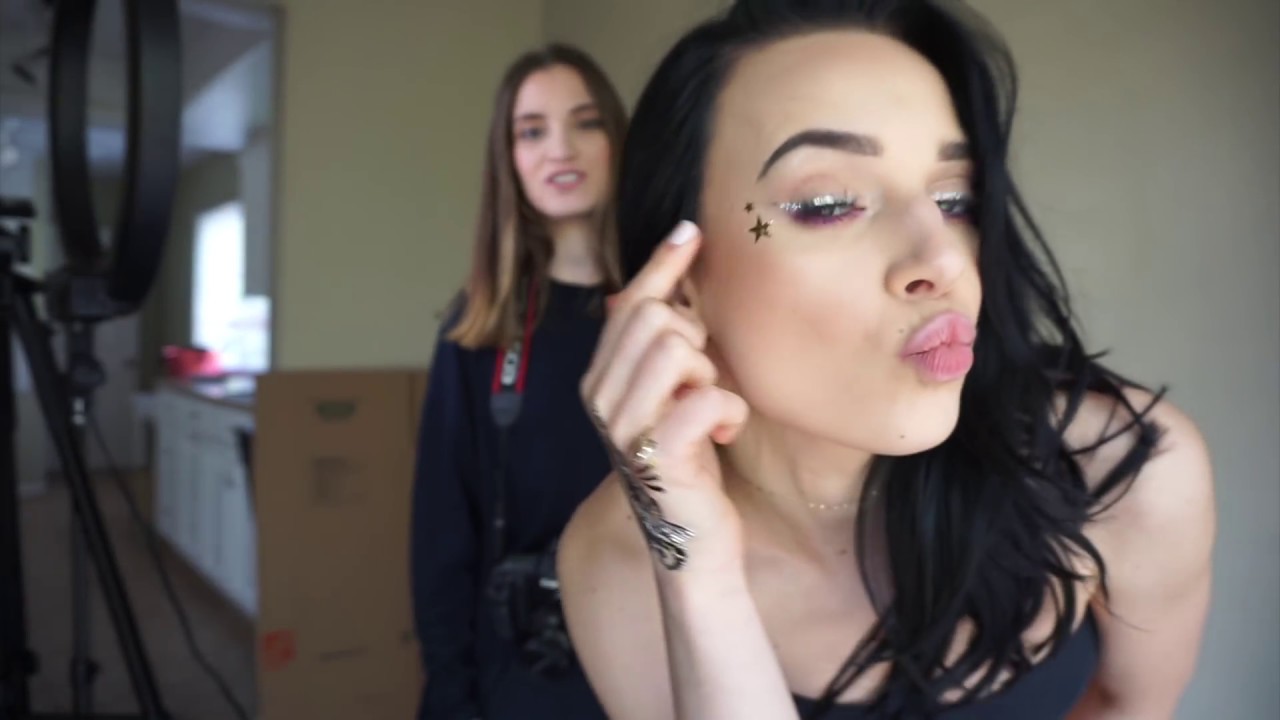
There’s a version of beauty photography that demands a full studio, a rack of modifiers, and an assistant who knows exactly what a “scrim” is. And then there’s the version most of us actually work in: a spare room, a single continuous light source, and a subject who’s ready to shoot right now. I spent years thinking the first version was the only legitimate one. It took watching working photographers like Jessica Kobeissi set up a gorgeous beauty shoot with a single ring light in what looks like a home living room to shake that belief loose. In this Jessica Kobeissi tutorial, she walks through the final look of a multi-setup beauty shoot, using a Diva Ring Light as the primary source and a compact macro lens to pull detail shots that most 50mm primes simply cannot deliver. Watch the full tutorial on YouTube
What makes this tutorial useful beyond the camera talk is the practical decision-making on display. Jessica isn’t just showing us a finished shoot. She’s narrating the small choices, the lens swap reasoning, the positioning relative to a window, the moment she decides a shot is worth showing her subject immediately. For those of us who do the retouching after the photographer hands off the files, understanding why a shot was lit and framed a certain way changes how we approach the edit. Light captured well at the source means less reconstruction work later. That’s not a minor point. That’s the whole game.
I came up through wedding photography, and the habit I had to unlearn was always fixing problems in post rather than solving them in camera. Beauty work forced me to reverse that. When skin texture, catchlights, and edge detail are all pulling the shot together at capture, the retouching becomes refinement rather than rescue. This shoot is a clean example of that philosophy in action.
Step 1: Choose Your Light Source Intentionally
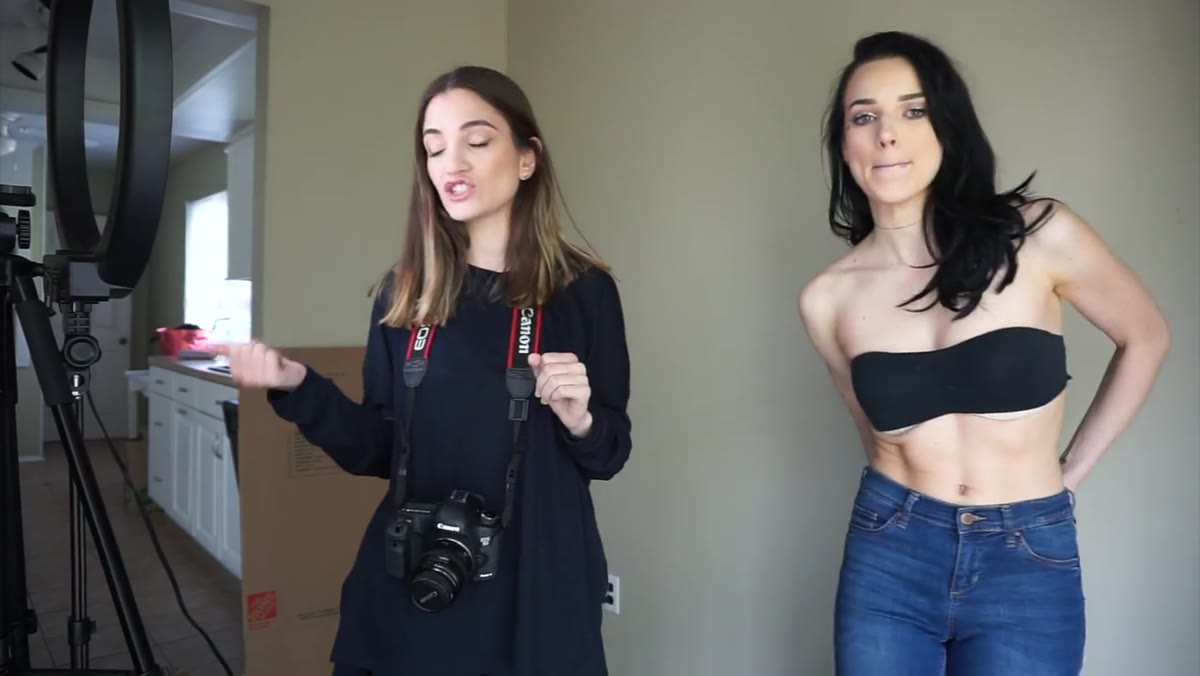 Ring light positioned as primary light source for beauty subject
The ring light here is doing more than just illuminating the subject. It creates that signature circular catchlight in the eye that has become synonymous with beauty and makeup photography. Jessica positions her subject directly in front of the ring light so the reflection reads cleanly in the iris. If you’re setting this up yourself, the subject’s eyes should be roughly centered with the ring so the catchlight appears symmetrical. A ring light placed too high or to the side loses that centered reflection, which is one of the key visual signatures of this style.
Ring light positioned as primary light source for beauty subject
The ring light here is doing more than just illuminating the subject. It creates that signature circular catchlight in the eye that has become synonymous with beauty and makeup photography. Jessica positions her subject directly in front of the ring light so the reflection reads cleanly in the iris. If you’re setting this up yourself, the subject’s eyes should be roughly centered with the ring so the catchlight appears symmetrical. A ring light placed too high or to the side loses that centered reflection, which is one of the key visual signatures of this style.
She also notes that a window to the side is contributing some fill, which softens any shadow that the ring alone might cast. If you’re shooting in a room with natural light, don’t fight it. Work out which direction it’s coming from, position your ring light as the dominant source facing the subject, and let the window act as a gentle secondary fill. The key is that the ring is clearly the primary. When the sources compete, the image loses the clean, graphic quality that makes beauty work pop.
Step 2: Select a Macro Lens for Detail and Eye Close-Ups
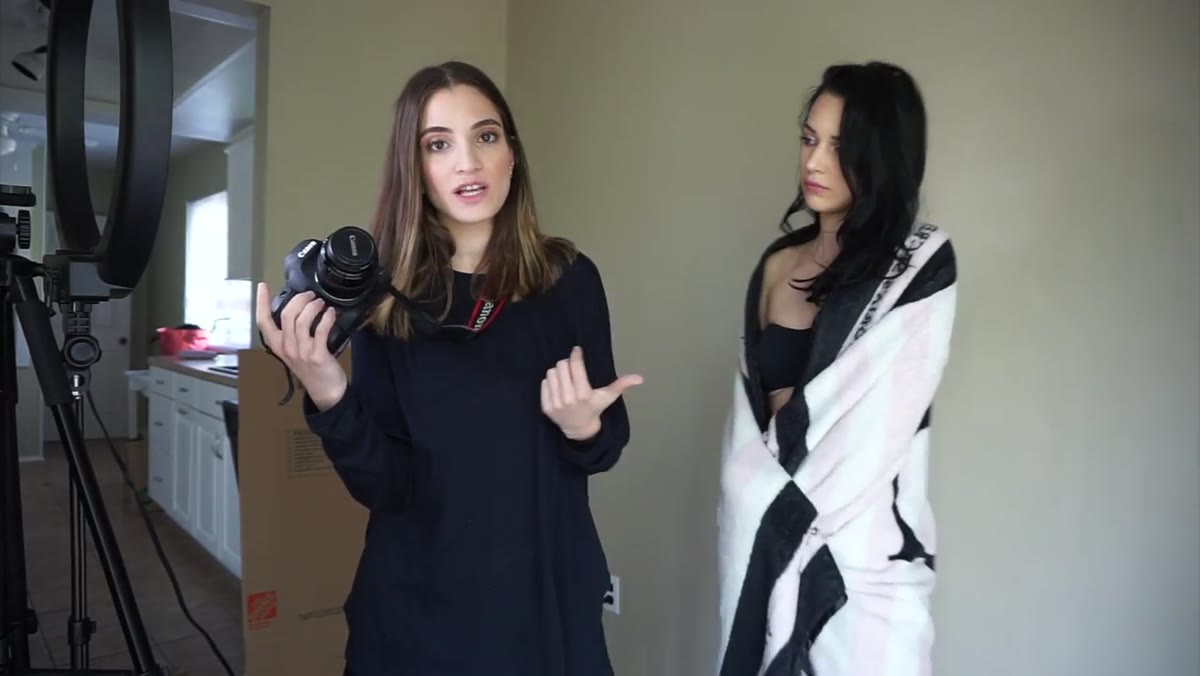 Compact macro lens shown and discussed as tool for detail shots
Jessica switches to a compact macro lens for this look specifically because she wants to capture the star details in the eye makeup and the fine eyeliner work that a standard 50mm at its minimum focus distance would blur out or compress. A macro lens lets you get physically close to the subject while maintaining sharp focus on small, intricate details. For beauty work, this is the difference between an eye shot that reads as decorative and one that communicates the actual artistry of the makeup.
Compact macro lens shown and discussed as tool for detail shots
Jessica switches to a compact macro lens for this look specifically because she wants to capture the star details in the eye makeup and the fine eyeliner work that a standard 50mm at its minimum focus distance would blur out or compress. A macro lens lets you get physically close to the subject while maintaining sharp focus on small, intricate details. For beauty work, this is the difference between an eye shot that reads as decorative and one that communicates the actual artistry of the makeup.
The lens she uses was bought secondhand for around $200, which is worth noting. You do not need to spend $800 on a brand-new macro to get quality results. A used compact macro in good optical condition will produce shots your standard portrait prime cannot. If you’re doing beauty work regularly and shooting close-up eye, lip, or skin detail, a macro is a genuinely useful addition to your kit rather than a specialty indulgence.
Step 3: Position the Subject for Both Light and Lens
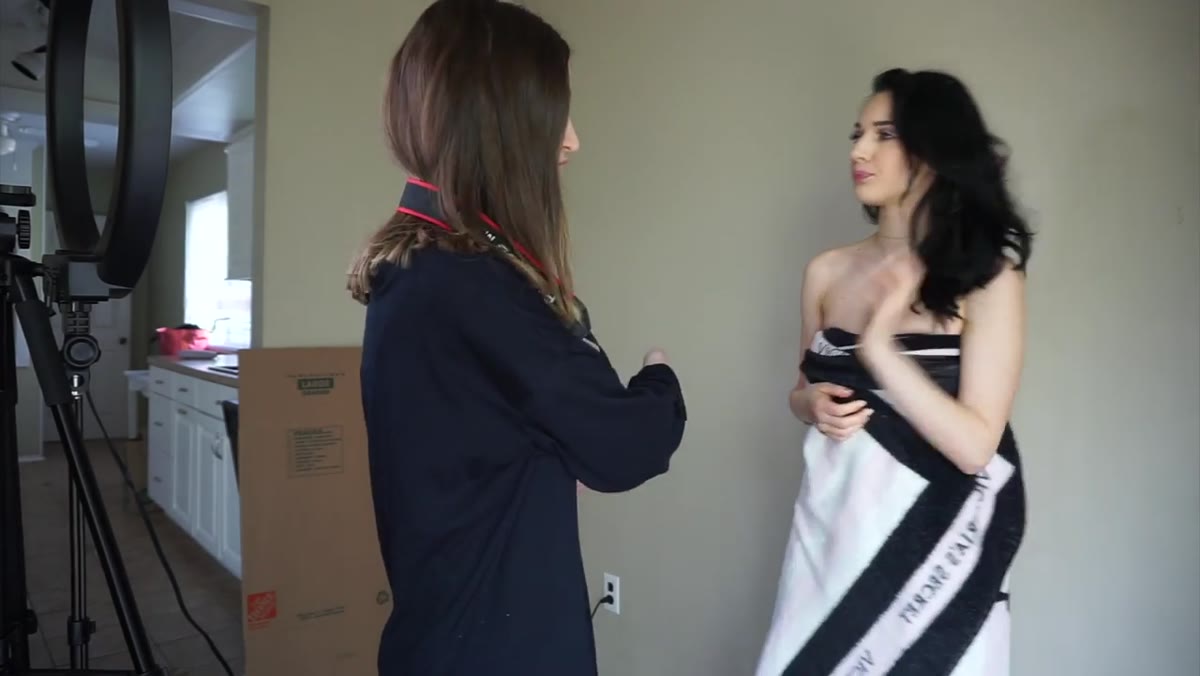 Subject standing directly in front of ring light for portrait
With the ring light set and the macro in hand, subject placement matters more than it might with a broader light source. Jessica has her subject standing close enough to the ring that the light wraps the face rather than grazing it. Too far back and the ring loses its softness; too close and you risk harsh, flat light with no dimension. The sweet spot is typically one to two feet from the ring, adjusted based on the size of the fixture.
Subject standing directly in front of ring light for portrait
With the ring light set and the macro in hand, subject placement matters more than it might with a broader light source. Jessica has her subject standing close enough to the ring that the light wraps the face rather than grazing it. Too far back and the ring loses its softness; too close and you risk harsh, flat light with no dimension. The sweet spot is typically one to two feet from the ring, adjusted based on the size of the fixture.
Because the macro lens requires the photographer to work at closer distances than a 50mm or 85mm would, the subject needs to stay relatively still. Small movements that would be invisible at a portrait distance become noticeable at macro range. Communicating this to your subject before you shoot saves both of you frustration. Jessica briefly mentions this, noting that any flyaways or movement close to the lens will show up in the image and need attention in retouching later.
Step 4: Manage Flyaways at the Shoot, Not in Post
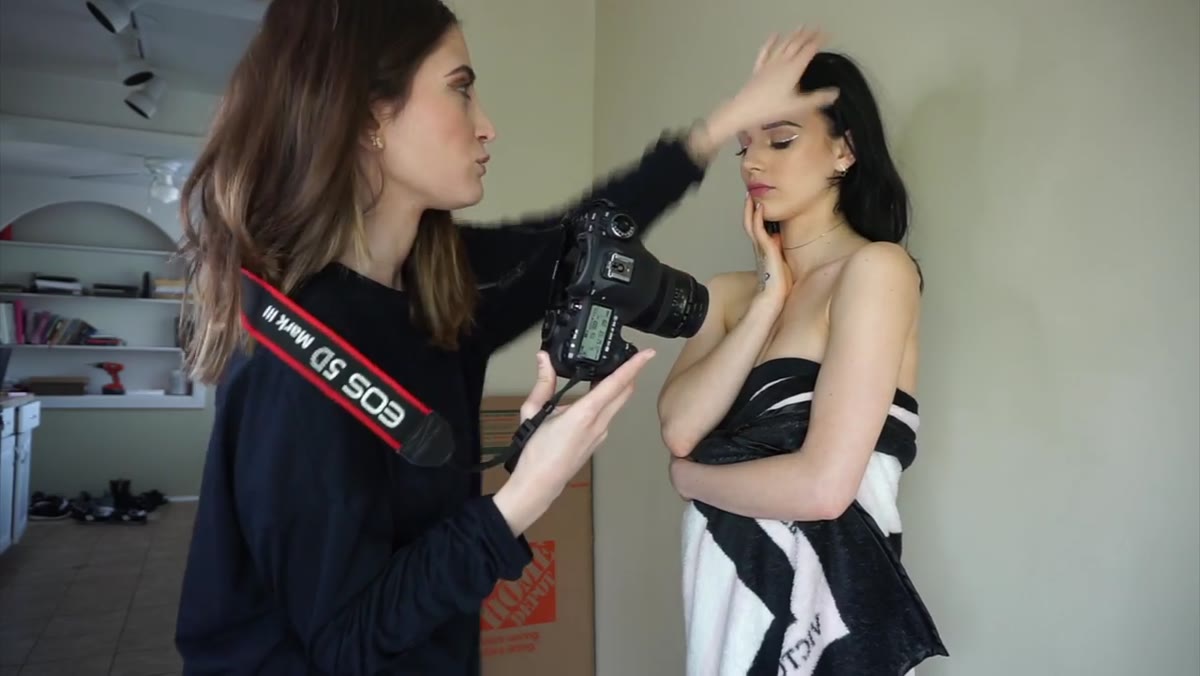 Discussion of flyaways and how they affect retouching time
This is the piece of advice in the tutorial that I want to highlight for anyone who retouches other photographers’ work. Jessica explicitly says that addressing flyaways during the shoot can save 20 minutes of retouching time. That number is, if anything, conservative. At macro range, every stray hair is sharp, visible, and sitting on top of delicate skin texture that you do not want to heal or clone over repeatedly.
Discussion of flyaways and how they affect retouching time
This is the piece of advice in the tutorial that I want to highlight for anyone who retouches other photographers’ work. Jessica explicitly says that addressing flyaways during the shoot can save 20 minutes of retouching time. That number is, if anything, conservative. At macro range, every stray hair is sharp, visible, and sitting on top of delicate skin texture that you do not want to heal or clone over repeatedly.
If you’re the retoucher receiving files from a shoot like this, ask the photographer whether they managed flyaways on set. If they did, your job is significantly cleaner. If you’re the photographer and you also retouch your own work, this is where investing two minutes adjusting hair during the shoot pays dividends for the hour you’d otherwise spend with the healing brush later.
Step 5: Review Shots with the Subject During the Shoot
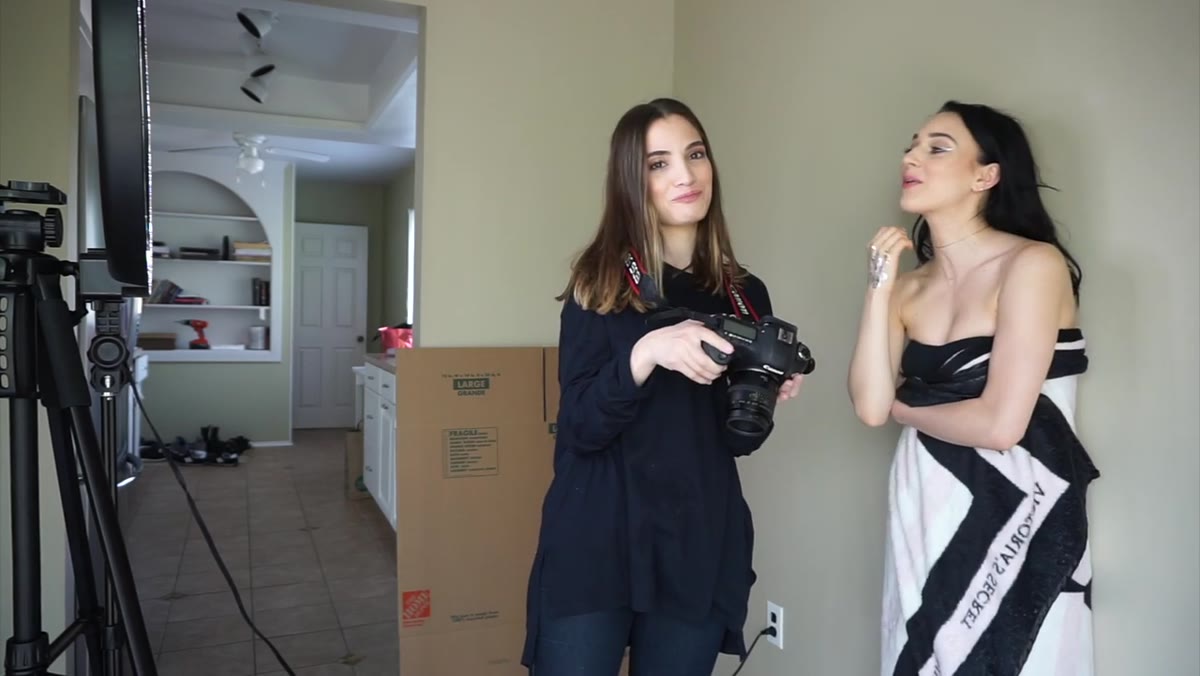 Photographer shows the subject the back-of-camera image during shoot
Jessica shows her subject the images on the back of the camera during the session, and the reaction both of them have to seeing the first shot shapes how the rest of the session goes. This isn’t just a nice-to-do. Showing a subject what’s working builds their confidence and keeps their energy up, which directly affects the images. A subject who knows the shots look great will give you more. One who’s uncertain or disconnected reads that way in the frame.
Photographer shows the subject the back-of-camera image during shoot
Jessica shows her subject the images on the back of the camera during the session, and the reaction both of them have to seeing the first shot shapes how the rest of the session goes. This isn’t just a nice-to-do. Showing a subject what’s working builds their confidence and keeps their energy up, which directly affects the images. A subject who knows the shots look great will give you more. One who’s uncertain or disconnected reads that way in the frame.
For retouchers, this moment matters because confident, relaxed expressions are far easier to work with than tension. You cannot retouch away a stiff jaw or flat eyes. Shots taken when the subject is genuinely engaged with the process have a quality that holds up through editing.
My One Addition: Shoot Tethered If You Can
One thing I’ve started doing with ring light beauty shoots that Jessica doesn’t mention here is tethering to a laptop. Seeing the catchlight and skin rendering on a larger screen during the shoot lets me catch problems I’d miss on a camera back. More importantly, it lets me check that the ring light reflection is sitting exactly where I want it in the eye before I’ve taken 40 frames in a position that’s slightly off. If you already own a tethering cable and use Lightroom or Capture One, this costs you nothing except the setup time.
The central lesson here isn’t about any single piece of gear. It’s that beauty images are built from decisions layered on top of each other, and every smart choice made at the shoot reduces the work required afterward. A well-placed ring light, a macro lens for detail, a moment spent managing flyaways, and a check-in with your subject are not elaborate production steps. They are small, considered moves that compound.
Watch the full tutorial on YouTube to see the full shoot and all three looks Jessica worked through, including the earlier natural light setups that provide a useful contrast to the ring light final look.
Comments
Leave a Comment