There is a specific kind of frustration that comes from arriving at a beautiful outdoor location with a model, a concept, and a mood board, and then watching the sky blow out your background into a pale, featureless blob. I ran into this constantly when I was shooting weddings, and honestly it followed me into my early beauty work too. The background either drowns everything out or the subject ends up underexposed and muddy. Getting the ambient and the artificial light to cooperate feels like negotiating a peace treaty between two countries that do not share a language.
That is exactly why this tutorial from Karl Taylor, published through Visual Education, clicked so hard for me when I found it. Watch the full tutorial on YouTube and you will see Karl working a real on-location fashion shoot with a model, two large umbrellas, a battery-powered flash system, and a clear, methodical approach to solving the ambient-versus-flash problem. What I want to do here is pull the technique apart step by step so you can take it into your next outdoor shoot without having to pause and rewind.
Step 1: Expose for the Background First, Intentionally Underexpose It
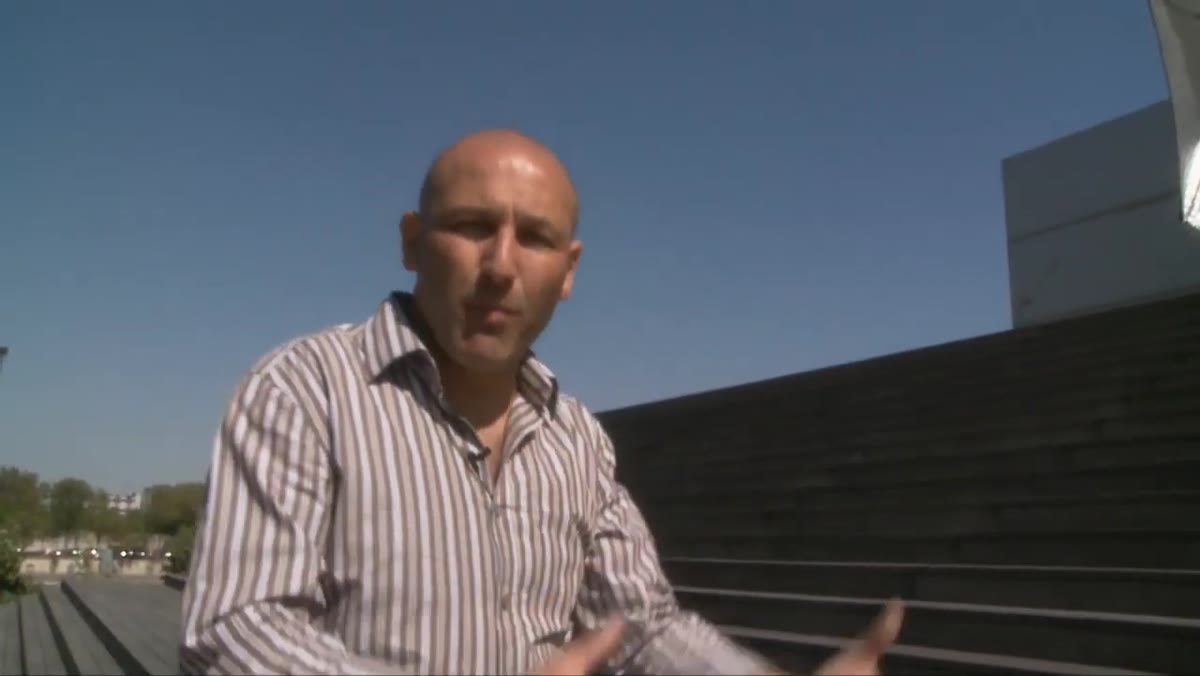 Camera settings dialed in to underexpose the background sky
Before your model even steps into the frame, meter for the ambient light and deliberately pull your exposure down. Karl’s approach here is to treat the background as a separate creative decision from the subject. You want the sky and architecture to read darker and moodier than they naturally appear, because your flash is going to bring your subject back up to a correct, flattering exposure. If you try to expose for everything at once, you end up fighting the light instead of using it. Shoot a test frame with no flash, confirm the background is underexposed to your taste, and lock that exposure in before you start.
Camera settings dialed in to underexpose the background sky
Before your model even steps into the frame, meter for the ambient light and deliberately pull your exposure down. Karl’s approach here is to treat the background as a separate creative decision from the subject. You want the sky and architecture to read darker and moodier than they naturally appear, because your flash is going to bring your subject back up to a correct, flattering exposure. If you try to expose for everything at once, you end up fighting the light instead of using it. Shoot a test frame with no flash, confirm the background is underexposed to your taste, and lock that exposure in before you start.
Step 2: Add an ND Filter to Control Ambient Without Changing Aperture
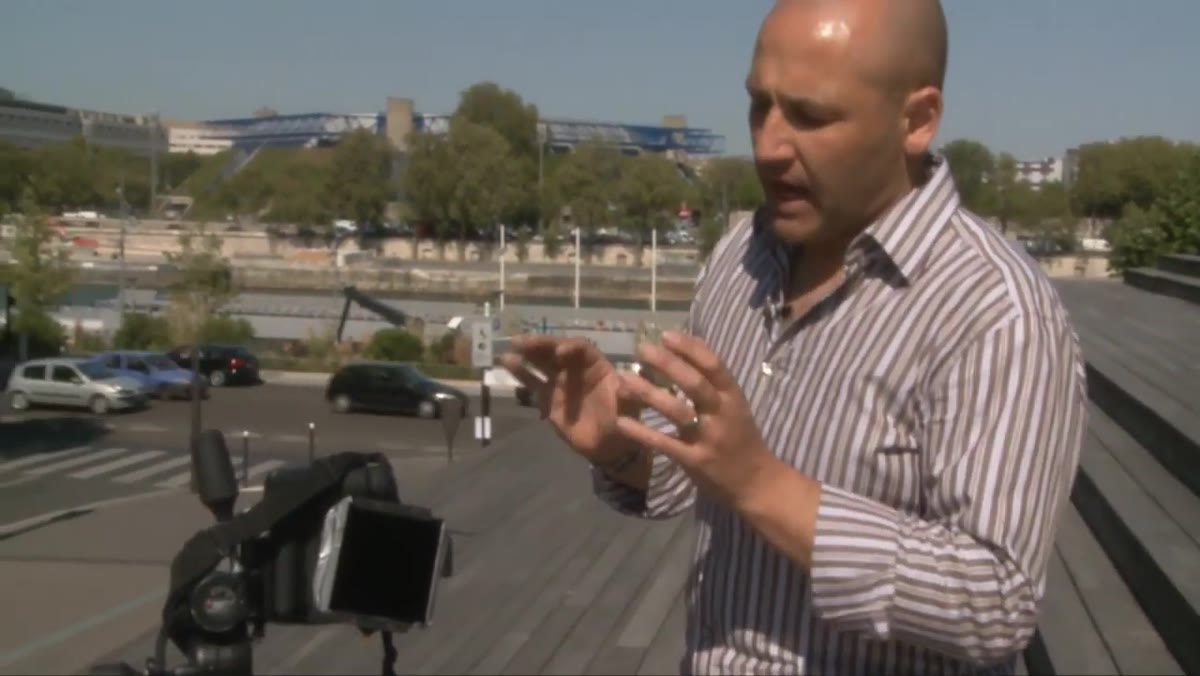 Neutral density filter attached to lens, sky visible in background
One of the quieter but more important details Karl mentions is the use of a neutral density filter. When you are shooting outdoors with flash, you often want a wide aperture for separation and a relatively fast shutter for crispness, but bright daylight forces your ISO and aperture into territory that kills your depth of field or pushes you past your flash sync speed. An ND filter lets you cut the ambient light without touching your aperture, so you keep the look you want while staying in a workable exposure range. Karl also layers in a polarizing filter here, which does double duty by deepening the saturation in the sky and increasing overall contrast, giving the final image that punchy, editorial quality that looks expensive.
Neutral density filter attached to lens, sky visible in background
One of the quieter but more important details Karl mentions is the use of a neutral density filter. When you are shooting outdoors with flash, you often want a wide aperture for separation and a relatively fast shutter for crispness, but bright daylight forces your ISO and aperture into territory that kills your depth of field or pushes you past your flash sync speed. An ND filter lets you cut the ambient light without touching your aperture, so you keep the look you want while staying in a workable exposure range. Karl also layers in a polarizing filter here, which does double duty by deepening the saturation in the sky and increasing overall contrast, giving the final image that punchy, editorial quality that looks expensive.
Step 3: Use a Radio Trigger to Fire Battery-Powered Flash Units
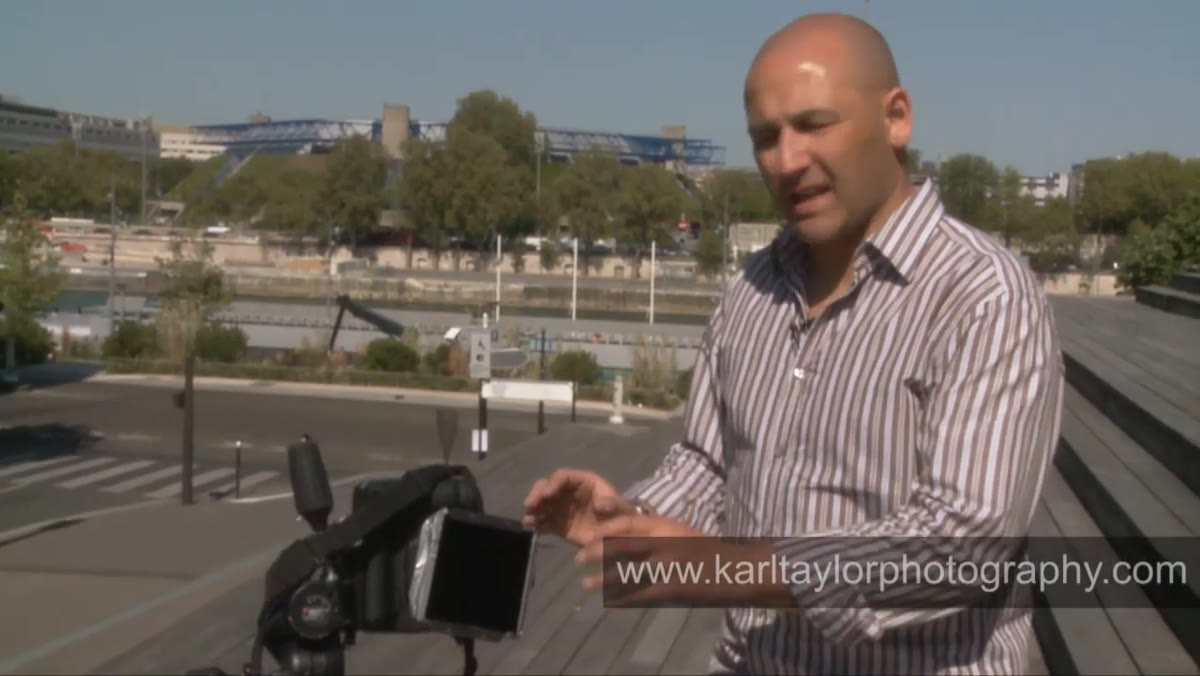 Radio transmitter mounted on camera hot shoe, flash unit visible
For outdoor location work, you need flash power that can compete with the sun, and small speedlights often cannot get there, especially once you add modifiers. Karl is using battery-powered monolight-style units that output significantly more power than a standard hotshoe flash. The connection between camera and lights is handled by a radio trigger, with a transmitter on the camera’s hot shoe and a receiver on the battery pack. This gives you reliable, consistent triggering without a sync cable running across the ground. If you have not made this upgrade yet, it is genuinely transformative for location work. The freedom of movement alone is worth it.
Radio transmitter mounted on camera hot shoe, flash unit visible
For outdoor location work, you need flash power that can compete with the sun, and small speedlights often cannot get there, especially once you add modifiers. Karl is using battery-powered monolight-style units that output significantly more power than a standard hotshoe flash. The connection between camera and lights is handled by a radio trigger, with a transmitter on the camera’s hot shoe and a receiver on the battery pack. This gives you reliable, consistent triggering without a sync cable running across the ground. If you have not made this upgrade yet, it is genuinely transformative for location work. The freedom of movement alone is worth it.
Step 4: Choose Modifiers That Give You In-Between Light
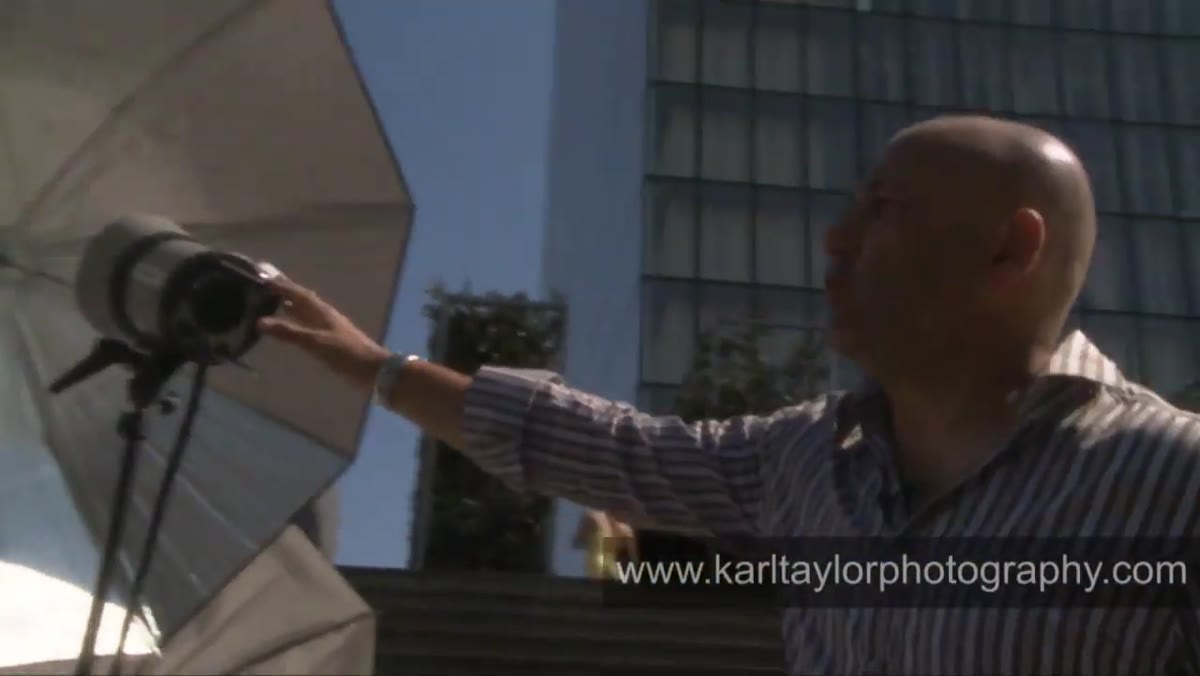 Two large umbrellas positioned on either side of the model
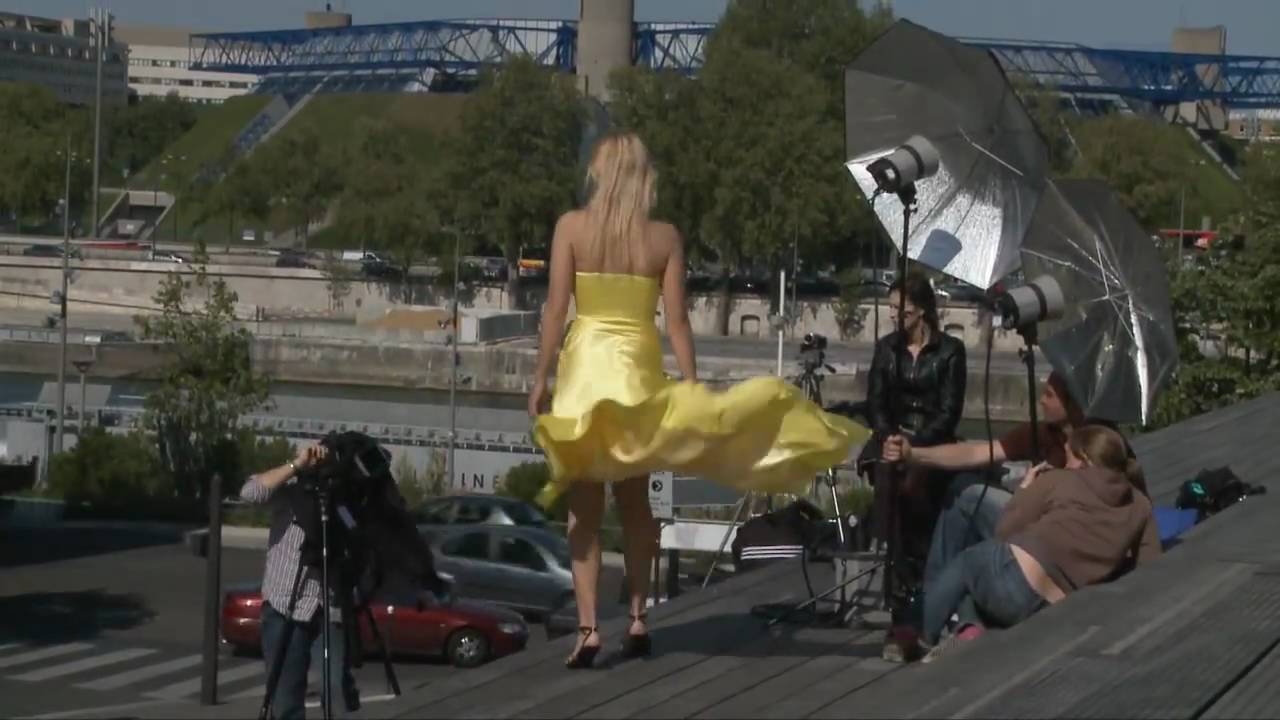
Karl’s modifier choice here is two large umbrellas, and his reasoning is worth understanding rather than just copying. He talks about a spectrum from hard light to soft light, and positions large umbrellas in the middle of that range. They are not as harsh as a bare flash or a small reflector, but they are not as wrapping and shadow-free as a giant octabox up close either. For fashion and beauty work outdoors, that middle quality of light tends to read well because it still has some dimension and direction to it, it defines the face without being unflattering, and it travels a bit, which gives you flexibility as your model moves. Two lights also mean you can control fill and key separately, even when working fast.
Two large umbrellas positioned on either side of the model
Karl’s modifier choice here is two large umbrellas, and his reasoning is worth understanding rather than just copying. He talks about a spectrum from hard light to soft light, and positions large umbrellas in the middle of that range. They are not as harsh as a bare flash or a small reflector, but they are not as wrapping and shadow-free as a giant octabox up close either. For fashion and beauty work outdoors, that middle quality of light tends to read well because it still has some dimension and direction to it, it defines the face without being unflattering, and it travels a bit, which gives you flexibility as your model moves. Two lights also mean you can control fill and key separately, even when working fast.
Step 5: Use Compositional Anchors in the Background Intentionally
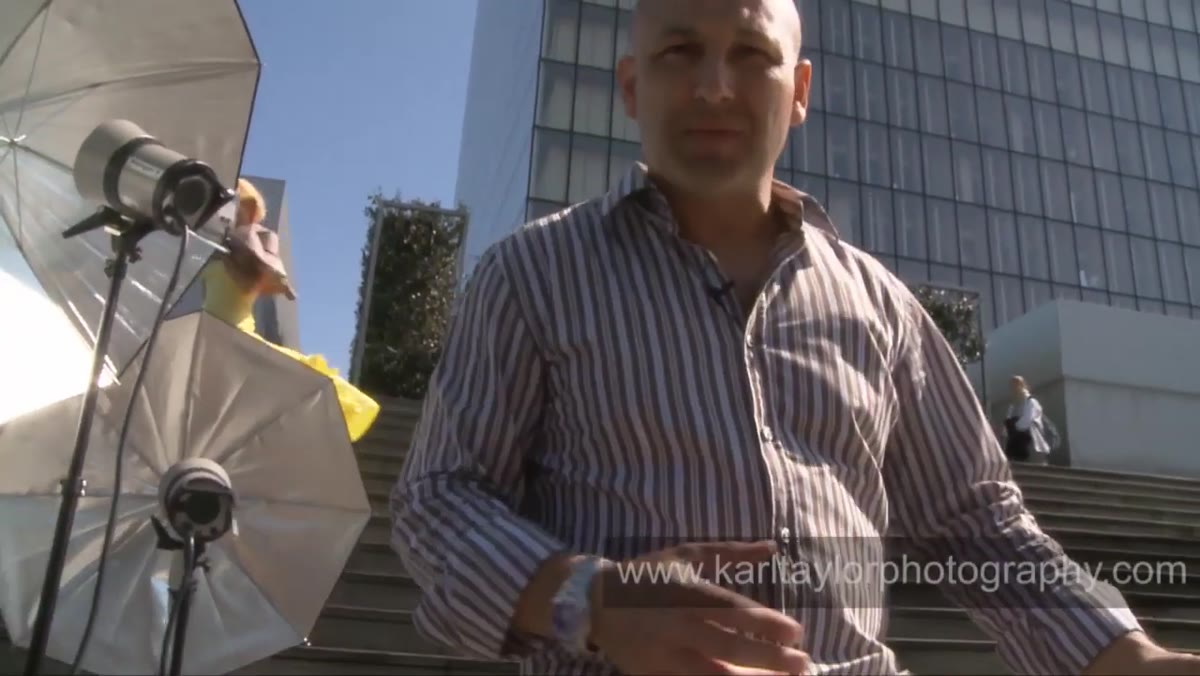 Staircase and tower buildings framed behind model position
This step gets skipped in a lot of lighting tutorials because people treat composition as a separate subject, but Karl folds it directly into the lighting conversation, and that is the right call. He positions the model so that the staircase creates leading lines that pull the viewer’s eye into the frame, and the towers in the background provide vertical anchors that give the image structure. The model’s bright yellow dress is chosen specifically to contrast against the blue sky. None of this is accidental. Before you fire a single frame, walk around and find the angle where your background elements are working for you, not just sitting there. The flash can make your subject pop, but the environment has to earn its place in the frame.
Staircase and tower buildings framed behind model position
This step gets skipped in a lot of lighting tutorials because people treat composition as a separate subject, but Karl folds it directly into the lighting conversation, and that is the right call. He positions the model so that the staircase creates leading lines that pull the viewer’s eye into the frame, and the towers in the background provide vertical anchors that give the image structure. The model’s bright yellow dress is chosen specifically to contrast against the blue sky. None of this is accidental. Before you fire a single frame, walk around and find the angle where your background elements are working for you, not just sitting there. The flash can make your subject pop, but the environment has to earn its place in the frame.
Step 6: Work With Movement and Direct Thoughtfully During the Shoot
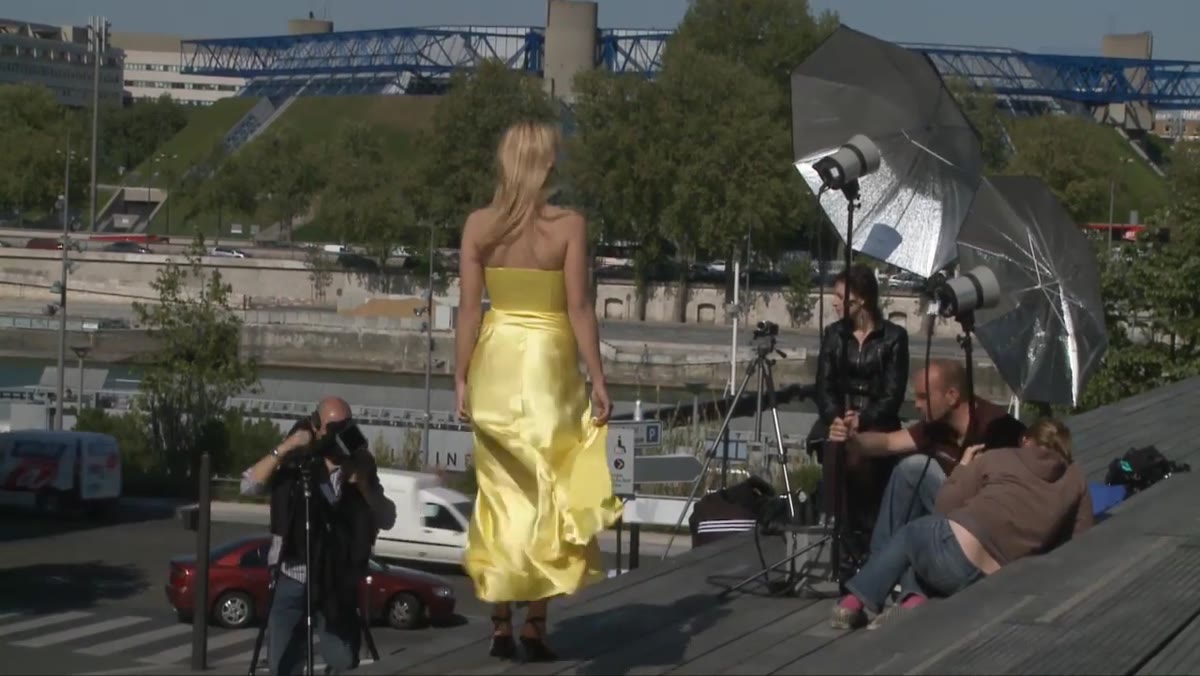 Model mid-step with dress flowing, photographer calling direction
Once the technical setup is locked in, Karl shifts into directing mode, and this part of the video is genuinely instructive. He notices the wind moving the model’s dress and immediately thinks about how to use that rather than fight it. He asks her to take a step forward, then pause, so the fabric catches and flows behind her. He is watching where the focus point lands, adjusting her position relative to the stairs and buildings, and calling small adjustments in real time. For photographers who come from a more technical background, the directing side can feel uncomfortable, but it matters as much as the light. Give your subject a physical action to do, even a small one, and they will almost always look more natural.
Model mid-step with dress flowing, photographer calling direction
Once the technical setup is locked in, Karl shifts into directing mode, and this part of the video is genuinely instructive. He notices the wind moving the model’s dress and immediately thinks about how to use that rather than fight it. He asks her to take a step forward, then pause, so the fabric catches and flows behind her. He is watching where the focus point lands, adjusting her position relative to the stairs and buildings, and calling small adjustments in real time. For photographers who come from a more technical background, the directing side can feel uncomfortable, but it matters as much as the light. Give your subject a physical action to do, even a small one, and they will almost always look more natural.
What I Add From My Own Workflow
The one thing I always do on top of what Karl demonstrates is run a quick white balance check between the ambient and the flash before the shoot moves too far along. Battery-powered flash units typically output around 5500K, which is close to daylight, but on overcast days or in open shade, your ambient can drift cooler. If those two sources do not match, your subject will have a different color cast than your background and no amount of retouching fully fixes a mixed white balance problem. I shoot a gray card frame early, set a custom white balance in camera, and then verify it holds across a few test shots. It takes three minutes and saves a lot of desk time later.
The single most important takeaway from this tutorial is the concept of separating your subject exposure from your ambient exposure as two distinct decisions. Once that clicks, outdoor flash work stops feeling like guesswork. You control the mood of the scene through your camera settings and filters, and you control the quality of light on your subject through your flash power and modifiers. Those are independent variables, and you can tune them independently.
Watch the full tutorial on YouTube to see Karl run the entire shoot from setup through final frames. Watching the real-time directing and light adjustments in motion is worth your time, even if you read through every step here first.
Comments (3)
This is the kind of content that keeps me coming back.
Solid advice. Especially the part about taking your time with it.
Excellent tutorial. I'd add that from a workflows standpoint, this technique is incredibly versatile.
Leave a Comment