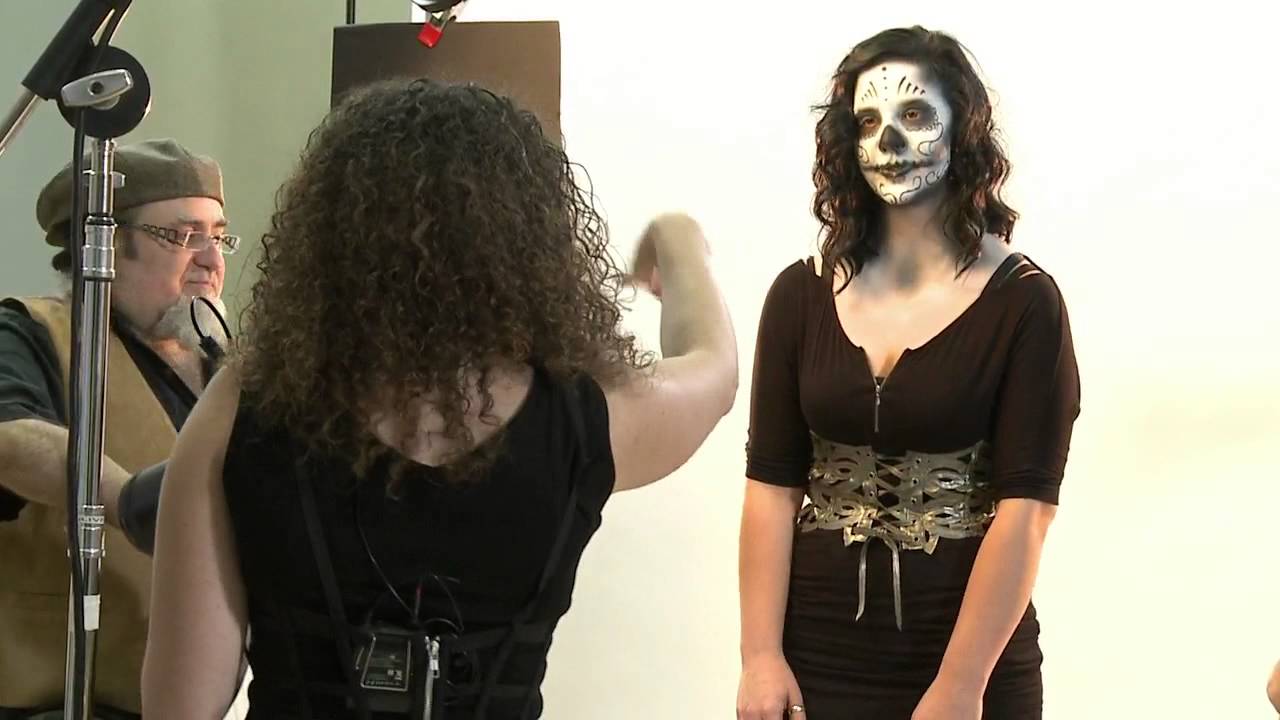
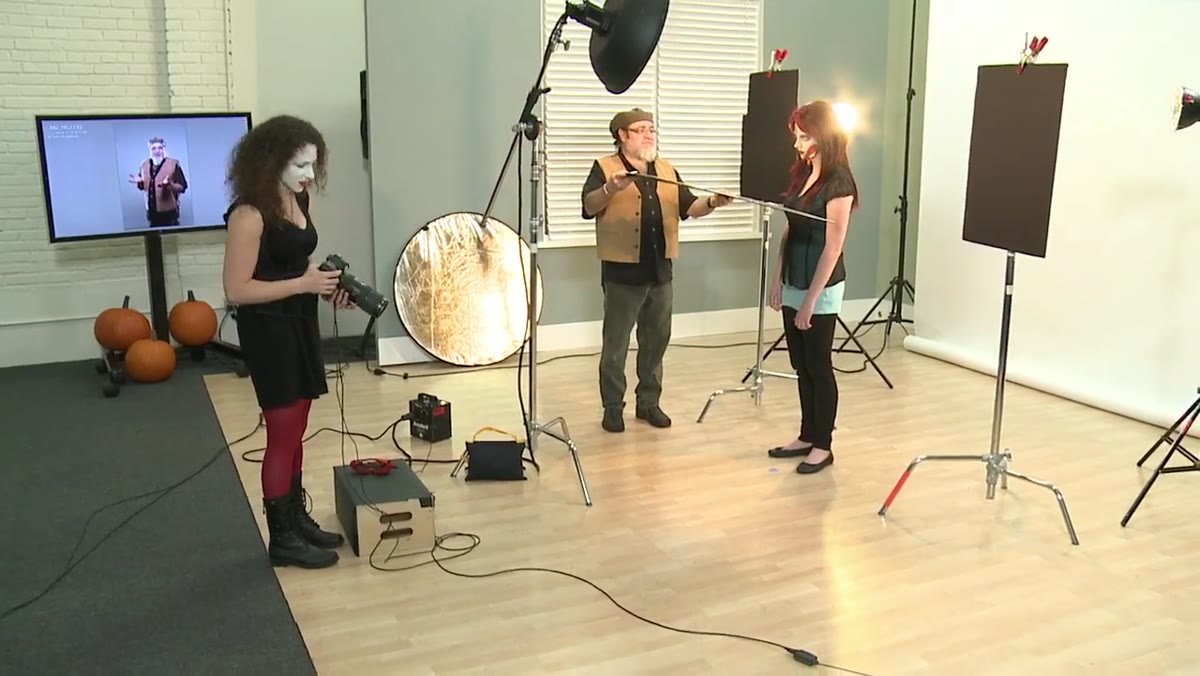
Every few years, a tutorial stops me mid-green-tea and makes me rethink something I thought I already understood. I was prepping for a beauty retouching workshop when I pulled up Watch the full tutorial on YouTube — a CreativeLive segment where photographer Lindsay Adler walks through a Halloween-themed portrait shoot. The subject has a full zombie makeup look, which honestly makes the lighting instruction easier to follow: you can see every shadow and highlight doing its job in real time.
What hooked me was the framing. Adler isn’t just teaching Halloween photography. She’s walking through a lighting configuration that accounts for a substantial portion of her commercial income, and she uses this spooky, visually loud shoot to make the logic of it impossible to miss. For anyone who retouches beauty work, understanding how a shot is lit before it ever lands in Lightroom changes the way you approach the edit. Light that’s been placed intentionally leaves you so much less to fix.
The setup she describes is deceptively simple: one main light in front, two rim lights behind. But the decision-making inside that simplicity is where the real education lives. Here’s a breakdown of what she covers, with enough detail that you can apply it without watching first.
Step 1: Understand the Role of the Main Light
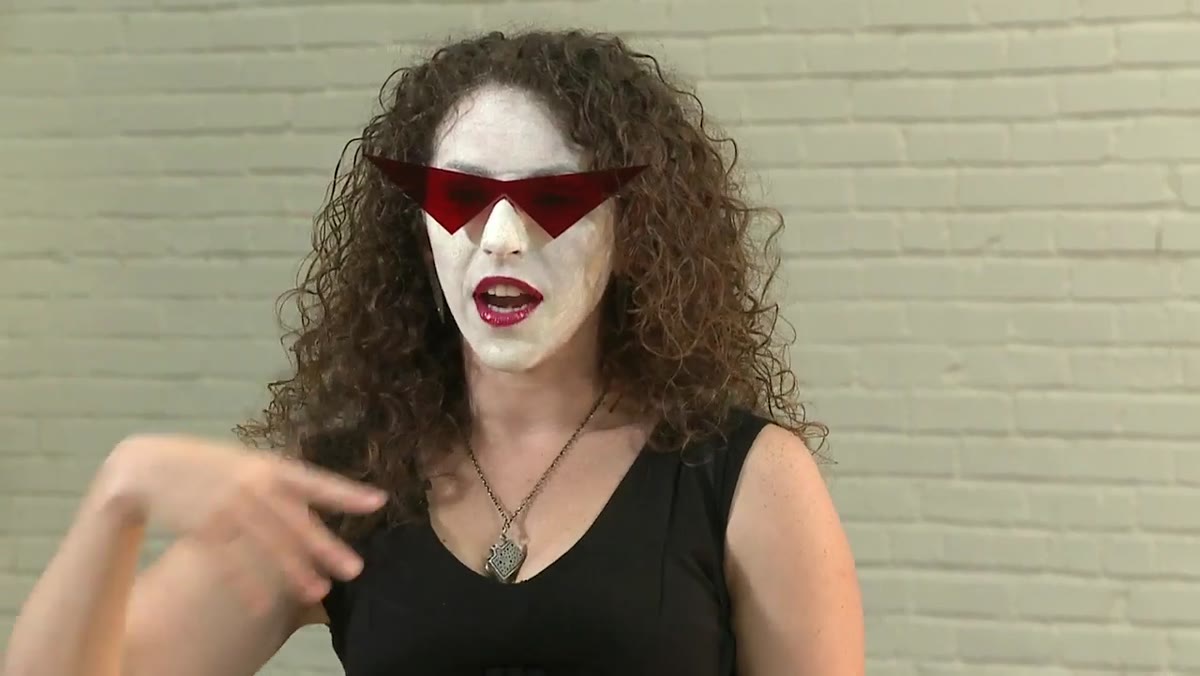 Single main light positioned to shape and define the subject’s face
The main light does two things simultaneously: it defines the subject’s facial features, and it sets the emotional tone of the entire image. When placed close to center, the light reads as high-key and approachable. As you move it off-axis, left or right, contrast increases and the image starts feeling more dramatic and moody. This isn’t a subtle shift. Even a 20-30 degree move changes the character of the portrait significantly.
Single main light positioned to shape and define the subject’s face
The main light does two things simultaneously: it defines the subject’s facial features, and it sets the emotional tone of the entire image. When placed close to center, the light reads as high-key and approachable. As you move it off-axis, left or right, contrast increases and the image starts feeling more dramatic and moody. This isn’t a subtle shift. Even a 20-30 degree move changes the character of the portrait significantly.
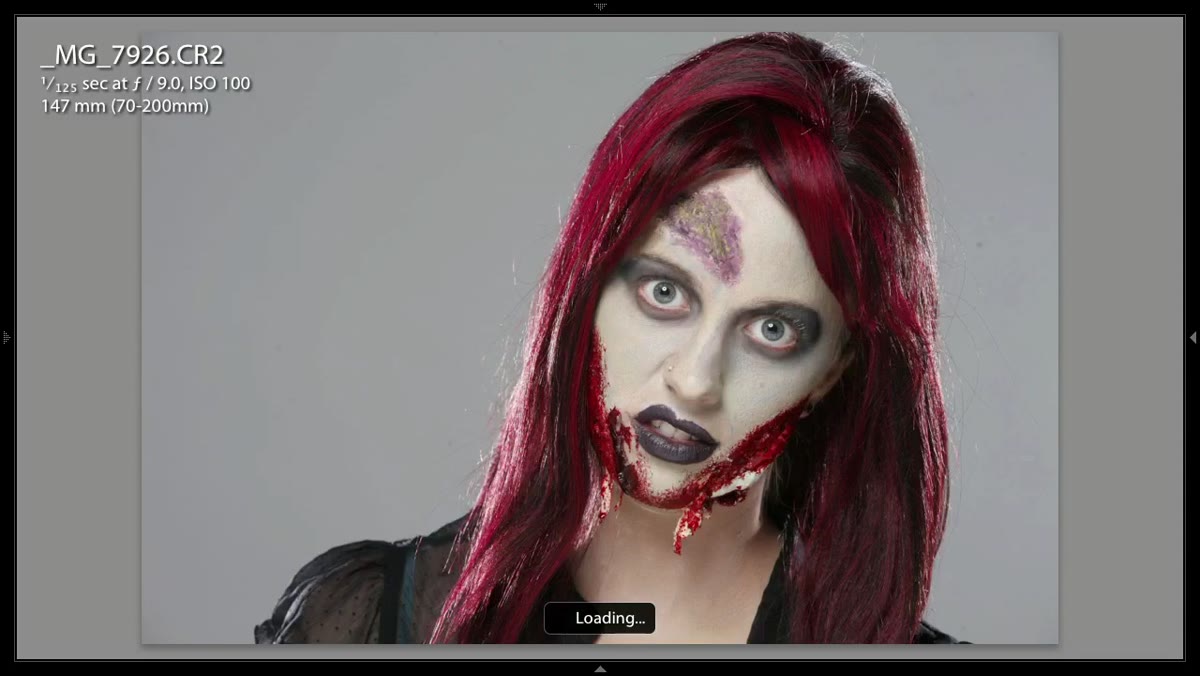
For the zombie beauty shot, Adler starts with the main light in a more centered position to capture a cleaner, more polished look before pushing it off-axis for something darker. The key takeaway for retouchers: if your raw file lands on your desk with a flat, centered light, expect even skin tones and less shadow work. An off-axis main light means dodge and burn is going to matter a lot more.
Step 2: Place Two Rim Lights Behind the Subject
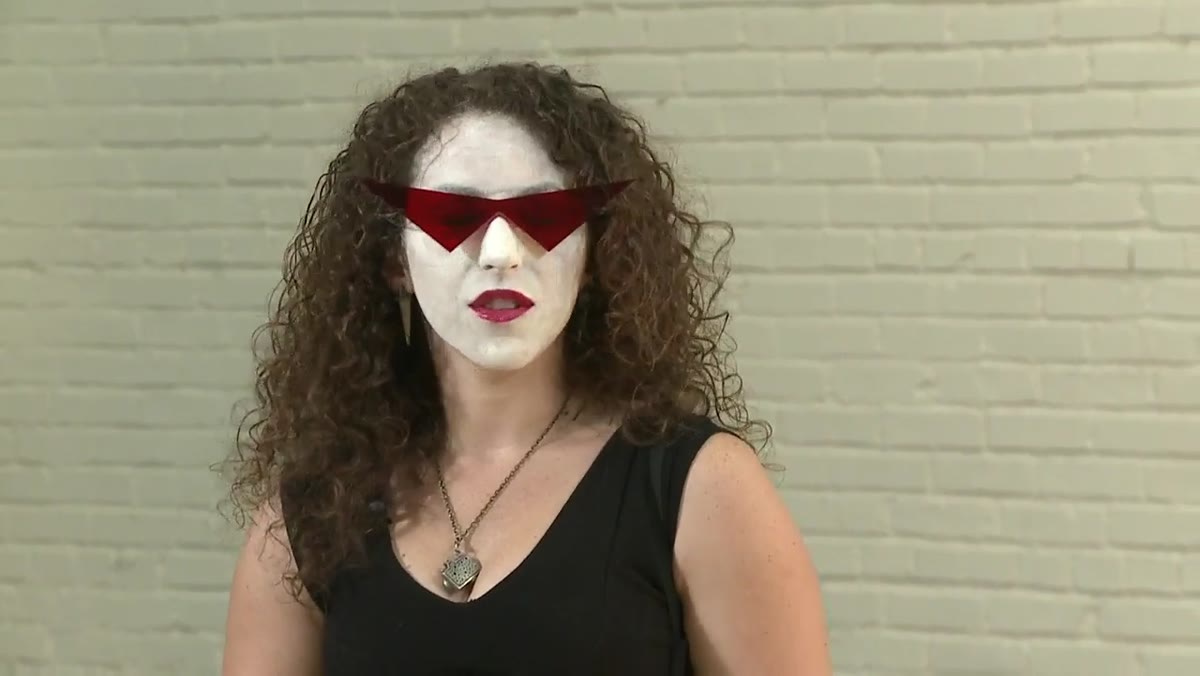 Two back rim lights creating shoulder and hair separation from background
The two rim lights sit behind the subject, aimed toward the camera, one on each side. Their job is separation, pulling the subject away from the background with edge highlights on the hair and shoulders. But Adler adds a layer to this that I found genuinely useful: the quality of those rim lights can simulate the ambient environment you plan to composite the subject into later.
Two back rim lights creating shoulder and hair separation from background
The two rim lights sit behind the subject, aimed toward the camera, one on each side. Their job is separation, pulling the subject away from the background with edge highlights on the hair and shoulders. But Adler adds a layer to this that I found genuinely useful: the quality of those rim lights can simulate the ambient environment you plan to composite the subject into later.
Tight, crisp rim lights read like street lamps or architectural light sources in an urban scene. Soft, diffused rim lights suggest outdoor ambient fill, like open sky or a bright beach behind the subject. If you’re a retoucher who ever gets handed composite work, this context changes how you interpret what you’re looking at. Those rim highlights aren’t accidents. They’re narrative decisions.
Step 3: Adjust Subject Position to Control Highlight Placement
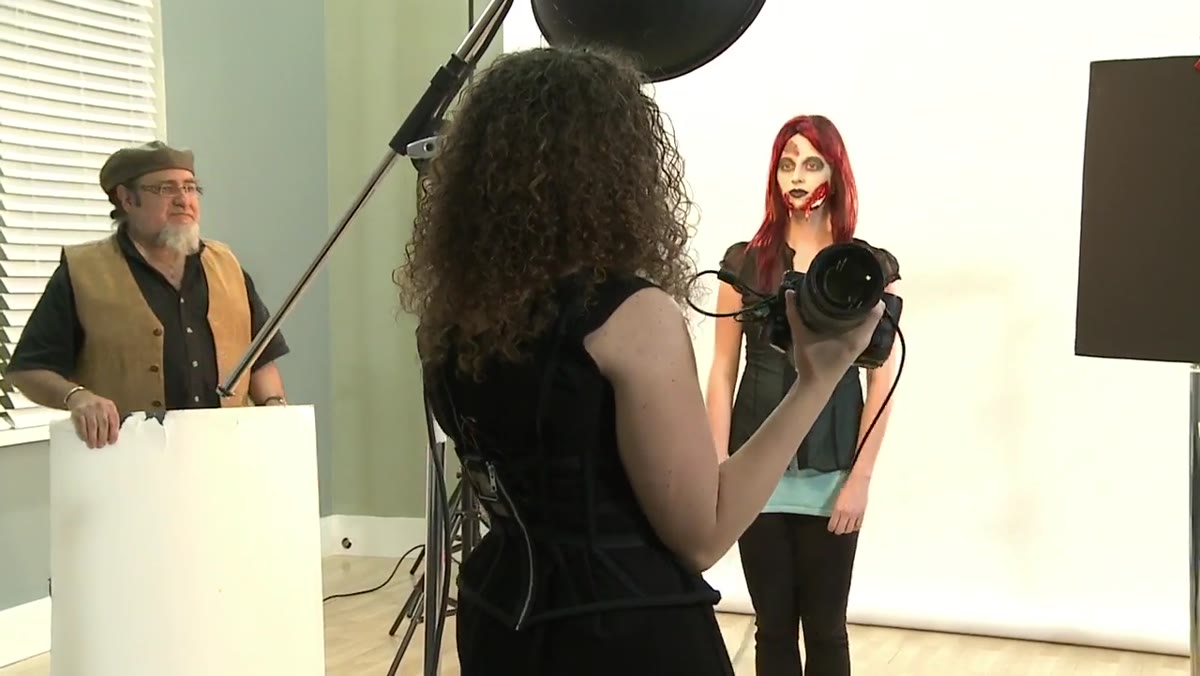 Subject moving forward toward camera, rim highlights shifting on face and shoulders
Once the lights are set, subject position within the setup becomes a precise variable. As the subject steps forward toward the camera, the rim light highlights shift upward and can start wrapping across the sides of the face. Step back, and those highlights drop to the shoulders and hair. Adler notes she prefers keeping the kicker highlights on shoulders and hair for women, because highlights crossing the face from both sides can feel unflattering. For men, especially athletes, that same bilateral face lighting emphasizes structure and works well.
Subject moving forward toward camera, rim highlights shifting on face and shoulders
Once the lights are set, subject position within the setup becomes a precise variable. As the subject steps forward toward the camera, the rim light highlights shift upward and can start wrapping across the sides of the face. Step back, and those highlights drop to the shoulders and hair. Adler notes she prefers keeping the kicker highlights on shoulders and hair for women, because highlights crossing the face from both sides can feel unflattering. For men, especially athletes, that same bilateral face lighting emphasizes structure and works well.
This is one of those things that sounds obvious but is easy to miss in a fast-paced shoot. If you’re photographing the subject yourself before handing files off to a retoucher, a few inches of subject positioning can save significant healing and dodge-burn time in post.
Step 4: Shoot the “Beauty” Version First, Then Go Dramatic
 Zombie beauty shot with main light centered, relatively bright and clean
Adler’s workflow on this shoot follows a deliberate sequence: lighter and more polished first, then progressive darkening. The first round of frames use the centered main light and capture what she calls the “zombie beauty shot” - it’s stylized but the lighting is still controlled and flattering. She’s giving herself options. The beauty version can live as a standalone image or serve as a reference for how the edit should feel at its most refined.
Zombie beauty shot with main light centered, relatively bright and clean
Adler’s workflow on this shoot follows a deliberate sequence: lighter and more polished first, then progressive darkening. The first round of frames use the centered main light and capture what she calls the “zombie beauty shot” - it’s stylized but the lighting is still controlled and flattering. She’s giving herself options. The beauty version can live as a standalone image or serve as a reference for how the edit should feel at its most refined.
Once those frames are done, she moves the main light off-axis to build drama and contrast. Having both versions in the same session from the same lighting rig means you’re comparing apples to apples when you sit down to edit. The skin, the shadows, the rim highlights all have the same source. That consistency is a gift when you’re trying to match a mood across a series.
Step 5: Move the Main Light Off-Axis for Drama
 Main light shifted off-axis, creating Rembrandt-style shadow across subject’s face
Adler uses the term Rembrandt almost casually here, which tells you how fundamental this move is to her practice. Shifting the main light to create a classic Rembrandt triangle on the face changes the image from clean beauty to something with real atmosphere. For Halloween work or any dark editorial, this is often the version that actually gets used.
Main light shifted off-axis, creating Rembrandt-style shadow across subject’s face
Adler uses the term Rembrandt almost casually here, which tells you how fundamental this move is to her practice. Shifting the main light to create a classic Rembrandt triangle on the face changes the image from clean beauty to something with real atmosphere. For Halloween work or any dark editorial, this is often the version that actually gets used.
For retouching purposes, this lighting setup creates stronger shadows and more defined highlight-shadow boundaries. Frequency separation becomes especially useful here because you want to smooth texture without flattening those shadow transitions. The structure the light built should survive the retouch, not get smoothed away.
What I’d Add from My Own Work
The composite lighting logic Adler describes changed how I think about client files that come in already shot. When rim lights look inconsistent or the main light direction doesn’t match the background, no amount of retouching fixes the fundamental mismatch. I’ve started asking clients who shoot their own content to send me a quick lighting note with their files. Even a rough description of the setup saves me from guessing and the client from wondering why the composite doesn’t feel real.
If you’re shooting your own images before retouching them, try this setup with just a speed light and two off-camera flashes. You don’t need studio strobes to test the logic. Getting comfortable with the three-light structure in your own shooting makes you dramatically better at evaluating what a file needs when it arrives for retouching.
The single most important idea in this tutorial is that light placement is a pre-visualization decision, not just a technical one. The rim lights exist to serve the composite. The main light exists to serve the mood. Knowing why each light is there changes how you read a portrait file in post and how confidently you can retouch it.
Watch the full tutorial on YouTube to see Adler demonstrate the position adjustments live. Watching the highlights shift in real time on the subject’s face is worth more than any diagram.
Comments
Leave a Comment