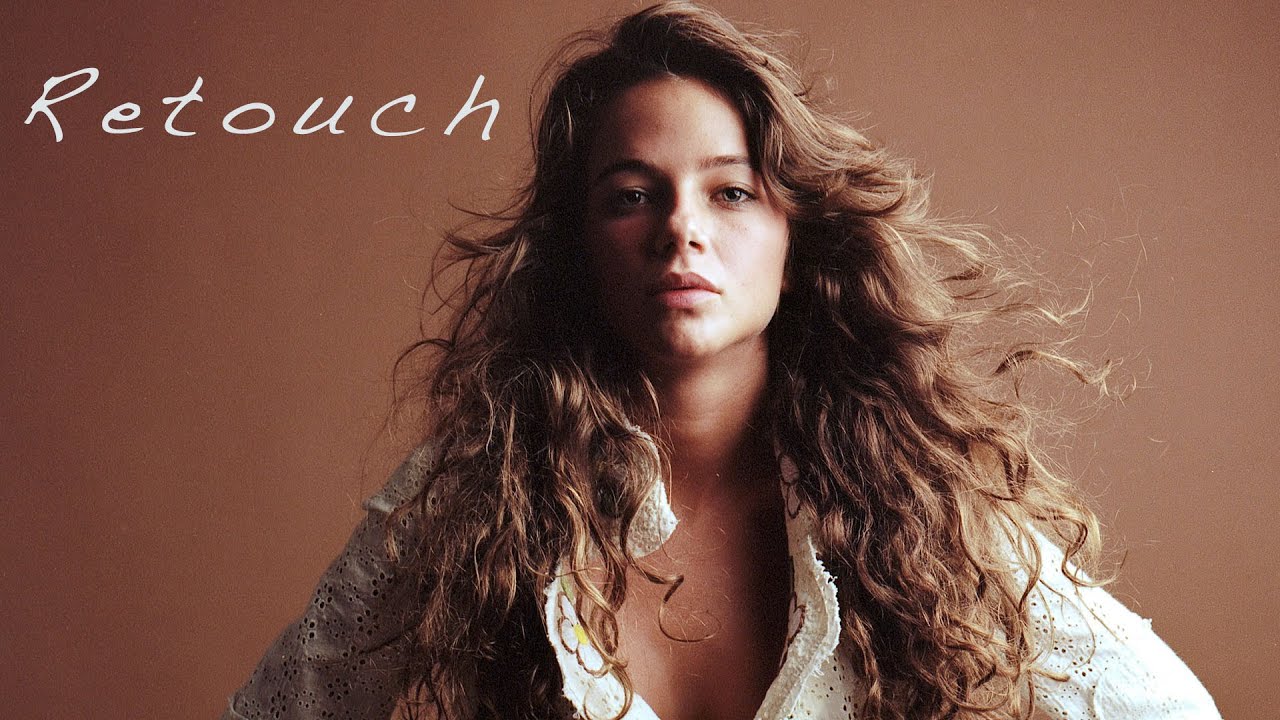
There is a question I used to avoid answering honestly: do you do your own retouching? For a long time I said yes, even when the answer was “sort of, badly, and it takes me four times longer than it should.” It was only after burning out on trying to be everything to every client that I started getting real about where my skills actually live. I can shape light. I can read a face. I can make someone feel comfortable in front of a camera. Full-scale skin retouching with complex compositing on a tight deadline? That is a different profession, and pretending otherwise was costing me time, money, and frankly, quality.
That is why this tutorial from Daniel Norton Photographer landed so squarely for me. In it, Daniel walks through his honest, unvarnished workflow for handling retouching across different client types, including when he does it himself, what he actually means when he says “editing” versus “retouching,” and exactly how he hands files off to a professional retoucher when the work calls for one. Watch the full tutorial on YouTube before or after reading this breakdown. Either way, let us get into the specifics.
Step 1: Define What You Actually Mean by “Retouching”
 Daniel explaining the definition of retouching at his desk
Before any workflow decision can happen, we need shared language. Daniel draws a hard line between two things that photographers often lump together. Retouching, in his definition, means altering the physical structure of a person: slimming a body, smoothing skin, removing wrinkles or moles. Editing or “tweaking” means adjusting the technical qualities of the image: brightness, contrast, curves, color balance. These are not the same job, and treating them as one is where a lot of confusion starts.
Daniel explaining the definition of retouching at his desk
Before any workflow decision can happen, we need shared language. Daniel draws a hard line between two things that photographers often lump together. Retouching, in his definition, means altering the physical structure of a person: slimming a body, smoothing skin, removing wrinkles or moles. Editing or “tweaking” means adjusting the technical qualities of the image: brightness, contrast, curves, color balance. These are not the same job, and treating them as one is where a lot of confusion starts.
This distinction changed how I talk to clients. When someone asks “do you retouch?”, I now ask what they actually want. Nine times out of ten, they want their images to look polished and well-lit, not plastic. Once you name the difference, clients understand it immediately and your scope of work becomes much cleaner.
Step 2: Use Lighting and Shooting Technique as Your First Retouching Tool
 Daniel describing how he handles retouching decisions during the shoot
Daniel makes a point that I think gets undervalued in conversations about post-production: he addresses retouching concerns before he ever opens an editing program. The way you light a subject, the angle you choose, the lens you select, all of these decisions shape the skin, the structure, and the overall feel of the image at the source. Solving problems in-camera is faster, more natural-looking, and puts you in control of the final result before a single file is exported.
Daniel describing how he handles retouching decisions during the shoot
Daniel makes a point that I think gets undervalued in conversations about post-production: he addresses retouching concerns before he ever opens an editing program. The way you light a subject, the angle you choose, the lens you select, all of these decisions shape the skin, the structure, and the overall feel of the image at the source. Solving problems in-camera is faster, more natural-looking, and puts you in control of the final result before a single file is exported.
For portrait work especially, this means thinking about what your light is doing to texture. Soft, diffused light from a large source placed close to the subject will naturally minimize skin texture without any digital intervention. That is not a shortcut. That is good lighting. The less you need to fix later, the more your images look like photographs rather than composites.
Step 3: Shoot RAW and Do Your Base Corrections First
 Daniel discussing RAW files and Capture One corrections
Daniel shoots RAW exclusively, and his base corrections happen in Capture One before anything else. This includes the curve adjustments, color balance, and exposure work that brings the image to its finished look. The point here is that these corrections become baked into any file you export downstream. Whether you are delivering to a client or handing off to a retoucher, they are starting from your intentional baseline, not a flat raw file that could be interpreted in any direction.
Daniel discussing RAW files and Capture One corrections
Daniel shoots RAW exclusively, and his base corrections happen in Capture One before anything else. This includes the curve adjustments, color balance, and exposure work that brings the image to its finished look. The point here is that these corrections become baked into any file you export downstream. Whether you are delivering to a client or handing off to a retoucher, they are starting from your intentional baseline, not a flat raw file that could be interpreted in any direction.
If you are working in Lightroom, the same principle applies. Do your global corrections first, get the image to a place that represents your creative intent, and export from there. This protects your vision even when someone else is doing the next layer of work.
Step 4: Know Your Delivery Format by Client Type
 Daniel outlining delivery differences between portrait and commercial clients
Here is where Daniel’s workflow splits into two clear paths. For portrait clients, including personal portfolios and individual bookings, he processes in Capture One and delivers finished JPEGs. Most people do not need a full-resolution file, and a well-processed JPEG at a reasonable resolution is exactly what they need to print, post, and share.
Daniel outlining delivery differences between portrait and commercial clients
Here is where Daniel’s workflow splits into two clear paths. For portrait clients, including personal portfolios and individual bookings, he processes in Capture One and delivers finished JPEGs. Most people do not need a full-resolution file, and a well-processed JPEG at a reasonable resolution is exactly what they need to print, post, and share.
For commercial clients, the delivery is different because the downstream use is different. A brand or catalog client may be sending images to a color separator for print production, which is a highly technical process that requires its own professional touch. In that case, Daniel delivers the full processed session and steps back. He is not the expert in print color separation, and he knows it. Handing that work to someone who specializes in it is not a weakness. It is how professional pipelines are supposed to function.
Step 5: Recognize When a Job Needs a Professional Retoucher
 Daniel describing complex client requests that go beyond his retouching scope
Not every request fits neatly into “basic edit” territory. When a client asks for a head swap, a major compositing job, or heavy skin work that goes beyond what Daniel is comfortable delivering at a professional level, he refers them to a retoucher rather than attempting it himself. This is, honestly, one of the more mature things a photographer can do. Knowing your ceiling is not the same as having a low ceiling.
Daniel describing complex client requests that go beyond his retouching scope
Not every request fits neatly into “basic edit” territory. When a client asks for a head swap, a major compositing job, or heavy skin work that goes beyond what Daniel is comfortable delivering at a professional level, he refers them to a retoucher rather than attempting it himself. This is, honestly, one of the more mature things a photographer can do. Knowing your ceiling is not the same as having a low ceiling.
For most retail photographers, the jobs that fall into this category are fairly predictable: removing a distracting element from a group shot, replacing a blinked expression, significant body modification requests, or beauty-level skin work for a magazine spread. These are retouching specialties, and there are people who have spent years developing exactly those skills.
Step 6: Export as PSD or TIFF for Retoucher Handoff
 Daniel explaining PSD and TIFF export options for retoucher delivery
When Daniel hands a file to a retoucher, he exports from Capture One as either a PSD or a TIFF, and he delivers the largest file size practical. Retouchers need room to work. Any healing, cloning, or frequency separation work done at low resolution will fall apart the moment the image is sized up for print or large-format use. Give them the full file.
Daniel explaining PSD and TIFF export options for retoucher delivery
When Daniel hands a file to a retoucher, he exports from Capture One as either a PSD or a TIFF, and he delivers the largest file size practical. Retouchers need room to work. Any healing, cloning, or frequency separation work done at low resolution will fall apart the moment the image is sized up for print or large-format use. Give them the full file.
The reason he does not hand over the raw file itself is intentional: his initial color and exposure corrections travel with a PSD or TIFF export. A raw file hands over too much control and invites the retoucher to interpret the image from scratch, which is not what you want when you have already done the creative work of getting the image where it belongs.
From My Own Bench: Ask Before You Assume
I would add one thing from my own experience handing files to retouchers: always ask what format and color profile they prefer before you export. I once delivered a beautiful TIFF in the wrong color space and the retoucher had to do extra work on the front end to correct it. A quick email asking “do you prefer sRGB or Adobe RGB, and what resolution works best for you?” takes two minutes and saves everyone headaches. A good retoucher will have a clear answer and will appreciate that you asked.
The throughline in Daniel’s tutorial is something I keep coming back to in my own work: clarity about what you do and what you do not do is not a limitation. It is a professional position. When you stop pretending to offer everything and start being excellent at your actual craft, the right clients find you, the right collaborators find you, and the work gets better across the board.
The single most important takeaway here is this: retouching and editing are not the same thing, and your workflow should treat them differently from the first conversation with a client to the final file delivery. Watch the full tutorial on YouTube to hear Daniel walk through this in his own words.
Comments (3)
Quality content like this is rare. Keep it up.
Printing this out and pinning it next to my monitor. That good.
Well explained. I think my audience would really benefit from this — mind if I link to it?
Leave a Comment