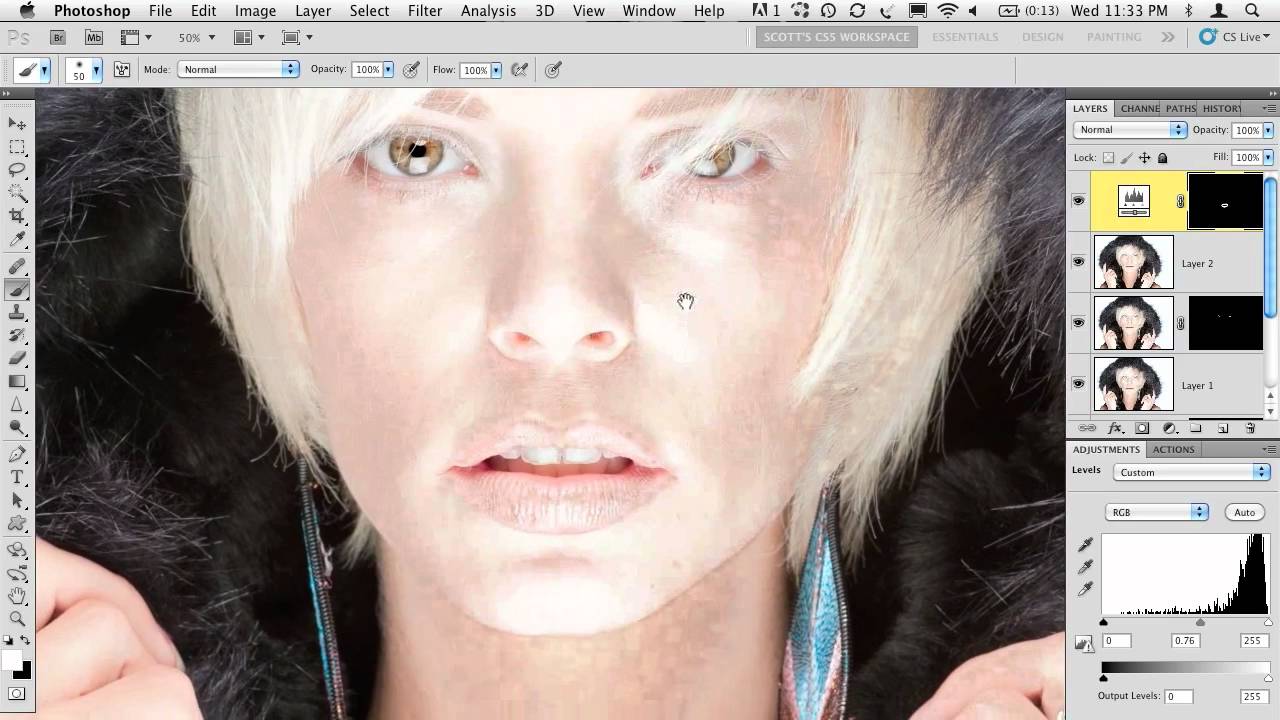
There was a period early in my retouching career when I was jumping into Photoshop the moment a file landed on my hard drive. No sorting, no initial tone work, no white balance correction. Just straight into layers and healing brushes, wondering why my skin work always felt like I was fighting the image instead of working with it. It took me an embarrassingly long time to understand that the order of operations matters as much as the techniques themselves. A solid pre-flight in Lightroom means you arrive in Photoshop with a file that’s already doing most of the heavy lifting.
That’s exactly what Scott Kelby demonstrates in this KelbyOne tutorial, and it’s one of the clearest articulations of a triage-first, retouch-second workflow I’ve seen. Watch the full tutorial on YouTube if you want to follow along. What follows is my breakdown of the technique, written so you can actually work through it step by step without pausing and rewinding every thirty seconds.
The session covers a high-key portrait shoot – bright background, beauty dish lighting – and walks through every decision from import to final polish. The tools are Lightroom (he’s working in version 3, but the logic applies to every version since), Photoshop, and a Wacom Intuos4 tablet. Even if you’re still using a mouse, the conceptual flow is worth internalizing.
Step 1: Use Lightroom as Your Sorting and Starting Point
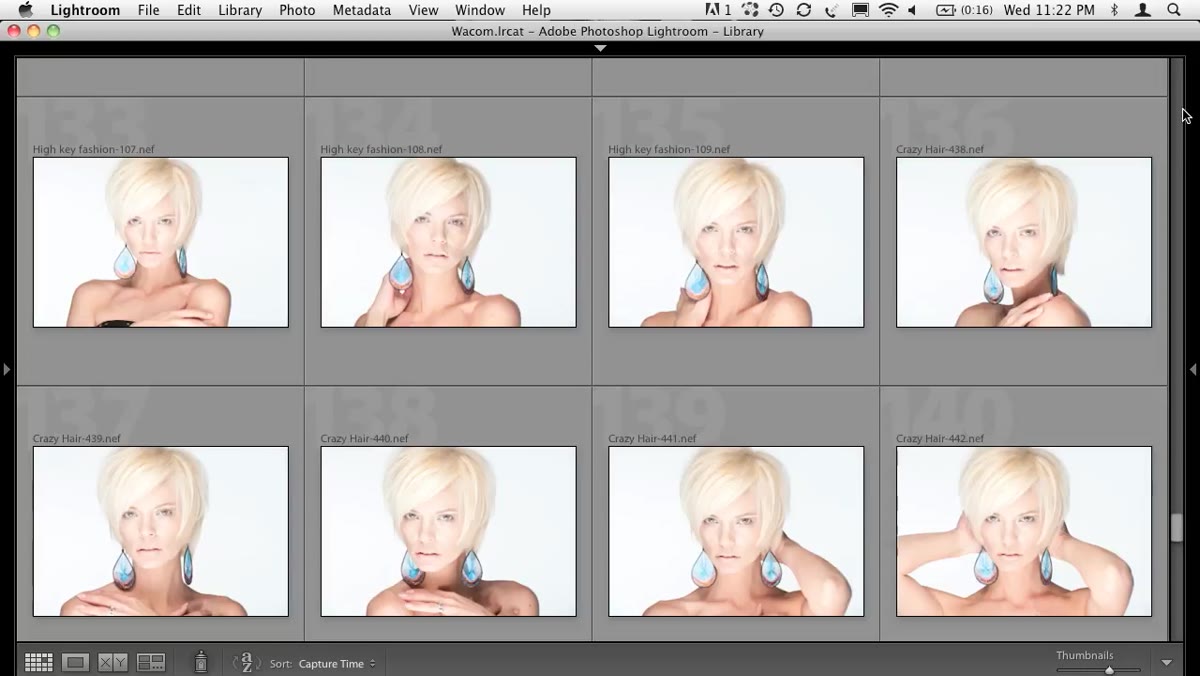 Lightroom grid view showing multiple portrait shots from the session
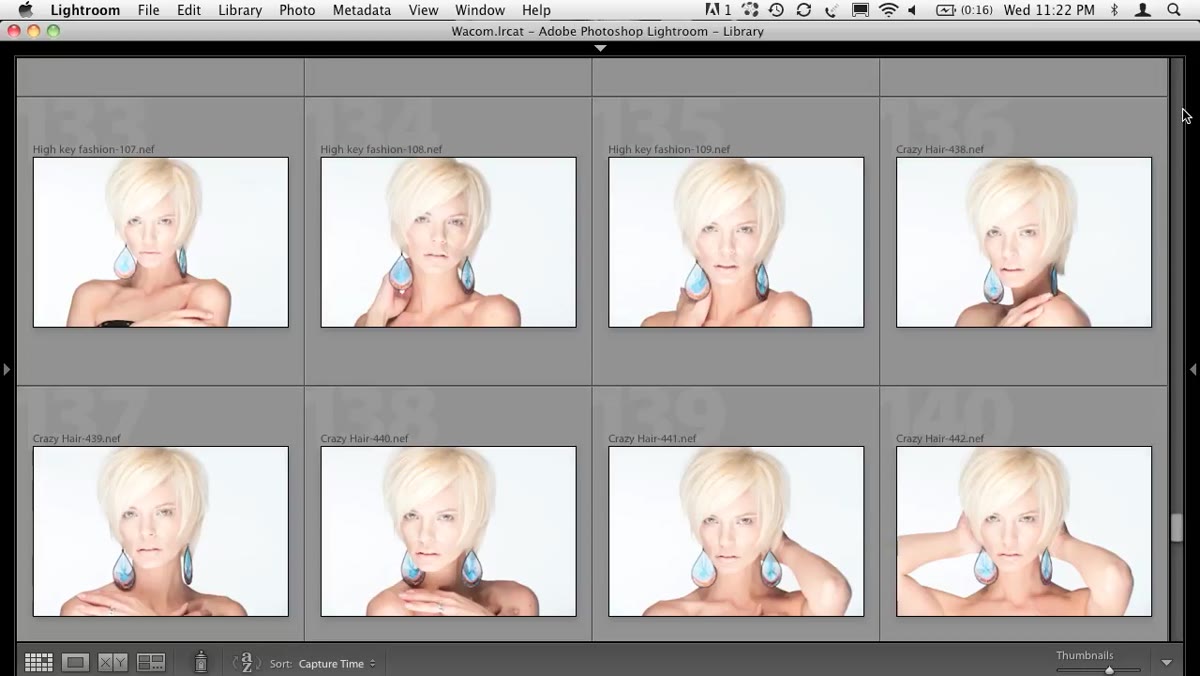
Don’t open Photoshop yet. Seriously. Lightroom is where you make the first round of decisions – which image to invest time in, what the file’s baseline problems are, and what you’re walking into before you ever touch a healing brush. Kelby imports everything here, does his culling, and treats Lightroom as the front door to the whole process. If you’re skipping this step, you’re doing triage inside a surgical theater, and that’s backwards.
Lightroom grid view showing multiple portrait shots from the session
Don’t open Photoshop yet. Seriously. Lightroom is where you make the first round of decisions – which image to invest time in, what the file’s baseline problems are, and what you’re walking into before you ever touch a healing brush. Kelby imports everything here, does his culling, and treats Lightroom as the front door to the whole process. If you’re skipping this step, you’re doing triage inside a surgical theater, and that’s backwards.
Browse your shoot in the grid view. Look for the frame with the best expression, the best light falloff on the face, and the least structural work to do. Retouching time is finite. Choose the image that’s already 70% of the way there.
Step 2: Fix White Balance Before Anything Else
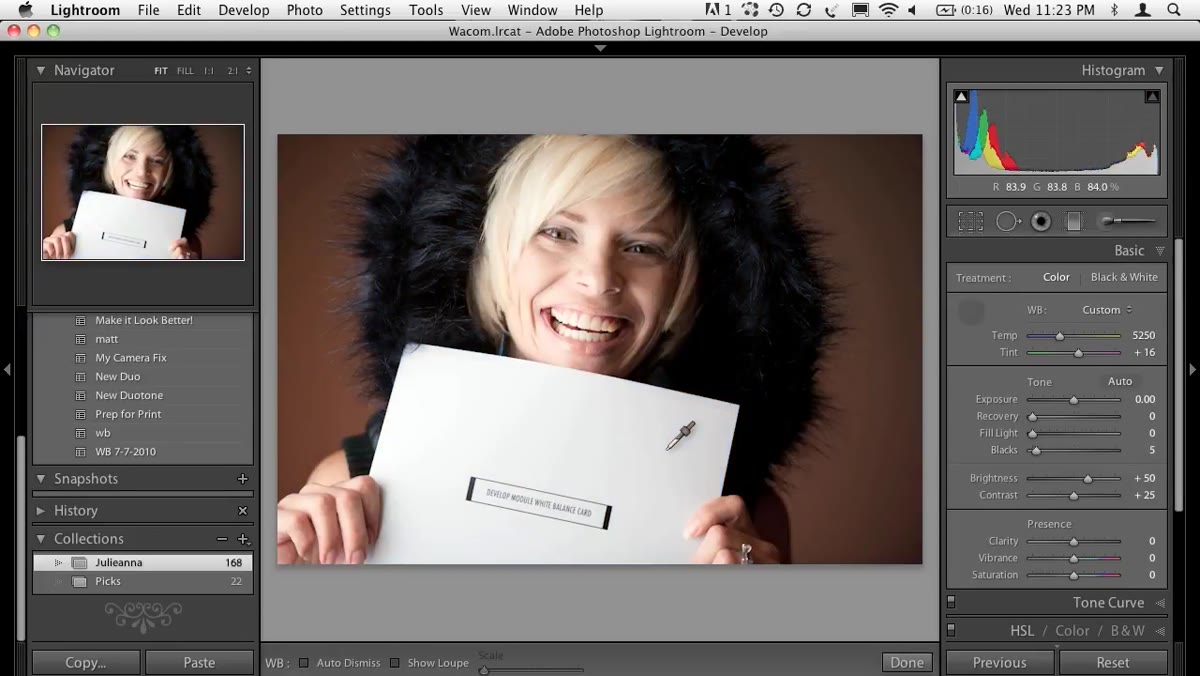 White balance eyedropper tool selected in Lightroom Develop module
If your subject held a gray card during the shoot, now is when that card pays for itself. In the Develop module, grab the white balance eyedropper (the pipette icon in the top-left of the Basic panel) and click directly on a neutral gray area in your reference frame. Kelby demonstrates this on a gray card held by his subject, and the color cast – a noticeable blue shift – corrects immediately.
White balance eyedropper tool selected in Lightroom Develop module
If your subject held a gray card during the shoot, now is when that card pays for itself. In the Develop module, grab the white balance eyedropper (the pipette icon in the top-left of the Basic panel) and click directly on a neutral gray area in your reference frame. Kelby demonstrates this on a gray card held by his subject, and the color cast – a noticeable blue shift – corrects immediately.
If you don’t have a gray card shot, use the White Balance selector to find something in the frame that should be neutral: the whites of the eyes, a white shirt, a wall. Getting color balance right at this stage means your skin tones will be accurate before you do any retouching, and you won’t be chasing a color cast through every layer later in Photoshop.
Step 3: Check Your Highlights with the Clipping Warning
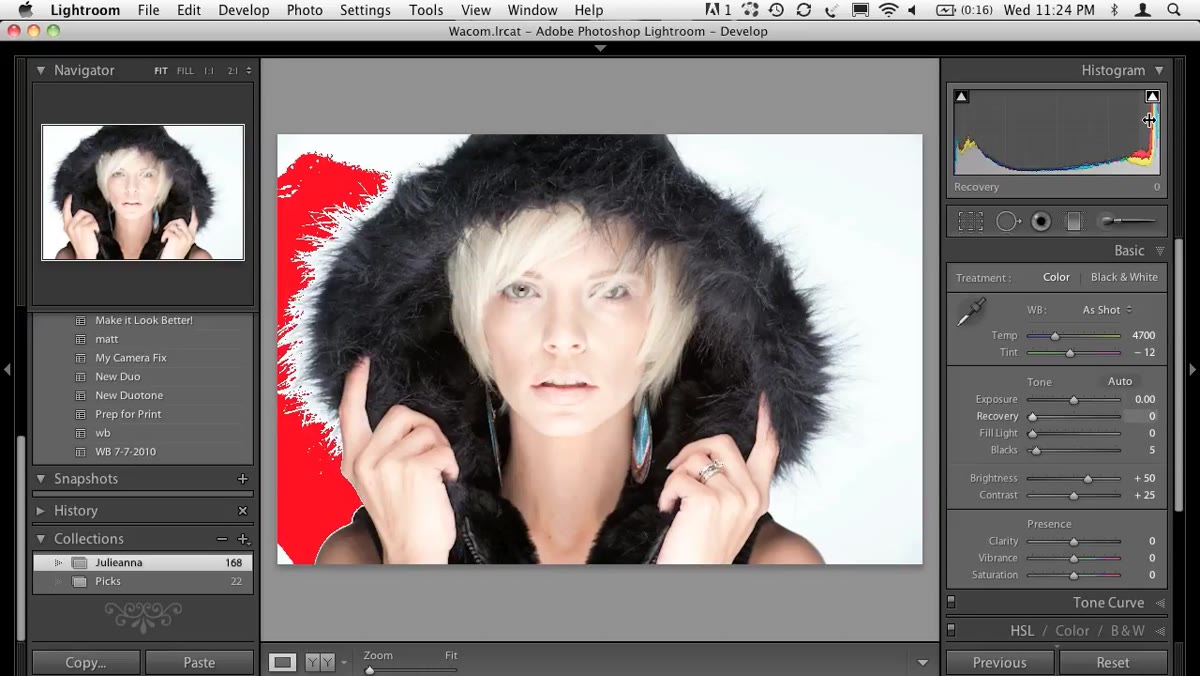 Red clipping overlay showing blown highlights on a high-key portrait
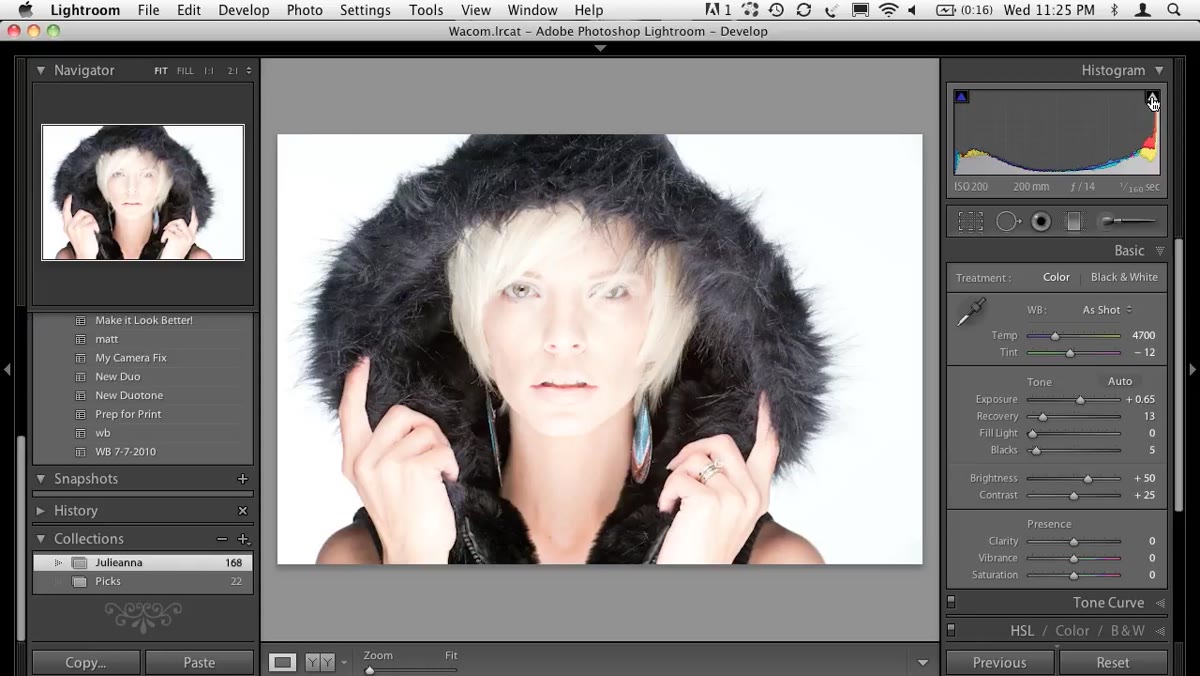
For high-key work especially, you need to know exactly where your highlights are clipping before you move on. In the Develop module, click the triangle icon in the top-right corner of the histogram panel. This activates the highlight clipping warning, and any area that is completely blown out will show as a red overlay on your image.
Red clipping overlay showing blown highlights on a high-key portrait
For high-key work especially, you need to know exactly where your highlights are clipping before you move on. In the Develop module, click the triangle icon in the top-right corner of the histogram panel. This activates the highlight clipping warning, and any area that is completely blown out will show as a red overlay on your image.
The goal on a high-key portrait is a white background that reads as pure white, without losing detail on the face. If you see red bleeding onto the skin – the forehead, the cheekbones, the nose – pull the Recovery slider (or in newer versions of Lightroom, the Highlights slider) down slightly until that facial detail comes back. A few points is usually enough. You want the background to blow out cleanly while the face retains texture and dimension.
Step 4: Make Intentional Decisions About Warmth and Mood
 Basic panel in Lightroom Develop module with Temperature and Tint sliders visible
High-key portraits have a specific emotional register – clean, airy, slightly cool or neutral. Resist the instinct to warm every skin tone the same way you might on an outdoor portrait. Kelby notes that for this particular shoot, he wants to preserve that bright, slightly cool quality because it matches the lighting setup and the intended look.
Basic panel in Lightroom Develop module with Temperature and Tint sliders visible
High-key portraits have a specific emotional register – clean, airy, slightly cool or neutral. Resist the instinct to warm every skin tone the same way you might on an outdoor portrait. Kelby notes that for this particular shoot, he wants to preserve that bright, slightly cool quality because it matches the lighting setup and the intended look.
Check your Temperature and Tint sliders and ask: does this serve the image, or am I just applying a habit? On beauty and commercial work, the color treatment is often specified by a client or a mood board. Build the habit of asking what the image is supposed to feel like before you reach for the Temp slider. Once you’ve made a conscious decision here, you’re ready to hand the file off to Photoshop.
Step 5: Send the File to Photoshop for the Real Retouching Work
 Lightroom and Photoshop integration described during workflow introduction
Lightroom and Photoshop are designed to pass files back and forth, and the handoff is clean. Right-click your selected image in Lightroom and choose “Edit In > Edit in Adobe Photoshop.” Your file opens in Photoshop with all your Lightroom adjustments baked into a working copy, and you return to Lightroom when you’re done by simply saving in Photoshop – no exporting, no relinking.
Lightroom and Photoshop integration described during workflow introduction
Lightroom and Photoshop are designed to pass files back and forth, and the handoff is clean. Right-click your selected image in Lightroom and choose “Edit In > Edit in Adobe Photoshop.” Your file opens in Photoshop with all your Lightroom adjustments baked into a working copy, and you return to Lightroom when you’re done by simply saving in Photoshop – no exporting, no relinking.
This is where the Wacom tablet earns its place in the workflow. Kelby uses the Intuos4 throughout his Photoshop work, and the pressure sensitivity changes everything for skin retouching specifically. Brush opacity tied to pen pressure means you can feather your healing and cloning work with a natural, intuitive touch instead of constantly adjusting sliders. If you’ve been curious about tablets but haven’t committed, skin retouching is the use case that will convert you.
What I’d Add: Build the Habit of Documenting Your Starting Point
One thing I do that Kelby doesn’t explicitly mention – I take a quick snapshot in Lightroom (found in the Snapshots panel in the Develop module) before I send anything to Photoshop. I label it “Pre-retouch.” It’s a zero-effort safety net that lets me compare against the original at any point, and it takes about four seconds. After getting feedback once that a client wanted to dial back some of my work, I never skip this anymore.
The other thing worth noting: this workflow scales. Whether you’re doing light cleanup for a senior portrait or full beauty retouching for a cosmetics brand, the order stays the same – sort, correct, confirm tones, then retouch. The depth of each step changes, but the structure holds.
The single most important idea in this tutorial is the one that sounds the least glamorous: Lightroom does the structural work so Photoshop can do the creative work. When you arrive in Photoshop with clean color, correct exposure, and a well-chosen file, you’re free to focus entirely on the retouching – not on fixing problems you should have caught earlier. That division of labor is what keeps a retouching session efficient and the results looking natural.
Watch the full tutorial on YouTube to see Kelby work through this in real time, especially the Photoshop portion. Watching the tablet pressure in action on skin work is something you really have to see to understand why so many retouchers swear by it.
Comments
Leave a Comment