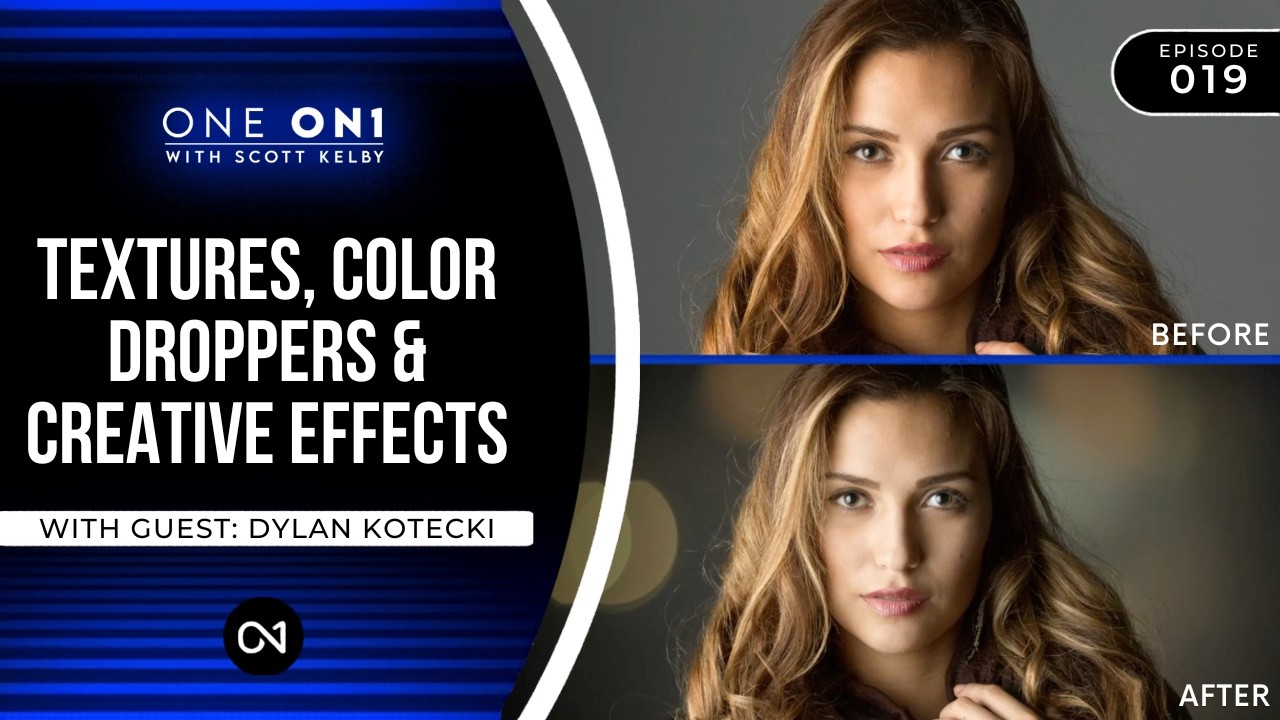
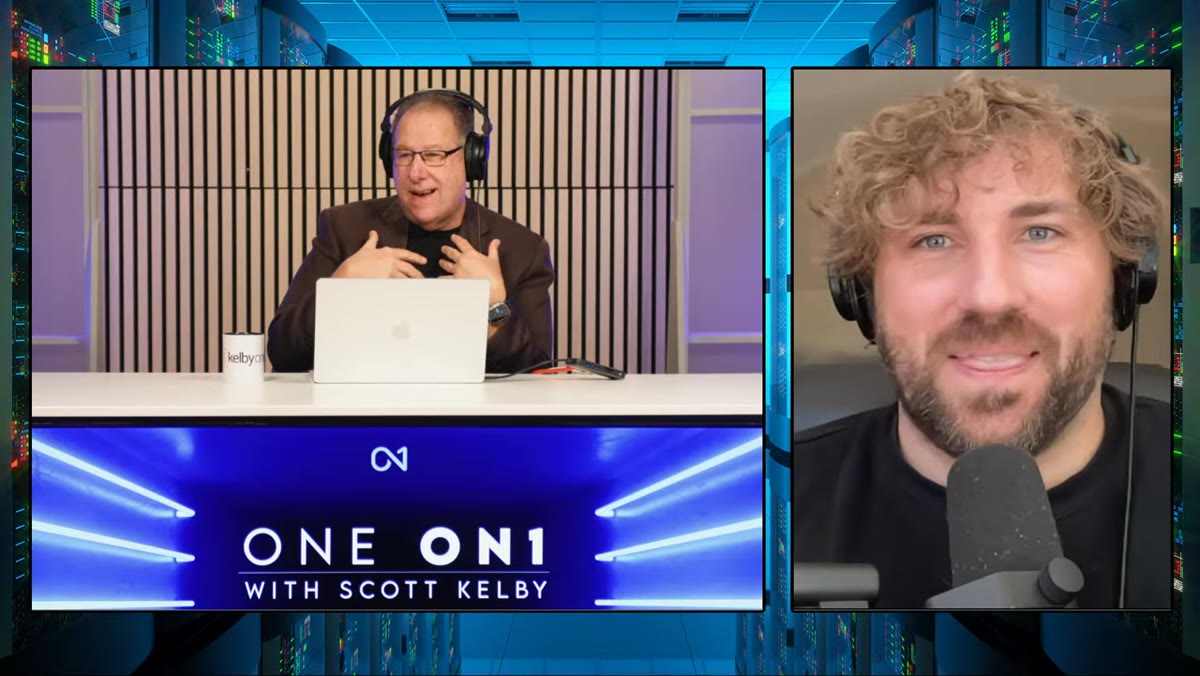
There’s a specific kind of client frustration I’ve learned to dread: the one where the photo is technically fine but just feels flat. Good light, clean skin, sharp focus, and somehow the whole thing still looks like a stock image nobody would ever buy. For a long time my answer was to go deeper into skin work, dodging and burning until the image had more dimension. What I wasn’t doing was thinking about the background, the atmosphere, the layer of creative texture that separates a polished portrait from one that actually has a mood. That gap is exactly what Scott Kelby and Dylan Kotecki address in this episode of KelbyOne’s One ON1 series.
Watch the full tutorial on YouTube
What I appreciate about this particular episode is that it doesn’t stay theoretical. Scott works through the Textures filter in ON1 Effects with actual before-and-after logic, and Dylan follows with color dropper tricks and a cloud-painting technique that I immediately wanted to steal for editorial work. We’re going to walk through it step by step so you can follow along in ON1 without needing to scrub through the video.
Step 1: Open the Textures Filter in ON1 Effects
 Textures filter panel open inside ON1 Effects
Inside ON1 Effects, navigate to the Filters panel and add a Textures filter. Scott points out this one gets skipped constantly, probably because the name sounds like it only does rough, grungy overlays. It doesn’t. The filter holds categories ranging from light leaks and bokeh to grunge and film grain, which means the creative range is much wider than the label suggests. Start by browsing the presets panel on the left. Hover before you click so you can preview the effect on your image without committing.
Textures filter panel open inside ON1 Effects
Inside ON1 Effects, navigate to the Filters panel and add a Textures filter. Scott points out this one gets skipped constantly, probably because the name sounds like it only does rough, grungy overlays. It doesn’t. The filter holds categories ranging from light leaks and bokeh to grunge and film grain, which means the creative range is much wider than the label suggests. Start by browsing the presets panel on the left. Hover before you click so you can preview the effect on your image without committing.
Step 2: Choose a Texture and Set the Blend Mode
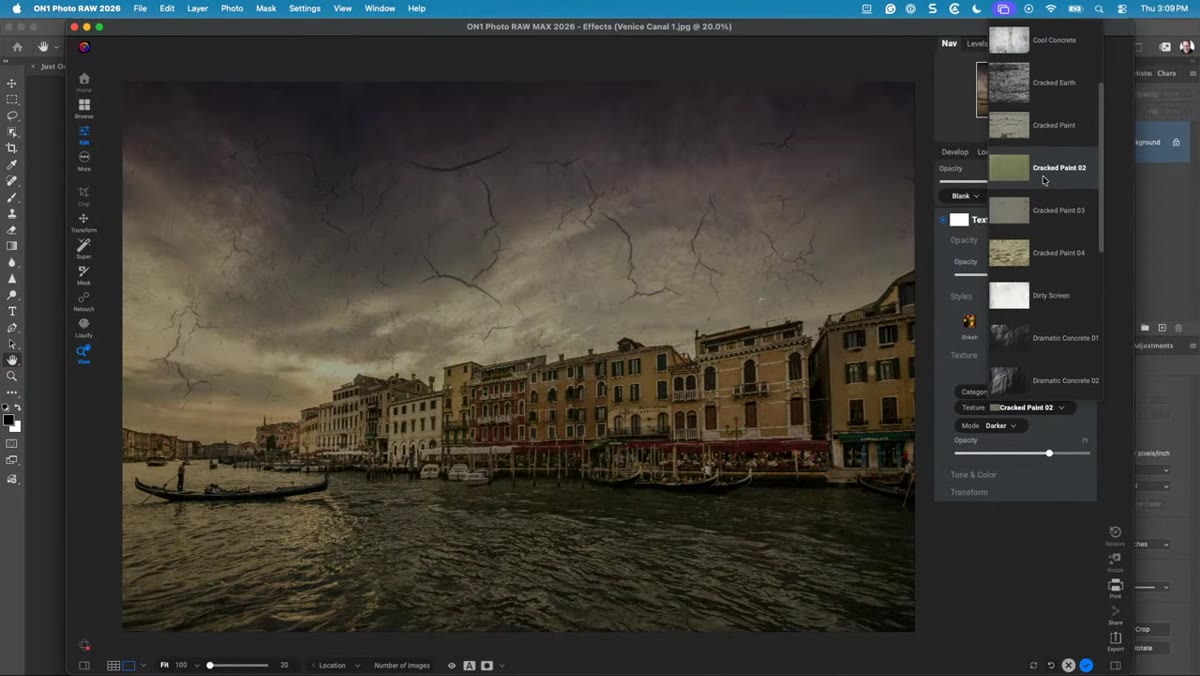
 Blend mode dropdown open with texture applied to full image
Once you’ve picked a texture you like, the next control to reach for is the blend mode. Scott demonstrates that Screen works well for light-based textures like bokeh and light leaks, because it drops out the dark areas and lets the bright wash blend naturally into the image. For grunge or grain-style textures, Multiply or Overlay tends to give more weight and contact with the underlying image. Opacity is your volume knob here. Keep it restrained, somewhere in the 30 to 60 percent range, unless you’re intentionally going for a heavily stylized look.
Blend mode dropdown open with texture applied to full image
Once you’ve picked a texture you like, the next control to reach for is the blend mode. Scott demonstrates that Screen works well for light-based textures like bokeh and light leaks, because it drops out the dark areas and lets the bright wash blend naturally into the image. For grunge or grain-style textures, Multiply or Overlay tends to give more weight and contact with the underlying image. Opacity is your volume knob here. Keep it restrained, somewhere in the 30 to 60 percent range, unless you’re intentionally going for a heavily stylized look.
Step 3: Use Masking to Protect Your Subject
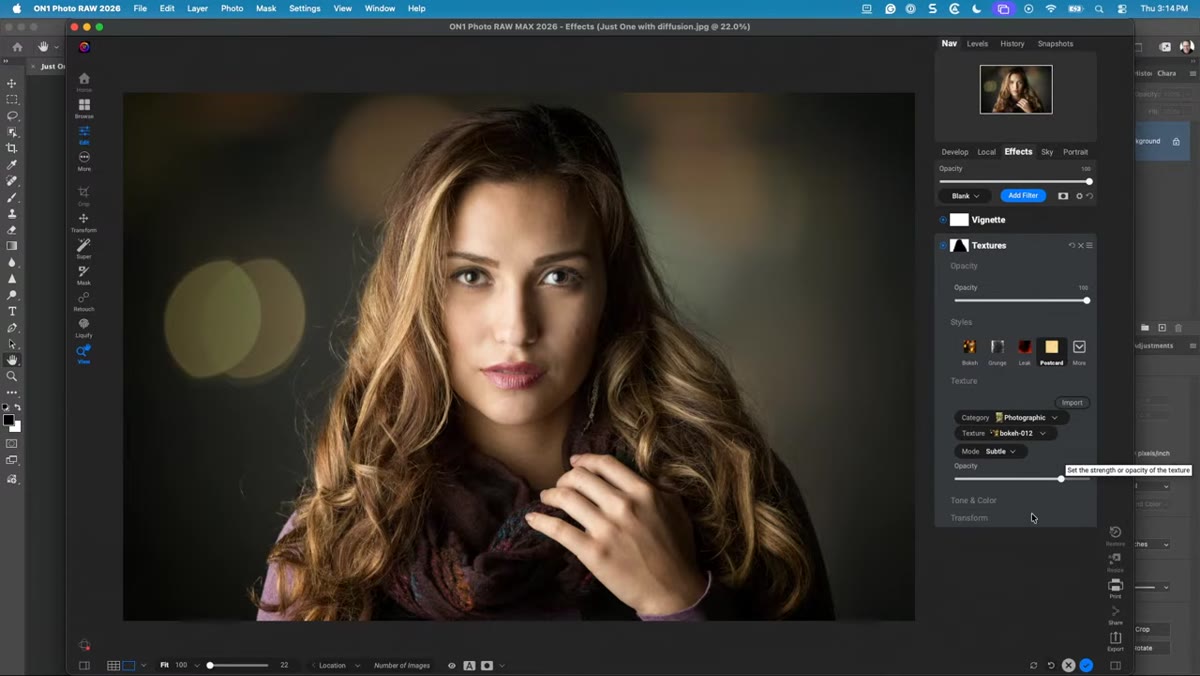
 Masking panel showing subject masked out from texture layer
This is the step that changes everything. Applying a texture across the whole frame looks heavy-handed fast, especially on portrait work where you’ve spent real time on skin. Scott’s move is to add a mask directly to the Textures filter and paint the effect off the subject. In ON1, you can use the AI-powered subject selection to build a starting mask quickly. Select the subject, invert the mask so the texture only hits the background, and then use a soft brush to clean up the edges. The result is a background that has atmosphere and depth while your subject stays clean and sharp. This is the technique I wish I’d been using two years ago.
Masking panel showing subject masked out from texture layer
This is the step that changes everything. Applying a texture across the whole frame looks heavy-handed fast, especially on portrait work where you’ve spent real time on skin. Scott’s move is to add a mask directly to the Textures filter and paint the effect off the subject. In ON1, you can use the AI-powered subject selection to build a starting mask quickly. Select the subject, invert the mask so the texture only hits the background, and then use a soft brush to clean up the edges. The result is a background that has atmosphere and depth while your subject stays clean and sharp. This is the technique I wish I’d been using two years ago.
Step 4: Browse the Free Creative Library
 ON1 Creative Library panel open showing free texture assets
Dylan Kotecki takes over here and introduces something a lot of ON1 users apparently don’t know exists: a free Creative Library built into the software. It includes additional textures, overlays, and presets you can pull from without any extra purchase. To access it, look for the Creative Library tab within the ON1 browser. Dylan filters by free assets specifically, which is a smart habit if you’re building out a toolkit without a big budget. The quality is solid enough for professional use, not just practice files.
ON1 Creative Library panel open showing free texture assets
Dylan Kotecki takes over here and introduces something a lot of ON1 users apparently don’t know exists: a free Creative Library built into the software. It includes additional textures, overlays, and presets you can pull from without any extra purchase. To access it, look for the Creative Library tab within the ON1 browser. Dylan filters by free assets specifically, which is a smart habit if you’re building out a toolkit without a big budget. The quality is solid enough for professional use, not just practice files.
Step 5: Use the Color Dropper in the Black and White Filter
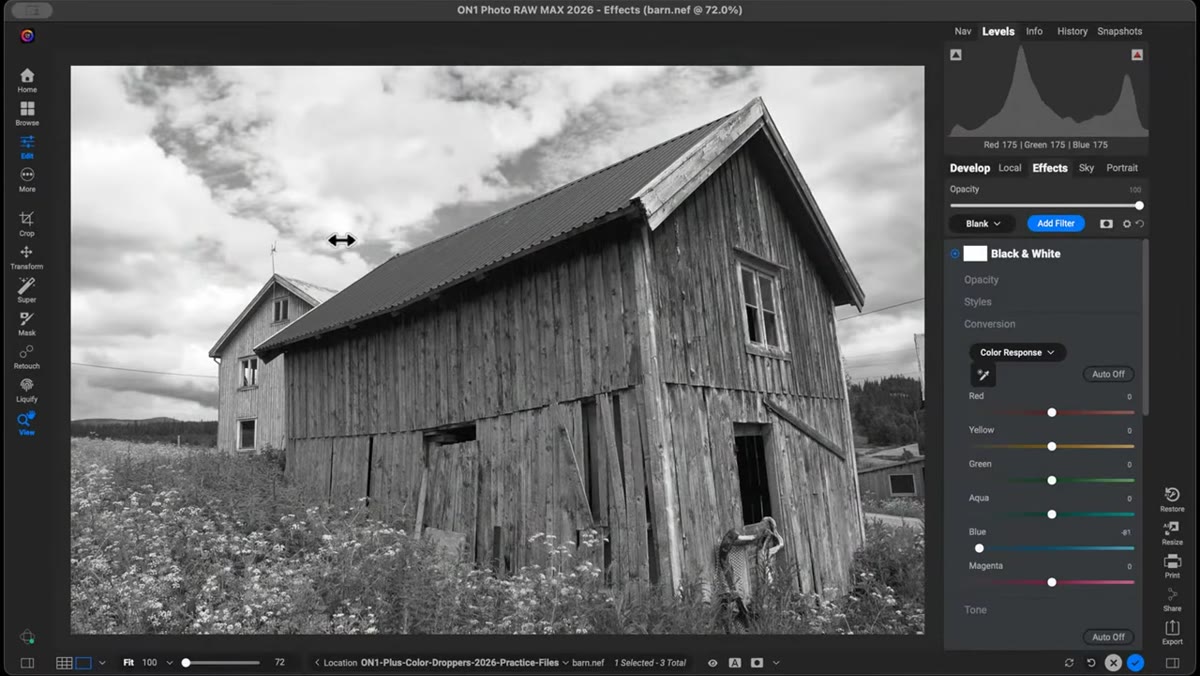
 Color dropper tool active inside the Black and White filter panel
Here’s a technique that sounds simple but has a real impact on luminosity-based black and white conversions. Inside ON1’s Black and White filter, there’s a color dropper tool that lets you click directly on a color in your image and then adjust how bright or dark that color converts to gray. Dylan demonstrates clicking on skin tones and pulling the brightness up, then sampling the background and pulling it down, creating separation that feels natural rather than forced. This is much faster than manually dialing individual color channel sliders, especially when you’re working on a portrait and you need skin to glow without blowing out.
Color dropper tool active inside the Black and White filter panel
Here’s a technique that sounds simple but has a real impact on luminosity-based black and white conversions. Inside ON1’s Black and White filter, there’s a color dropper tool that lets you click directly on a color in your image and then adjust how bright or dark that color converts to gray. Dylan demonstrates clicking on skin tones and pulling the brightness up, then sampling the background and pulling it down, creating separation that feels natural rather than forced. This is much faster than manually dialing individual color channel sliders, especially when you’re working on a portrait and you need skin to glow without blowing out.
Step 6: Sample Colors with the Dropper in the Color Enhancer Filter
 Color Enhancer filter with dropper tool sampling a specific hue in the image
The color dropper logic carries over into the Color Enhancer filter, but here you’re working in color rather than black and white. Dylan shows how clicking on a specific color in the image, say a muted teal in a background, lets you boost or shift just that hue without affecting everything else. This is a more surgical approach than global hue-saturation sliders. For beauty and portrait work, it’s particularly useful for isolating and enhancing the color in lips, eyes, or a specific clothing tone without color-casting the skin in the process.
Color Enhancer filter with dropper tool sampling a specific hue in the image
The color dropper logic carries over into the Color Enhancer filter, but here you’re working in color rather than black and white. Dylan shows how clicking on a specific color in the image, say a muted teal in a background, lets you boost or shift just that hue without affecting everything else. This is a more surgical approach than global hue-saturation sliders. For beauty and portrait work, it’s particularly useful for isolating and enhancing the color in lips, eyes, or a specific clothing tone without color-casting the skin in the process.
Step 7: Paint Realistic Clouds Using Local Adjustments and Sampled Colors
 Local adjustment brush active with sampled sky color being painted as clouds
This one surprised me when I first saw it. Dylan demonstrates a method for adding or enhancing clouds in a sky that doesn’t involve composite layers or separate sky replacement. The technique uses ON1’s local adjustments in combination with the color dropper to sample the lightest values already present in the sky. You create a new local adjustment layer, sample a highlight color from the existing clouds or sky edge, and then paint with a soft brush to build soft, luminous shapes that read as cloud texture. Adjusting the blend mode and opacity of the local adjustment refines how naturally those painted areas merge with the real sky tones. It’s not a sky replacement, it’s more like sculpting light that was already implied in the original capture.
Local adjustment brush active with sampled sky color being painted as clouds
This one surprised me when I first saw it. Dylan demonstrates a method for adding or enhancing clouds in a sky that doesn’t involve composite layers or separate sky replacement. The technique uses ON1’s local adjustments in combination with the color dropper to sample the lightest values already present in the sky. You create a new local adjustment layer, sample a highlight color from the existing clouds or sky edge, and then paint with a soft brush to build soft, luminous shapes that read as cloud texture. Adjusting the blend mode and opacity of the local adjustment refines how naturally those painted areas merge with the real sky tones. It’s not a sky replacement, it’s more like sculpting light that was already implied in the original capture.
How I’d Extend This in Beauty Work
The texture-with-masking approach translates directly into beauty editorial, but I’d push the masking refinement further than Scott does in the tutorial. For tight beauty crops where the background is out of focus but still visible, I’ll often use a gradient mask on top of the subject mask to feather the texture in from the edges. This keeps the effect feeling dimensional rather than like a frame stamped over the photo. The cloud-painting trick also has an interesting application for beauty work when shooting against a seamless: if your background has subtle tonal variation from the lighting falloff, you can use the same local adjustment and color dropper method to add soft, intentional gradient detail instead of flattening it out in post.
The single most useful thing in this tutorial is probably the obvious one: the mask on the Textures filter. It’s the difference between a texture effect and a believable atmosphere. Everything else builds on that foundation. If you’re working in ON1 and you’ve been ignoring the Textures filter, this is the session that will change your relationship with it.
Watch the full tutorial on YouTube
Comments (3)
Wow, I had no idea you could do this. Mind blown.
Never thought of approaching it this way. Really creative.
Clear and practical. No fluff. Appreciate that.
Leave a Comment