The Art of Natural Skin Retouching: Techniques That Look Like Real Skin
When I first started retouching portraits, I made the same mistake many beginners do: I over-smoothed everything until faces looked plastic and lifeless. It wasn’t until I learned to think about skin as a living surface—with texture, dimension, and subtle imperfections that make someone recognizable—that my work transformed.
Today, I want to share the philosophy and practical methods that’ve shaped how I approach skin retouching. Whether you’re editing headshots, beauty photography, or wedding portraits, these techniques will help you create results that look professionally polished while maintaining that crucial element of humanity.
Why We Start With Assessment, Not Tools
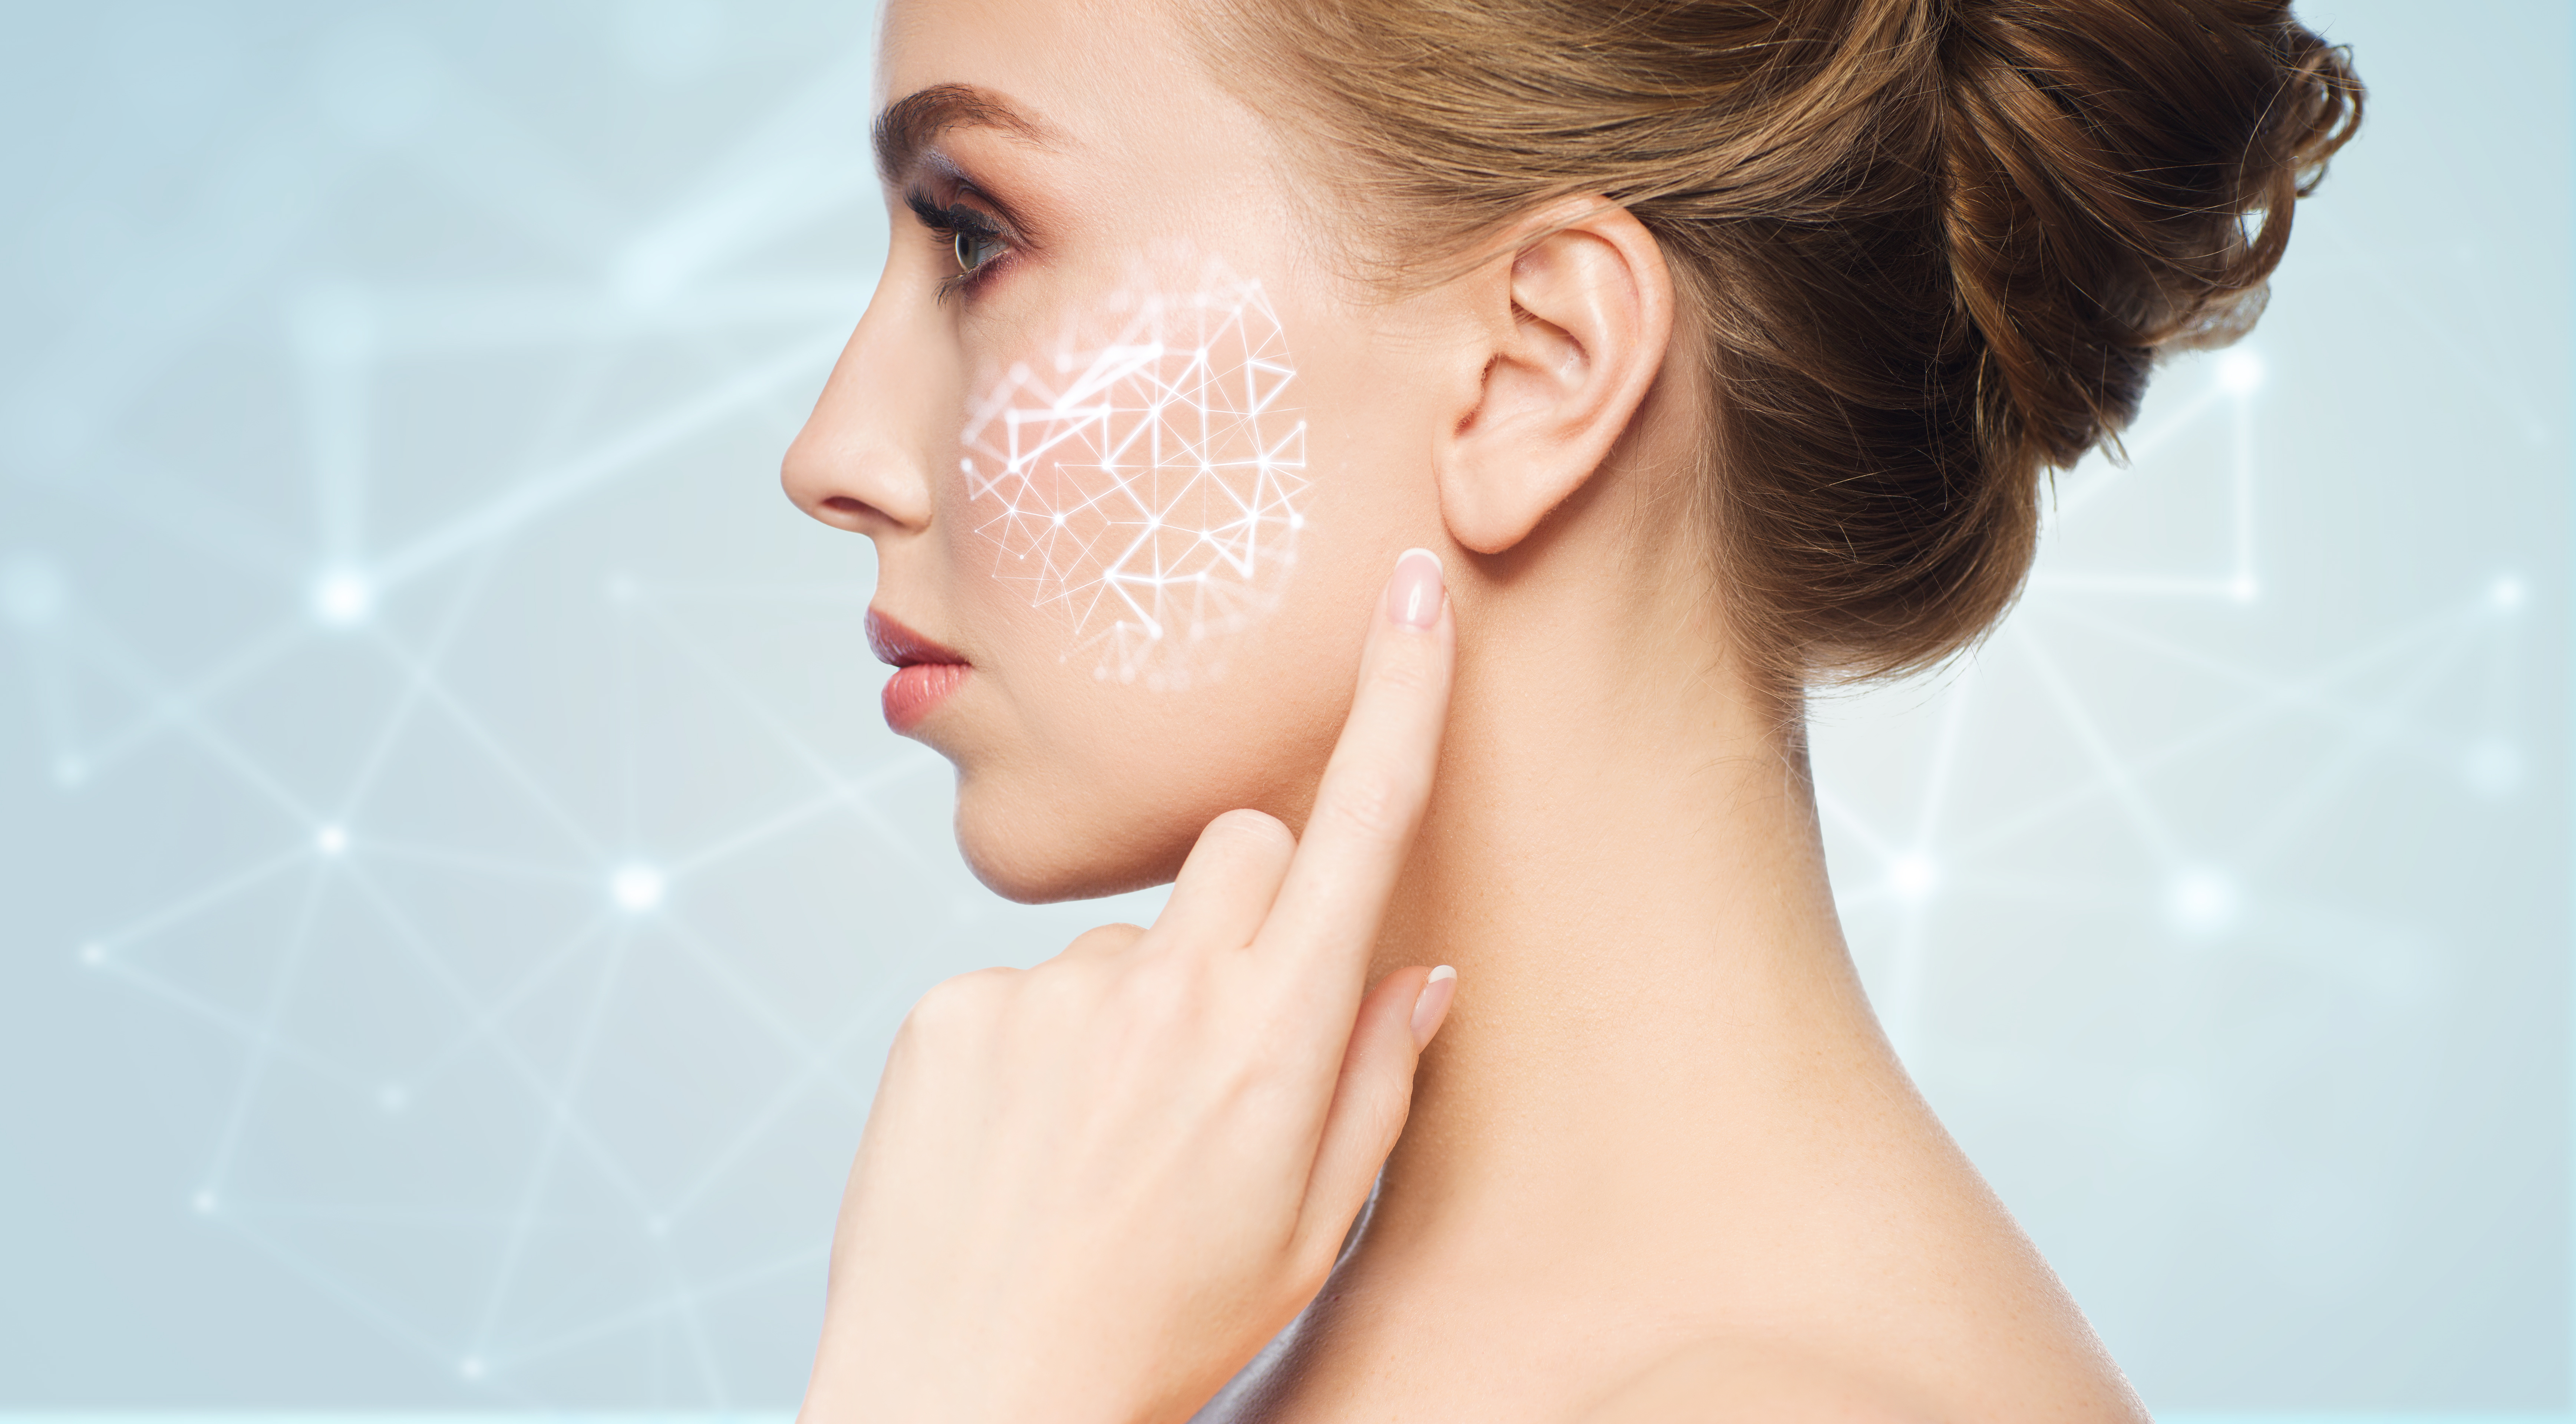
Before I touch any retouching tool, I spend two minutes simply observing the skin. I ask myself: What are the actual concerns here? Is it texture? Redness? Dark circles? Pores that are too prominent?
This matters because different skin issues need different solutions. Using a healing brush on deep texture creates a blurry mess, while using frequency separation on light surface blemishes is overkill. By identifying what we’re really fixing, we choose the right tool and avoid over-processing.
The Two-Layer Foundation Method
Here’s my workflow that I teach in every retouching project:
Layer 1: Spot Healing for Blemishes I create a new layer (Shift+Ctrl+N) and use the Spot Healing Brush set to “Content-Aware” at 90-95% hardness. This handles individual blemishes, small breakouts, or temporary marks. The key? Don’t drag the brush. Stamp it once over the blemish and let Photoshop do the work. Multiple stamps blend better than one long stroke.
Layer 2: Frequency Separation for Texture This is where we handle pores, fine lines, and overall skin texture. I create two duplicate layers: one blurred heavily (Gaussian Blur, 8-10 pixels) for the low frequencies (tone and color), and one high-pass filtered (Filter > Other > High Pass, 3-5 pixels) for the high frequencies (texture and detail).
The magic happens when we selectively reduce the high-frequency layer’s opacity to about 40-60%, preserving skin texture while minimizing pores. This keeps skin looking real.
Managing Dark Circles and Shadows
Dark circles trip up many retouchers because the area is delicate and complex. I don’t just lighten them—I reshape the light.
I use the Dodge tool (Range: Shadows, Exposure: 15-20%) to gently brighten the darkest area, then create a new layer with a warm, peachy tone (Color Burn mode, 20-30% opacity) to add dimension back. This prevents that flat, over-brightened look.
The Final Polish: Clarity and Glow
Once blemishes and texture are handled, I often add one final touch. On a new layer, I brush on pure white at 5-10% opacity where light naturally hits—the tops of cheekbones, the bridge of the nose, the center of the forehead. This subtle glow makes skin look healthy without being obvious.
The Golden Rule
Throughout every step, I work non-destructively with multiple layers and soft brushes. I zoom to 100% to see realistic detail, then zoom out to 50% regularly to ensure I’m not over-processing.
Remember: the best retouching is invisible. We’re not creating perfect plastic skin—we’re revealing the best version of the skin that’s already there.
Every portrait is different, and that’s what makes this work so rewarding. Start with assessment, build your layers thoughtfully, and always step back to ask: “Does this still look like a real person?”
That’s when you know you’ve nailed it.
Comments
Leave a Comment