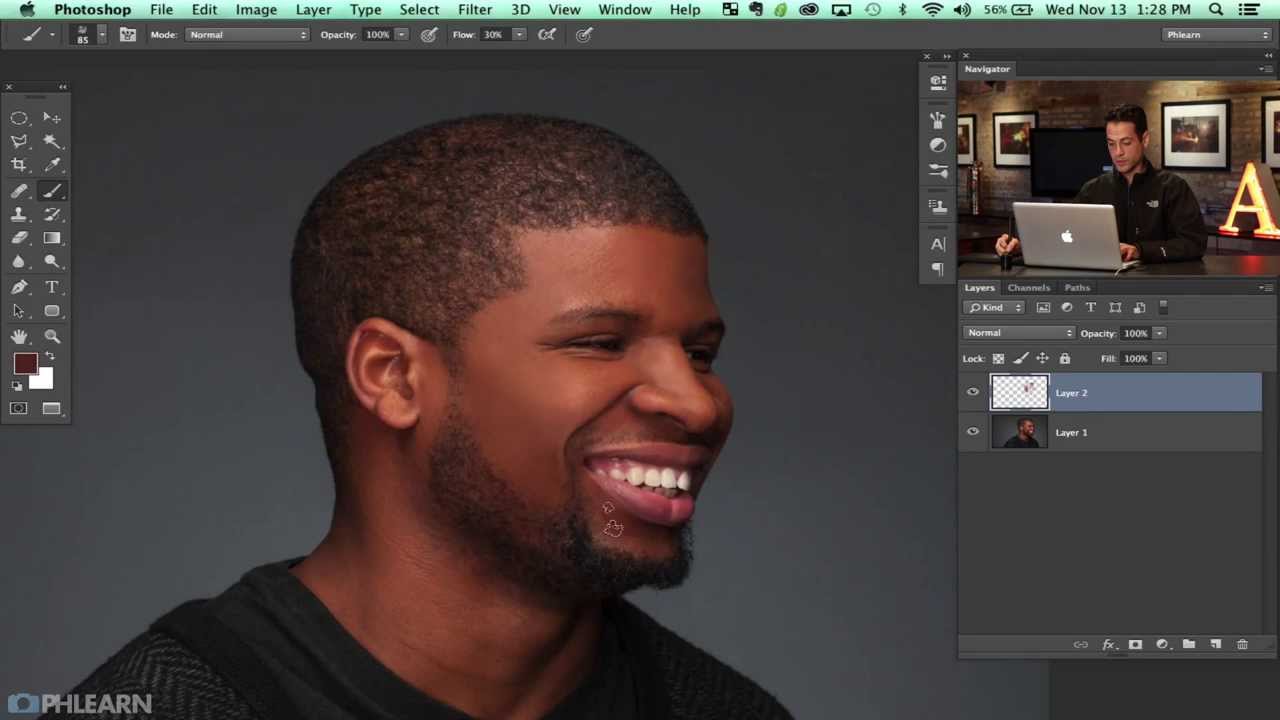
There’s a specific kind of dread that comes from delivering a retouch and having a client say the skin looks “fake.” I know that dread personally. Early in my retouching career, I was smoothing skin the only way I knew how, and the results looked like a wax museum exhibit. What I was missing wasn’t effort. It was texture. Retouched skin that holds up under scrutiny has to retain the random, slightly chaotic quality that real skin has, and that’s harder to preserve than it sounds.
In Watch the full tutorial on YouTube, Aaron Nace from PHLEARN walks through Part 1 of a three-part editorial headshot retouch. The subject is a man, which is its own specific challenge. Men’s skin retouching lives in a narrower corridor than beauty work. Too little and you’ve done nothing; too much and you’ve erased the character. Aaron’s approach here is to build a custom brush that deposits texture as it retouches, so the two tasks happen simultaneously. It’s clever, and once you try it, it’s hard to go back to a standard round brush.
What follows is a breakdown of exactly how he builds that brush and what settings matter. You can follow this without watching the video first, though I’d recommend doing both.
Step 1: Create a New Document for Your Brush Canvas
 New document dialog open, 800x800 pixels entered
Start by creating a new Photoshop document. Aaron uses 800 pixels by 800 pixels, and that size is deliberate. If you’re working on a modern 20-megapixel image, a small brush tip will look stamped and artificial. You need a tip large enough to blend convincingly into high-resolution skin. Hit Command+N (Mac) or Control+N (PC), set both dimensions to 800 pixels, and leave everything else at its default. This document is just a workspace for designing the tip. It won’t become part of your final file.
New document dialog open, 800x800 pixels entered
Start by creating a new Photoshop document. Aaron uses 800 pixels by 800 pixels, and that size is deliberate. If you’re working on a modern 20-megapixel image, a small brush tip will look stamped and artificial. You need a tip large enough to blend convincingly into high-resolution skin. Hit Command+N (Mac) or Control+N (PC), set both dimensions to 800 pixels, and leave everything else at its default. This document is just a workspace for designing the tip. It won’t become part of your final file.
Step 2: Select a Scattered, Organic Brush Tip
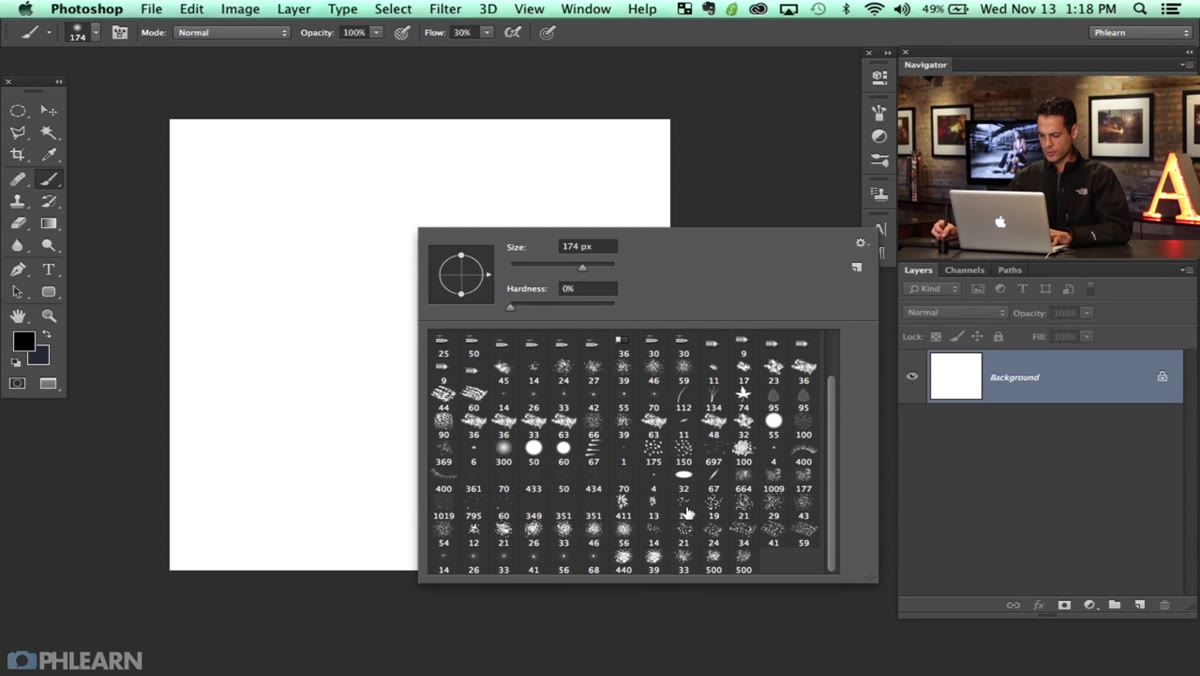 Brush picker open showing natural and faux finish brush sets
Right-click on the canvas to open the brush picker. Photoshop ships with a range of brush libraries beyond the basic round tips. Click the gear icon inside the picker to access additional sets. Aaron mentions “Faux Finish Brushes” and “Natural Brushes” as good starting points. You’re looking for something that produces a broken, scattered mark rather than a solid stroke. Think of the texture left by a dry sponge or rough paper. The exact tip doesn’t matter much at this stage because you’ll be modifying it heavily. What matters is that the base pattern is irregular. Avoid anything symmetrical or too defined.
Brush picker open showing natural and faux finish brush sets
Right-click on the canvas to open the brush picker. Photoshop ships with a range of brush libraries beyond the basic round tips. Click the gear icon inside the picker to access additional sets. Aaron mentions “Faux Finish Brushes” and “Natural Brushes” as good starting points. You’re looking for something that produces a broken, scattered mark rather than a solid stroke. Think of the texture left by a dry sponge or rough paper. The exact tip doesn’t matter much at this stage because you’ll be modifying it heavily. What matters is that the base pattern is irregular. Avoid anything symmetrical or too defined.
Step 3: Set Up Transfer Settings with Pen Pressure
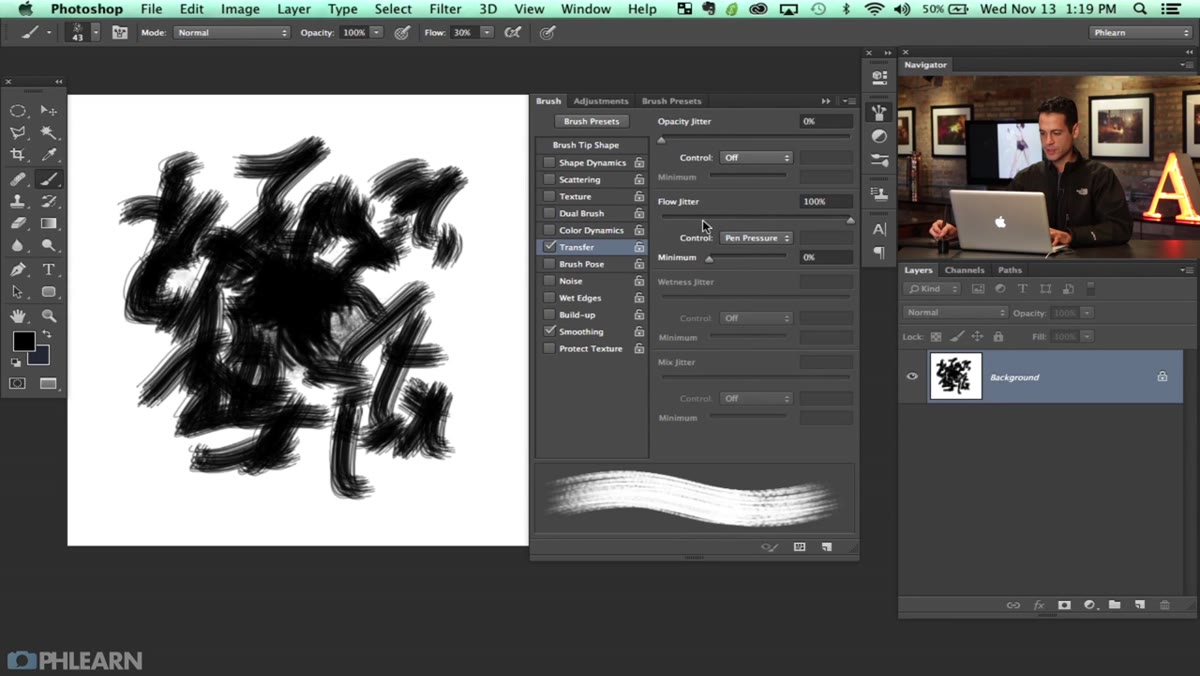 Brush panel open with Transfer selected, Flow Jitter at minimum
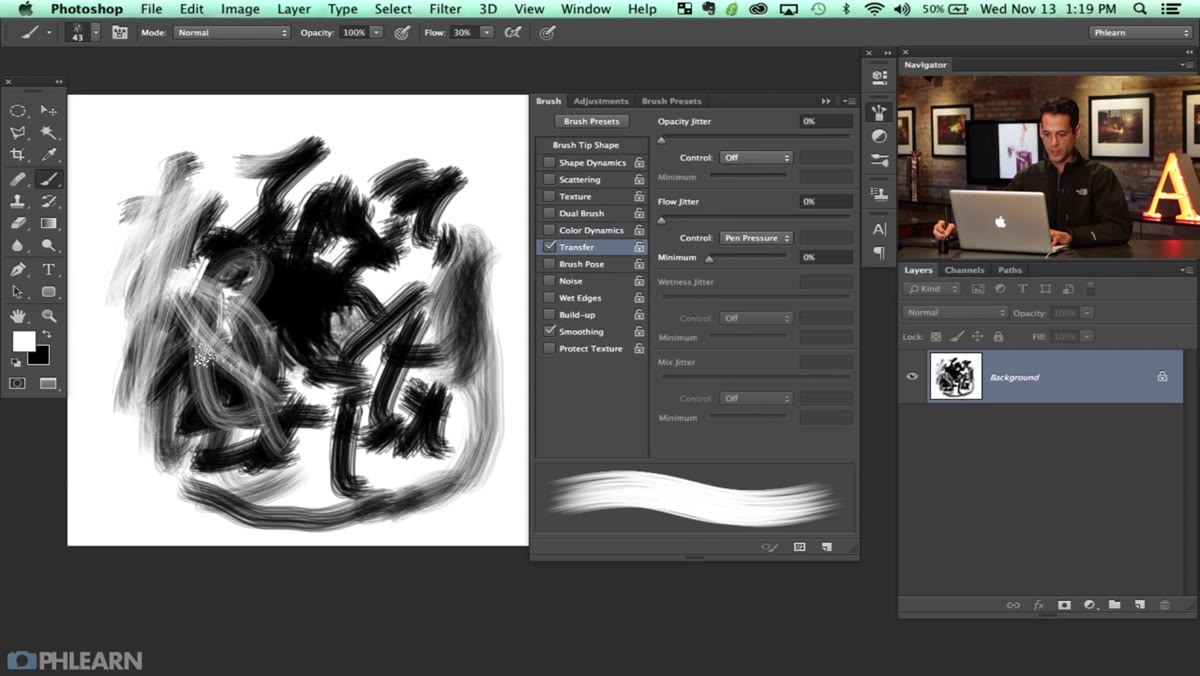
Open the Brush Settings panel (Window > Brush Settings or F5). Click on “Transfer” in the left-hand list. Under Flow Jitter, pull the slider down toward zero, then set the Control dropdown to “Pen Pressure.” This setting means the harder you press on your tablet, the more paint is deposited. A light touch lays down almost nothing. This is what gives the retouching its organic quality. You’re not filling in skin uniformly. You’re building it up in layers of varying density, which is exactly how real skin variation behaves. Aaron is emphatic about using a Wacom tablet here, and I’d second that completely. This specific technique relies on pressure sensitivity in a way that a mouse simply cannot replicate.
Brush panel open with Transfer selected, Flow Jitter at minimum
Open the Brush Settings panel (Window > Brush Settings or F5). Click on “Transfer” in the left-hand list. Under Flow Jitter, pull the slider down toward zero, then set the Control dropdown to “Pen Pressure.” This setting means the harder you press on your tablet, the more paint is deposited. A light touch lays down almost nothing. This is what gives the retouching its organic quality. You’re not filling in skin uniformly. You’re building it up in layers of varying density, which is exactly how real skin variation behaves. Aaron is emphatic about using a Wacom tablet here, and I’d second that completely. This specific technique relies on pressure sensitivity in a way that a mouse simply cannot replicate.
Step 4: Paint a Random Texture Field on the Canvas
 Scattered brush strokes being painted on white canvas
With your brush configured, paint loosely across the 800x800 canvas using black on a white background. You’re not making anything beautiful here. The goal is a field of random marks, varying in density, scattered across the space. Press harder in some areas, lighter in others. Overlap strokes. Leave some gaps. Aaron spends a minute or two just playing, and that’s the right instinct. The randomness of what you paint becomes the randomness of your future brush tip. Think of it as seeding a texture rather than drawing a shape. When you step back and squint at it, it should look a little like the surface of rough concrete or a close-up of paper grain.
Scattered brush strokes being painted on white canvas
With your brush configured, paint loosely across the 800x800 canvas using black on a white background. You’re not making anything beautiful here. The goal is a field of random marks, varying in density, scattered across the space. Press harder in some areas, lighter in others. Overlap strokes. Leave some gaps. Aaron spends a minute or two just playing, and that’s the right instinct. The randomness of what you paint becomes the randomness of your future brush tip. Think of it as seeding a texture rather than drawing a shape. When you step back and squint at it, it should look a little like the surface of rough concrete or a close-up of paper grain.
Step 5: Enable Shape Dynamics for Size Variation
 Brush Settings panel showing Shape Dynamics tab selected
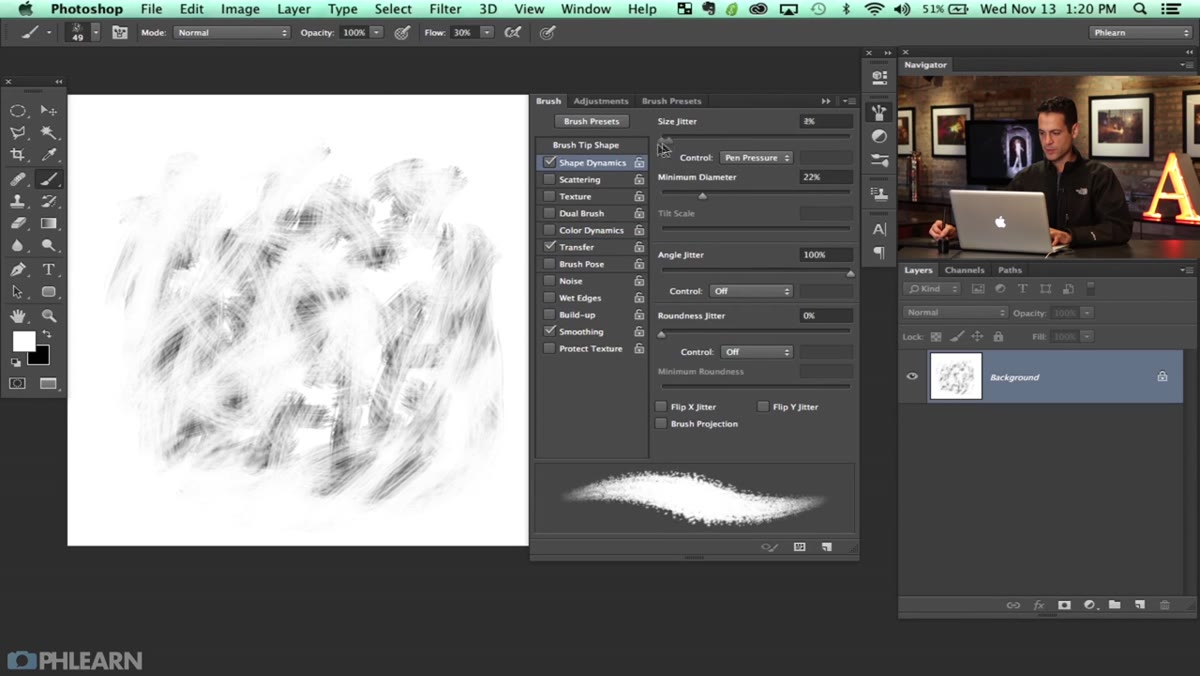
Before saving the brush, go back into Brush Settings and click “Shape Dynamics.” Turn on Size Jitter, which randomizes the scale of each brush mark as you paint. Aaron brings up the Minimum Diameter slider as well. This controls how small the tip can get during those random variations. The combination of Size Jitter and the Pen Pressure transfer settings from the previous step creates a brush that behaves differently on every stroke, which is exactly what you want when you’re trying to avoid the mechanical, repetitive look of most retouching. A brush that looks the same every time you use it will always look like a brush. One that varies looks like skin.
Brush Settings panel showing Shape Dynamics tab selected
Before saving the brush, go back into Brush Settings and click “Shape Dynamics.” Turn on Size Jitter, which randomizes the scale of each brush mark as you paint. Aaron brings up the Minimum Diameter slider as well. This controls how small the tip can get during those random variations. The combination of Size Jitter and the Pen Pressure transfer settings from the previous step creates a brush that behaves differently on every stroke, which is exactly what you want when you’re trying to avoid the mechanical, repetitive look of most retouching. A brush that looks the same every time you use it will always look like a brush. One that varies looks like skin.
Step 6: Define the Brush Preset
 Edit menu open with Define Brush Preset option visible
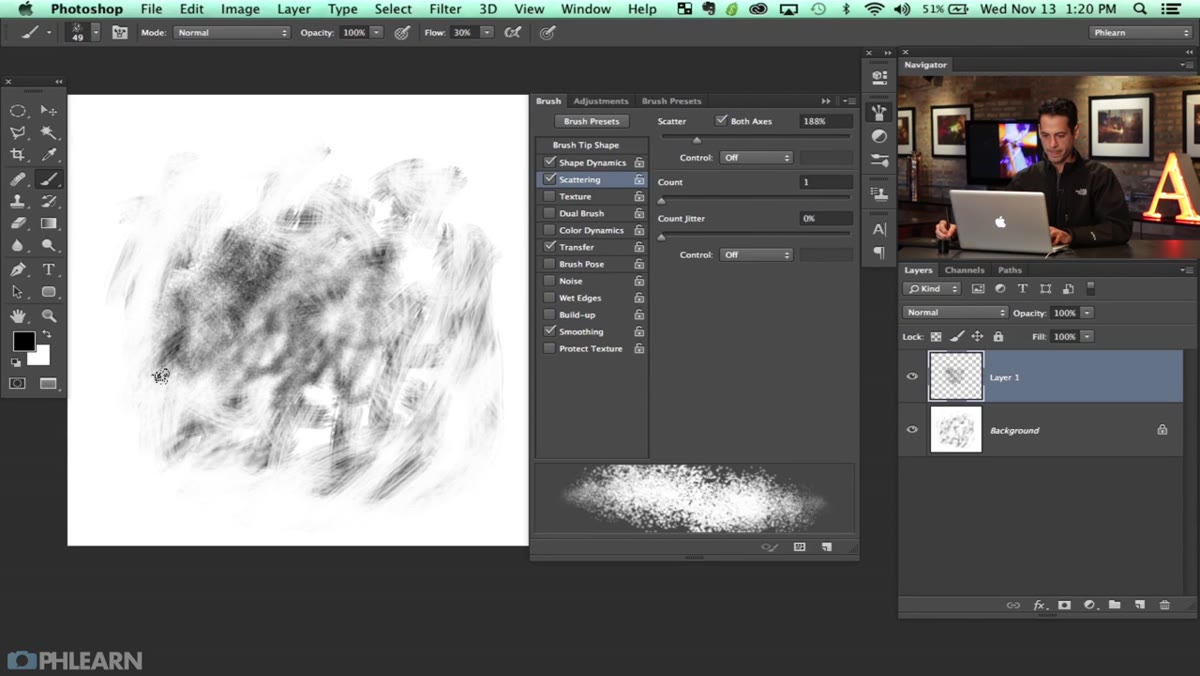
Once you’re happy with your texture field, go to Edit > Define Brush Preset and give it a name. This saves the current canvas content as a new brush tip. From this point forward, the brush lives in your picker and can be used in any future project. I name all of my saved actions and presets after films, a habit I picked up years ago and never dropped. My version of this brush is called “Tarkovsky.” Call yours whatever makes you smile when you see it in a dropdown at 11pm on a deadline.
Edit menu open with Define Brush Preset option visible
Once you’re happy with your texture field, go to Edit > Define Brush Preset and give it a name. This saves the current canvas content as a new brush tip. From this point forward, the brush lives in your picker and can be used in any future project. I name all of my saved actions and presets after films, a habit I picked up years ago and never dropped. My version of this brush is called “Tarkovsky.” Call yours whatever makes you smile when you see it in a dropdown at 11pm on a deadline.
A Note on Using This Brush Responsibly
The custom texture brush is a tool that rewards restraint. When I first started using a variation of this technique, I overcorrected from my old plastic-skin problem and started painting texture everywhere, including areas that didn’t need it. The result was its own kind of strange. The brush works best on areas where the original skin texture has been disrupted by a standard heal or patch tool. Use it to re-introduce randomness after you’ve cleaned something up, not as a first-pass tool across the entire face. For men especially, preserve the areas that already have good texture. You’re correcting, not replacing.
The single most important idea in this tutorial is that retouching and texture are not opposites. Most beginner workflows treat them as a sequence: fix the problem, then somehow put texture back. Aaron’s custom brush approach collapses those two steps into one, and the results are more convincing because of it. The skin never loses its underlying character.
Watch the full tutorial on YouTube and follow along with Part 1 before Parts 2 and 3 go deeper into the full editorial retouch. Build the brush first. Everything else builds on it.
Comments (1)
This is exactly what I needed today. Been struggling with this for weeks.
Leave a Comment