
There’s a moment every retoucher knows well: you open a file and realize the photographer was fighting the light instead of using it. The background is uneven, the shadows are muddy, and the skin tones have that gray, uncertain quality that no amount of frequency separation is going to rescue. You can fix a lot in post, but you cannot manufacture the quality of light that was never there to begin with. That realization is what pushed me, years ago, to start studying lighting as seriously as I study editing. Good retouching begins before the shutter fires.
That’s exactly why I keep coming back to tutorials like this one. In this Visual Education tutorial by Carl Taylor, he demonstrates how to build a polished beauty shot using just three Godox studio lights and a handful of inexpensive accessories. Watch the full tutorial on YouTube before or after reading this breakdown. What he achieves in under ten minutes of setup time is genuinely instructive, and the underlying logic applies whether you’re the photographer, the retoucher, or both.
What struck me most watching this wasn’t the gear (Godox lights are affordable and widely available, which is partly the point). It was the problem-solving framework. Taylor approaches each light as a variable to isolate and control, not just something to point and hope for the best. If you understand why each decision is made, you can replicate the results with whatever equipment you have on hand.
Step 1: Establish a Clean, Evenly Lit Background First
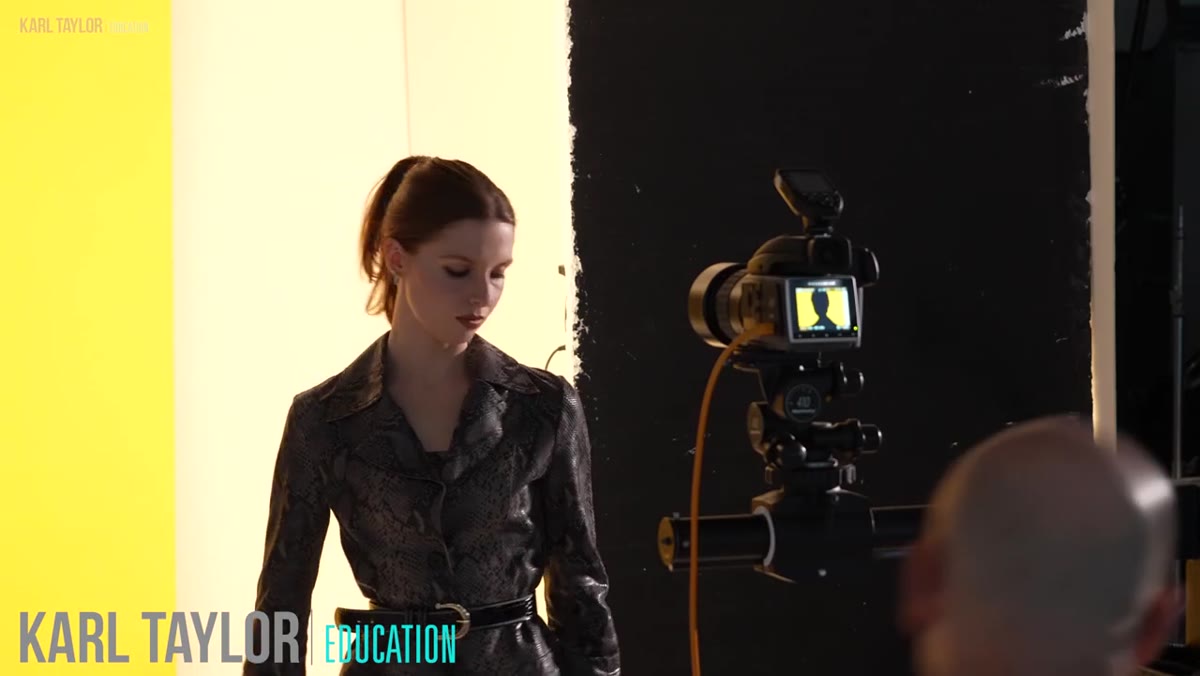 Wide shot of smooth yellow background with no model present
Before the model is involved at all, Taylor focuses the camera on the background alone and evaluates what he’s working with. The goal at this stage is a flat, perfectly even field of color with zero hotspots or gradients. He’s using a bright yellow background here, and he confirms the illumination is consistent across the entire frame before moving forward.
Wide shot of smooth yellow background with no model present
Before the model is involved at all, Taylor focuses the camera on the background alone and evaluates what he’s working with. The goal at this stage is a flat, perfectly even field of color with zero hotspots or gradients. He’s using a bright yellow background here, and he confirms the illumination is consistent across the entire frame before moving forward.
This step matters enormously from a retouching standpoint. An uneven background means you’ll spend time in post doing gradient corrections or masking out blotchy color, work that simply disappears when the lighting is handled correctly at capture. Treat this as your baseline quality check. If the background isn’t clean before your subject steps in, it won’t get cleaner after.
Step 2: Use the Model as a Silhouette to Test for Spill
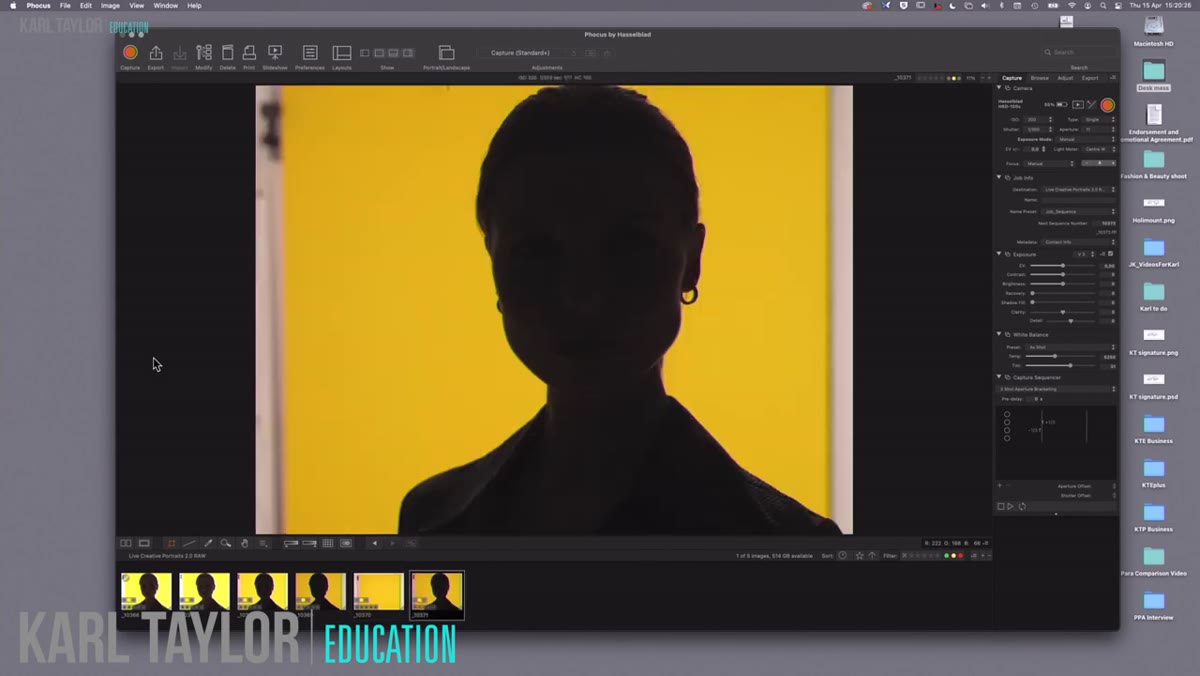 Model silhouetted against bright yellow background, face in shadow
Once the model is in position, Taylor checks whether any background light is spilling onto her. At this stage, he actually wants her completely silhouetted against the yellow. If he can see her features lit by background spill, that light is contaminating the subject plane before he’s even introduced a key light.
Model silhouetted against bright yellow background, face in shadow
Once the model is in position, Taylor checks whether any background light is spilling onto her. At this stage, he actually wants her completely silhouetted against the yellow. If he can see her features lit by background spill, that light is contaminating the subject plane before he’s even introduced a key light.
The practical test here is simple: expose for the background and see what the subject looks like. If she’s a clean dark shape against a glowing background, your light separation is solid. If you can see detail on her face without a dedicated key light, you have spill to deal with, either by increasing the distance between subject and background, flagging the background lights, or both.
Step 3: Add a Hard Key Light for Classic Beauty Lighting
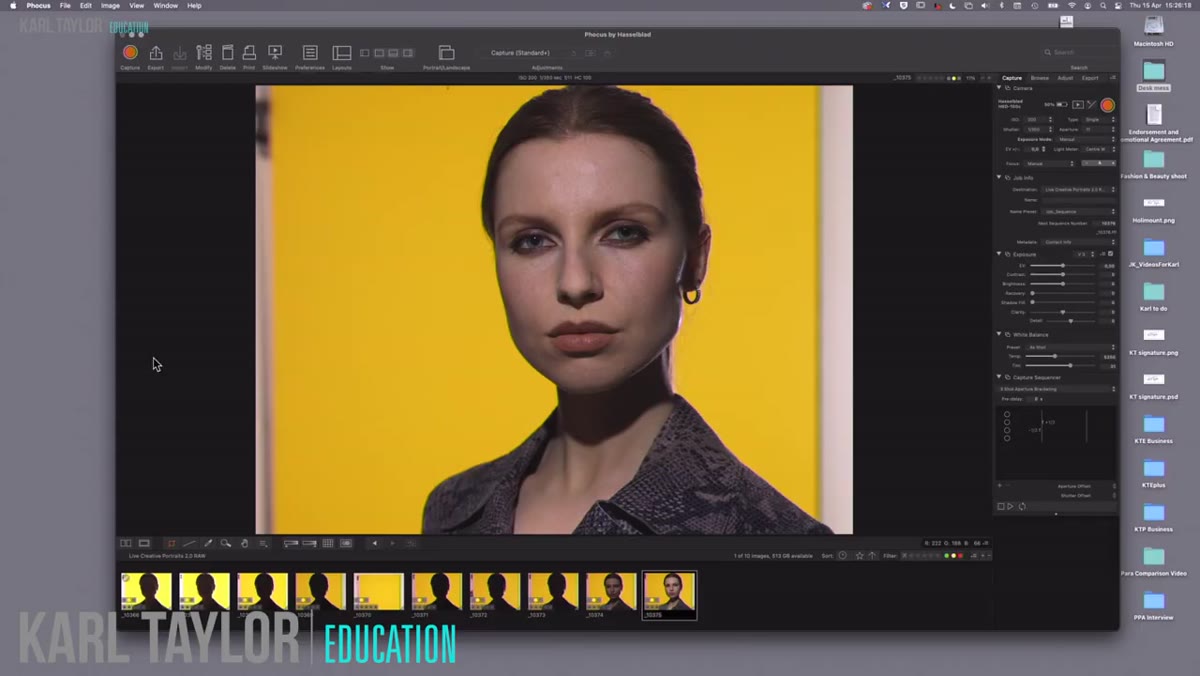 Hard light source illuminating model’s face, crisp shadows visible
With the background isolated, Taylor brings in a hard light source as the key. Hard light is a defining characteristic of beauty photography because it renders skin texture and bone structure with precision. You get crisp, defined shadows under the cheekbones and nose, which reads as sculpted and high-fashion rather than soft and editorial.
Hard light source illuminating model’s face, crisp shadows visible
With the background isolated, Taylor brings in a hard light source as the key. Hard light is a defining characteristic of beauty photography because it renders skin texture and bone structure with precision. You get crisp, defined shadows under the cheekbones and nose, which reads as sculpted and high-fashion rather than soft and editorial.
The positioning here follows a fairly classic beauty light placement: slightly above and in front of the subject, aimed down at roughly a 45-degree angle. Combined with the clean background, the result is immediate. The face has dimension, the shadows have direction, and the image already looks like a finished beauty shot even before any creative additions are made.
Step 4: Introduce Rim Lighting for Separation and Shape
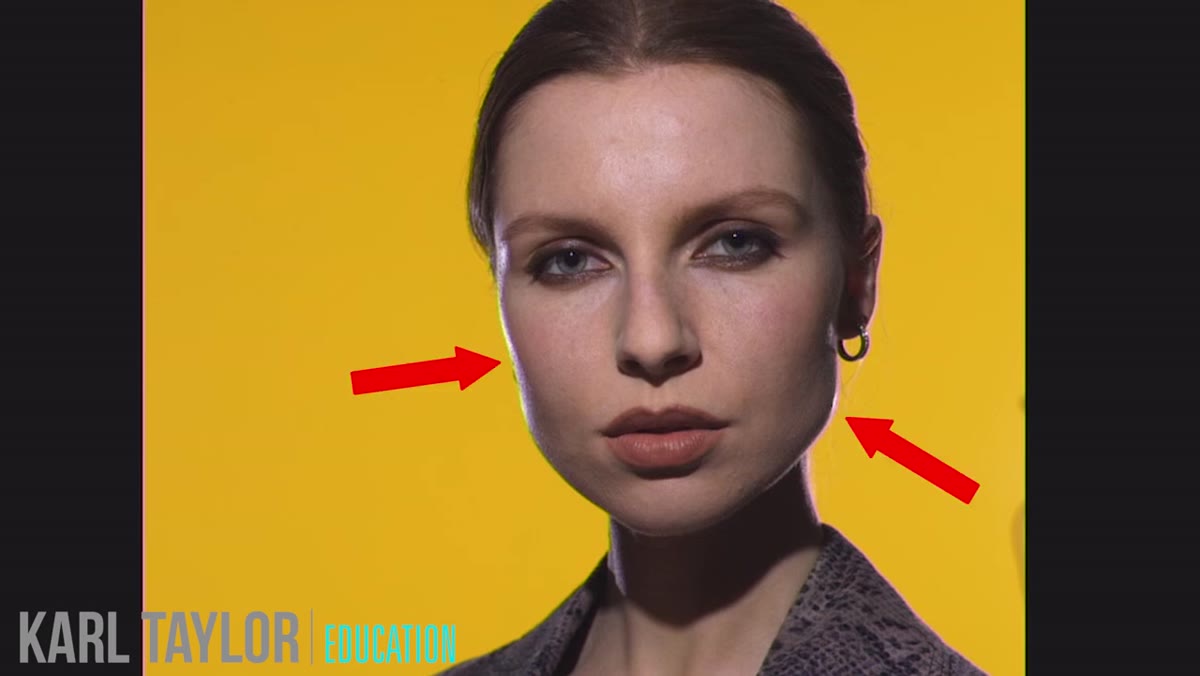 Rim light catching model’s cheekbone and shoulder edge
Taylor adds rim lighting to separate the model from the background and add a three-dimensional quality to the image. Rim lights are placed behind and to the side of the subject, angled so they skim the edges of the face, hair, and shoulders. The result is a thin line of light along the contour of the subject that lifts her away from the background visually.
Rim light catching model’s cheekbone and shoulder edge
Taylor adds rim lighting to separate the model from the background and add a three-dimensional quality to the image. Rim lights are placed behind and to the side of the subject, angled so they skim the edges of the face, hair, and shoulders. The result is a thin line of light along the contour of the subject that lifts her away from the background visually.
From a retouching perspective, good rim lighting is a gift. It defines the boundary between subject and background cleanly, which makes selection and masking significantly easier if you need to do any compositing work later. It also adds a sense of depth that is very difficult to simulate convincingly in post if it wasn’t captured in camera.
Step 5: Use a Projection Attachment to Shape and Control Shadow Detail
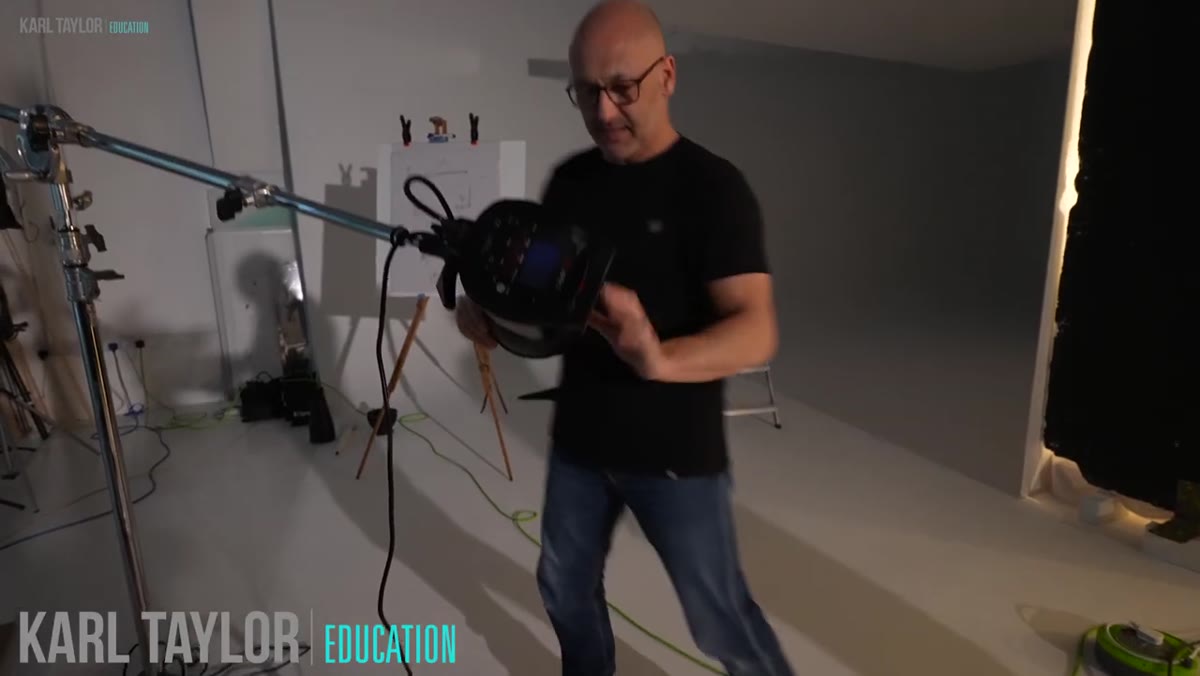 Projection attachment being fitted onto Godox light head
This is where Taylor’s setup gets genuinely clever. He swaps the standard reflector on one of his lights for an inexpensive third-party projection attachment, then inserts a gobo (a shaped insert that controls exactly how the light is projected). Instead of broad, uncontrolled fill, he can now send a precise, shaped beam of light exactly where he wants it.
Projection attachment being fitted onto Godox light head
This is where Taylor’s setup gets genuinely clever. He swaps the standard reflector on one of his lights for an inexpensive third-party projection attachment, then inserts a gobo (a shaped insert that controls exactly how the light is projected). Instead of broad, uncontrolled fill, he can now send a precise, shaped beam of light exactly where he wants it.
The practical effect is shadow control. By directing a narrow strip of light into the shadow areas of the face, he lifts just enough detail without flattening the overall contrast. The shadows go from pure black to a subtle, textured tone that still reads as shadow but isn’t a dead zone. If you’ve ever struggled with a portrait where the shadow side of the face was simply lost, this technique is the camera-side answer to that problem.
Step 6: Add Colored Gels to the Shadow Fill for Mood and Skin Tone Interest
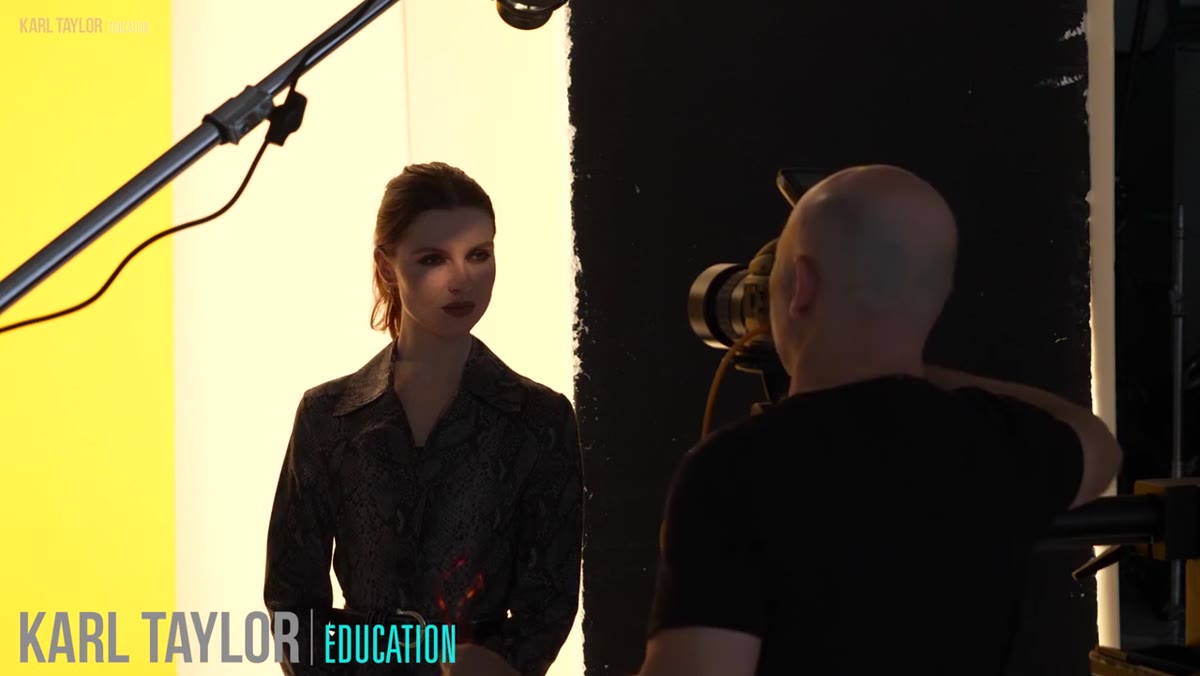 Blue-tinted shadow areas visible on model’s skin, warm highlights contrast
In the final creative step, Taylor introduces color into the shadow fill. By adding a blue gel to the light aimed into the shadows, he creates a warm-to-cool contrast across the face. The key light remains warm and neutral, while the shadow areas take on a cool blue-tinted glow. The effect is subtle but immediately adds a cinematic quality to the image.
Blue-tinted shadow areas visible on model’s skin, warm highlights contrast
In the final creative step, Taylor introduces color into the shadow fill. By adding a blue gel to the light aimed into the shadows, he creates a warm-to-cool contrast across the face. The key light remains warm and neutral, while the shadow areas take on a cool blue-tinted glow. The effect is subtle but immediately adds a cinematic quality to the image.
He also experiments briefly with holding colored acrylic sheets in front of the light to throw splashes of color across the scene. This is a low-cost way to test color ideas before committing to specific gels. For retouchers, understanding this warm-cool dynamic is useful because it’s exactly the logic behind split toning in Lightroom or color grading in Photoshop. Seeing it built in-camera first makes the post-production version easier to execute intentionally.
What I’d Add from My Own Experience
One thing the tutorial doesn’t linger on is how much this lighting setup changes your retouching workload downstream. When I work on beauty images shot with this kind of controlled separation, I spend far less time on skin than I do with files from muddier, less deliberate lighting setups. The contrast is clean, the shadow transitions are smooth, and the background is already a consistent color field. My frequency separation work becomes refinement rather than rescue.
If you’re a retoucher who doesn’t shoot, I’d still encourage you to work through this framework mentally when you receive files. Ask yourself: where was the key light? Is there rim separation? Are the shadows intentional or accidental? The answers tell you a lot about what the image needs and what it’s capable of becoming.
The single most important idea in this tutorial is one Taylor states plainly near the end: the results aren’t about the cost of the equipment. They’re about understanding how light behaves and solving the physics problems in front of you. Three affordable lights and some cheap accessories produced images that look genuinely professional because the person behind them knew what they were trying to achieve before they fired a single frame.
Watch the full tutorial on YouTube to see the setup in real time and catch the small details that are hard to convey in text.
Comments (2)
The tip about three lights one stunning beau was the missing piece for me. Thank you.
My workflow just got 10x faster. Not even kidding.
Leave a Comment