I had a client last month send back a batch of portraits with a note that said, simply, “they feel flat.” The lighting was clean, the retouching was solid, the color grade was consistent. But she was right. Every image looked like a person standing in front of a thing, rather than a person existing inside a place. That’s a composition problem, and no amount of frequency separation fixes it upstream.
That note sent me back into my tutorial library, and I landed on this video from Serge Ramelli, shot entirely on location in Paris.
Ramelli is a photographer whose work I’ve followed for a long time because he thinks out loud in a way that’s genuinely useful. He doesn’t just show you what he did. He shows you why, and then he shows you when it almost didn’t work.
What “Frame Within a Frame” Actually Means in Practice
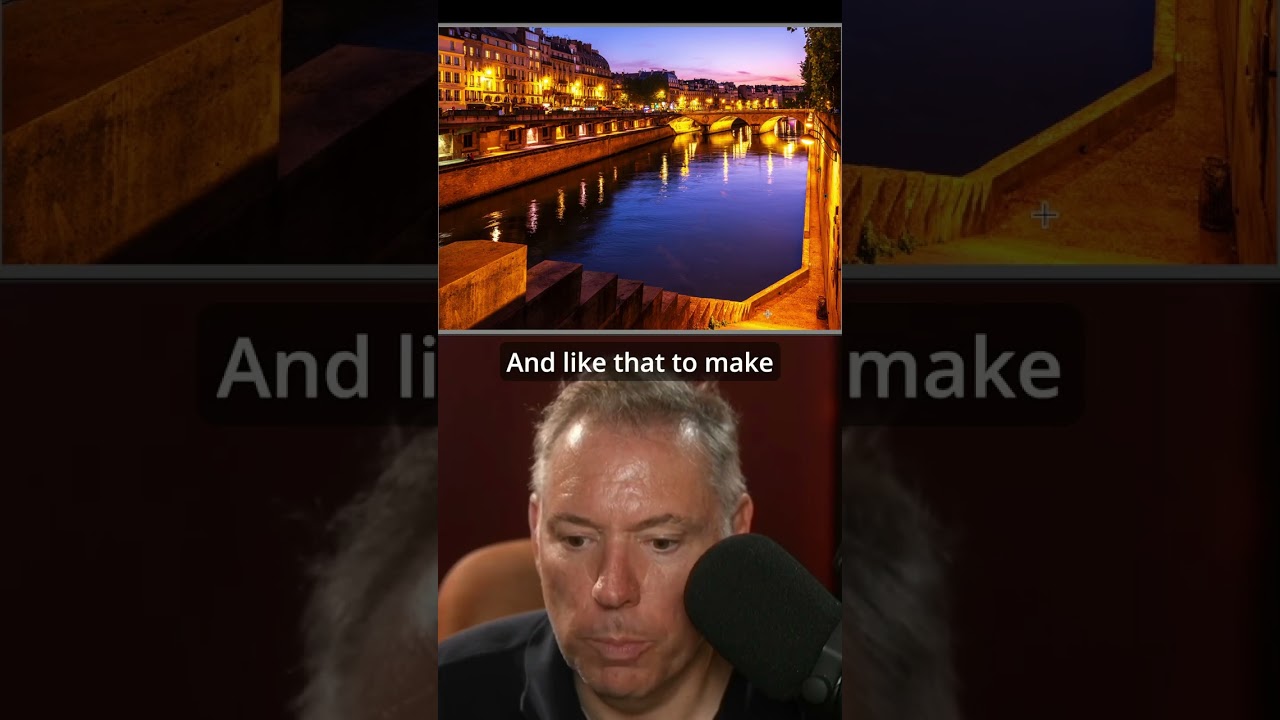
The concept sounds fancier than it is. You’re looking for an architectural or environmental element that can act as a secondary border around your subject, so the viewer’s eye has a clear path inward. Doorways, arches, window frames, columns, overhanging branches. Paris is an obvious playground for this because the city is essentially built from ornate rectangles, but the principle applies anywhere you’re shooting on location.
What Ramelli demonstrates is that the outer frame doesn’t need to be sharp or perfectly symmetrical. In fact, a slightly soft or irregular frame often feels more natural than a geometric one. The point is visual containment, not architectural precision. Your subject should feel held by the scene, not dropped into it.
Finding the Frame Before You Find the Light
The sequence Ramelli uses matters. He scouts the frame first and then positions his subject and considers the light. Most photographers I know, myself included when I was coming up, do this in reverse. We chase the light and then look for somewhere to put the person. That approach works, but it’s also why so many location portraits feel incidental.
When you start with the frame, the light becomes something you work with rather than something you chase. In the Paris shoot, Ramelli is standing back from his location, identifying what the background geometry is doing before his subject is even in position. He’s essentially reading the scene as a composition problem, not a lighting problem. The lighting solution comes second, informed by where the frame is going to pull the viewer’s attention.
For beauty and portrait work specifically, this approach has a real payoff in post. When the subject is cleanly contained within a secondary frame, your retouching has less to fight against. There’s less visual noise around the face, which means skin work reads more clearly, and the overall image has a natural hierarchy that doesn’t require heavy vignetting to manufacture.
Camera Position and the Depth Relationship
One of the more practical details Ramelli walks through is how much camera position affects the strength of the frame. Move too close to the architectural element you’re using as a border, and it becomes a background. Move too far back, and your subject loses scale. He’s working in a range where the framing element is close enough to fall into soft focus while still reading as a defined shape.
The focal length choice reinforces this. He’s not using an ultra-wide that would distort the frame elements, and he’s not so telephoto that everything collapses into the same plane. Somewhere in the 50mm to 85mm range gives you enough background separation to keep the layers distinct without losing the sense that the subject is genuinely inside the environment.
For those of us who do more studio-based beauty work and occasionally venture into location shoots for clients, this is a useful calibration. The instinct in beauty photography is to compress everything and keep the background clean. That works in a controlled studio setting, but on location, you have the opportunity to use the environment as a design element. Ramelli is basically arguing that you should take that opportunity seriously.
Where I’d Push This Further, or Pull Back
Here’s where my own experience diverges slightly. In beauty editorial work, especially for skincare and cosmetics clients, I find that highly structured architectural frames can compete with the product story. If a viewer’s eye is traveling around a beautiful stone arch, it’s not spending time on the skin texture or the lip color you’ve spent hours perfecting. For that kind of work, I’ll use a softer, more organic frame, something like a curtain edge or a window’s light spill, rather than a defined structural element.
The frame-within-a-frame technique is strongest when the image is primarily about atmosphere and subject emotion, which is exactly what Ramelli is shooting for in this Paris series. For strictly commercial beauty work with a clear product hierarchy, I’d treat it as a compositional seasoning rather than the main structure.
The Part That Changed How I Scout Locations
The biggest shift this tutorial gave me is treating scouting as a composition exercise rather than a logistics exercise. I used to scout locations looking for good light at the right time of day. I still do that, but now I’m also walking around looking for frames. Doorways I can shoot through. Corridors with a natural vanishing point. Overhanging elements that create a ceiling. That change in scouting intention means I arrive to shoots with specific shots already mapped, rather than improvising everything on the day.
If your portraits have been feeling flat despite technically solid retouching and lighting, the problem might be happening before you ever pick up your camera. Watch Serge Ramelli’s full tutorial for the visual walkthrough of exactly how he positions his subject within the Parisian architecture. Seeing him move through the location in real time makes the spatial relationships click in a way that’s hard to get from description alone.
Comments
Leave a Comment