
There’s a question I get in almost every workshop I teach: “How do I know when a retouch is actually good?” It’s harder to answer than it sounds. Good retouching is largely invisible, which means the easiest way to calibrate your eye is to study a range of results on the exact same image. That’s precisely why I keep coming back to this experiment from photographer Jessica Kobeissi, where she hired five Fiverr retouchers at price points ranging from about seven dollars to two hundred dollars, gave each one the same portrait with zero direction, and then reviewed the results cold. Watch the full tutorial on YouTube
What makes this more than entertainment is the diagnostic layer underneath it. Watching Jessica flip between before and after on each edit, you start to see the same handful of decisions come up again and again: how much skin texture to preserve, whether to remove permanent features like moles, how to handle flyaway hair, and where color grading ends and skin tone correction begins. These are the exact decisions I wrestle with on every beauty job. What follows is my breakdown of the key technique lessons baked into each retoucher’s result, written so you can apply them whether you’re charging twenty dollars or two hundred.
Step 1: Do a Blind Before-and-After Before You Judge Anything
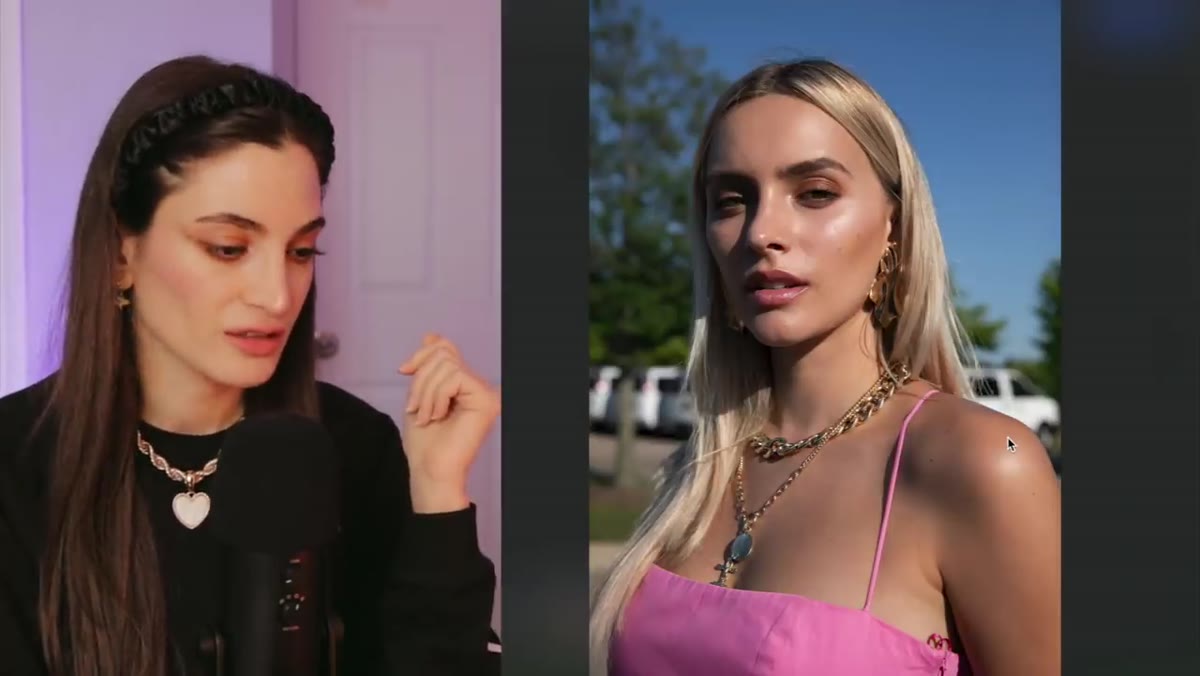
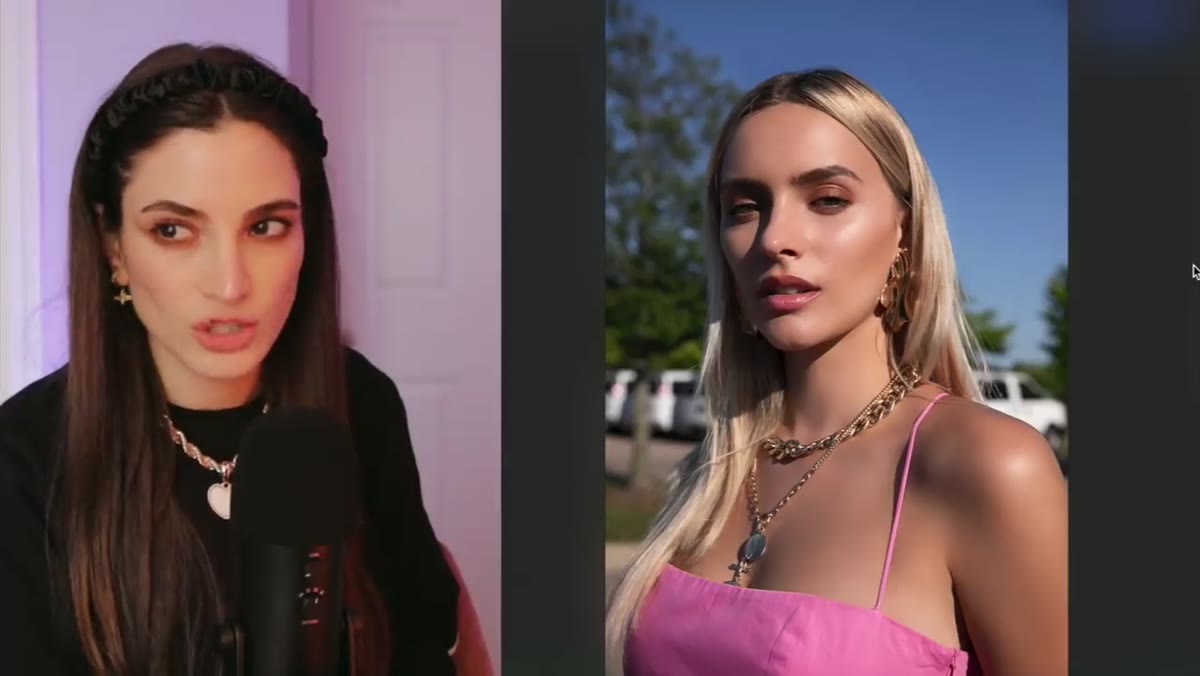
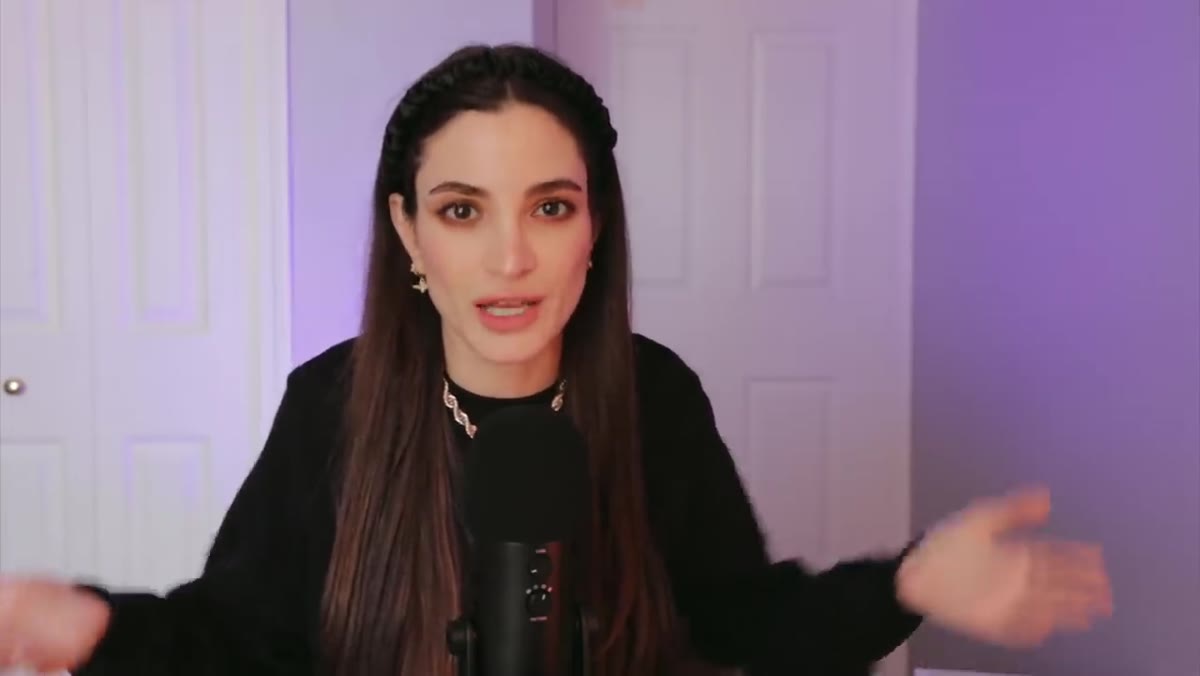 Side-by-side first-glance comparison of the original portrait
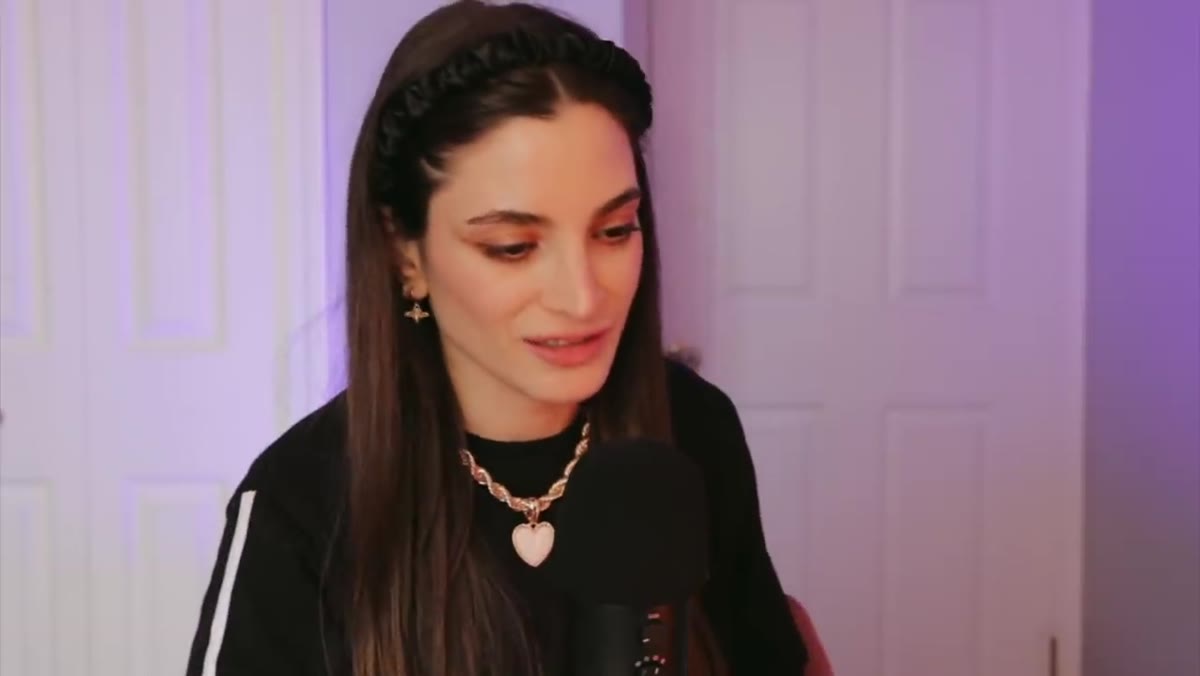
The first thing Jessica does with every result is open it without looking at the original. Her honest first impression, before the before-and-after flip, tells her something important: if the retouch reads as natural on its own, it’s already doing its job. Only then does she toggle between the two versions to audit the specific decisions.
Side-by-side first-glance comparison of the original portrait
The first thing Jessica does with every result is open it without looking at the original. Her honest first impression, before the before-and-after flip, tells her something important: if the retouch reads as natural on its own, it’s already doing its job. Only then does she toggle between the two versions to audit the specific decisions.
I train myself to do the same thing on my own work. I’ll close a file, make tea, come back an hour later, and open only the retouched version. If something looks off before I even pull up the original, that’s my answer. The before-and-after comparison is for identifying what was done. The cold look is for deciding whether it should have been done at all.
Step 2: Check for Gaussian Blur on Skin - It’s the Fastest Tell
 Close-up zoom on neck area showing blurred skin texture
On the seven-dollar edit, Jessica zooms into the neck and shoulder area and calls out something she describes as an obvious Gaussian blur pass on the skin. The smoothing is real, the pores are gone, and the result is a texture that reads more like frosted glass than skin. For five dollars, she notes, the overall cleanup work was solid. The hair, the neck lines, a wardrobe slip - all handled. But the skin tool choice undermined it.
Close-up zoom on neck area showing blurred skin texture
On the seven-dollar edit, Jessica zooms into the neck and shoulder area and calls out something she describes as an obvious Gaussian blur pass on the skin. The smoothing is real, the pores are gone, and the result is a texture that reads more like frosted glass than skin. For five dollars, she notes, the overall cleanup work was solid. The hair, the neck lines, a wardrobe slip - all handled. But the skin tool choice undermined it.
Gaussian blur is the retouching shortcut that costs you the most in the long run. When you blur a skin region uniformly, you eliminate the micro-contrast that makes skin look three-dimensional. The fix is frequency separation, which lets you smooth tone and color on the low-frequency layer while leaving the high-frequency texture layer completely untouched. If you’re not already working this way, it’s the single technique shift that will move your work out of the “plastic” category permanently. I learned this the hard way after a client once told me my edits looked like wax figures. I still have that file.
Step 3: Decide Your Policy on Permanent Features Before You Touch Them
 Before-and-after showing moles removed on the retouched version
The twenty-three-dollar retoucher removed the model’s moles. Jessica’s reaction is immediate and clear: she would have kept them. This isn’t a small stylistic preference. Removing permanent features without instruction is a meaningful choice that changes how a person looks, and once a client sees their moles gone they may love it or they may feel erased. Either way, you’ve made a call that wasn’t yours to make.
Before-and-after showing moles removed on the retouched version
The twenty-three-dollar retoucher removed the model’s moles. Jessica’s reaction is immediate and clear: she would have kept them. This isn’t a small stylistic preference. Removing permanent features without instruction is a meaningful choice that changes how a person looks, and once a client sees their moles gone they may love it or they may feel erased. Either way, you’ve made a call that wasn’t yours to make.
My standing rule in beauty work is this: temporary blemishes go, permanent features stay unless the client specifically asks otherwise. Blemishes are things the subject would remove themselves if they could that day. Moles, birthmarks, freckles, and scars are part of how someone’s face is structured. When in doubt, I do a version with and a version without and let the client choose. It adds maybe ten minutes and it prevents the conversation no one wants to have at delivery.
Step 4: Clean Flyaways - But Finish the Job
 Hair area showing partial flyaway cleanup with one strand still visible
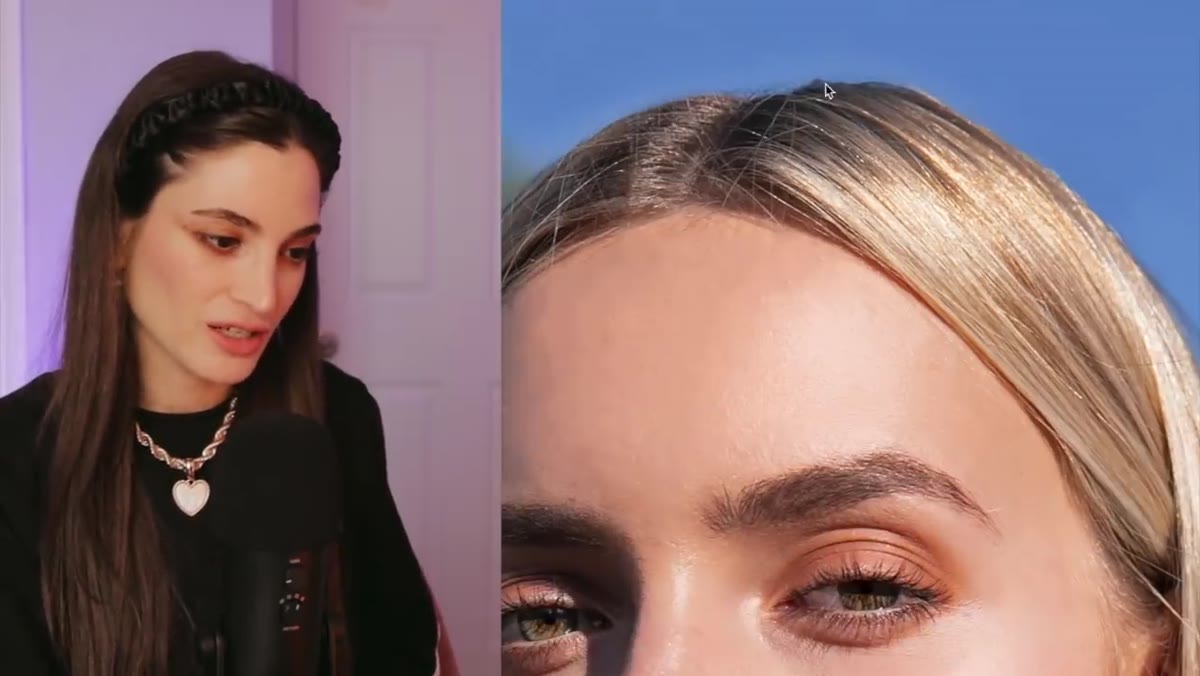
The same retoucher cleaned most of the flyaway hairs around the model’s head, which Jessica appreciated. But he missed one strand near the edge that, after the surrounding hairs were removed, became more visually prominent than it was in the original. Jessica points this out directly: partial cleanup can sometimes make a problem more noticeable, not less.
Hair area showing partial flyaway cleanup with one strand still visible
The same retoucher cleaned most of the flyaway hairs around the model’s head, which Jessica appreciated. But he missed one strand near the edge that, after the surrounding hairs were removed, became more visually prominent than it was in the original. Jessica points this out directly: partial cleanup can sometimes make a problem more noticeable, not less.
When I work on hair edges, I zoom out to 50 percent after every pass and ask myself whether what I’ve done reads as intentional. The rule is finish or don’t start. If you remove seven flyaways, the eighth one now has a spotlight on it. Use the Clone Stamp or Healing Brush on a separate layer, and toggle that layer on and off before you deliver so you catch exactly this kind of incomplete edit.
Step 5: Add Color Corrections Without Shifting Skin Tone Off-Neutral
 Skin showing added peach tone warmth compared to original
The seven-dollar retoucher added a subtle peach tone to the skin, which Jessica noticed and appreciated as a warmth adjustment. Done carefully, this kind of correction can make a subject look healthier under cool studio light. Done carelessly, it can make skin look artificially tanned or push into orange territory that reads as heavy-handed.
Skin showing added peach tone warmth compared to original
The seven-dollar retoucher added a subtle peach tone to the skin, which Jessica noticed and appreciated as a warmth adjustment. Done carefully, this kind of correction can make a subject look healthier under cool studio light. Done carelessly, it can make skin look artificially tanned or push into orange territory that reads as heavy-handed.
When I add warmth to skin, I do it with a Hue/Saturation adjustment layer masked to the skin area, nudging the reds and yellows separately rather than shifting the overall color balance. This lets me control how the warmth sits in highlights versus shadows, and it’s far easier to dial back if the client wants something more neutral. Global color shifts applied to the whole image are the fastest way to accidentally change the background, the clothing, and the eyes all at once.
My Own Extension: Set Retouching Intentions Before You Open the File
Every retoucher in this experiment was working without a brief, which is exactly the point of Jessica’s experiment. But in real client work, walking into a file without a retouching intention is how you end up making decisions that don’t serve the image. Before I open any portrait, I write three words in a sticky note on my monitor: what this image is for. Editorial, commercial clean, personal branding, beauty campaign. Each context has a different tolerance for skin texture, a different stance on blemishes versus features, and a different expectation for color. That three-word anchor keeps me from defaulting to the same retouch on every file regardless of what it actually needs.
The deepest lesson from Jessica’s experiment is that price alone tells you almost nothing about quality. The seven-dollar retoucher caught wardrobe details and hair cleanup that the twenty-three-dollar one missed. What separated the stronger results from the weaker ones wasn’t budget. It was intention, restraint, and a clear sense of what the image needed versus what the retoucher’s default habits produced.
Those habits are built through deliberate practice, and watching critical comparisons like this one is one of the fastest ways to sharpen yours. Watch the full tutorial on YouTube and pay attention to what makes Jessica pause on each result. Those moments of hesitation are where the real education lives.
Comments
Leave a Comment