
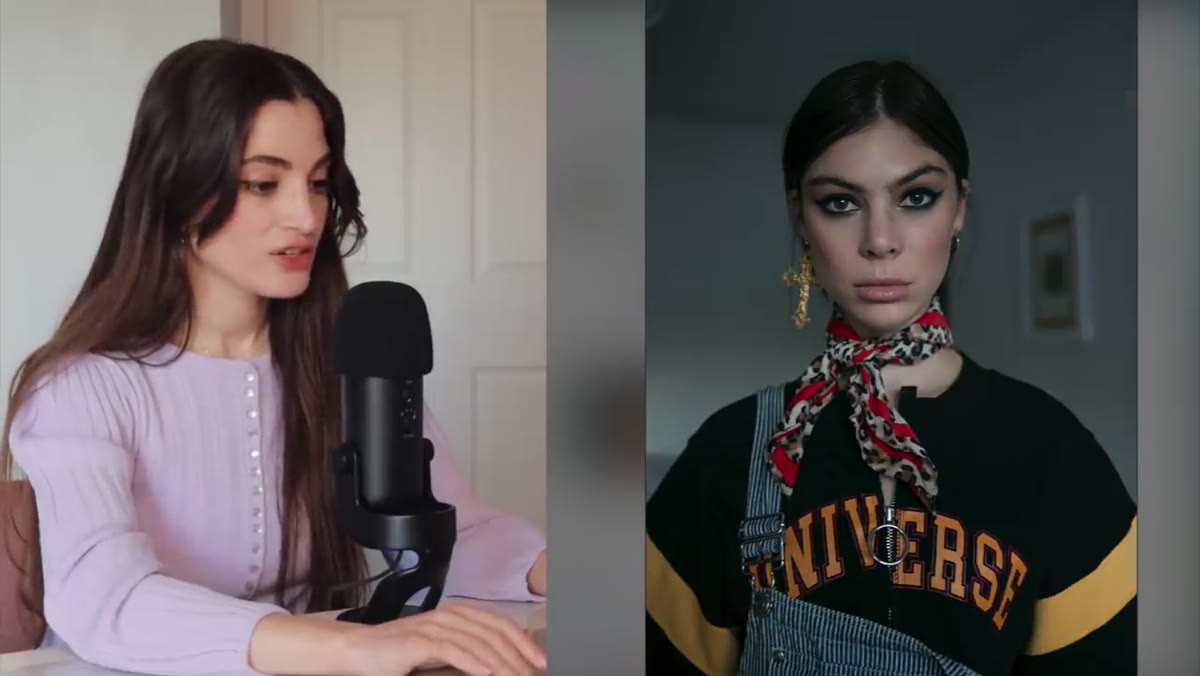
Every few months I fall down a rabbit hole that teaches me more than any formal course. This time it was Watch the full tutorial on YouTube — photographer Jessica Kobeissi’s experiment where she sent one professional portrait to five different Fiverr editors, priced from five dollars all the way up to two hundred and fifty, then compared the results side by side with zero back-and-forth revisions. No notes, no direction. Just the image and the instruction: send me your best retouch.
What hooked me wasn’t the price comparison drama. It was watching the same single image reveal what each editor chose to prioritize when left completely on their own. That choice, more than any technical skill, tells you everything about how someone understands beauty retouching. When I first started editing portraits, I would have gone straight for skin and called it done. This experiment shows why that instinct, while understandable, skips several things clients notice before they even register the complexion work.
Here is what each result teaches us, and how to apply those lessons to your own retouching workflow.
Step 1: Start With the Edges, Not the Face
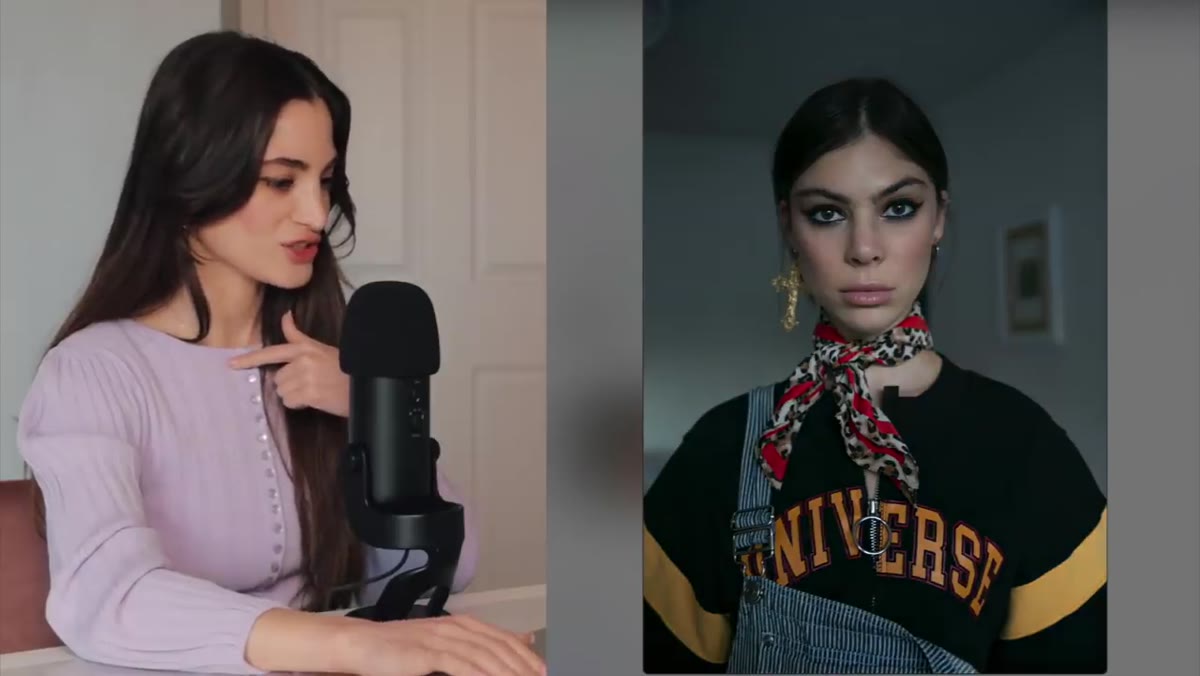 Five-dollar retouch showing cleaned hairline and removed flyaways
The five-dollar editor made a choice that stopped Jessica mid-sentence: he cleaned the hair before anything else. Flyaways along the hairline were smoothed, stray pieces were removed, and a small clothing distraction near the zipper area was cloned out. The face itself received only light treatment.
Five-dollar retouch showing cleaned hairline and removed flyaways
The five-dollar editor made a choice that stopped Jessica mid-sentence: he cleaned the hair before anything else. Flyaways along the hairline were smoothed, stray pieces were removed, and a small clothing distraction near the zipper area was cloned out. The face itself received only light treatment.
This is actually the correct sequence. Viewers scan a portrait from the outside in, unconsciously checking whether the frame feels tidy before they settle on the subject’s face. Use the Clone Stamp or Healing Brush at a low opacity (around 40-50%) to work along the hairline in short, directional strokes that follow the existing hair flow. Do not try to remove every single strand. Remove the ones that cross the face or break the silhouette in a way that reads as messy. The ones that add softness and naturalness can stay.
Step 2: Address Clothing and Background Details Before Skin
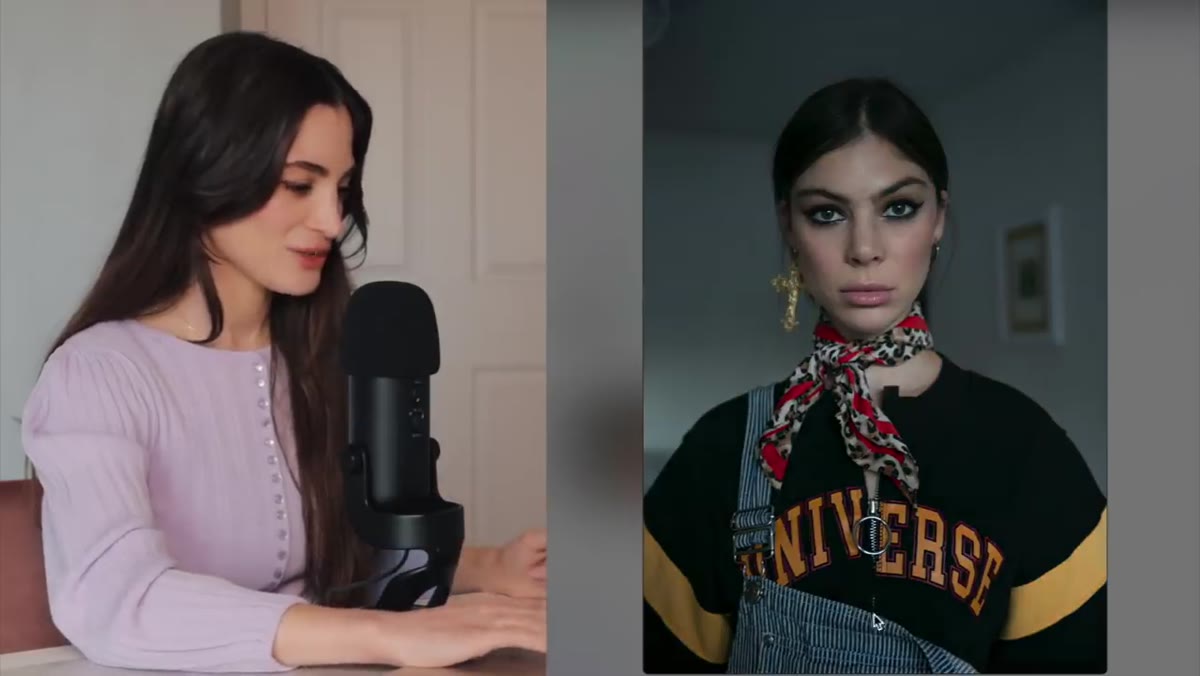 Before and after showing zipper detail removed from jacket
Still in that five-dollar result, Jessica noticed the editor caught a small zipper detail and a minor clothing irregularity that she herself had not flagged. The background’s cool blue cast was also neutralized to feel more neutral. These are the details that photographers often overlook precisely because they are so close to their own work.
Before and after showing zipper detail removed from jacket
Still in that five-dollar result, Jessica noticed the editor caught a small zipper detail and a minor clothing irregularity that she herself had not flagged. The background’s cool blue cast was also neutralized to feel more neutral. These are the details that photographers often overlook precisely because they are so close to their own work.
Develop a habit of scanning the frame in sections before you touch the skin. Use a temporary black-and-white adjustment layer to strip away the distraction of color, which makes wrinkles in fabric, uneven background gradients, and stray elements much easier to spot. Patch or Content-Aware Fill those areas first. Once the environment around the subject is clean, the face retouching will feel more intentional and less isolated.
Step 3: Match Your Color Temperature Across the Whole Frame
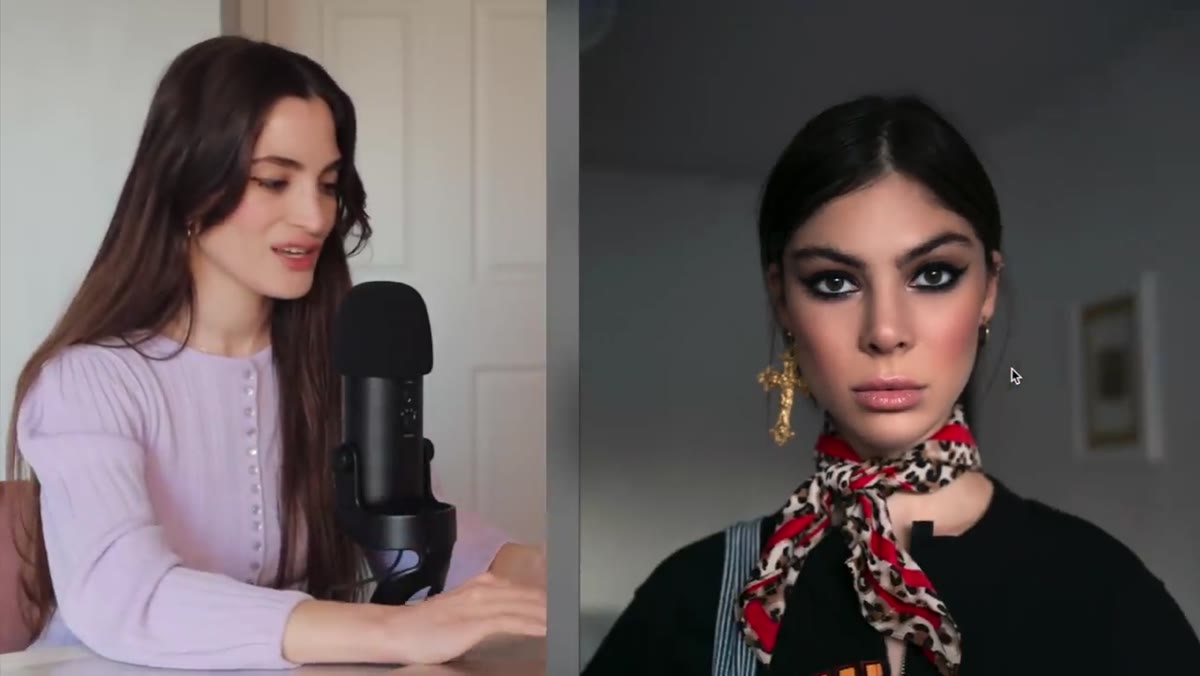 Ten-dollar retouch showing warm skin tones against cooler background
The ten-dollar retouch had genuinely beautiful skin work. Smooth, natural, well-preserved texture. But Jessica immediately identified the thing she would have sent back for revision: the subject’s face had been warmed up while the background stayed cool and slightly bluish. The result was a portrait that looked like two different images merged together.
Ten-dollar retouch showing warm skin tones against cooler background
The ten-dollar retouch had genuinely beautiful skin work. Smooth, natural, well-preserved texture. But Jessica immediately identified the thing she would have sent back for revision: the subject’s face had been warmed up while the background stayed cool and slightly bluish. The result was a portrait that looked like two different images merged together.
This is one of the most common errors I see in retouching, and it is easy to fix if you catch it before you close the file. After any skin color correction, sample the background tone with the eyedropper and compare its hue and temperature against a shadow area on the face. If they are pulling in opposite directions, use a Hue/Saturation or Color Balance adjustment layer with a mask to nudge one toward the other. You do not need them to match exactly. You need them to feel like they exist in the same light.
Step 4: Let Skin Retouching Serve the Texture, Not Replace It
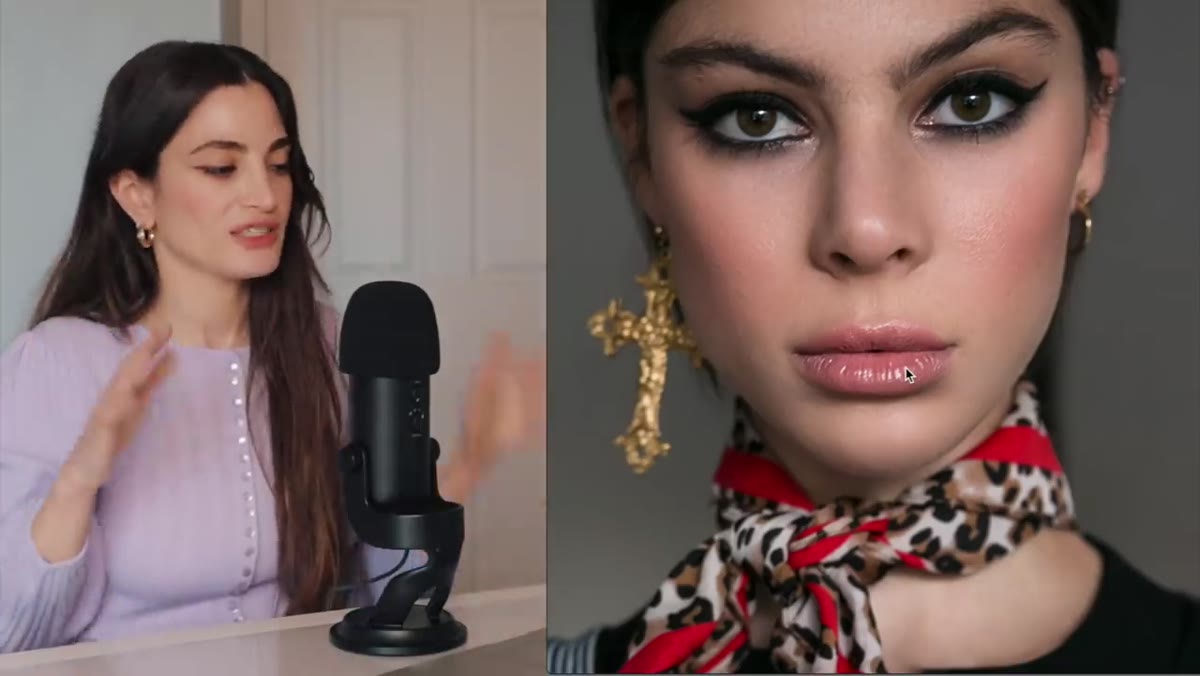 Zoomed skin detail showing preserved pores after retouching
Jessica specifically called out that the five-dollar editor preserved skin texture, which she appreciated more than a hyper-smoothed result. This matters enormously in beauty and portrait work. Over-smoothed skin reads as plastic, and once a client or art director sees it, they cannot unsee it. I learned this the hard way early in my career when a client used the word “plastic” to describe a batch of edits I was proud of. It was a turning point.
Zoomed skin detail showing preserved pores after retouching
Jessica specifically called out that the five-dollar editor preserved skin texture, which she appreciated more than a hyper-smoothed result. This matters enormously in beauty and portrait work. Over-smoothed skin reads as plastic, and once a client or art director sees it, they cannot unsee it. I learned this the hard way early in my career when a client used the word “plastic” to describe a batch of edits I was proud of. It was a turning point.
The safest technique for preserving texture while still cleaning up uneven tone is frequency separation. Separate the image into a low-frequency layer (color and tone) and a high-frequency layer (fine detail and texture). Paint corrections only on the low-frequency layer. The texture layer stays untouched, which means pores, fine hairs, and natural skin variation all survive the edit. Work in small sections with a soft brush at 10-20% opacity and build gradually rather than painting large strokes.
Step 5: Use Eye Enhancement Subtly, as Punctuation Not Emphasis
 Comparison showing eye brightening in ten-dollar retouch
The ten-dollar editor also brightened and defined the eyes in a way that Jessica described as subtle but effective. The eyes felt more alive without looking like they had been separately lit or digitally altered. This is the goal: the viewer should feel the impact without identifying the edit.
Comparison showing eye brightening in ten-dollar retouch
The ten-dollar editor also brightened and defined the eyes in a way that Jessica described as subtle but effective. The eyes felt more alive without looking like they had been separately lit or digitally altered. This is the goal: the viewer should feel the impact without identifying the edit.
To achieve this, dodge the iris very lightly using a Dodge layer set to Midtones with an exposure around 8-12%. Then use a Curves adjustment layer, clip it to a mask of just the iris and white area, and bring the midtones up slightly. Add a tiny sharpen pass using Unsharp Mask on the iris only (Amount around 30, Radius 0.5). Finally, reduce the opacity of every one of these layers until you think you have gone too far. Then reduce them a little more.
Step 6: Evaluate the Whole Retouch at Thumbnail Size Before Delivering
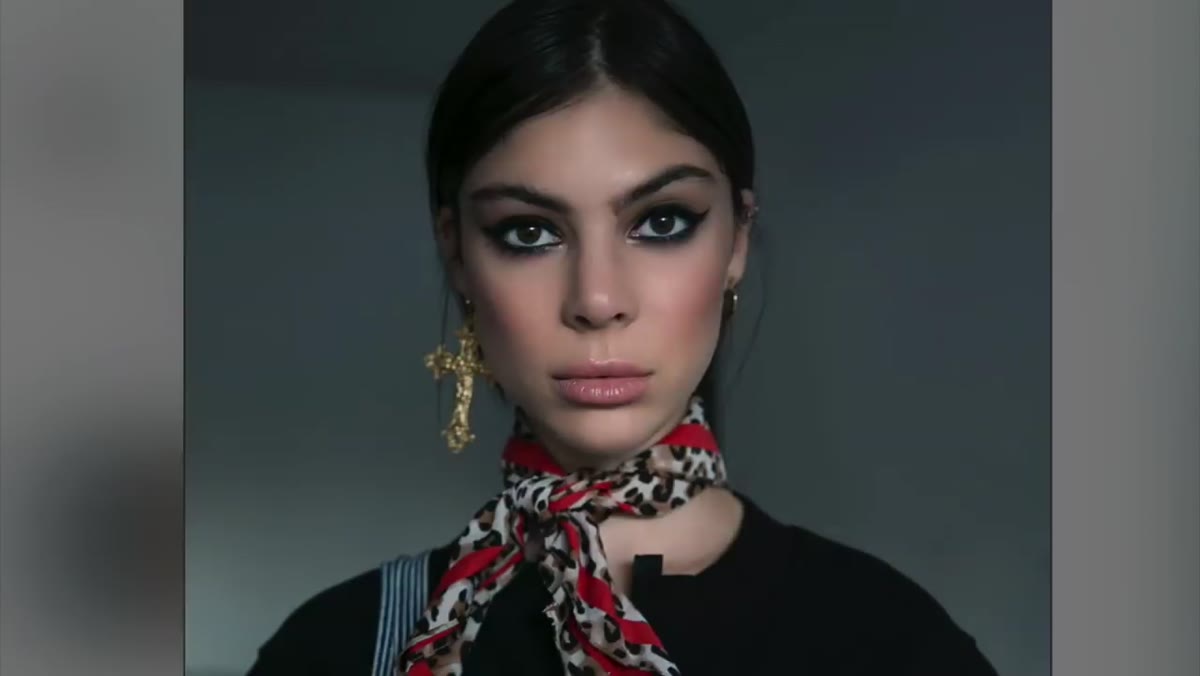 Before and after comparison at full frame showing fifty-dollar background change
The fifty-dollar retouch introduced significant background changes, which Jessica found striking as the most noticeable difference. This raises an important question every retoucher should ask before delivering: if someone squints at this image or sees it at half size, what is the first thing that draws their eye? It should be the subject, not a region of the image that was altered heavily.
Before and after comparison at full frame showing fifty-dollar background change
The fifty-dollar retouch introduced significant background changes, which Jessica found striking as the most noticeable difference. This raises an important question every retoucher should ask before delivering: if someone squints at this image or sees it at half size, what is the first thing that draws their eye? It should be the subject, not a region of the image that was altered heavily.
Before I export any final file, I zoom out to about 25% and let the image sit for ten seconds. If my eye goes somewhere other than the subject’s face, I go back and figure out why. Sometimes it is a background area that is slightly too bright. Sometimes it is a skin correction that created an edge. This single habit has saved me from delivering files I would have regretted.
A Note From My Own Workflow: No Revisions Means No Context
Jessica was clear that she gave zero direction and accepted no revisions, which she framed as a fun experiment rather than a fair professional evaluation. She was right to make that distinction. In real retouching work, the back-and-forth matters as much as the technical execution. A retoucher working without context about a photographer’s aesthetic, the brand the image is for, or the subject’s preferences is essentially guessing.
When I take on a new client, I ask for three reference retouches they love, even if those images are not mine. That single step has reduced my revision rounds more than any technical improvement I have ever made. Skill matters. Communication makes skill useful.
The biggest thing this experiment confirmed for me is that the editors who impressed most, regardless of price, were the ones who understood that portrait retouching is about the whole image, not just the skin. Hairline, clothing, background tone, color consistency - these elements frame the face before the viewer even arrives there. Get those right, and your skin work will look better without any additional effort.
Watch Jessica’s full comparison yourself and pay attention to which edits your eye trusts most and why. Watch the full tutorial on YouTube
Comments (1)
This saved me so much time on my last edit. Wish I'd found this sooner.
Leave a Comment