
There’s a question I get from newer retouchers constantly: how do you know what your work is worth? I used to fumble through that answer. Now I point people toward data. Real comparisons, same photo, different hands, different price points. That’s exactly what makes Watch the full tutorial on YouTube this experiment from photographer Jessica Kobeissi so useful. She hired five strangers on Fiverr at $5, $20, $50, $100, and $300, sent them all the same portrait, and then tried to guess which price matched which result. It’s part game show, part professional audit.
I’ve watched a lot of retouching breakdowns over the years, and what makes this one stick is that Jessica isn’t reviewing these with contempt. She’s genuinely evaluating them the way a creative director would, asking what got done, what got missed, and whether the result justifies the cost. For anyone trying to price their own services or hire a retoucher for the first time, that framing is incredibly instructive. Let’s walk through what she found and what it means practically.
Step 1: Establish Your Baseline with a Side-by-Side Before/After
 Side-by-side before and after of first retouch labeled A
Before evaluating any retouch, Jessica pulls up a direct before/after comparison for each submission. This is the only honest way to assess what actually changed. Without the original, our eyes adapt to whatever we’re looking at and start accepting it as normal. With the original beside it, the delta becomes immediately visible.
Side-by-side before and after of first retouch labeled A
Before evaluating any retouch, Jessica pulls up a direct before/after comparison for each submission. This is the only honest way to assess what actually changed. Without the original, our eyes adapt to whatever we’re looking at and start accepting it as normal. With the original beside it, the delta becomes immediately visible.
When you’re reviewing your own work or someone else’s, set this up before you start forming opinions. In Photoshop, you can do this by duplicating your document, flattening the copy, and placing both in a tiled window layout. For client reviews, export a side-by-side composite rather than sending a single “after” file. That one habit alone will sharpen how you see your own edits.
Step 2: Read the Skin First, Then the Background
 Close-up zoom on skin texture and background edge of first retouch
Jessica’s first instinct on the lowest-tier submission is to zoom in on the skin, and she notices immediately that the cleanup is minimal. The background edges look like they were simply darkened rather than cleanly processed. That distinction matters. Darkening edges is a one-click trick. Properly cleaning a background means cloning, healing, and sometimes masking, and it takes time.
Close-up zoom on skin texture and background edge of first retouch
Jessica’s first instinct on the lowest-tier submission is to zoom in on the skin, and she notices immediately that the cleanup is minimal. The background edges look like they were simply darkened rather than cleanly processed. That distinction matters. Darkening edges is a one-click trick. Properly cleaning a background means cloning, healing, and sometimes masking, and it takes time.
Train your eye to separate these zones during any review: skin texture, skin tone, background work, hair detail, and any makeup or wardrobe elements. Weakness in one zone doesn’t disqualify a retouch, but weakness across all zones tells you something about how much time was actually spent. A low price often correlates with low time investment, and the background is usually where that shows up first because clients tend to focus on the face.
Step 3: Look for Dodge and Burn as a Quality Signal
 Jessica pointing out sculpted skin tones on the $300 candidate retouch
When Jessica gets to what she suspects is the highest-priced submission, the first technique she calls out is dodge and burn. This is the clearest separator between a surface-level retouch and professional-grade skin work. Dodge and burn isn’t about smoothing skin, it’s about reshaping light across the face so that shadows and highlights feel intentional rather than accidental.
Jessica pointing out sculpted skin tones on the $300 candidate retouch
When Jessica gets to what she suspects is the highest-priced submission, the first technique she calls out is dodge and burn. This is the clearest separator between a surface-level retouch and professional-grade skin work. Dodge and burn isn’t about smoothing skin, it’s about reshaping light across the face so that shadows and highlights feel intentional rather than accidental.
If you’re not already working with a dedicated dodge and burn layer, start now. Create a new layer set to Soft Light blending mode, fill it with 50% gray, and use a low-opacity brush (3 to 8%) with white to lighten and black to darken. Work in small strokes following the natural contour of the face. The effect should be invisible up close and transformative when you zoom out. This technique is time-consuming, which is exactly why it tends to appear in higher-priced work and disappear from budget submissions.
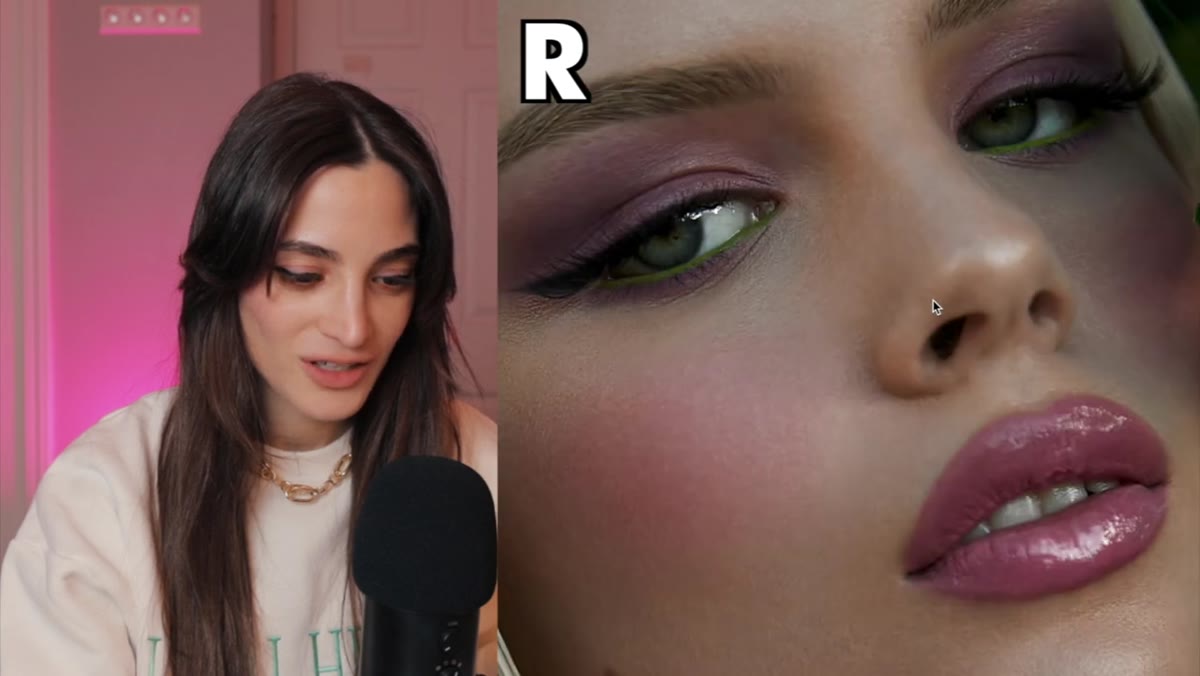
Step 4: Check Makeup and Fine Detail Work as a Tier Indicator
 Zoomed comparison showing eyeshadow blending corrected in after image
One of the more surprising moments in Jessica’s review is when she zooms into the eyeshadow area on a high-end submission and realizes the retoucher actually corrected uneven blending in the makeup. That’s not standard retouching. That’s a retoucher functioning at the level of a digital makeup artist.
Zoomed comparison showing eyeshadow blending corrected in after image
One of the more surprising moments in Jessica’s review is when she zooms into the eyeshadow area on a high-end submission and realizes the retoucher actually corrected uneven blending in the makeup. That’s not standard retouching. That’s a retoucher functioning at the level of a digital makeup artist.
At the $300 level, this kind of attention is what separates a technically clean image from one that looks like it came out of a brand campaign. For your own practice, after you finish your primary skin work, zoom into the eyes, lips, and hairline and ask whether anything looks like it would distract a viewer. Uneven liner, patchiness in the brows, flyaways that crossed the face rather than the background. These are the finishing details that push a retouch from good to exceptional.
Step 5: Evaluate Tone and Color Grading as Part of the Retouch
 Warm tonal grade visible across face and hair on high-end submission
Jessica consistently notes tonal changes across the submissions, and the ones she responds to most strongly have a warmth and cohesion that make the image feel finished rather than just corrected. Color grading isn’t separate from retouching in beauty work. It’s part of the same conversation.
Warm tonal grade visible across face and hair on high-end submission
Jessica consistently notes tonal changes across the submissions, and the ones she responds to most strongly have a warmth and cohesion that make the image feel finished rather than just corrected. Color grading isn’t separate from retouching in beauty work. It’s part of the same conversation.
Pay attention to whether the skin tones, background, and hair all feel like they belong in the same light. A retouch that cleans up the skin but leaves the color looking flat has only done half the job. In Lightroom or Camera Raw, after your healing and cloning work, spend five minutes adjusting your HSL sliders specifically for skin tones (orange and yellow channels) and check that your shadows and highlights aren’t pulling in competing color casts. Small moves here have a large impact on how professional the final image reads.
Step 6: Make Your Final Assessment Based on Cumulative Evidence
 Jessica comparing final submissions before revealing the actual prices
Jessica’s guessing game is actually a useful evaluative framework. She doesn’t just react emotionally to each image. She builds a ranked comparison across all five, then commits to a guess. That discipline prevents the kind of grade inflation that happens when we look at retouches in isolation.
Jessica comparing final submissions before revealing the actual prices
Jessica’s guessing game is actually a useful evaluative framework. She doesn’t just react emotionally to each image. She builds a ranked comparison across all five, then commits to a guess. That discipline prevents the kind of grade inflation that happens when we look at retouches in isolation.
When you’re hiring a retoucher or auditing your own portfolio, look at multiple pieces together before forming a judgment. Ask: does the skin hold up at 100% zoom? Is the light consistent? Were the details attended to or skipped? Then rank them. The ranking process forces you to articulate what you’re actually seeing rather than just feeling.
What I’d Add From My Own Work
The one thing Jessica’s experiment can’t fully capture on video is how a retouch holds up in print or at large display sizes. I’ve seen retouches that looked polished on screen turn into a smooth, waxy mess at 20x30 inches, which is something that used to happen in my own work before I started checking everything at 100% zoom and keeping a printed proof on my desk. If you’re retouching for anything beyond social media, always evaluate at full resolution before delivery. A $50 retouch that holds up in print is worth more than a $300 one that doesn’t.
The single most transferable takeaway from Jessica’s experiment is this: price and quality don’t move in a straight line at the lower end of the market, but they do start to correlate meaningfully once you reach the $100 and up range. What you’re actually paying for at that level isn’t just time. It’s craft, taste, and the kind of eye that notices uneven eyeshadow and fixes it without being asked.
Watch the full tutorial on YouTube to see the actual price reveals and judge for yourself whether Jessica’s guesses hold up.
Comments (2)
Would love to see a follow-up going deeper into this topic.
I keep coming back to this article. It's that useful.
Leave a Comment