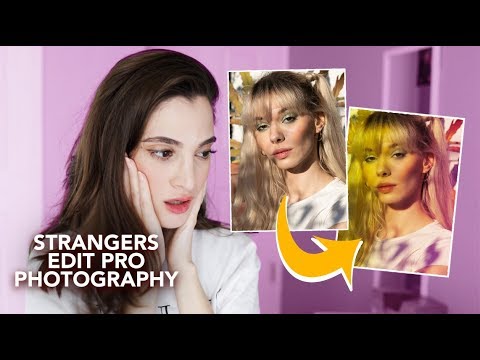
There is a particular kind of dread that comes with handing your work to someone else. I felt it acutely early in my retouching career, when a client looked at a portrait I had spent two hours on and said, flatly, that it looked “plastic.” That comment recalibrated everything about how I approach skin, light, and instruction. So when I came across a Jessica Kobeissi tutorial where she commissions six strangers on Fiverr to retouch the same professional portrait, I watched it twice. Not because it’s a cautionary tale, but because it is one of the most honest stress-tests of the question retouchers and photographers rarely ask out loud: what happens when someone else interprets your image with no shared context?
Watch the full tutorial on YouTube
The portrait at the center of the experiment is a beauty shot of Jessica’s friend Paulina, featuring speckled, artistic lighting and a green eyeshadow look. It is not a simple headshot. It has mood, intentional color, and the kind of creative edge that can go sideways fast in the wrong hands. What makes this video so useful for working retouchers is that Jessica gives each artist the same three-part brief: face retouching, color editing, and creative effects. Same image, same instructions, six wildly different outcomes. Let’s walk through exactly what she does, what she looks for, and what each stage of this process reveals about building a smarter retouching practice.
Step 1: Choose a Technically Demanding Source Image
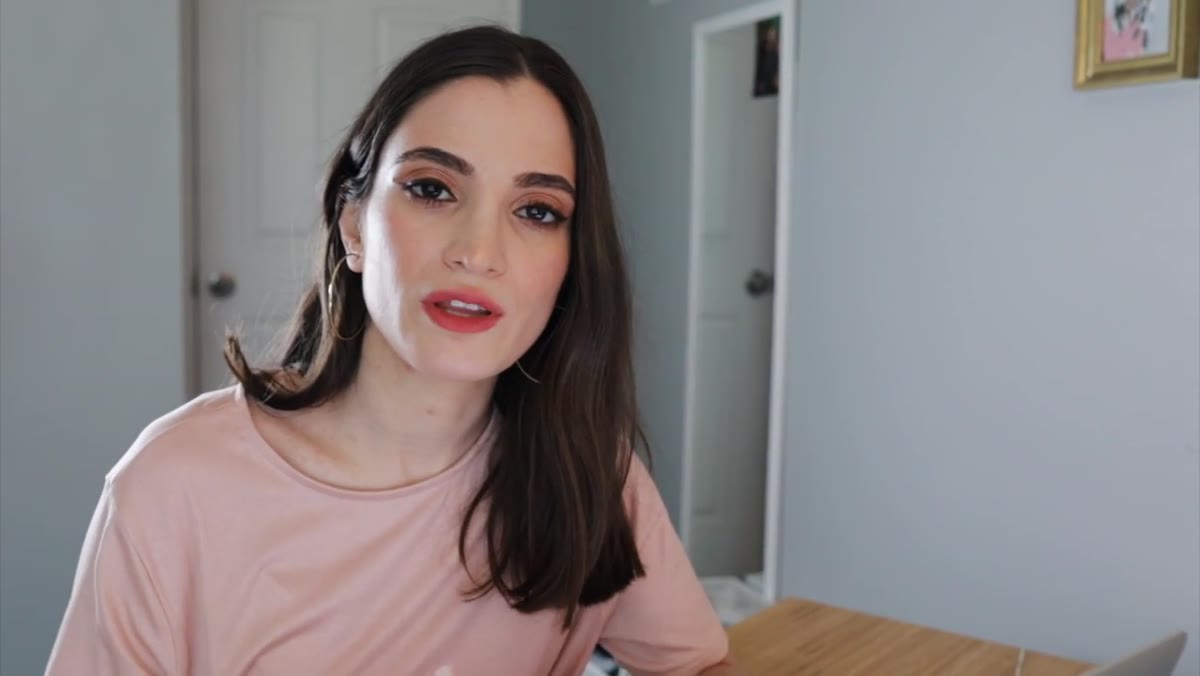 Portrait of Paulina with speckled lighting and green eyeshadow
Jessica deliberately selects a portrait with real complexity. The speckled lighting creates irregular skin tones across the face, and the green eyeshadow is a strong creative choice that could easily be neutralized by a retoucher who defaults to “clean and natural.” Before you hand any image to a collaborator, or sit down to retouch it yourself, spend a moment cataloguing what makes it interesting. Write it down if you have to. Is there a color relationship worth protecting? A shadow pattern that gives the image texture? Identifying these things first means you can brief for them explicitly, and check whether they survived in the final edit.
Portrait of Paulina with speckled lighting and green eyeshadow
Jessica deliberately selects a portrait with real complexity. The speckled lighting creates irregular skin tones across the face, and the green eyeshadow is a strong creative choice that could easily be neutralized by a retoucher who defaults to “clean and natural.” Before you hand any image to a collaborator, or sit down to retouch it yourself, spend a moment cataloguing what makes it interesting. Write it down if you have to. Is there a color relationship worth protecting? A shadow pattern that gives the image texture? Identifying these things first means you can brief for them explicitly, and check whether they survived in the final edit.
Step 2: Browse Beyond the First Page of Results
 Scrolling to page 10 of Fiverr search results
One of the most practically useful things Jessica does here is refuse to stop at page one. She scrolls deep into Fiverr’s search results, looking at portfolio thumbnails with a critical eye: is this person painting over faces, or are they preserving skin texture? Are the color grades in their samples complementary or just loud? This is the same filtering instinct you need when evaluating any retoucher’s work, including your own past edits. Look for evidence that the retoucher understands light direction. A common beginner mistake is brightening skin evenly across the face, which flattens the three-dimensional modeling that good lighting creates. A portfolio that shows maintained highlight and shadow structure is a strong signal.
Scrolling to page 10 of Fiverr search results
One of the most practically useful things Jessica does here is refuse to stop at page one. She scrolls deep into Fiverr’s search results, looking at portfolio thumbnails with a critical eye: is this person painting over faces, or are they preserving skin texture? Are the color grades in their samples complementary or just loud? This is the same filtering instinct you need when evaluating any retoucher’s work, including your own past edits. Look for evidence that the retoucher understands light direction. A common beginner mistake is brightening skin evenly across the face, which flattens the three-dimensional modeling that good lighting creates. A portfolio that shows maintained highlight and shadow structure is a strong signal.
Step 3: Write a Brief That Is Specific Enough to Guide, Loose Enough to Inspire
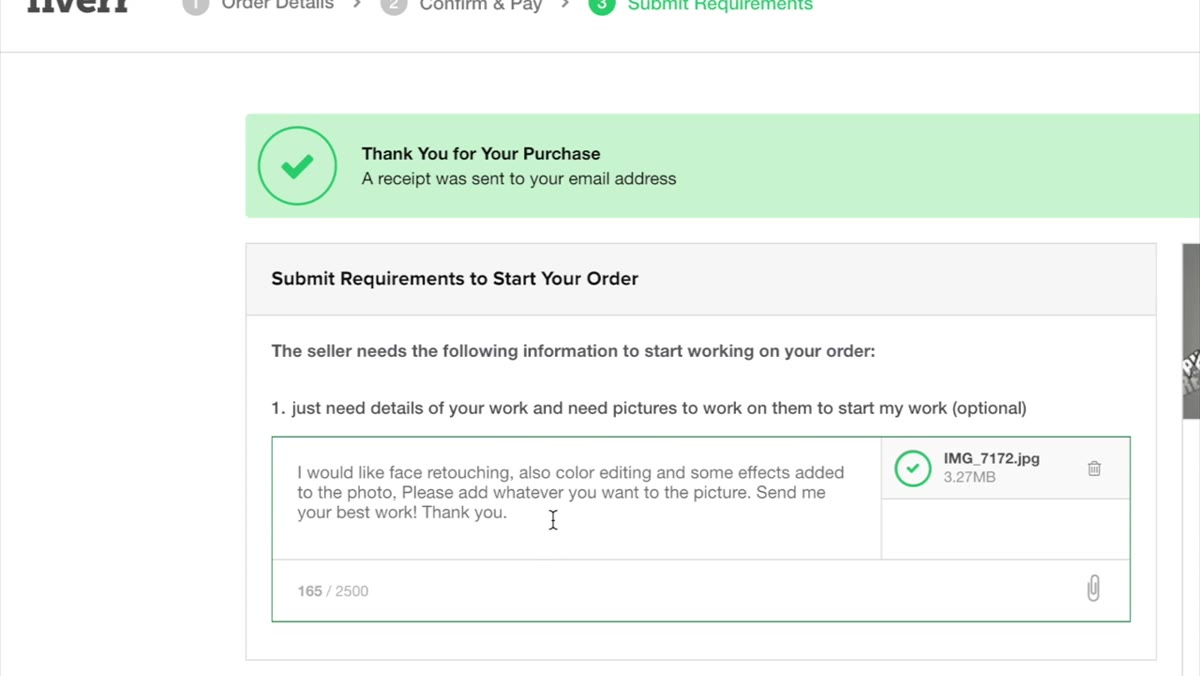 Jessica typing instructions: face retouching, color editing, effects
Jessica lands on three clear categories for her brief: face retouching, color editing, and creative effects. She intentionally leaves room for interpretation because she wants to see what each artist brings to the image on their own terms. This is a smart creative experiment, but in a professional context, you want to go one layer deeper. “Face retouching” can mean blemish removal to one person and full frequency separation with skin texture restoration to another. If you are briefing a retoucher for a client job, specify what to keep. Something like “preserve natural skin texture, remove temporary blemishes only, maintain the original lighting mood” takes thirty seconds to write and saves hours of revision. If you are retouching your own work, write that brief for yourself. It forces clarity before you open Photoshop.
Jessica typing instructions: face retouching, color editing, effects
Jessica lands on three clear categories for her brief: face retouching, color editing, and creative effects. She intentionally leaves room for interpretation because she wants to see what each artist brings to the image on their own terms. This is a smart creative experiment, but in a professional context, you want to go one layer deeper. “Face retouching” can mean blemish removal to one person and full frequency separation with skin texture restoration to another. If you are briefing a retoucher for a client job, specify what to keep. Something like “preserve natural skin texture, remove temporary blemishes only, maintain the original lighting mood” takes thirty seconds to write and saves hours of revision. If you are retouching your own work, write that brief for yourself. It forces clarity before you open Photoshop.
Step 4: Evaluate Range Across Price Points
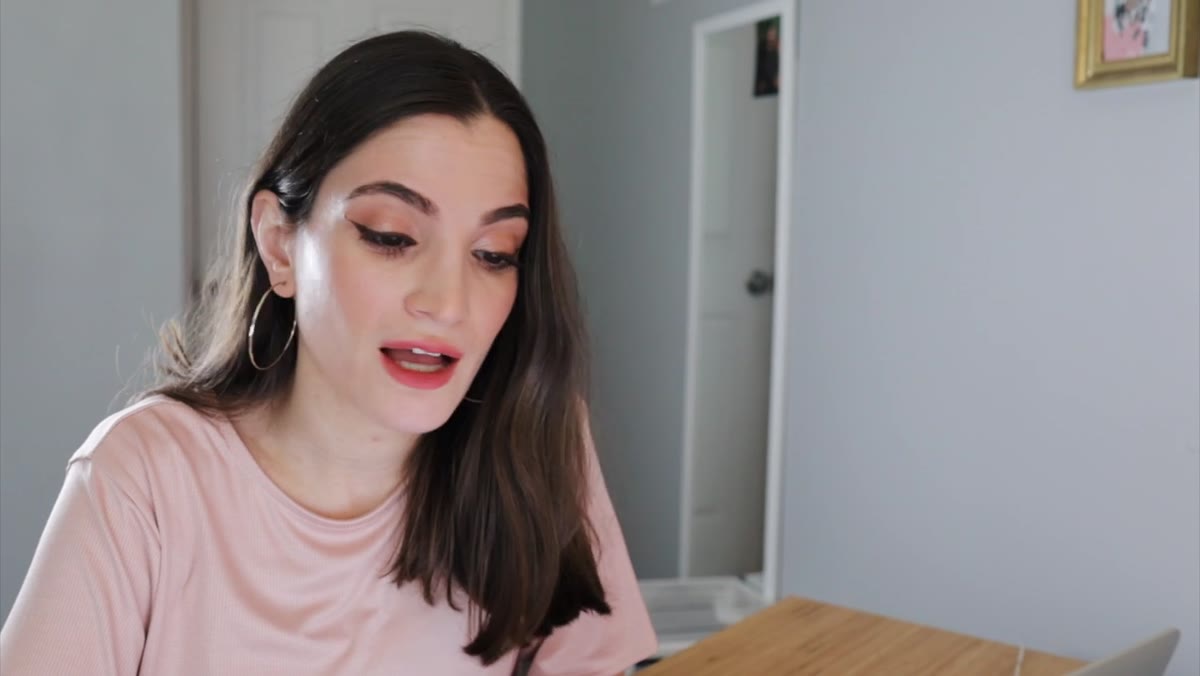 Comparing standard vs premium package pricing on a Fiverr gig
Jessica samples retouchers at different price levels, including a $10 standard package that she notes vaguely promises “medium” everything. Medium cleanup, medium color correction. The ambiguity is worth sitting with. Price does not always correlate with quality in retouching, but a gig description that cannot tell you what “medium” means is a brief-writing problem on the seller’s side. When you are the retoucher building your own offerings, be concrete. “Skin retouching using frequency separation, color grade with up to two revision rounds, delivery in 48 hours” gives a client something real to buy. Vague packaging, whether you are the buyer or the seller, creates misaligned expectations every time.
Comparing standard vs premium package pricing on a Fiverr gig
Jessica samples retouchers at different price levels, including a $10 standard package that she notes vaguely promises “medium” everything. Medium cleanup, medium color correction. The ambiguity is worth sitting with. Price does not always correlate with quality in retouching, but a gig description that cannot tell you what “medium” means is a brief-writing problem on the seller’s side. When you are the retoucher building your own offerings, be concrete. “Skin retouching using frequency separation, color grade with up to two revision rounds, delivery in 48 hours” gives a client something real to buy. Vague packaging, whether you are the buyer or the seller, creates misaligned expectations every time.
Step 5: Look for Retouchers Who Add Without Erasing
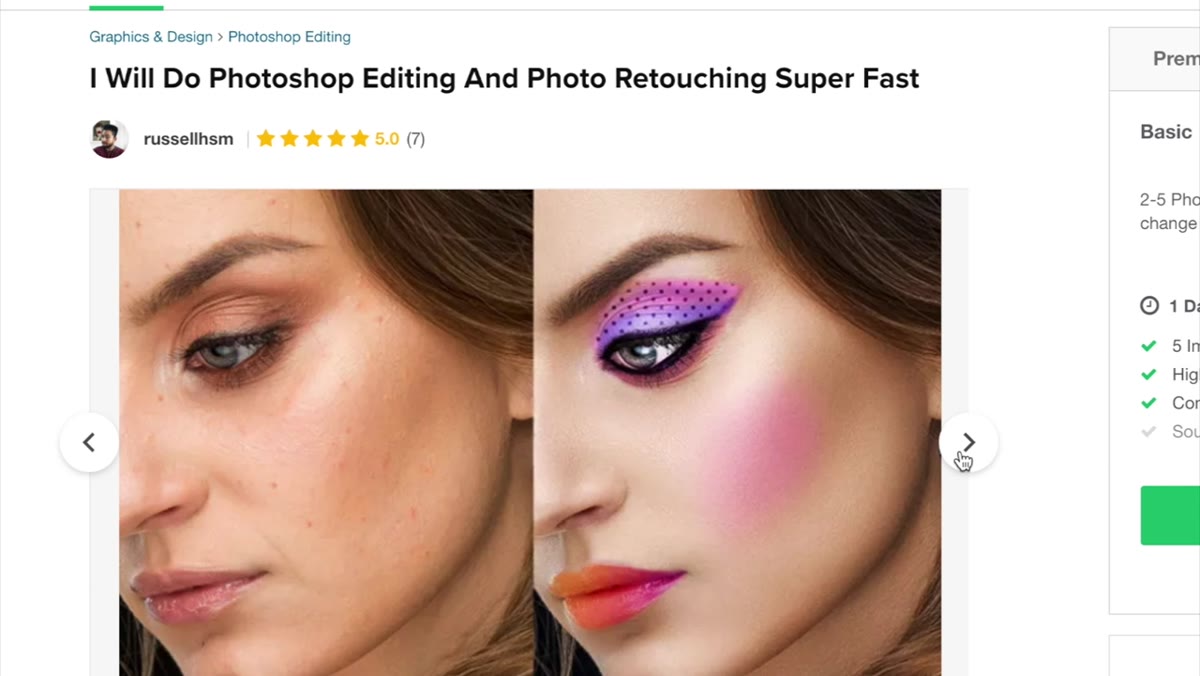 Portfolio example showing added makeup and dramatic color work
One of the retouchers Jessica flags with genuine excitement is someone whose portfolio shows fully painted-in makeup looks, essentially doing beauty illustration on top of photography. She compares it to a professional makeup application. This is a distinct skill set from cleanup retouching, and recognizing the difference matters. If your goal is editorial, dramatic, or heavily stylized work, a retoucher with a digital painting background can elevate an image in ways that straight skin cleanup never would. If your goal is natural or commercial beauty, that same approach will read as over-processed. Know which lane you are in before you hire, and look at a retoucher’s portfolio for evidence they have worked successfully in that lane before.
Portfolio example showing added makeup and dramatic color work
One of the retouchers Jessica flags with genuine excitement is someone whose portfolio shows fully painted-in makeup looks, essentially doing beauty illustration on top of photography. She compares it to a professional makeup application. This is a distinct skill set from cleanup retouching, and recognizing the difference matters. If your goal is editorial, dramatic, or heavily stylized work, a retoucher with a digital painting background can elevate an image in ways that straight skin cleanup never would. If your goal is natural or commercial beauty, that same approach will read as over-processed. Know which lane you are in before you hire, and look at a retoucher’s portfolio for evidence they have worked successfully in that lane before.
Step 6: Assess Results Against the Original Intent
 Comparing the original Paulina portrait to incoming Fiverr results
When the retouched files start coming back, Jessica’s evaluation is intuitive but consistent. She is measuring each result against what the original image was trying to do. Did the creative lighting survive? Is Paulina’s skin still human? Did the green eyeshadow get respected or neutralized? This is the right framework for reviewing any retouch, whether you are reviewing your own work or someone else’s. Pull up the original and the edit side by side. Ask whether the things that made the original interesting are still present in the edit. If the answer is no, the retoucher, including you, made choices that served their own aesthetic preferences over the image’s actual needs.
Comparing the original Paulina portrait to incoming Fiverr results
When the retouched files start coming back, Jessica’s evaluation is intuitive but consistent. She is measuring each result against what the original image was trying to do. Did the creative lighting survive? Is Paulina’s skin still human? Did the green eyeshadow get respected or neutralized? This is the right framework for reviewing any retouch, whether you are reviewing your own work or someone else’s. Pull up the original and the edit side by side. Ask whether the things that made the original interesting are still present in the edit. If the answer is no, the retoucher, including you, made choices that served their own aesthetic preferences over the image’s actual needs.
What I’d Add From My Own Practice
The thing this video surfaces that no one says directly is that a brief is a form of retouching skill. The retouchers who came back with results closest to what Jessica actually wanted were the ones whose portfolio already signaled they understood the kind of image they were working with. The lesson I took from years of doing this professionally is to match the retoucher to the image before you write a single word of direction. Look for someone whose sample work already lives in the same emotional neighborhood as the shot you are handing them. No brief, however detailed, can fully substitute for shared visual sensibility. When I find a retoucher or an approach whose instincts already align with the work, I give them more latitude. When I do not have that alignment yet, I get specific about every variable that matters.
The single most important thing this tutorial demonstrates is that the brief and the source image together determine the ceiling of what any retoucher can deliver. Fiverr or agency, cheap or expensive, the output quality is upstream of the conversation you have before the work begins.
Watch the full tutorial on YouTube to see all six retouched results side by side and judge for yourself which artists actually understood the assignment.
Comments (5)
Applied this to my portfolio shots and the improvement is noticeable.
Printing this out and pinning it next to my monitor. That good.
Excellent tutorial. I'd add that from a business standpoint, this technique is incredibly versatile.
Love how you break down complex stuff into manageable steps.
Clear and practical. No fluff. Appreciate that.
Leave a Comment