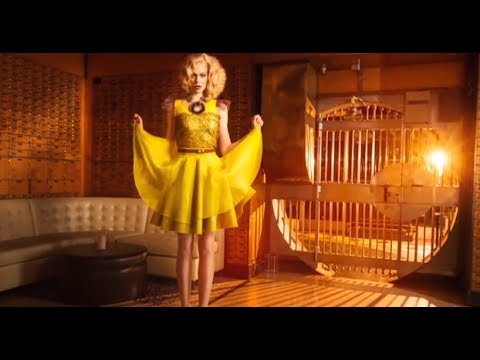
There’s a specific kind of panic that hits on set when something goes wrong and everyone looks to you for the answer. I know it well from my wedding days, and apparently so does Aaron Nace. In this PHLEARN high fashion retouching tutorial, Watch the full tutorial on YouTube — Aaron opens with the story of a shoot that started falling apart before a single keeper frame was captured. The model bumped her head, the original setup was scrapped, and what followed was a scramble into an adjacent room with a bare bulb strobe and absolutely no plan. The resulting images are stunning. That gap between chaos and a stunning final image is exactly what this tutorial is designed to close.
What I appreciate most about Aaron’s approach here is that he treats the retouching workflow as inseparable from the shooting decisions that came before it. By the time we get into Photoshop, we already understand why the backlight was positioned outside the vault door, why the shadows fall the way they do, and what the final image is supposed to feel like. That context changes everything about how you retouch. You’re not guessing at the photographer’s intent. You’re completing it. That’s the mindset shift this tutorial quietly installs, and it’s worth more than any single technique inside it.
I’ve been retouching beauty and fashion work for several years now, and I still come back to tutorials like this one because the best ones sharpen how I think, not just what I do. Here’s my breakdown of the key steps, with enough detail that you can follow along without the video running in another tab.
Step 1: Understand the Light Before You Touch a Slider
 Bare bulb positioned outside a vault door on set
Before Aaron opens a single file, he spends real time explaining the lighting setup. A bare bulb was placed outside a vault door, pointed inward. That backlight created rim lighting on the subject and projected dramatic shadows across the floor. A front fill light brought in just enough detail to keep the model from going fully silhouette.
Bare bulb positioned outside a vault door on set
Before Aaron opens a single file, he spends real time explaining the lighting setup. A bare bulb was placed outside a vault door, pointed inward. That backlight created rim lighting on the subject and projected dramatic shadows across the floor. A front fill light brought in just enough detail to keep the model from going fully silhouette.
This matters for retouching because the direction of your light tells you where your dodge and burn strokes belong. Highlights should wrap around the edges of the face and body consistently with that backlight source. If you burn down a shadow on the wrong side of the nose, you’re fighting the original lighting logic and the image will feel subtly wrong even if nobody can name why. Map your light before you make a single adjustment.
Step 2: Evaluate the RAW File Honestly
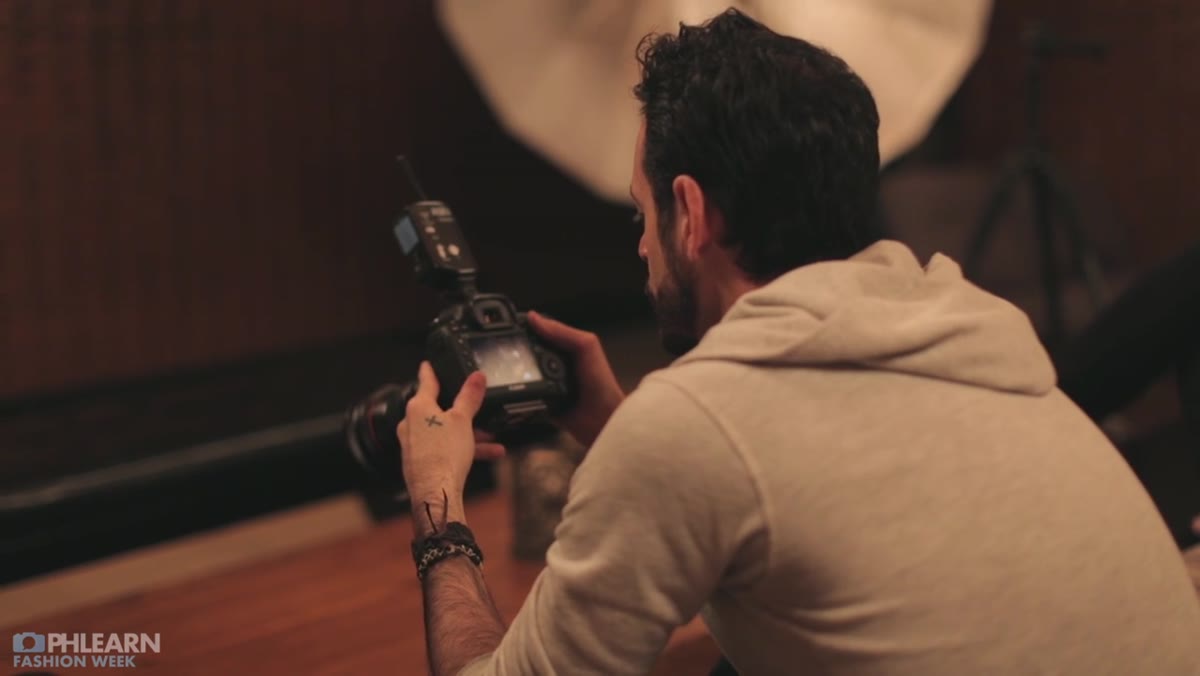 Comparing backlit shot to a misfired flash version on screen
Aaron shows two versions of the same frame side by side: one where the backlight fired correctly and one where it misfired and produced a flat, uninspiring result. The point is blunt and useful. The retouching on the well-lit frame is mostly about refinement. The misfired frame would require fabricating light that was never there, which is a much harder problem.
Comparing backlit shot to a misfired flash version on screen
Aaron shows two versions of the same frame side by side: one where the backlight fired correctly and one where it misfired and produced a flat, uninspiring result. The point is blunt and useful. The retouching on the well-lit frame is mostly about refinement. The misfired frame would require fabricating light that was never there, which is a much harder problem.
Before we get into any healing or color work, audit what you actually have. Is the exposure recoverable, or are you clipping detail you’ll never get back? Does the skin have workable texture, or is it so overexposed that frequency separation will have nothing to grab onto? Spend two minutes here and you’ll save twenty later. If a frame is fundamentally broken at capture, no amount of retouching will make it a portfolio image.
Step 3: Build Your Compositing Foundation First
 Model positioned in the vault doorway, composition framed wide
Aaron discusses the compositional decision to make the model feel large and powerful within the space, rather than dwarfed by it. In post, this translates to decisions about cropping, canvas extension, and how much environmental context to retain.
Model positioned in the vault doorway, composition framed wide
Aaron discusses the compositional decision to make the model feel large and powerful within the space, rather than dwarfed by it. In post, this translates to decisions about cropping, canvas extension, and how much environmental context to retain.
Before touching skin, establish your final crop and canvas. If you’re going to extend the background or composite multiple frames together, do that work first. Retouching a layer that you later have to transform or mask is a workflow tax you don’t want to pay. Set the stage, then do the detail work.
Step 4: Approach Skin with the Lighting Map in Mind
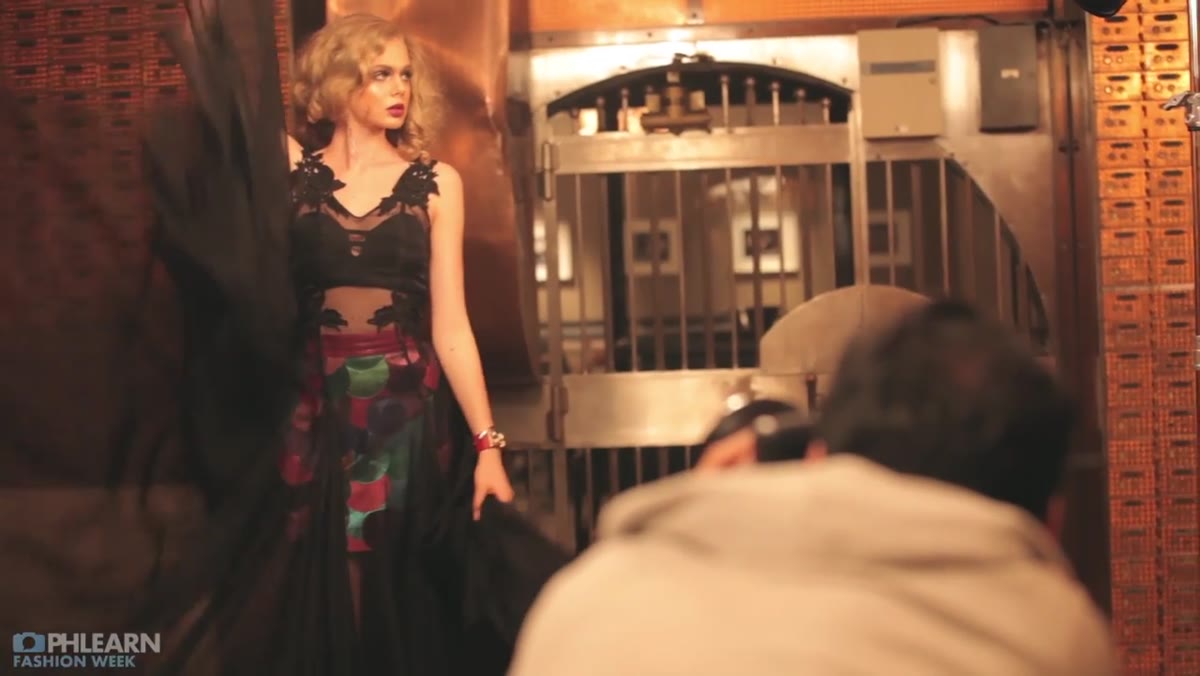 Close-up discussion of model’s skin tone and shadow detail
Aaron shot two wardrobe versions of this concept: a black dress and a second option. He notes that on the LCD, he wasn’t certain how much skin detail would hold in the final image. That uncertainty is where retouching begins. The goal is not to eliminate all texture, but to clean up distracting imperfections while preserving the three-dimensional quality that the lighting created.
Close-up discussion of model’s skin tone and shadow detail
Aaron shot two wardrobe versions of this concept: a black dress and a second option. He notes that on the LCD, he wasn’t certain how much skin detail would hold in the final image. That uncertainty is where retouching begins. The goal is not to eliminate all texture, but to clean up distracting imperfections while preserving the three-dimensional quality that the lighting created.
Work your skin corrections on a stamped layer above everything else. Use healing tools for spot corrections, then apply any frequency separation work to even out tone without destroying texture. Keep your opacity lower than you think you need to. At 60% healing opacity, you’re blending. At 100%, you’re often just relocating a problem to a slightly different address.
Step 5: Match Your Color Grade to the Atmosphere of the Shot
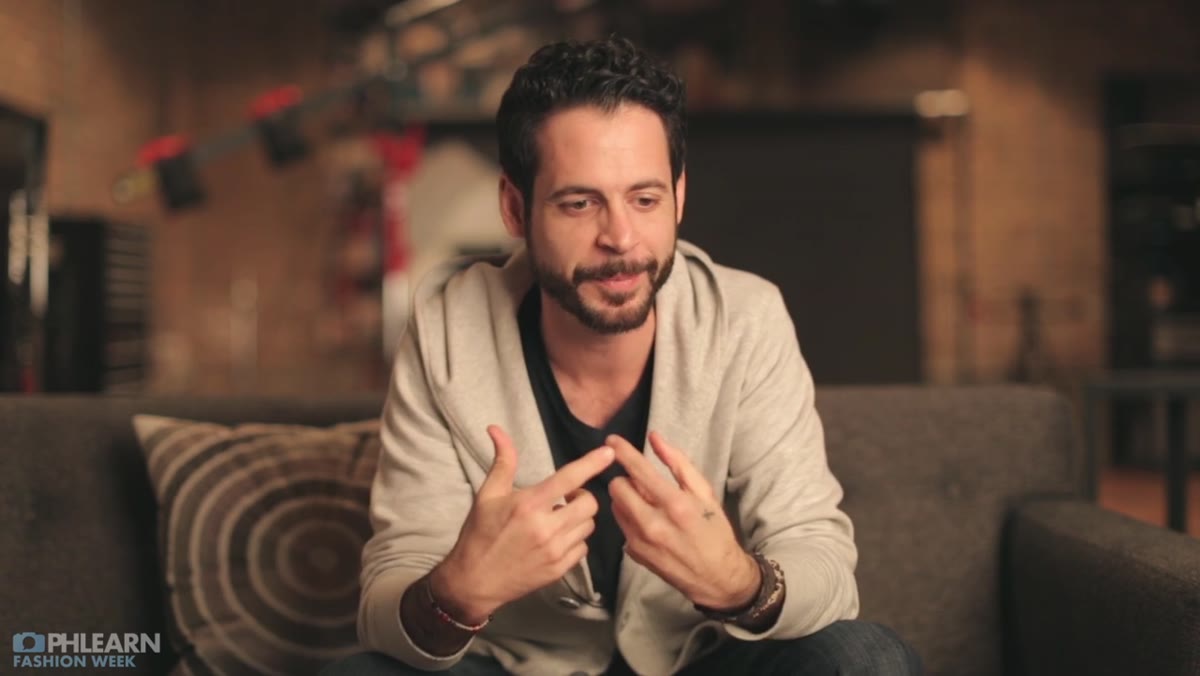 Photographer describing atmosphere created by vault and directional light
The vault setting, the bare bulb, the dramatic shadows — all of that communicates a specific mood. Your color grade needs to speak the same language. A warm, pastel grade would completely undermine what the lighting is saying. Aaron’s final images lean into contrast and atmosphere rather than softening everything into a beauty campaign feel.
Photographer describing atmosphere created by vault and directional light
The vault setting, the bare bulb, the dramatic shadows — all of that communicates a specific mood. Your color grade needs to speak the same language. A warm, pastel grade would completely undermine what the lighting is saying. Aaron’s final images lean into contrast and atmosphere rather than softening everything into a beauty campaign feel.
Use a Curves adjustment layer to set your black point and white point relative to the darkest and brightest intentional areas of the image. Then address color temperature and any color cast in the shadows separately from the highlights. Fashion skin tones often want a slight warmth in the midtones while the shadows stay neutral or even slightly cool. Test your grade at 50% opacity first. If it still reads at half strength, it’s working.
What I’d Add From My Own Workflow
Aaron doesn’t get deep into dodge and burn in this particular segment, but for fashion images with this level of directional lighting, it’s where I spend the most time. I keep a Curves layer named “D&B Paint” (yes, after the film) clipped to a neutral gray layer set to Overlay mode. Painting white lifts, painting black darkens, and because it’s a Curves layer I can adjust the intensity of the whole pass after the fact without repainting.
For images where the backlight is this strong, I also run a separate dodge pass along the rim edges to make sure they feel intentional rather than accidental. The difference between a rim light that looks designed and one that looks like lens flare is about thirty seconds of careful dodging.
The single most important thing Aaron demonstrates here is not a tool or a technique. It’s the habit of treating a photograph as a problem you understand before you start solving it. Know where your light came from. Know what the image is trying to say. Retouch in service of that, not against it. That thinking is what separates a retouch that feels finished from one that just feels edited.
Watch the full tutorial on YouTube and pay particular attention to Aaron’s on-set decision-making in the first few minutes. The retouching workflow makes a lot more sense once you understand the light that built these images.
Comments (2)
The before and after really sells it. Incredible difference.
Excellent tutorial. I'd add that from a photography standpoint, this technique is incredibly versatile.
Leave a Comment