
There’s a particular kind of clarity that comes from watching someone with zero retouching experience open Photoshop for the first time. No habits, no muscle memory, no shortcuts. Just instinct. When I first started retouching wedding portraits years ago, I made a lot of the same moves I see beginners make now: grabbing the wrong tool, fixing one small thing while accidentally breaking something else, and calling it done way too soon. Watching Jessica Kobeissi’s family attempt to retouch her professional portrait in Watch the full tutorial on YouTube is genuinely funny, but it’s also a surprisingly useful diagnostic for what the core skills actually are and why they matter in this exact order.
What strikes me every time I watch this video is how cleanly each family member lands on a different rung of the retouching ladder. One person attempts skin work and makes it worse. Another nails color grading but never touches the skin. One appears to have either hired a professional or stumbled into a workflow that produced legitimately clean results. Together, the three edits map out the major pillars of portrait retouching better than a lot of formal tutorials do. Here’s how I’d teach those pillars to someone starting from scratch, using what happens in the video as a framework.
Step 1: Assess the Image Before You Touch Anything
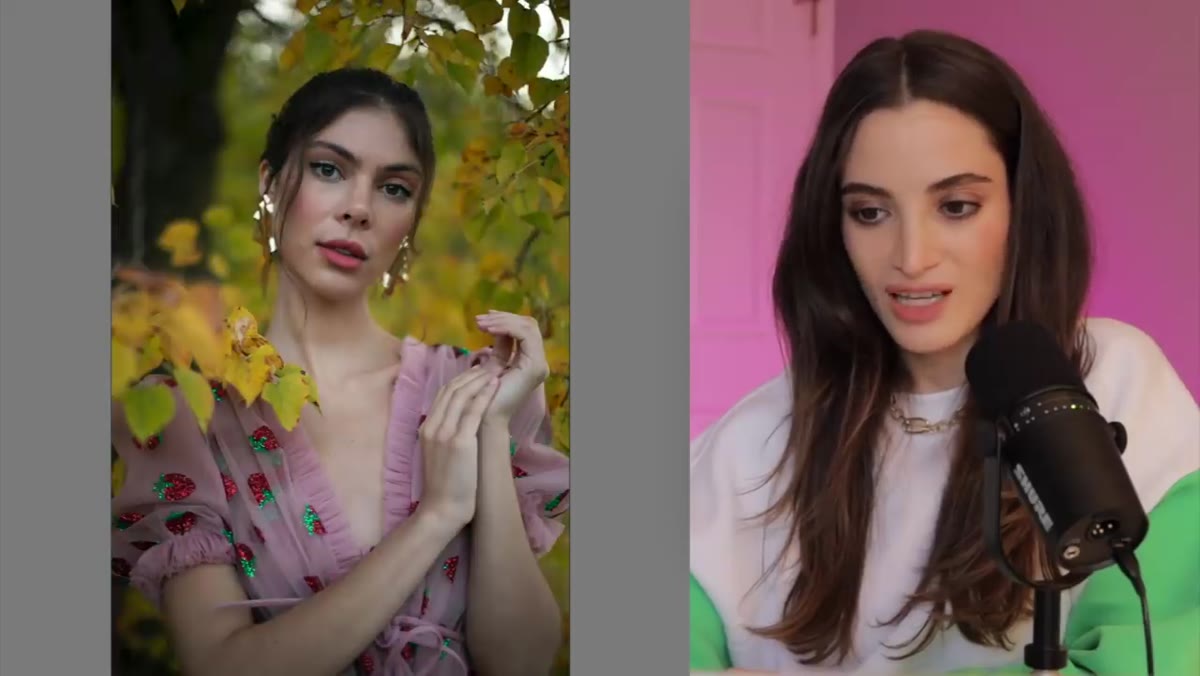
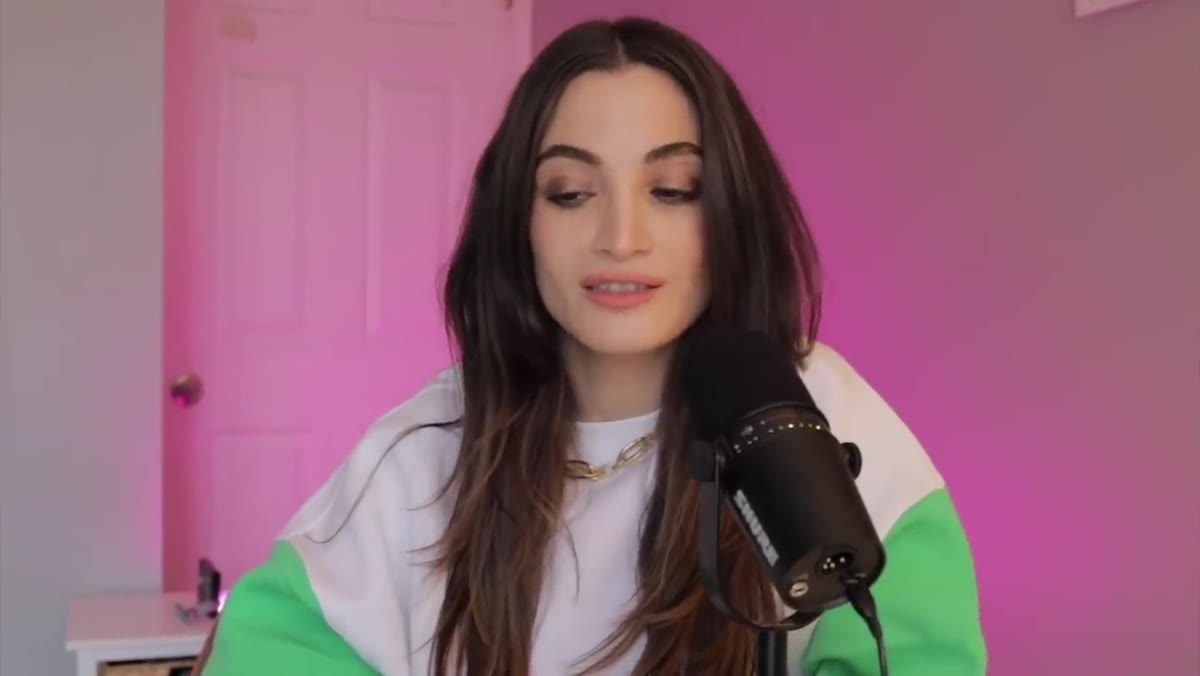 Original unedited portrait shown on screen before any edits
The first mistake most beginners make is jumping straight into fixing something without looking at the full picture. Before opening any tool, zoom out. Look at the skin overall, the lighting, the color temperature, and the background. Identify what actually needs fixing versus what just feels like it needs fixing. In the video, one editor zeroed in on a single small blemish and never stepped back to evaluate the rest of the image. The result was a patch that looked worse than the original because it was treated in isolation.
Original unedited portrait shown on screen before any edits
The first mistake most beginners make is jumping straight into fixing something without looking at the full picture. Before opening any tool, zoom out. Look at the skin overall, the lighting, the color temperature, and the background. Identify what actually needs fixing versus what just feels like it needs fixing. In the video, one editor zeroed in on a single small blemish and never stepped back to evaluate the rest of the image. The result was a patch that looked worse than the original because it was treated in isolation.
When I start a retouch, I duplicate my background layer immediately and spend sixty seconds just looking. I ask three questions: What is the biggest distraction in this image? What is the mood I want to preserve? What will I absolutely break if I’m not careful? That last question has saved me from a lot of overcorrection.
Step 2: Blemish Removal with the Healing Brush (Not the Spot Healing Brush)
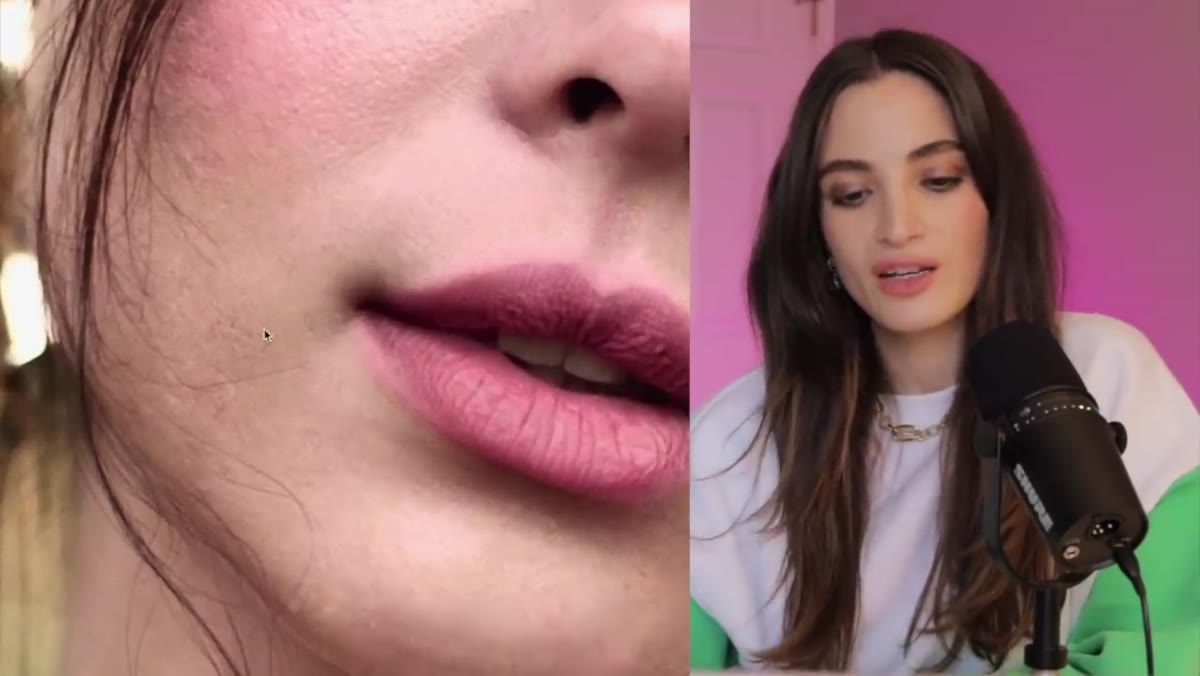 Close-up of skin area where blemish retouch went wrong
This is where the sister’s edit goes sideways, and it’s one of the most common beginner errors I see in my workshops. The Spot Healing Brush is tempting because it’s fast, but it samples from a radius around the target area automatically. If that surrounding area has varied texture, like a shadow edge or a pore cluster, the result is a muddy smear that reads as worse than the original imperfection.
Close-up of skin area where blemish retouch went wrong
This is where the sister’s edit goes sideways, and it’s one of the most common beginner errors I see in my workshops. The Spot Healing Brush is tempting because it’s fast, but it samples from a radius around the target area automatically. If that surrounding area has varied texture, like a shadow edge or a pore cluster, the result is a muddy smear that reads as worse than the original imperfection.
The Healing Brush (not Spot Healing) gives you manual control. You hold Alt or Option, click to sample a clean patch of skin nearby, and then paint over the blemish. The key is to sample from an area with matching tone and texture. For a cheek blemish, sample from a smooth section of the same cheek, not from across the nose or near a highlight. Keep your brush size just slightly larger than the blemish. One click, not a paint stroke. That single change in tool behavior would have completely fixed the sister’s edit.
Step 3: Color Grading to Complement the Skin Tone
 Cousin’s edit displayed with warm orange color grade applied
The cousin’s edit had no skin retouching at all, but Jessica’s response was genuinely warm because the colors were working. This is worth paying attention to. A well-considered color grade can make skin look more even, more luminous, and more intentional even before you touch the actual skin texture. The cousin appeared to lean into warm orange tones, which tend to flatter a wide range of skin tones by adding a sense of sun warmth without blowing out highlights.
Cousin’s edit displayed with warm orange color grade applied
The cousin’s edit had no skin retouching at all, but Jessica’s response was genuinely warm because the colors were working. This is worth paying attention to. A well-considered color grade can make skin look more even, more luminous, and more intentional even before you touch the actual skin texture. The cousin appeared to lean into warm orange tones, which tend to flatter a wide range of skin tones by adding a sense of sun warmth without blowing out highlights.
In Photoshop, I usually do this with a Color Lookup adjustment layer, testing a few LUTs before committing. From there, I drop the opacity to around 60-70 percent so it blends rather than dominates. If I want more control, I’ll use Curves, pulling the red and green channels up slightly in the midtones for warmth while keeping the blue channel relatively flat. The important thing is to make the color choice before retouching the skin, not after, because the color grade will change how the skin reads and you’ll end up chasing your own adjustments.
Step 4: Skin Smoothing with a Light Touch
 Brother’s edit showing clean skin retouching and visible texture
The brother’s edit is where things get interesting. The skin cleanup is noticeably cleaner, and it still looks like skin, not plastic. This is the balance that takes most retouchers the longest to find. The fastest way to get there without full frequency separation is a technique I call the “blur and blend” approach. Duplicate your layer, apply a Gaussian Blur at around 3-5 pixels, then add a black layer mask to hide it completely. Paint white back in only on the areas where you want smoothing, using a soft brush at 20-30 percent opacity. This way you’re building the effect gradually and never losing all the underlying texture.
Brother’s edit showing clean skin retouching and visible texture
The brother’s edit is where things get interesting. The skin cleanup is noticeably cleaner, and it still looks like skin, not plastic. This is the balance that takes most retouchers the longest to find. The fastest way to get there without full frequency separation is a technique I call the “blur and blend” approach. Duplicate your layer, apply a Gaussian Blur at around 3-5 pixels, then add a black layer mask to hide it completely. Paint white back in only on the areas where you want smoothing, using a soft brush at 20-30 percent opacity. This way you’re building the effect gradually and never losing all the underlying texture.
Avoid painting over eyelashes, brows, lips, and any edge where skin meets something else. Those edges are what make the face read as real. When smoothing is applied uniformly across an entire face, including those defining edges, that’s when retouching starts to look digital and flat.
Step 5: Fine Detail Work with Hair and Cutouts
 Brother’s edit showing cats composited in with clean hair masking
Whether or not the brother had help, the compositing in his edit shows clean masking around fine hair, which is genuinely difficult to pull off. In Photoshop, the fastest route to a clean hair mask is Select Subject followed by Select and Mask, then refining using the Refine Hair option in the Properties panel. After that, switch to the Refine Edge brush and paint over flyaways and fine strands around the hairline. Set the output to a new layer with a layer mask so you can manually correct anything the algorithm missed.
Brother’s edit showing cats composited in with clean hair masking
Whether or not the brother had help, the compositing in his edit shows clean masking around fine hair, which is genuinely difficult to pull off. In Photoshop, the fastest route to a clean hair mask is Select Subject followed by Select and Mask, then refining using the Refine Hair option in the Properties panel. After that, switch to the Refine Edge brush and paint over flyaways and fine strands around the hairline. Set the output to a new layer with a layer mask so you can manually correct anything the algorithm missed.
For beauty portraits specifically, clean edge masking matters even when you’re not doing full composites. If you’re placing a subject on a new background, or if you’re adjusting the background color or blur separately from the subject, a sloppy mask shows up immediately.
Going Further: Why Order of Operations Is Everything
In my own work, the single thing that improved my retouching quality the most was fixing the sequence. For years I jumped around between color, skin, and cleanup in whatever order felt intuitive, and I kept creating extra work for myself. A color shift after skin smoothing changes how the smoothing reads. A smooth filter applied before blemish removal bakes imperfections into the texture. Now I always go: cleanup first, smoothing second, color grading third, final contrast and sharpening last. Every step informs the next one, and nothing has to be undone.
The honest takeaway from the Kobeissi family challenge is that retouching is a sequence of decisions, not a single action. The cousin made one great decision. The sister made one decision badly. The brother made several decisions in the right order. The difference between a retouch that looks natural and one that looks worse than the original is almost always about which step came first, not how much time was spent.
Watch the full tutorial on YouTube to see all three edits side by side and judge for yourself who deserved that Starbucks gift card.
Comments
Leave a Comment