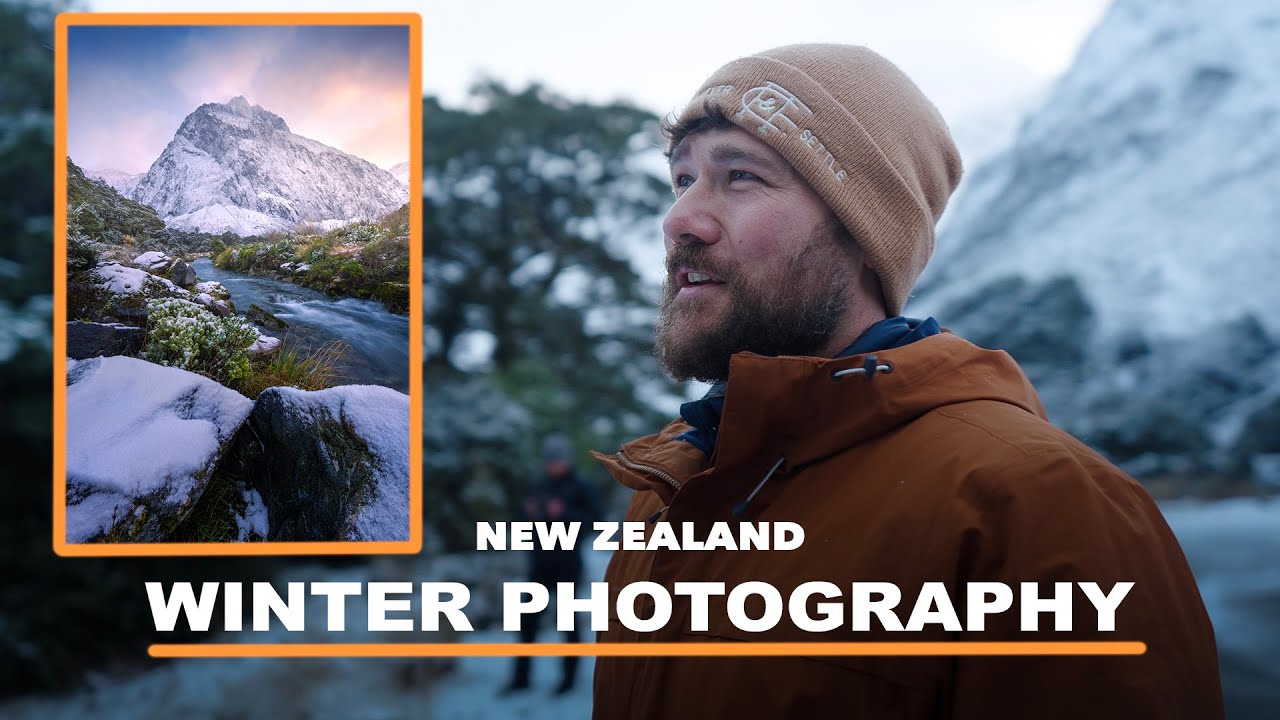
There’s a reason I keep a folder on my desktop called “Not Beauty.” It’s full of tutorials from photographers who have nothing to do with my usual world of skin smoothing and color grading, and it’s one of the most useful folders I have. When I burned out on wedding photography years ago and moved into beauty retouching, I thought I was leaving landscape and nature work behind entirely. What I didn’t expect was how much the discipline of outdoor photographers would reshape the way I think about light, patience, and the decision-making that happens before you ever open Lightroom. Watch the full tutorial on YouTube
In this William Patino tutorial, he takes his friend Dylan into the Fiordland mountains of New Zealand during winter, chasing fresh snow and mountain visibility in one of the most unpredictable shooting environments you can choose. On the surface, this has nothing to do with beauty retouching. But the decisions Patino makes before he even reaches the trailhead, what gear to bring, what light will actually be there, what he’s willing to sacrifice, mirror the pre-shoot thinking I now try to do before every beauty session. The best retouching starts with the best capture, and Patino’s approach to intentional shooting is something I wish someone had handed me when I was starting out.
What follows is a breakdown of the key technique decisions in this tutorial, reframed for photographers and retouchers who want to bring the same intentionality to portrait and beauty work.
Step 1: Build Your Kit Around the Location, Not Your Wishlist
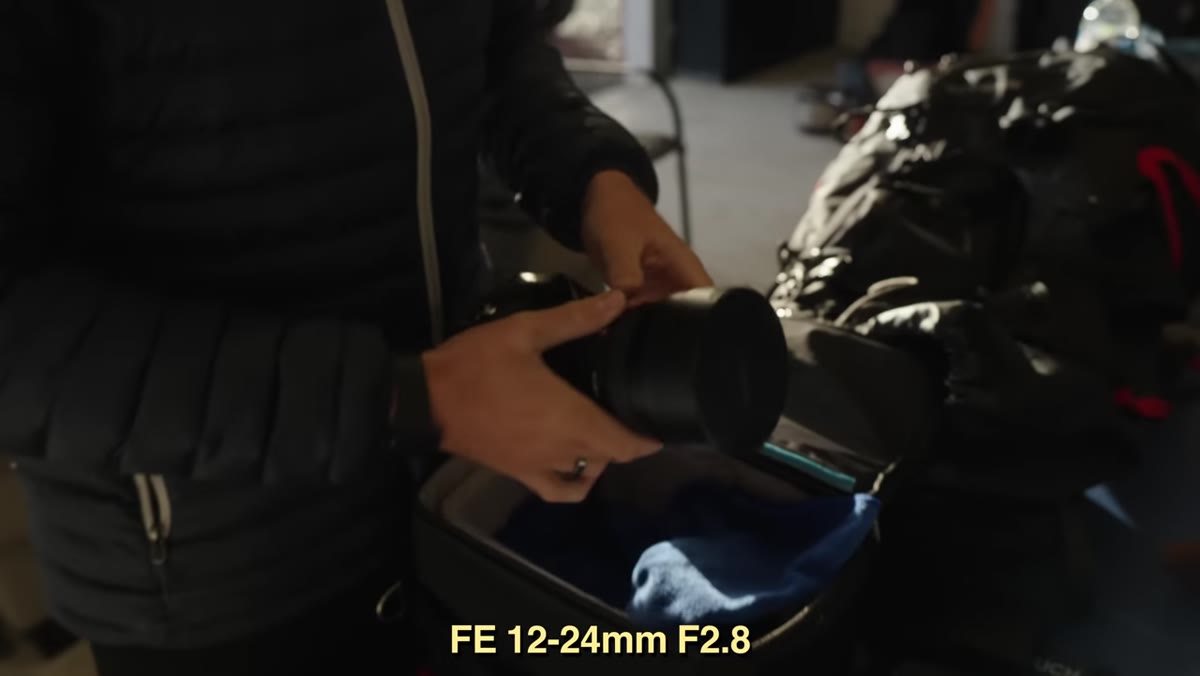 William laying out lenses and discussing the three-day kit
Patino commits to a specific two-lens kit for the trip: a wide-angle 12-24mm and a Tamron 28-75mm. He deliberately leaves the 100-400mm telephoto at home, not because he doesn’t love that lens, but because he can’t visualize a use for it in this particular terrain. That reasoning is the important part. He isn’t packing light out of laziness. He’s packing with a clear mental picture of the shots he’s after.
William laying out lenses and discussing the three-day kit
Patino commits to a specific two-lens kit for the trip: a wide-angle 12-24mm and a Tamron 28-75mm. He deliberately leaves the 100-400mm telephoto at home, not because he doesn’t love that lens, but because he can’t visualize a use for it in this particular terrain. That reasoning is the important part. He isn’t packing light out of laziness. He’s packing with a clear mental picture of the shots he’s after.
For portrait and beauty work, I apply this same filter to my lighting kit. Before a studio session, I ask myself what I can genuinely see myself using, not what I might need in a perfect-world scenario. Overpacking gear clutters your thinking on set the same way it weighs down a six-hour mountain hike. Define the shots you’re building toward, then work backward to the tools.
Step 2: Adjust Your Plan When Conditions Change on Arrival
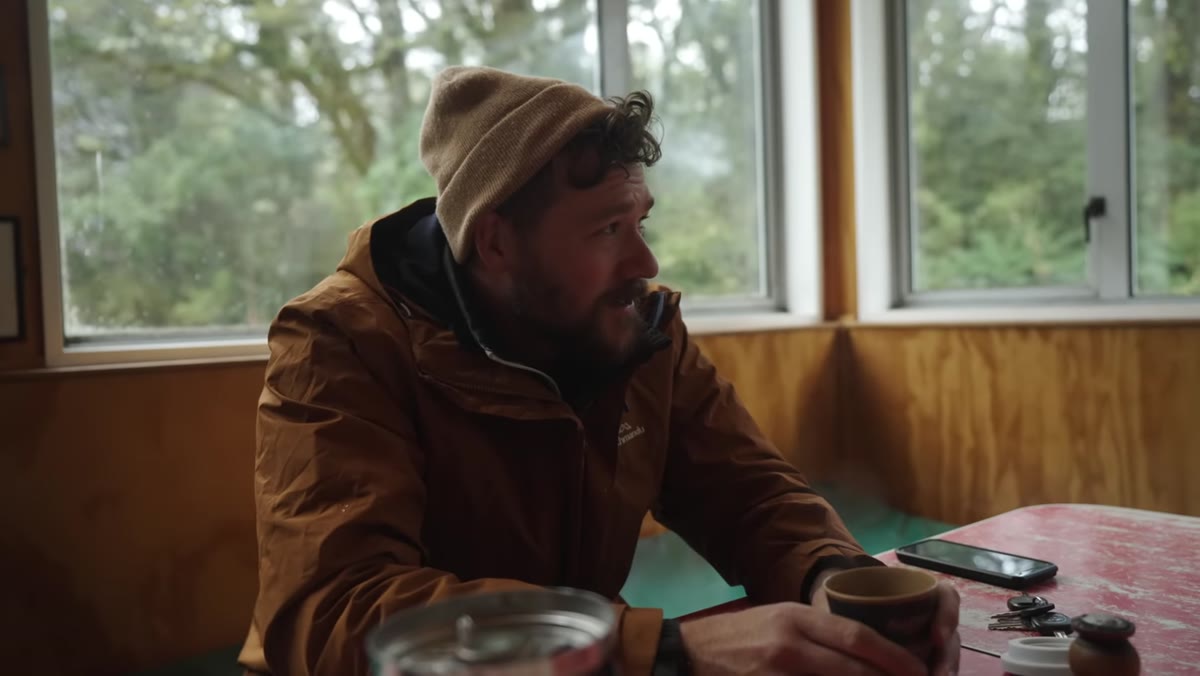 William observing the valley and reassessing the day’s shooting plan
When Patino arrives and scouts the valley, he notices two things that shift his plan: the car park is busier than expected, and the snow line has dropped much lower than he anticipated. Rather than sticking rigidly to his original route, he pivots. The lower snow line becomes an opportunity, specifically the combination of snow sitting against the rainforest below, with mountain peaks as a potential backdrop.
William observing the valley and reassessing the day’s shooting plan
When Patino arrives and scouts the valley, he notices two things that shift his plan: the car park is busier than expected, and the snow line has dropped much lower than he anticipated. Rather than sticking rigidly to his original route, he pivots. The lower snow line becomes an opportunity, specifically the combination of snow sitting against the rainforest below, with mountain peaks as a potential backdrop.
This is one of the most transferable skills in all of photography. In beauty retouching, the equivalent moment is when you open the RAW files and the light isn’t what the brief described. The photographers who get flustered and deliver mediocre work are the ones who can’t separate their plan from their goal. The goal was always a compelling image. The plan was just one route there. When I open a set of files and realize the catchlights are in the wrong position or the color temperature drifted badly mid-shoot, I stop thinking about what should have happened and start asking what I can build from what’s actually there.
Step 3: Accept the Variables You Cannot Control, Then Position Yourself Correctly
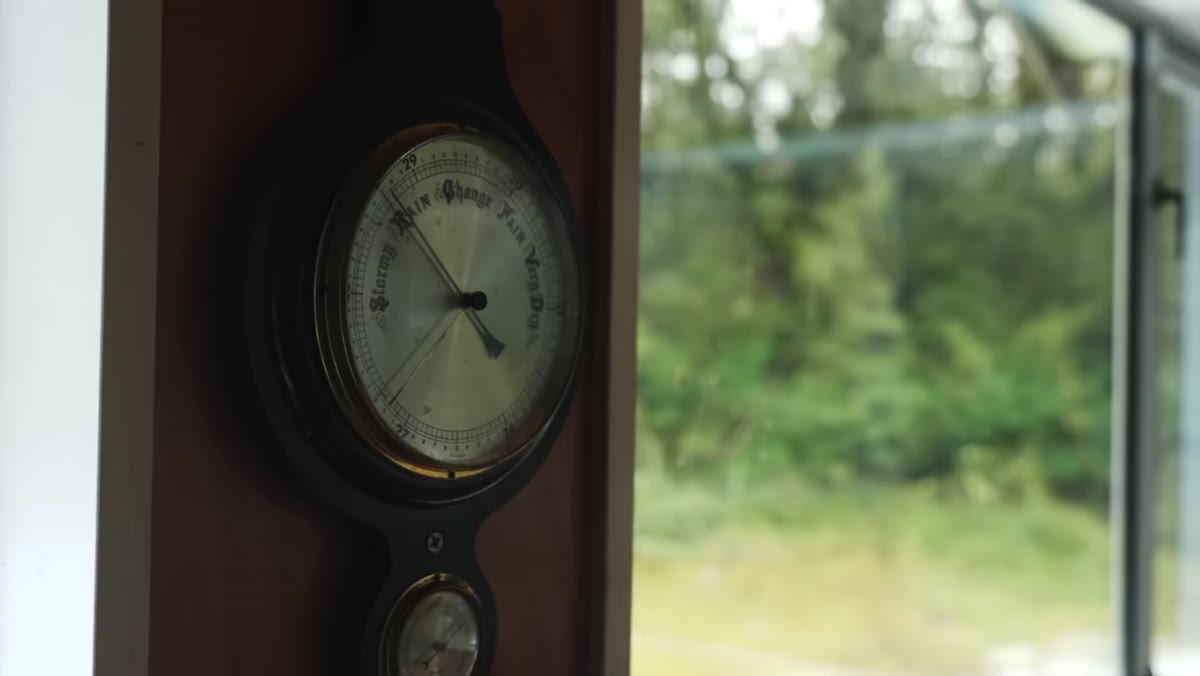 William and Dylan settling into the mountain hut for the night
Patino makes a specific logistical move: he and Dylan stay overnight in a mountain hut that puts them right in the heart of the terrain they want to photograph. His reasoning is direct. If snow comes through overnight, he wants to be positioned to capture it as it settles, because the plants in Fiordland, ferns especially, don’t hold snow well. The window is narrow. Being in the right place physically is the only way to catch it.
William and Dylan settling into the mountain hut for the night
Patino makes a specific logistical move: he and Dylan stay overnight in a mountain hut that puts them right in the heart of the terrain they want to photograph. His reasoning is direct. If snow comes through overnight, he wants to be positioned to capture it as it settles, because the plants in Fiordland, ferns especially, don’t hold snow well. The window is narrow. Being in the right place physically is the only way to catch it.
In beauty retouching, you can’t control what comes out of camera. But you can control your process so that when a great capture lands in your queue, you have the workflow to do it justice quickly. This is why I spend time building and naming my action sets carefully before a project starts, not scrambling mid-session. Position yourself so when the good material arrives, you’re ready.
Step 4: Let the Unexpected Subject Change Your Approach
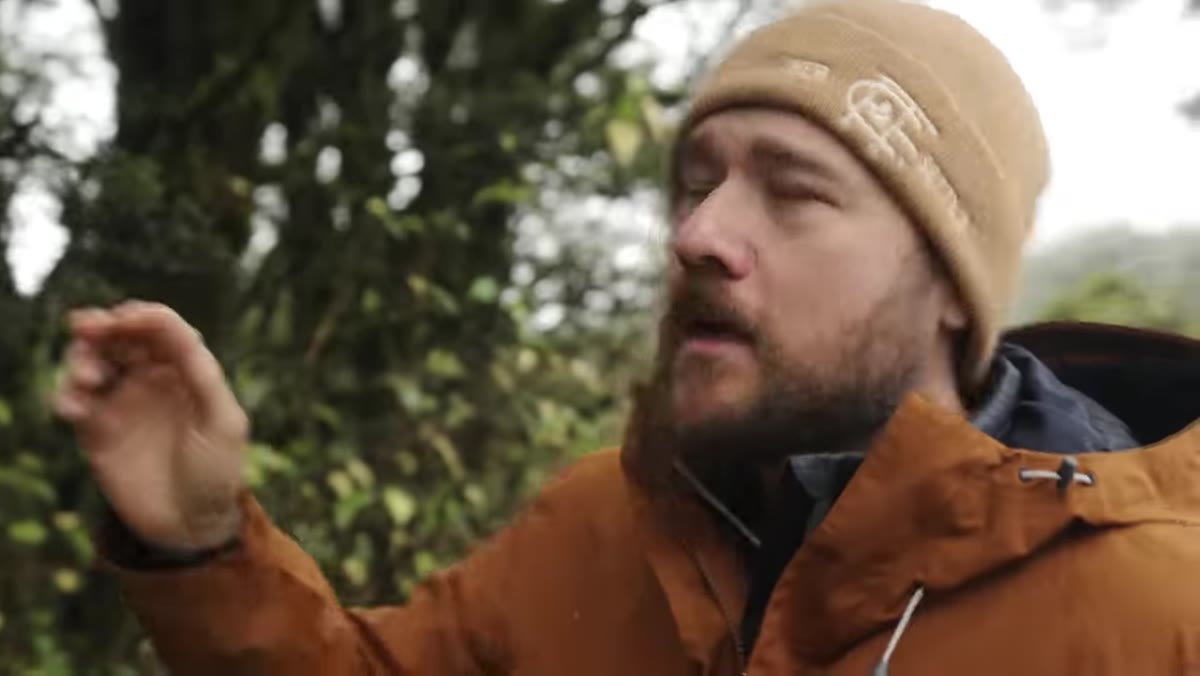 Close encounter with a wild Kea alpine parrot on the trail
One of the most striking moments in the tutorial is when a wild Kea, the world’s only alpine parrot and an endangered species, wanders into frame during the hike. Patino doesn’t treat this as a distraction. He immediately thinks about how he’s tried, across his whole portfolio, to combine these birds with grand landscape shots. He notes it’s incredibly difficult but highly rewarding, and he’s only managed it a handful of times. When the Kea appears, his whole attention shifts to whether this is the moment.
Close encounter with a wild Kea alpine parrot on the trail
One of the most striking moments in the tutorial is when a wild Kea, the world’s only alpine parrot and an endangered species, wanders into frame during the hike. Patino doesn’t treat this as a distraction. He immediately thinks about how he’s tried, across his whole portfolio, to combine these birds with grand landscape shots. He notes it’s incredibly difficult but highly rewarding, and he’s only managed it a handful of times. When the Kea appears, his whole attention shifts to whether this is the moment.
For portrait retouchers, the unexpected subject is often the image you almost overlooked. I keep a standing practice of reviewing the “rejects” from any shoot before I close the folder. Photographers cull fast and sometimes pull frames that have something interesting in the light or the expression that deserves a second look. Some of my favorite pieces to work on have come from images that were initially flagged as unusable.
Step 5: Know What Your Signature Shot Looks Like Before You’re Standing in Front of It
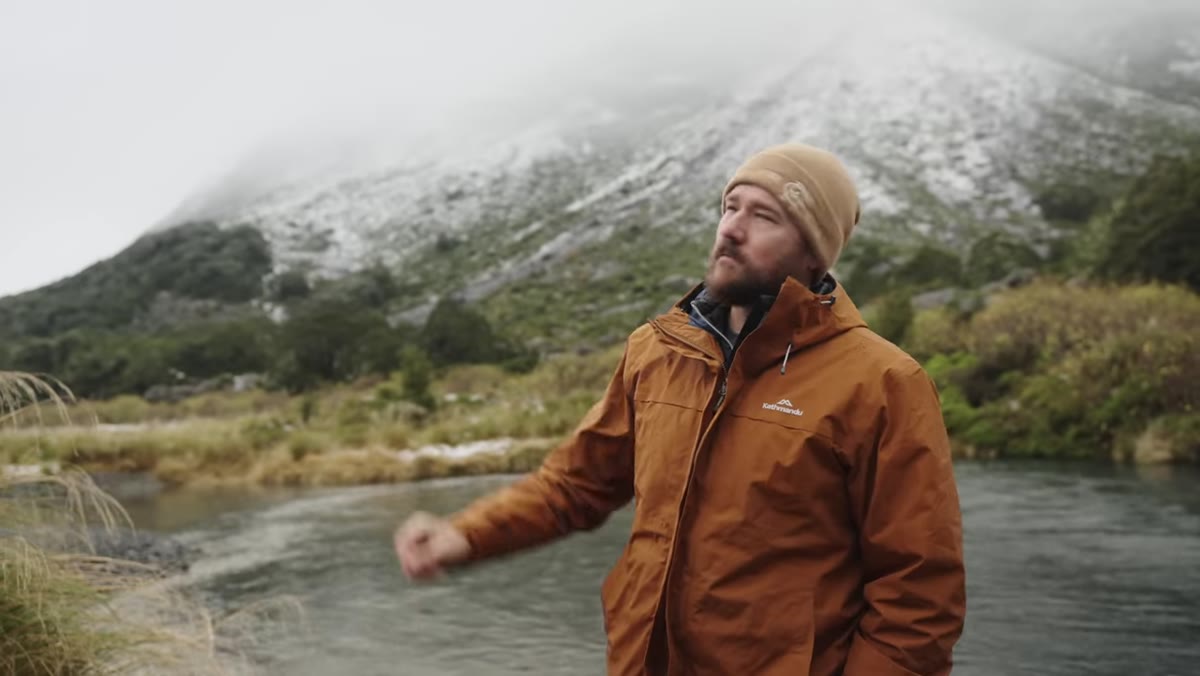 William describing Mount Talbot framed by snow and the valley
Patino describes Mount Talbot with real specificity. He knows what he’s envisioning. He can articulate the framing, the snow cover, the relationship between mountain and valley. That mental clarity is what lets him move quickly and decisively when conditions align.
William describing Mount Talbot framed by snow and the valley
Patino describes Mount Talbot with real specificity. He knows what he’s envisioning. He can articulate the framing, the snow cover, the relationship between mountain and valley. That mental clarity is what lets him move quickly and decisively when conditions align.
This is pre-visualization, and it’s as essential in retouching as it is in capture. Before I open a file, I try to decide what the finished image should feel like: where the light should draw the eye, what the skin tone should communicate, whether the edit should feel editorial or natural. That decision made in advance protects you from the feature-creep of retouching, where you keep adding adjustments because you’re not sure when you’re done.
From the Retouching Side: Patience Is a Technique
The single thing I carry from this tutorial into my own work is Patino’s willingness to wait. He hikes hours into a mountain range and then sleeps in a hut hoping the conditions will cooperate. There’s no guarantee. He’s betting time and effort on possibility.
Early in my retouching career, I rushed. I had a client tell me once that my edits looked plastic, and she wasn’t wrong. I was moving fast because I thought speed meant skill. What actually produces better work is sitting with an image long enough to see what it needs rather than what you assumed it needed before you opened it. Patino earns his shots through patience and positioning. The same principle applies at the editing desk.
The single most important takeaway from this tutorial is that great images are built through decision-making that happens well before the shutter fires. Gear selection, location strategy, subject awareness, and pre-visualization are not logistics. They are the technique. Watch the full process of how Patino brings all of this together in the New Zealand winter:
Watch the full tutorial on YouTube
Comments (2)
Tried this technique this morning. Game changer for real.
Love this. I referenced a similar technique in one of my recent posts. Always good to see other perspectives.
Leave a Comment