There is a particular kind of frustration I know well: you have a subject in front of you, the light is almost right, and you are burning through time waiting for the moment to either arrive or not. I felt that frustration constantly in my wedding days, and I still feel a version of it now when I am trying to coax a beauty edit into looking natural rather than constructed. What I did not expect was to find a useful framework for managing that frustration inside a winter landscape video. But here we are.
Watch the full tutorial on YouTube
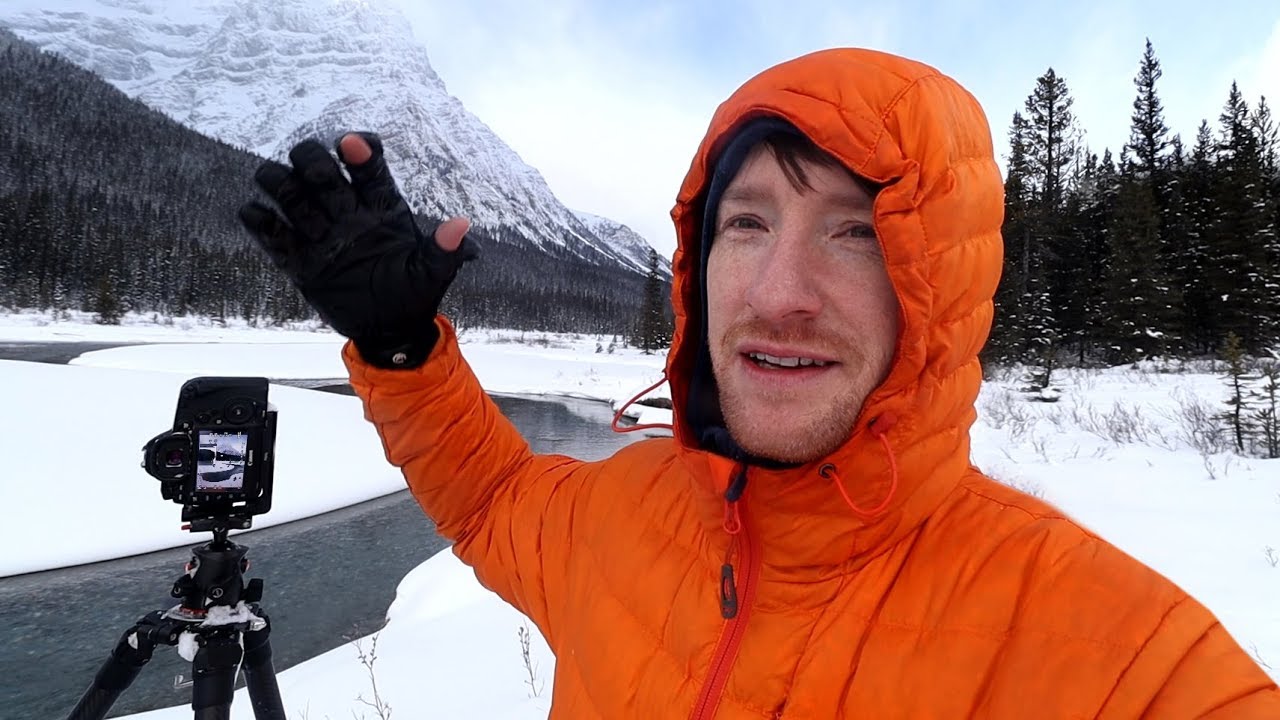
In this Thomas Heaton tutorial, filmed during a group photography trip through snow-covered mountain terrain in winter, Heaton works through two very different shooting situations in a single afternoon. The first is calm and methodical. The second is chaotic and rushed. Watching both back to back is genuinely instructive, because the contrast makes visible something that is easy to miss when you only ever see the polished final image: good work is mostly a series of decisions under pressure, not a recipe followed in ideal conditions. That applies whether you are standing in a frozen meadow or sitting at a retouching desk at 11pm with a deadline tomorrow morning.
Step 1: Read the available light before you set up anything
 Hazy winter sun pushing through low cloud over mountains
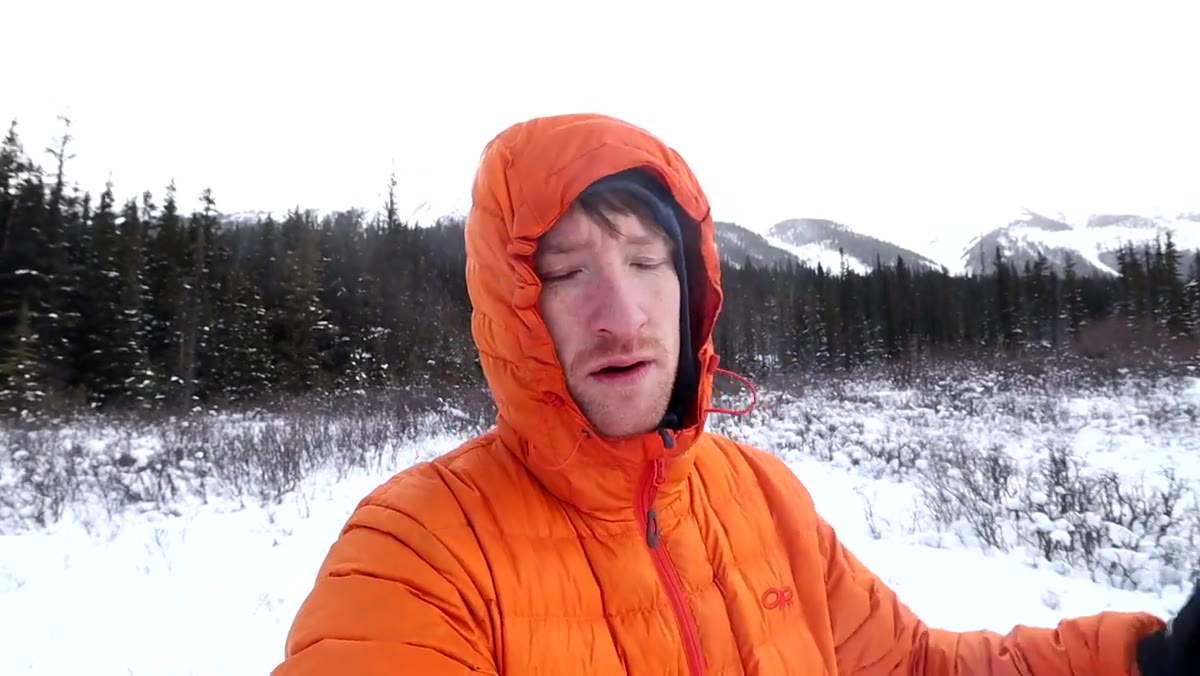
Heaton’s first move at the meadow location is not to set up his tripod. It is to read what the light is actually doing. Around midday in the mountains in winter, the sun stays low and the quality of light shifts constantly as haze and cloud move through. He identifies that the light is intermittent, coming and going in roughly 20-second windows, and he builds his entire plan around that constraint rather than fighting it.
Hazy winter sun pushing through low cloud over mountains
Heaton’s first move at the meadow location is not to set up his tripod. It is to read what the light is actually doing. Around midday in the mountains in winter, the sun stays low and the quality of light shifts constantly as haze and cloud move through. He identifies that the light is intermittent, coming and going in roughly 20-second windows, and he builds his entire plan around that constraint rather than fighting it.
In beauty work, we do this same assessment before we open Liquify or reach for a brush. Before touching a portrait, I spend a minute just looking: where is the light falling on the face, what is it doing to skin texture, where are the shadows creating depth versus where are they just noise. If you skip this step, you spend twice as long correcting decisions that were wrong from the start.
Step 2: Commit to a simple, definable composition
 Tripods lined up, photographers shooting the same scene side by side
Once Heaton identifies the light pattern, he locks in a composition: the river in the foreground, clean snow leading the eye upward, the mountain peak where the light will land. The composition is specific enough that he knows exactly what he is waiting for. There is no ambiguity about whether a given moment qualifies.
Tripods lined up, photographers shooting the same scene side by side
Once Heaton identifies the light pattern, he locks in a composition: the river in the foreground, clean snow leading the eye upward, the mountain peak where the light will land. The composition is specific enough that he knows exactly what he is waiting for. There is no ambiguity about whether a given moment qualifies.
This is something I had to learn painfully early in my retouching career. A client once told me my edits looked plastic because I had been retouching without a clear target. I was smoothing skin without deciding first what the skin should look like when I was done. Now I define the goal before I open a single panel. Is this a natural editorial finish? A high-fashion clean look? The answer shapes every tool choice that follows.
Step 3: Choose your technical settings in advance and leave them alone
 Camera on tripod, shooter waiting for light, no mid-scene adjustments
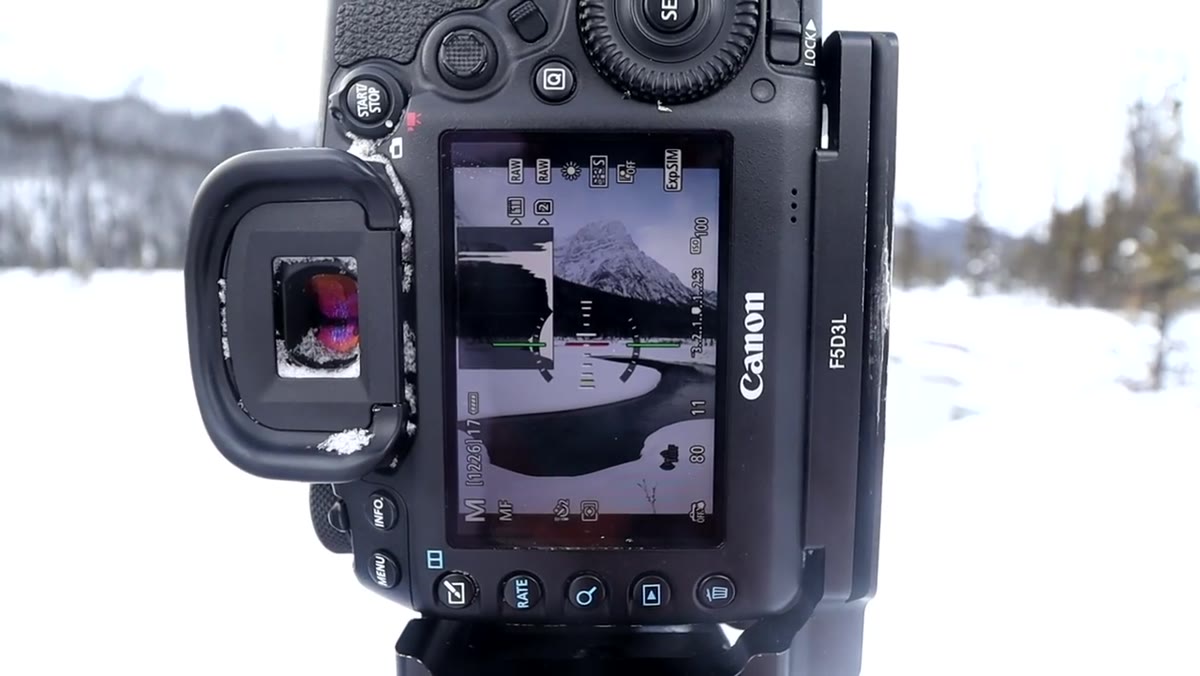
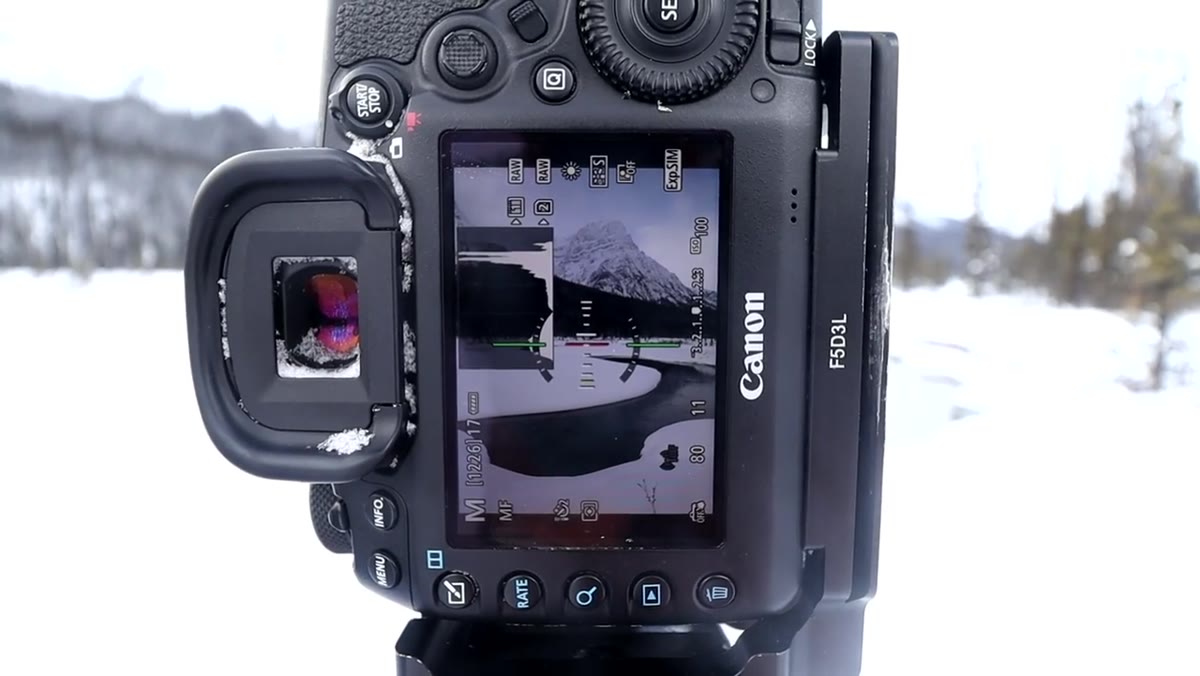
Heaton shoots this scene at f/11, focused on the mountain, with a 2-second timer to eliminate camera shake. He mentions that the foreground is simple enough, mostly snow and water, that he does not need to worry about focus stacking or graduated filters. He makes those decisions once and does not revisit them while waiting for the light.
Camera on tripod, shooter waiting for light, no mid-scene adjustments
Heaton shoots this scene at f/11, focused on the mountain, with a 2-second timer to eliminate camera shake. He mentions that the foreground is simple enough, mostly snow and water, that he does not need to worry about focus stacking or graduated filters. He makes those decisions once and does not revisit them while waiting for the light.
In retouching, this translates to setting your workspace before you start a session. Calibrated monitor, consistent color profile, your base adjustment layers in place. I keep a starter document I call my “Vertigo” template (yes, all my Photoshop actions are named after films) that has my standard curves and masking structure ready to go. The goal is to remove the technical decisions from the creative moment so you are not choosing and second-guessing at the same time.
Step 4: Identify the one distraction and plan to remove it cleanly
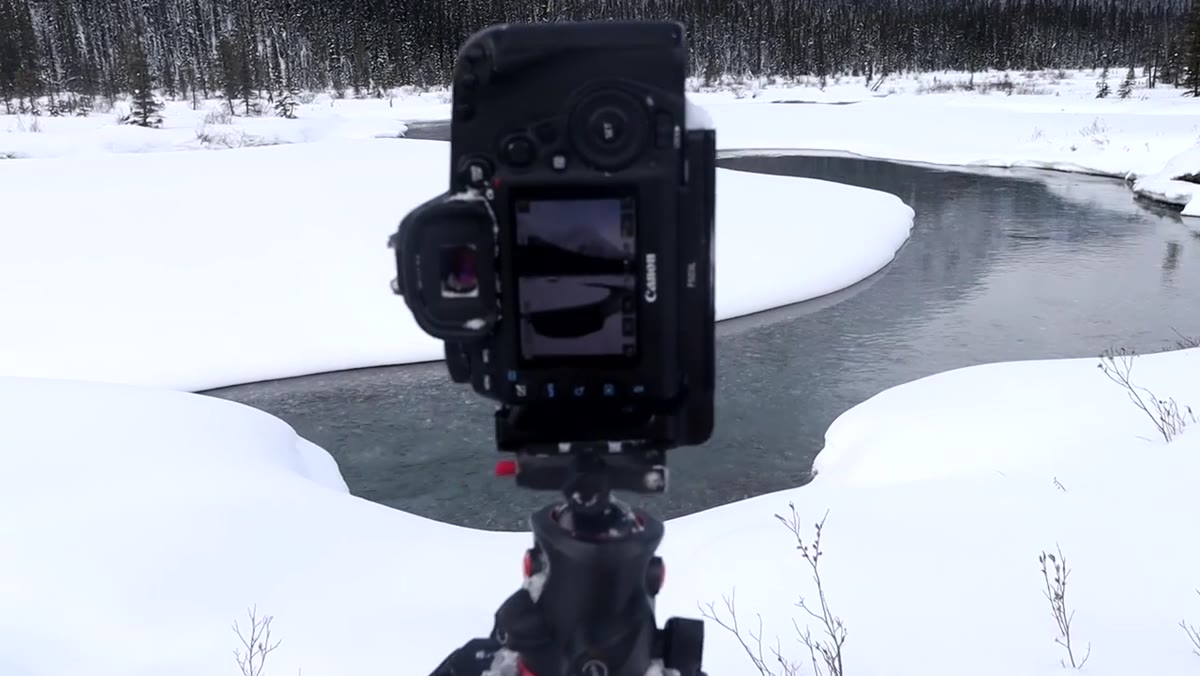 Small shrub creeping into the lower frame of the composition
There is a small shrub intruding at the edge of Heaton’s frame. He notices it, names it, decides it will go in post, and moves on. He does not recompose around it or let it derail his focus. He treats it as a known quantity with a known solution.
Small shrub creeping into the lower frame of the composition
There is a small shrub intruding at the edge of Heaton’s frame. He notices it, names it, decides it will go in post, and moves on. He does not recompose around it or let it derail his focus. He treats it as a known quantity with a known solution.
This is exactly the right way to handle distracting elements in a portrait: a stray hair across the face, a small blemish near the eye, a color cast in the shadows. Note them, triage them by impact, and handle them in a logical order during your edit. Trying to fix everything simultaneously is how you end up overworking a file. Spot Healing and the Clone Stamp exist for the shrubs. Use them without guilt, but also without using them as an excuse to avoid making stronger compositional choices earlier.
Step 5: Take the shot when the conditions are good enough, not when they are perfect
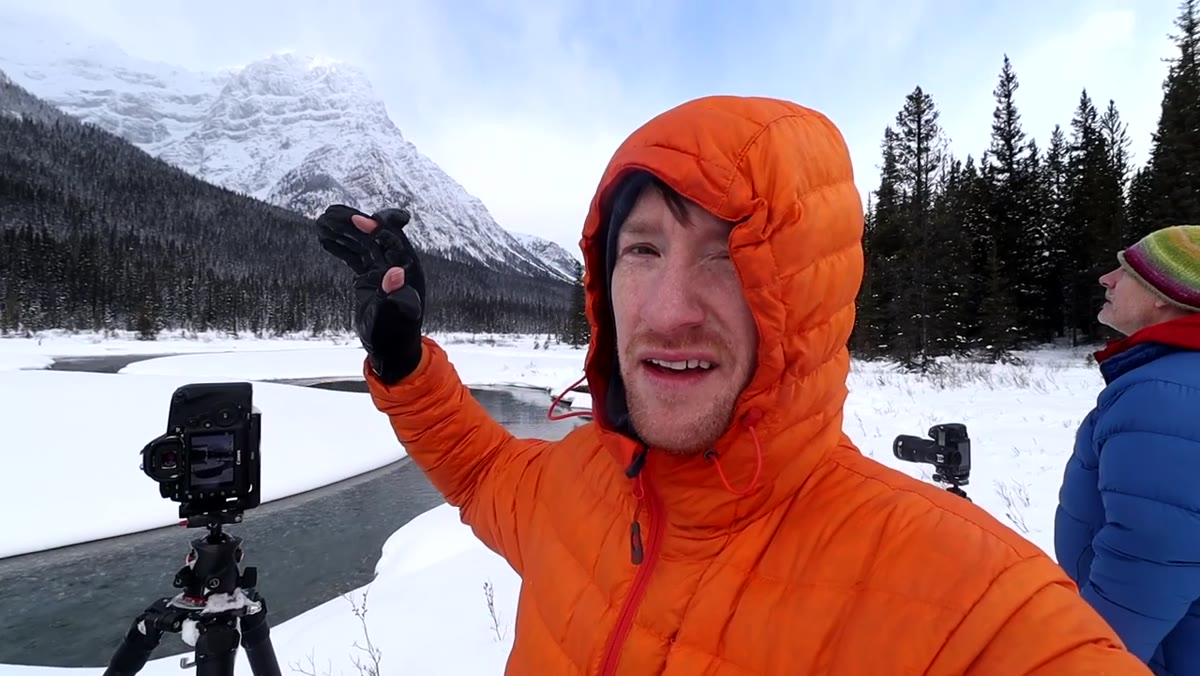 Shutter fired during brief window of peak light
Heaton fires when the light catches the top of the mountain during one of its 20-second windows. He describes the light as “kissing the top” rather than fully illuminating the peak, and he decides that is enough. He takes the shot. He does not wait for something better that may never come.
Shutter fired during brief window of peak light
Heaton fires when the light catches the top of the mountain during one of its 20-second windows. He describes the light as “kissing the top” rather than fully illuminating the peak, and he decides that is enough. He takes the shot. He does not wait for something better that may never come.
This is where a lot of retouchers I have worked with, and honestly a version of myself from a few years ago, get stuck. We keep refining past the point of improvement because stopping feels like settling. But there is a real difference between an unfinished edit and a finished one that is not perfect. Heaton captures a scene he calls genuinely dreamy, crisp and defined with beautiful light. Then he stops. He looks around for something better, decides nothing available is better, and leaves. That discipline is a skill.
Step 6: Adapt your entire approach when conditions change
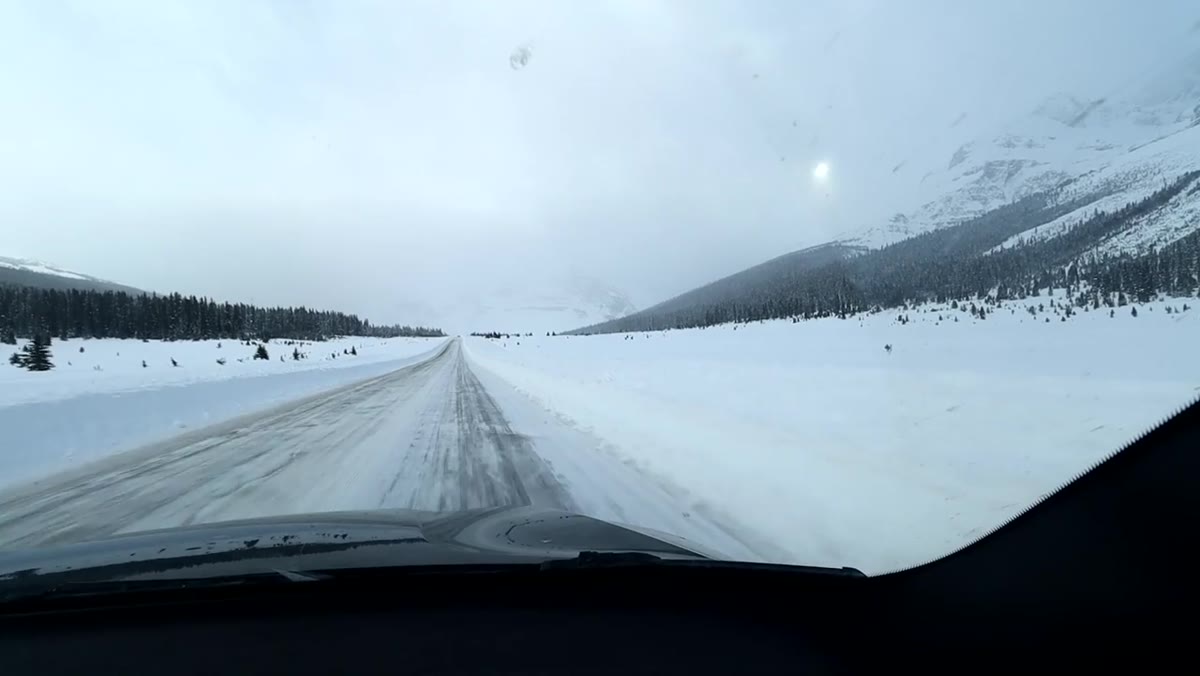 Arriving at lake location with minutes to spare before sunset
The second half of the afternoon is a completely different energy. A minor car incident delays the group, and they arrive at the lake location with almost no time before sunset. Heaton shifts from his calm, methodical meadow approach to thinking on his feet: long exposure, 10-stop filter, find something interesting fast.
Arriving at lake location with minutes to spare before sunset
The second half of the afternoon is a completely different energy. A minor car incident delays the group, and they arrive at the lake location with almost no time before sunset. Heaton shifts from his calm, methodical meadow approach to thinking on his feet: long exposure, 10-stop filter, find something interesting fast.
In retouching, this kind of shift happens when a client sends you a batch of images that were shot in worse conditions than expected, or when a deadline compresses and you cannot give every image the same treatment. The photographers who handle this well are not the ones who ignore the changed conditions. They are the ones who have a second gear: a leaner, faster workflow that still produces good work.
What I add from my own desk
The biggest thing this video reinforced for me is the value of shooting, or editing, in company. Heaton spends part of the meadow session standing in line with other photographers, all capturing the same scene, all producing something different. That is a useful reminder that technique is not a formula that produces identical outputs. Two retouchers working the same portrait file with the same tools will make different choices, and both can be right.
If you do not have a community around your retouching practice, find one. Post your before-and-afters, ask for feedback, watch what other people notice that you missed. The banter Heaton describes standing in the snow, waiting for the light, is not wasted time. It is the informal education that sharpens your eye faster than any single tutorial.
The single most useful idea in this video is deceptively simple: read the conditions first, plan around what is actually available, and execute with confidence rather than waiting for ideal circumstances that may never arrive. That is good landscape advice. It is also good retouching advice.
Watch the full tutorial on YouTube
Comments (2)
I keep coming back to this article. It's that useful.
Really solid breakdown. This pairs perfectly with the color grading work I've been writing about.
Leave a Comment