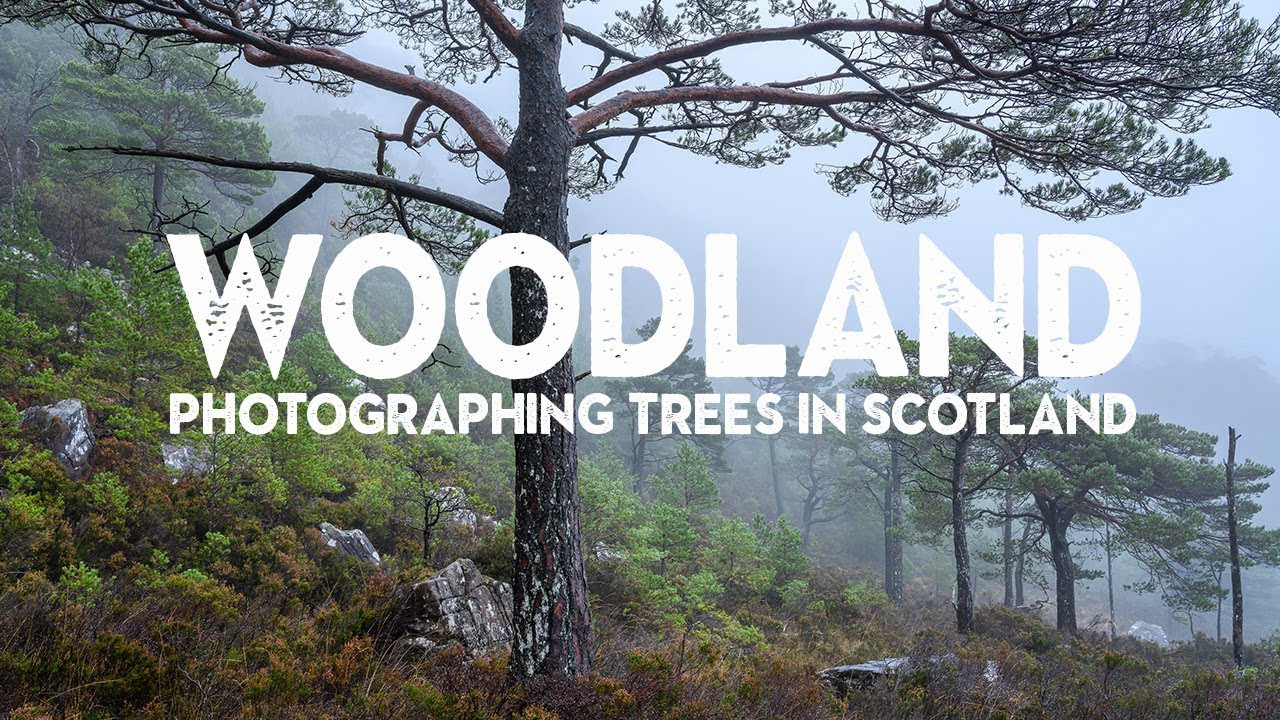
I came to landscape photography the same way I came to most things outside my retouching work: sideways, by accident, and slightly obsessed. After years of staring at skin texture and catchlights on a monitor, I started taking long walks with a camera just to remember what it felt like to photograph something that couldn’t ask for a revision. That’s how I stumbled onto Nigel Danson’s work, and specifically this tutorial on woodland photography that stopped me mid-scroll and made me watch it twice. Watch the full tutorial on YouTube
Here’s the thing: everything Danson talks about in this video, the importance of simplicity, reading the light, working with what the weather gives you rather than against it, maps directly onto how I think about retouching portraits. The best beauty edits I’ve ever done came from understanding the original light first, not from reaching for a tool. His approach reminded me of that. And practically speaking, if you photograph people outdoors, understanding how woodland light behaves will make you a better retoucher because you’ll stop fighting the image and start working with it.
In this Nigel Danson tutorial, filmed entirely on location in the Scottish Highlands near Torridon, he walks through his process for finding, composing, and capturing woodland shots in genuinely challenging conditions. Rain, mist, cold, a wet camera, and all. The result is one of the most honest and transferable tutorials I’ve seen on reading natural light. Here’s how to apply what he demonstrates, step by step.
Step 1: Embrace the “Bad” Weather as Your Lighting Setup
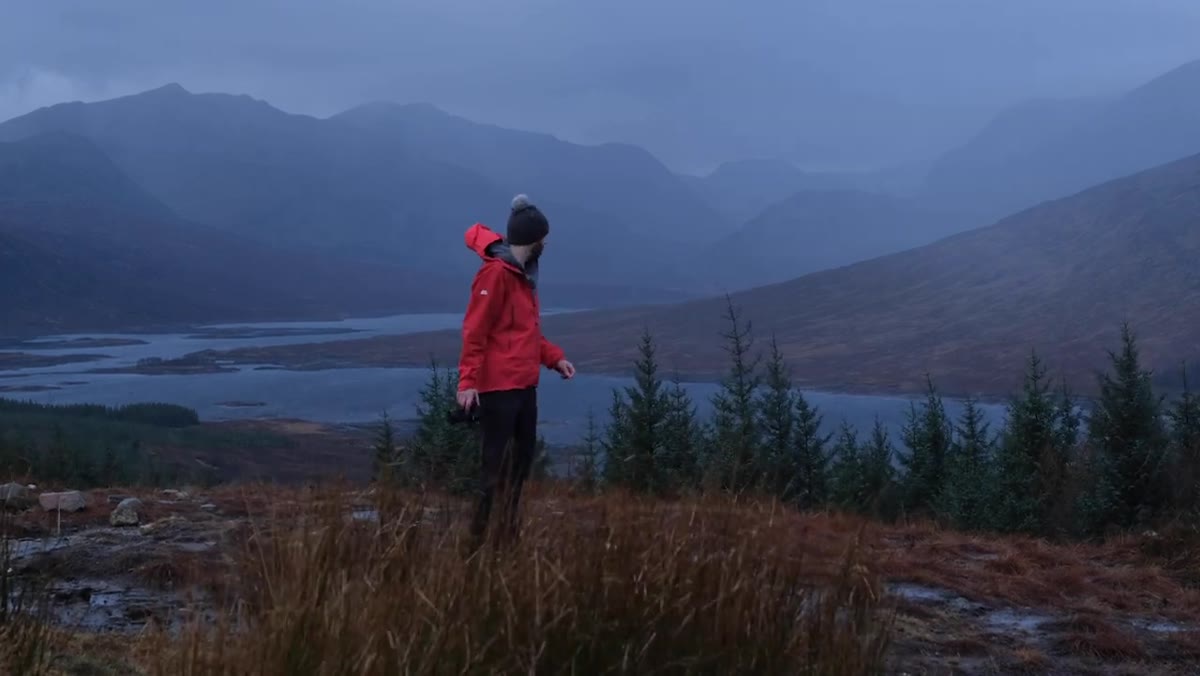 Nigel stopping roadside in rain to photograph Scottish landscape
Most photographers wait for golden hour. Danson doesn’t. He pulls over on the side of a Scottish road in driving rain and drizzle because he recognizes that overcast, moody conditions are actually ideal for woodland work. Flat diffused light eliminates the harsh shadows that would make tree bark look chaotic and distracting. Think of it like shooting portraits with a giant softbox overhead, except it’s free and covers the whole forest.
Nigel stopping roadside in rain to photograph Scottish landscape
Most photographers wait for golden hour. Danson doesn’t. He pulls over on the side of a Scottish road in driving rain and drizzle because he recognizes that overcast, moody conditions are actually ideal for woodland work. Flat diffused light eliminates the harsh shadows that would make tree bark look chaotic and distracting. Think of it like shooting portraits with a giant softbox overhead, except it’s free and covers the whole forest.
If you’re photographing people outdoors, the same logic applies. An overcast day with a bit of mist isn’t a problem to fix in post. It’s a controlled light source you didn’t have to set up. Stop waiting for perfect conditions. Bring waterproof gear, protect your equipment, and get out there.
Step 2: Prioritize Simplicity Over Complexity in Composition
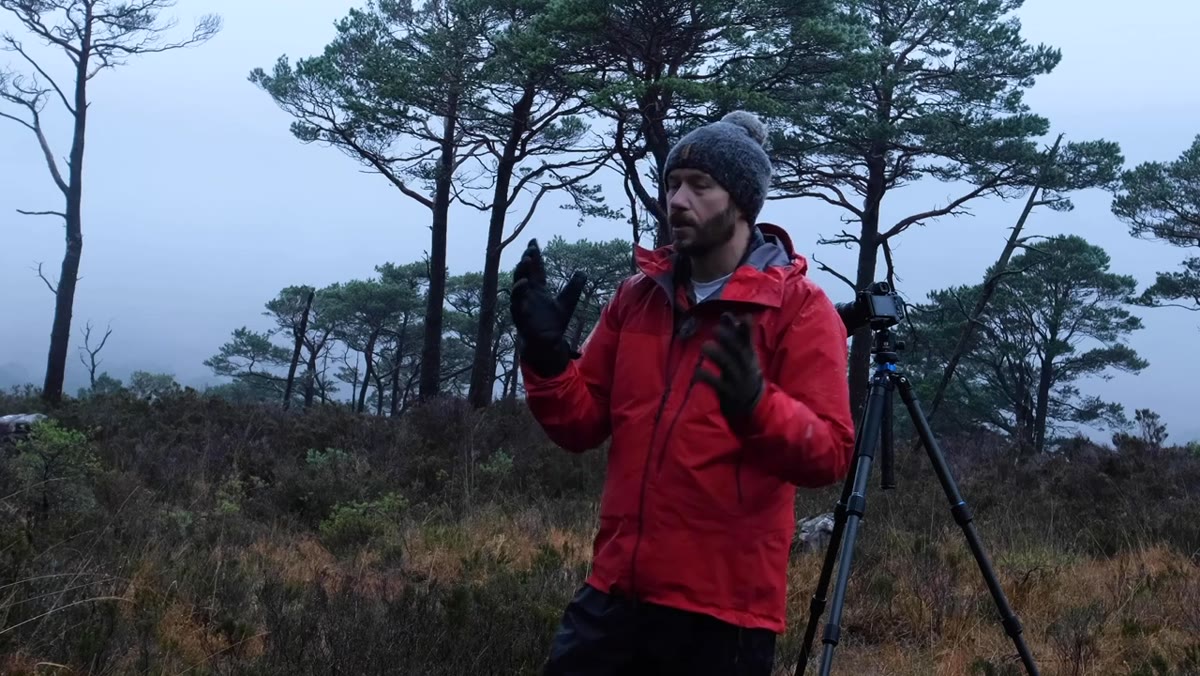 Nigel gesturing toward sparse tree grouping in Scottish pine forest
Danson’s big compositional rule in woodland shooting is this: keep it simple. The instinct when you’re surrounded by hundreds of trees is to try and capture all of them. That instinct will kill your shot every time. He actively looks for small groupings, isolated shapes, one rock with a cluster of pines in the distance. His eye is always editing before he even raises the camera.
Nigel gesturing toward sparse tree grouping in Scottish pine forest
Danson’s big compositional rule in woodland shooting is this: keep it simple. The instinct when you’re surrounded by hundreds of trees is to try and capture all of them. That instinct will kill your shot every time. He actively looks for small groupings, isolated shapes, one rock with a cluster of pines in the distance. His eye is always editing before he even raises the camera.
This is exactly how I approach a face before I open Photoshop. The first thing I do is identify what the image is actually about. Where is the light falling? What’s the focal point? Everything else is noise. In the forest, ask yourself the same question: what are the two or three elements that are doing the visual work? Find that, and build your frame around it.
Step 3: Read the Mist as a Compositional Tool, Not a Problem
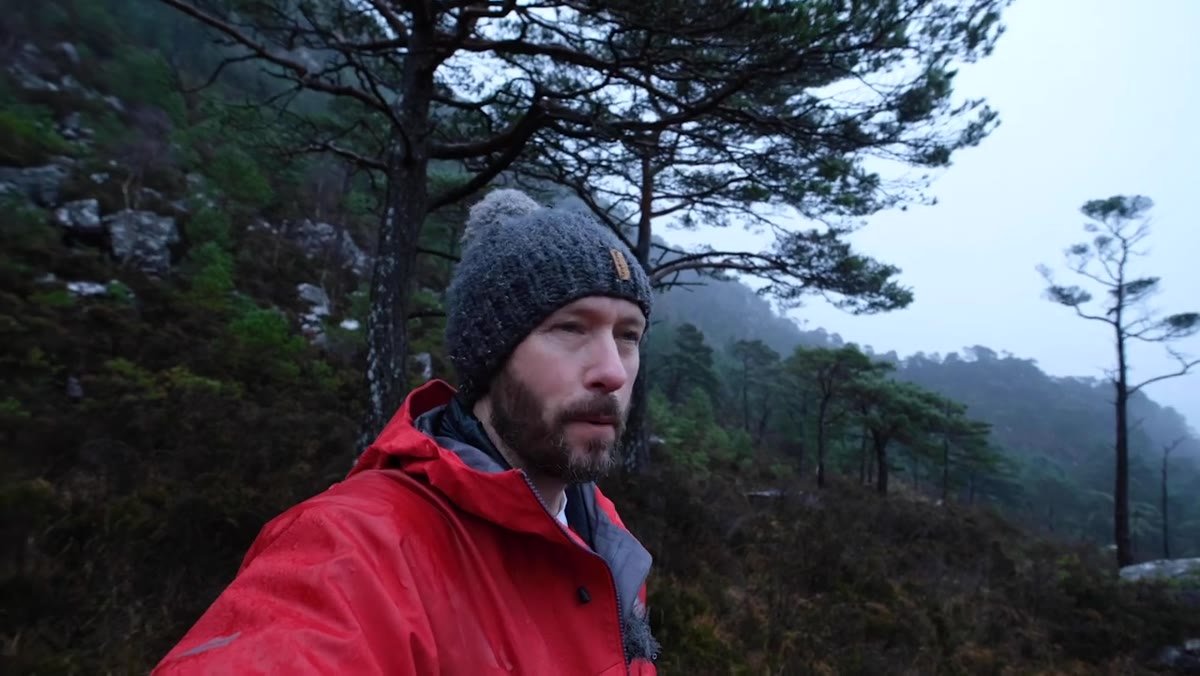 Distant hillside trees partially obscured by rolling mist near Torridon
Danson pauses on a scene where a group of trees sits on a distant hill, partially wrapped in mist. He’s not frustrated by the mist coming and going. He’s watching it, waiting, because he understands that mist creates depth and separation. It does for a landscape what a shallow depth of field does for a portrait. The background becomes softer, quieter, and the subject sits forward naturally.
Distant hillside trees partially obscured by rolling mist near Torridon
Danson pauses on a scene where a group of trees sits on a distant hill, partially wrapped in mist. He’s not frustrated by the mist coming and going. He’s watching it, waiting, because he understands that mist creates depth and separation. It does for a landscape what a shallow depth of field does for a portrait. The background becomes softer, quieter, and the subject sits forward naturally.
When the mist clears, you lose that layering. When it rolls back in, the composition opens up again. His advice is to watch these shifts and be patient. A composition that looks closed off and flat one moment might reveal itself completely three minutes later. That patience, that willingness to let the scene come to you, is a discipline that translates directly to studio work. Don’t rush the image.
Step 4: Scout First, Shoot Second
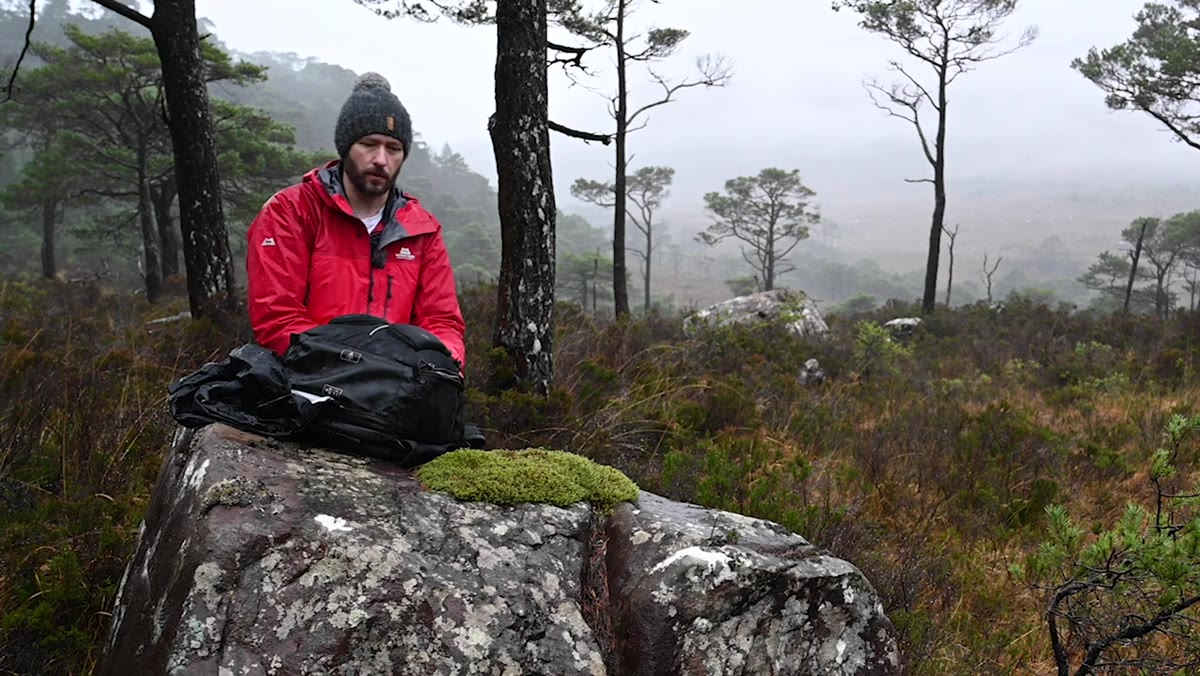 Nigel putting camera away to search for a new composition on foot
At one point Danson makes a decision that I think a lot of photographers skip: he puts his camera away entirely and goes walking to scout. He’s not shooting. He’s looking. He covers the camera, leaves it in a safe spot, and uses his eyes to search for the next frame before committing to it.
Nigel putting camera away to search for a new composition on foot
At one point Danson makes a decision that I think a lot of photographers skip: he puts his camera away entirely and goes walking to scout. He’s not shooting. He’s looking. He covers the camera, leaves it in a safe spot, and uses his eyes to search for the next frame before committing to it.
In practice, this means walking the location without the weight of “getting the shot” on your shoulders. You’ll see differently. You’ll notice the gap between two trees that creates a natural frame, or the way a path curves in a way that would lead the eye perfectly. I do something similar when I open a raw file before editing: I spend sixty seconds just looking at it before I touch anything. What does the original image want to be? Scouting is that question, just asked with your feet.
Step 5: Protect Your Gear So You Can Focus on Seeing
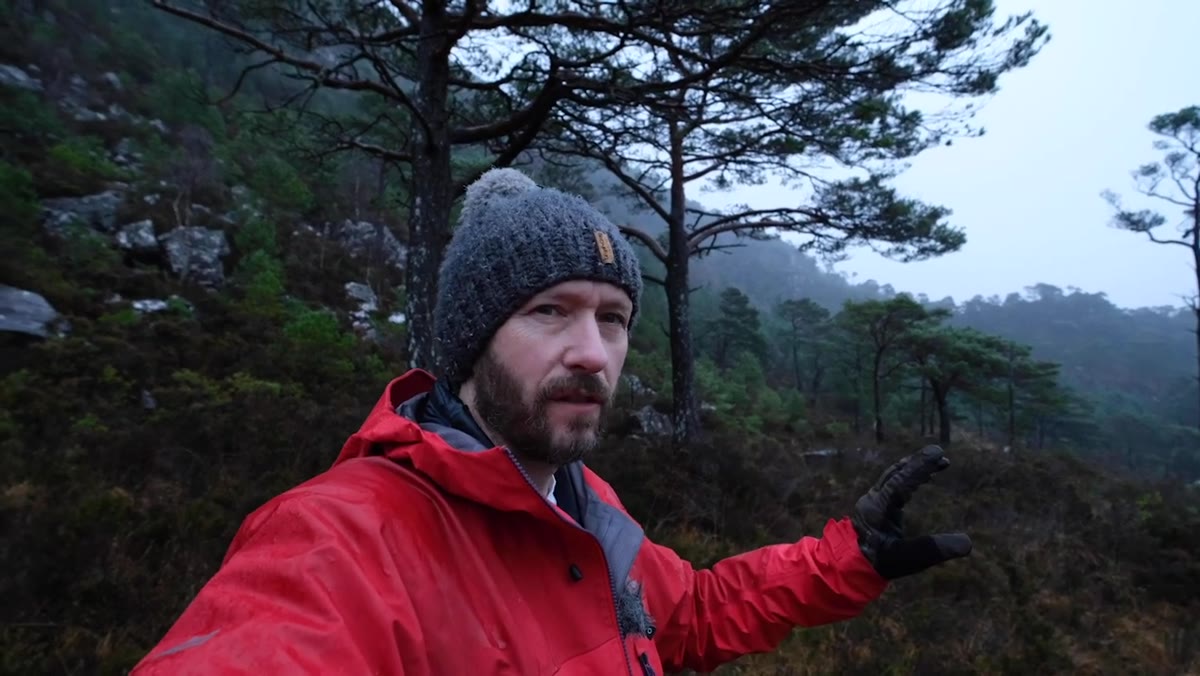 Nigel mentioning waterproof gloves and wet camera in woodland conditions
Danson gives practical gear advice mid-video that might seem like a digression but is actually central to his philosophy. Waterproof coat, waterproof trousers, wellies, and sealskin gloves with a magnetic fingertip panel so he can operate his camera without removing them. The point isn’t the brand. The point is that discomfort is a distraction, and distraction kills composition.
Nigel mentioning waterproof gloves and wet camera in woodland conditions
Danson gives practical gear advice mid-video that might seem like a digression but is actually central to his philosophy. Waterproof coat, waterproof trousers, wellies, and sealskin gloves with a magnetic fingertip panel so he can operate his camera without removing them. The point isn’t the brand. The point is that discomfort is a distraction, and distraction kills composition.
If you’re cold, wet, or worried about ruining your equipment, you’re not looking at the light. You’re thinking about your hands. Solve the physical logistics before you show up, and then you can give your full attention to the image. This is as true in a studio as it is in a Scottish forest in November.
What I’d Add From My Own Shooting
The tutorial focuses on the field, but I’d add one step that happens before and after: color temperature calibration for mixed woodland light. When you’re shooting under forest canopy with overcast sky and patches of green reflected light from wet moss, your whites will shift in ways that feel subtle on location and dramatic on screen. I now shoot a gray card reference frame at the start of any outdoor session. In Lightroom, that single card shot saves me fifteen minutes of white balance guesswork per session. Danson is shooting for atmosphere and mood, so some warmth and shift is intentional. But if you’re photographing people in these conditions, skin tones will punish you if your white balance is off by 400 Kelvin. Know where neutral lives, even if you choose to leave it.
The single most important thing Danson demonstrates in this tutorial is something that can’t be taught with a settings panel: the willingness to slow down and actually look. Not glance, not check. Look. Whether you’re in a pine forest in the Scottish Highlands or retouching a beauty campaign at your desk at midnight, the quality of your attention is the quality of your work.
Watch the full tutorial on YouTube and pay attention to how he moves through the landscape. There’s as much to learn in how he thinks as in what he shoots.
Comments (2)
Solid advice. Especially the part about taking your time with it.
Couldn't agree more. I've seen this make a huge difference in photography work specifically.
Leave a Comment