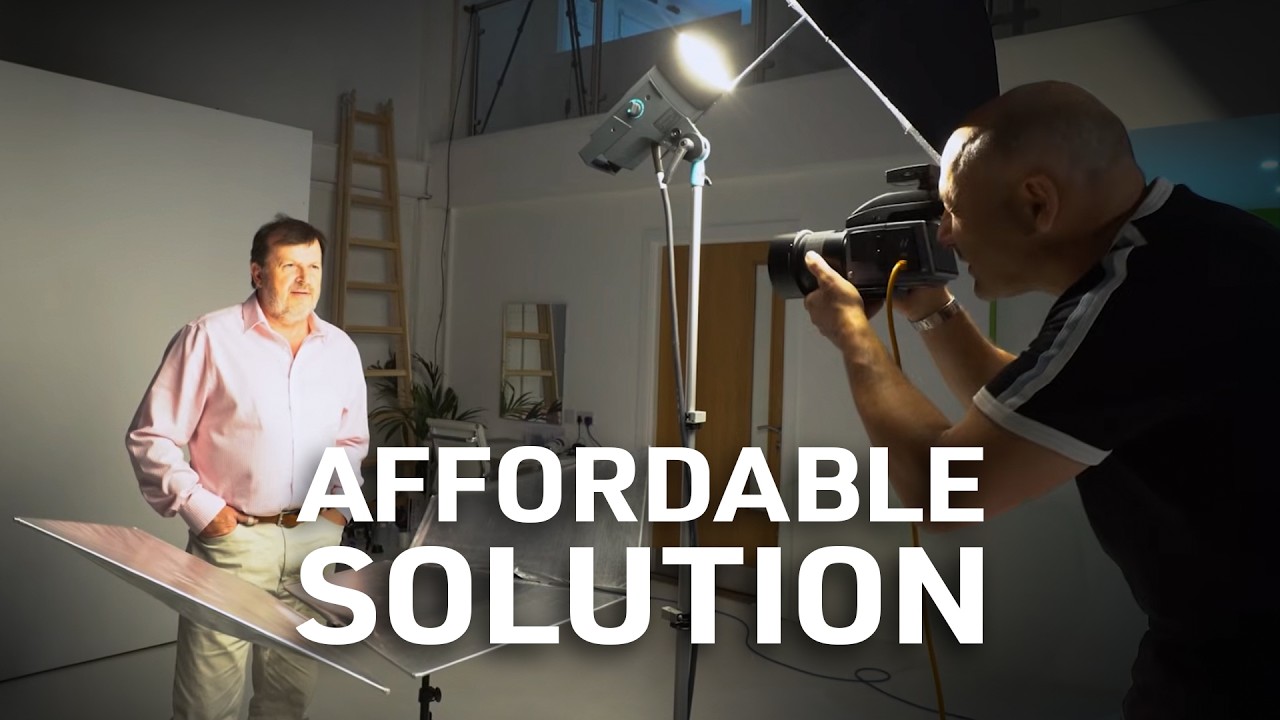
Most of my retouching work starts where someone else’s lighting decisions end. I open a file and spend the first few minutes just diagnosing what went wrong on set, because fixing harsh under-eye shadows in Photoshop takes ten times longer than bouncing a reflector would have taken in the room. That tension between capture and correction is exactly why I keep returning to lighting tutorials even now, years after I stopped shooting regularly myself.
In this Visual Education tutorial, Watch the full tutorial on YouTube, photographer and educator Alex takes on a genuinely tricky scenario: producing a clean, professional business portrait using an 80cm textured silver umbrella, a modifier that behaves more like a beauty dish than a soft corporate light source. His subject is Mike, a 63-year-old man, which makes the lighting choices matter even more. Harder light exaggerates texture, deepens shadows, and punishes any setup that isn’t carefully managed.
What I find most valuable here isn’t the specific gear. It’s the reasoning behind each decision. Alex walks through why the reflector earns its spot in the frame, what happens when the background goes completely unlit, and why simply cranking exposure is not the same thing as controlling light. Those are lessons that transfer directly to the retouching table, because when I understand what the light was doing, I can decide whether to reinforce it or push back against it in post.
Step 1: Understand Why an 80cm Silver Umbrella Is a Challenge
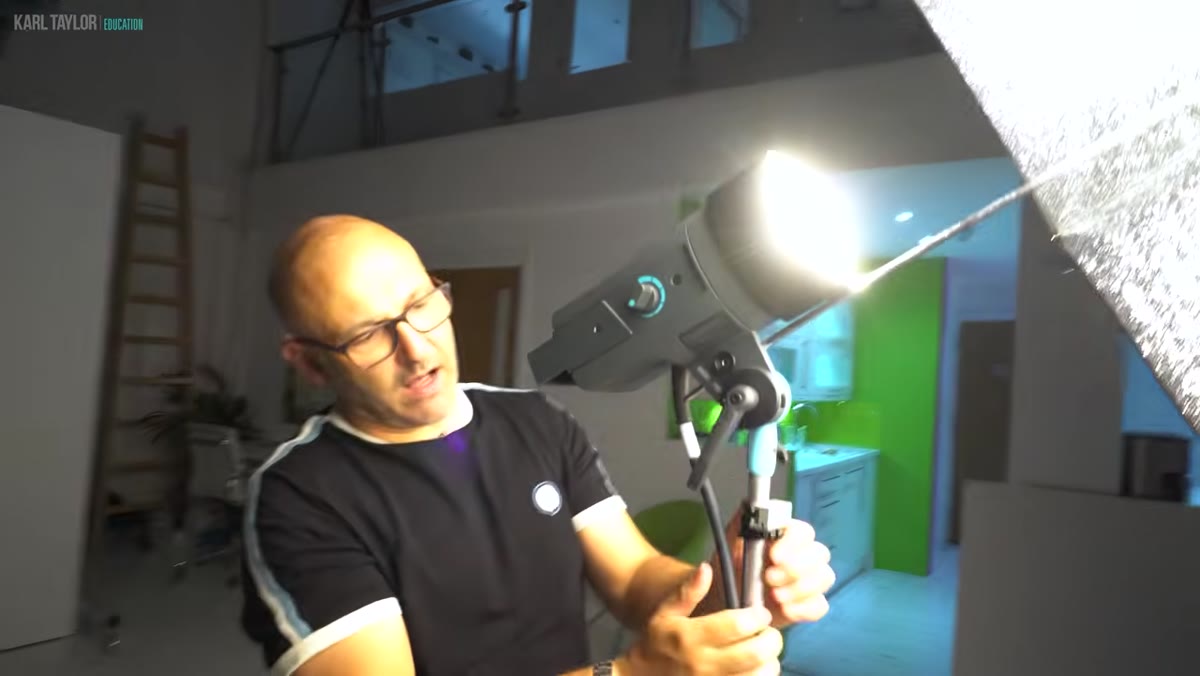 Silver umbrella positioned close to subject on set
The first thing Alex establishes is that this umbrella is not a soft, flattering modifier. At 80cm, it sits in a range where the light source is relatively small relative to the subject’s face, which produces harder-edged shadows and more specular highlights on skin. The silver interior amplifies that effect by reflecting light with more intensity and contrast than a white umbrella would.
His ideal recommendation would be a large 150-170cm white umbrella with a solid white lining, essentially a portable stand-in for a 150cm octabox. That would scatter light broadly, reduce shadows under the chin and eye sockets, and produce the gentle wrap that suits a business portrait. Since that isn’t available, the session becomes a lesson in working with what you have rather than waiting for perfect conditions.
Step 2: Position the Umbrella Slightly Off-Axis
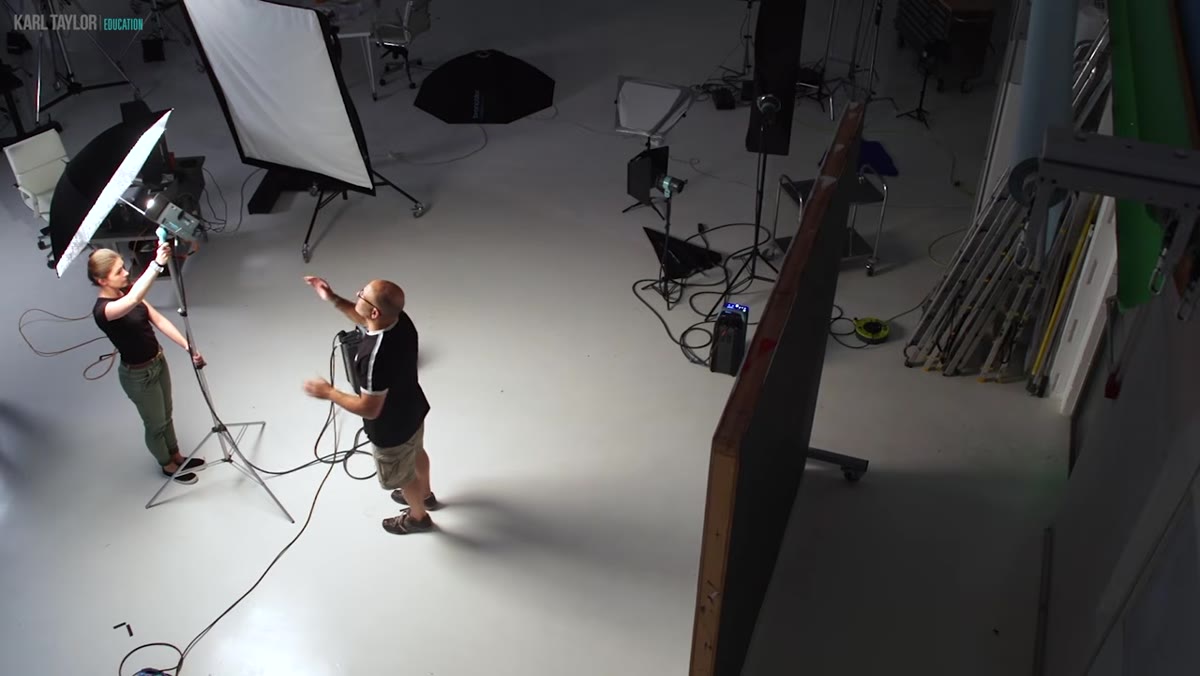 Umbrella angled slightly to allow camera shooting angle
Placing the umbrella directly in front of the subject would give the most even coverage, but it would also block the camera. Alex positions the modifier just off-center so there’s a clear shooting line while still directing light toward the face from roughly a frontal angle. The goal is to stay as close to on-axis as possible without physically obstructing the lens.
This placement decision matters for retouching because frontal light from a larger modifier minimizes directional shadows. Even with a harder silver umbrella, keeping the source close to the camera’s axis reduces the depth of shadows falling to the side of the nose and under the cheekbones. When I open a portrait and see very dramatic one-sided shadows, it usually means the light was placed too far to the side, often by someone who thought dramatic was the same as professional.
Step 3: Set Up the Tri-Reflector from the Model’s Position
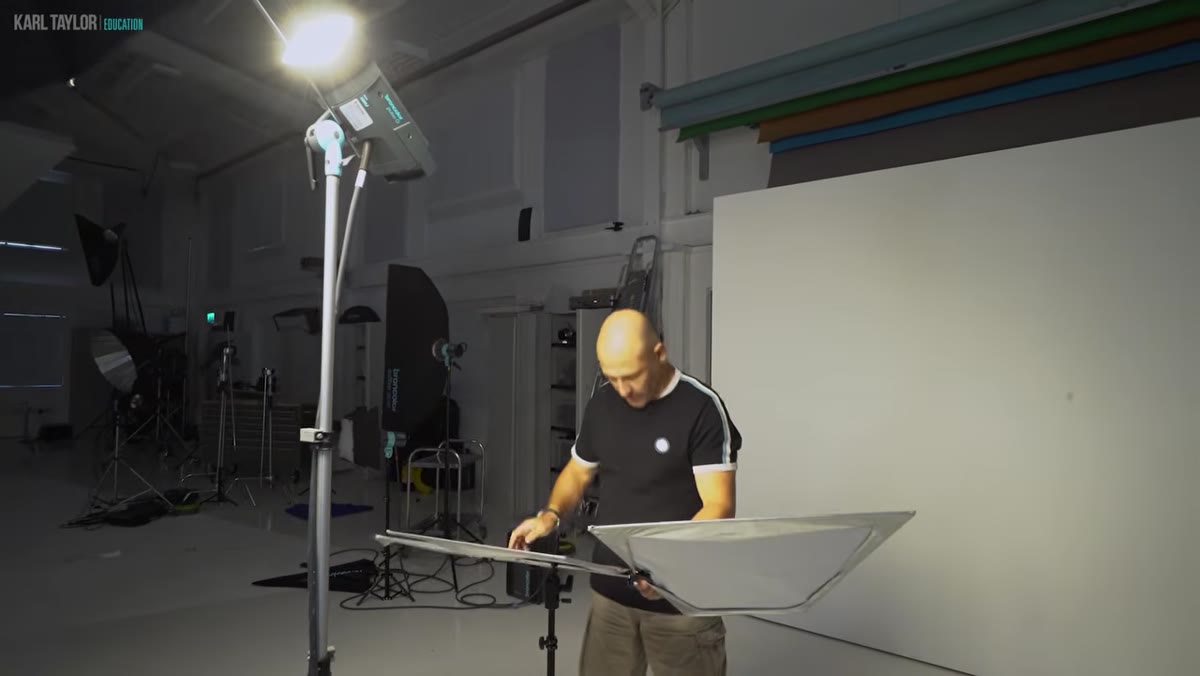 Photographer standing in subject position holding open tri-reflector
Before the subject steps into place, Alex stands where Mike will be standing, opens the tri-reflector, and angles it until he can see the umbrella’s reflection clearly in the reflector’s surface. That reflection confirms the bounced light is actually traveling back up toward the face rather than spilling sideways onto the floor.
The tri-reflector’s job here is to fill the shadows created underneath the chin, jaw, and eye sockets, all the areas that go dark when light comes from above and slightly to the side. Without it, a silver umbrella at this size would leave the lower half of the face noticeably darker than the forehead. Alex is explicit about this: the shot doesn’t work without the reflector. For retouchers, this translates into recognizing fill ratio by looking at shadow gradients in the face. A well-placed reflector produces a smooth, gradual transition. No reflector produces an abrupt drop-off that dodging and burning can soften but rarely fully fix.
Step 4: Take a Test Frame and Read the Light, Not Just the Exposure
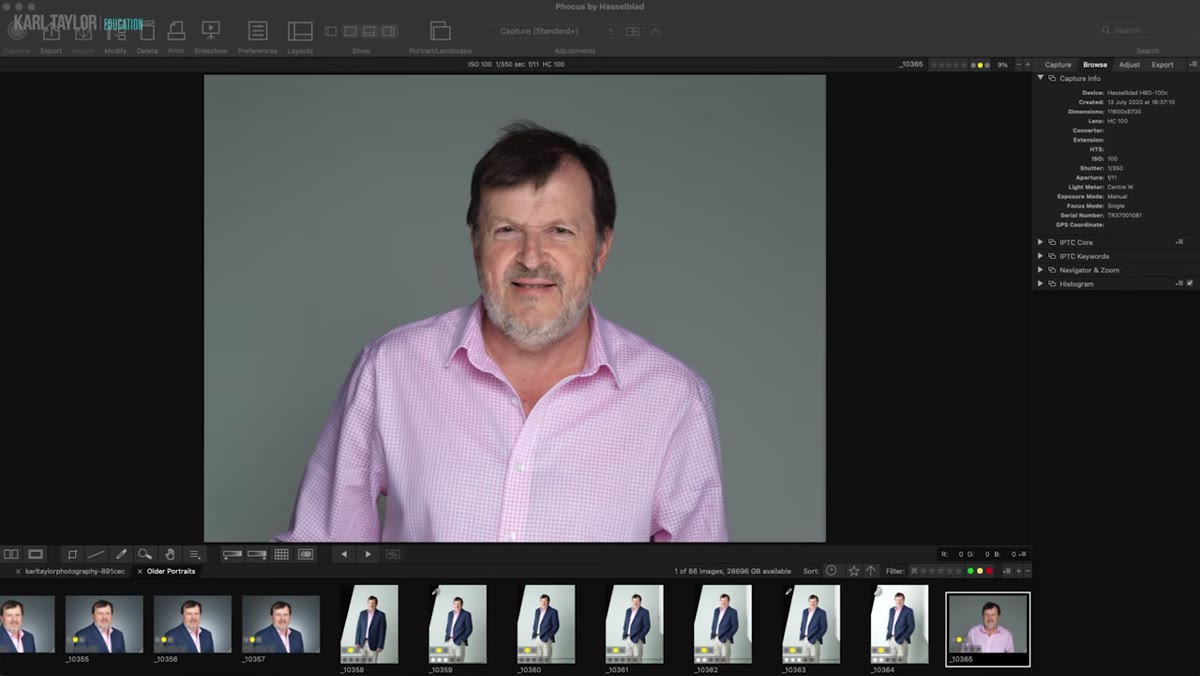 Test portrait on camera screen showing initial exposure review
Alex fires a test shot and immediately distinguishes between two separate problems: exposure level and light quality. The first frame is slightly underexposed, so he adjusts the flash power upward. But he’s clear that increasing exposure won’t change the character of the light. The texture and sharpness created by the silver umbrella are still there at any exposure setting.
This is a distinction I wish someone had hammered into me earlier in my career. I spent too long trying to fix light quality problems in Lightroom by adjusting tone curves when the actual issue was that the shadows were the wrong shape to begin with. If the modifier is too hard, lifting shadows in post gives you lighter hard shadows, not soft ones. Knowing that lets you make a more honest assessment of what retouching can and can’t fix before you start.
Step 5: Add a Background Light to Separate the Subject
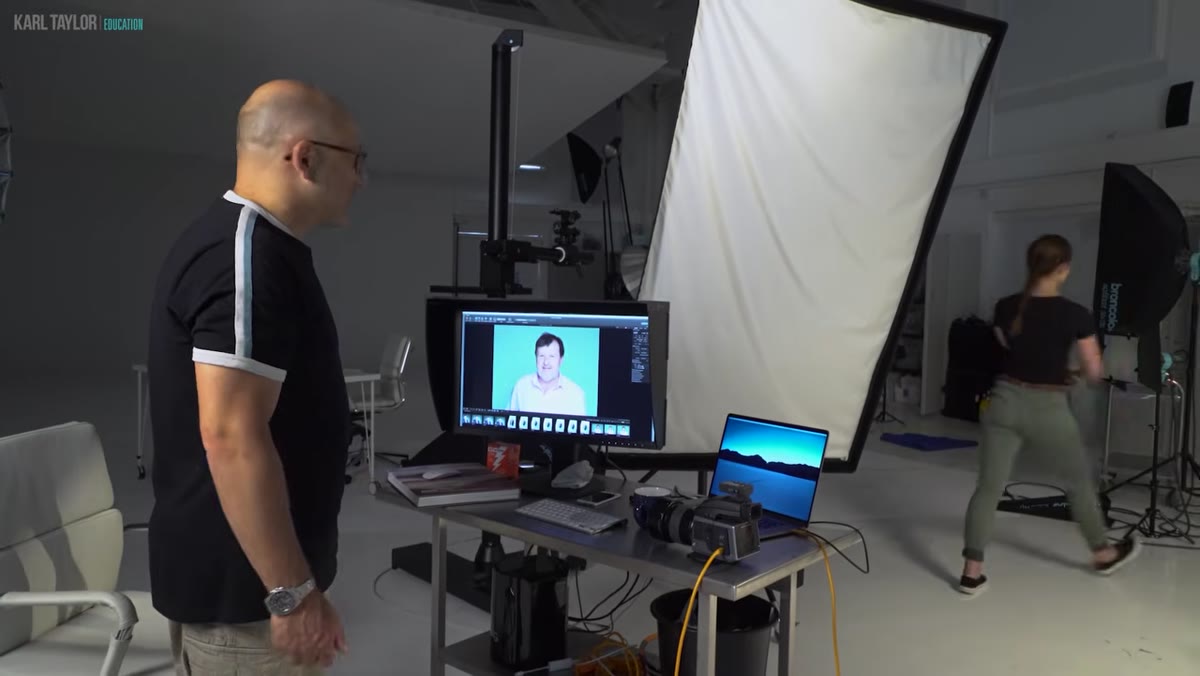 Background light turned on creating glow behind subject
With the subject lit, Alex turns his attention to the gray backdrop, which at this point is receiving no dedicated light and reads as a flat, undifferentiated tone. He switches on a separate background light, aiming it to create a soft glow centered behind Mike’s head and shoulders. This creates depth, lifts the background from dull gray to a brighter tone, and visually separates the subject from the surface behind them.
For business portraits especially, this separation does a lot of quiet work. It signals intentionality and gives the image a finished, professional quality that clients often can’t name but will definitely feel. From a retouching standpoint, good background separation also makes selections and masking significantly easier if the image needs compositing or a background swap later.
From the Retouching Side: What Hard Light Leaves Behind
I want to add one caveat from my own experience working on the other end of these shoots. A silver umbrella without adequate fill doesn’t just create shadows. It creates texture. Every pore, every line, every variation in skin surface gets its own highlight and shadow microstructure, and that accumulates quickly on older skin. Frequency separation is my standard response, it lets me smooth the low-frequency tonal irregularities from under-filled shadows while leaving the high-frequency skin detail intact. But even frequency separation has limits when the shadows are very deep. The cleaner the light is managed on set, the less recovery work is needed in post. Alex’s setup with the tri-reflector genuinely moves the needle on how much time I’d spend on a file like this.
The single most important idea in this tutorial is one that applies equally to shooting and retouching: exposure and light quality are not the same variable. Making an image brighter doesn’t make the light softer. Understanding that distinction will save you hours of post-processing frustration and help you ask better questions when you’re reviewing RAW files from a client shoot.
Watch the full tutorial on YouTube to see Alex’s complete setup in action, including the before and after of removing the reflector entirely, which is the most instructive part of the whole demonstration.
Comments (3)
Love how you break down complex stuff into manageable steps.
Wow, I had no idea you could do this. Mind blown.
Couldn't agree more. I've seen this make a huge difference in color grading work specifically.
Leave a Comment