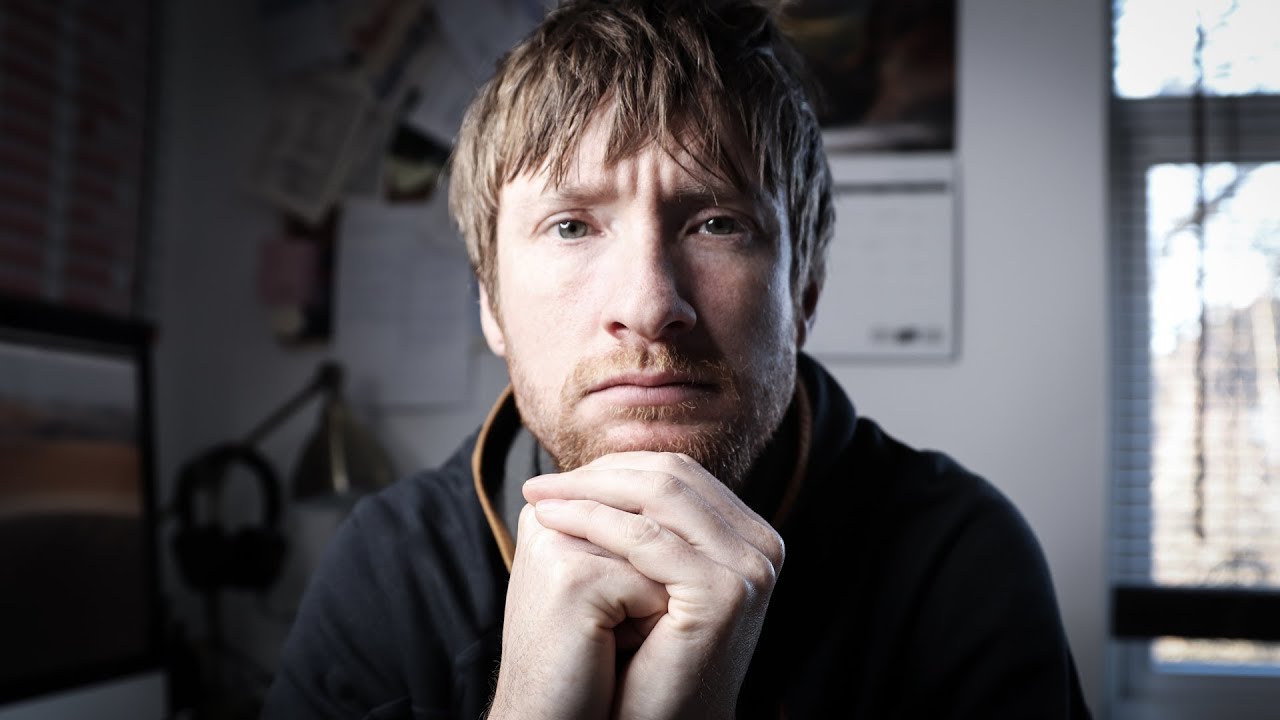
There’s a particular kind of tired that photographers know well. Not the good tired you feel after a long shoot where everything clicked. The other kind - the one where you’re staring at a Lightroom catalog at midnight and wondering why you started doing this at all. I ran headlong into that wall after my third consecutive 60-hour wedding weekend, and it was the moment I finally understood that how you approach a shoot changes everything that happens afterward in post. That’s why when I came across this Thomas Heaton tutorial - Watch the full tutorial on YouTube - I kept stopping it and taking notes, even though Heaton is a landscape photographer and I spend my days retouching skin.
The overlap matters more than you’d think. Heaton documents a winter workshop he ran with fellow photographer Simon Baxter in England’s Lake District, a notoriously unpredictable environment where conditions can shut you out for weeks. What he shares about reading light before it happens, managing graduated filters in panoramic work, and knowing when to let nature do the heavy lifting maps directly onto decisions we make in portrait and beauty retouching every single day. The best retouching, like the best landscape photography, starts before you open a single panel. It starts with understanding what the light is already giving you.
Step 1: Commit to the Hard Location Anyway
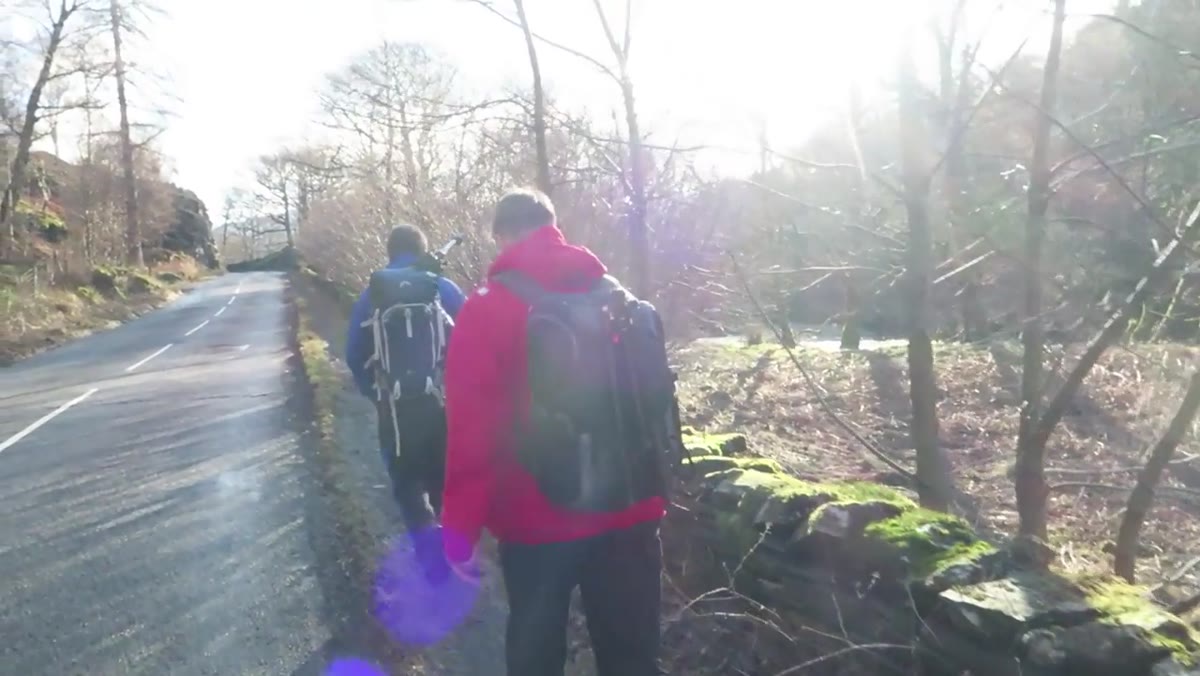 Group of photographers ascending a fell with camera gear
Heaton describes choosing a fell summit as his first shooting location, knowing full well it meant a physically demanding hike with full camera gear. His group of eight photographers - all accomplished, all capable - made the climb without complaint because everyone understood the tradeoff: difficult access in exchange for conditions you simply cannot replicate from the car park.
Group of photographers ascending a fell with camera gear
Heaton describes choosing a fell summit as his first shooting location, knowing full well it meant a physically demanding hike with full camera gear. His group of eight photographers - all accomplished, all capable - made the climb without complaint because everyone understood the tradeoff: difficult access in exchange for conditions you simply cannot replicate from the car park.
For us in retouching and beauty work, this translates directly to shot selection. When a client sends a gallery and one image has genuinely beautiful window light raking across the cheekbone, that is the image worth your best energy and your most careful technique. Don’t default to the easier, flatter frame just because it requires less structural correction. Commit to the harder image the way Heaton’s group committed to the summit. The results will show the difference.
Step 2: Arrive Early and Work the Scene Before the Magic Hits
 Photographers shooting compositions above a lake valley before sunset
The group arrived well before sunset and immediately began working compositions over the valley, even though conditions were pleasant rather than spectacular. Heaton is honest that he wanted something more. But he didn’t stand around waiting - everyone shot, explored framing, and learned the location while the light was still ordinary.
Photographers shooting compositions above a lake valley before sunset
The group arrived well before sunset and immediately began working compositions over the valley, even though conditions were pleasant rather than spectacular. Heaton is honest that he wanted something more. But he didn’t stand around waiting - everyone shot, explored framing, and learned the location while the light was still ordinary.
We do the same thing when we do a proper pre-retouch pass before diving into frequency separation or dodge and burn. Open the image, zoom to 100%, and just look. Where is the light falling? Where are the natural shadows doing structural work you should preserve? Where is the skin already doing something beautiful that heavy-handed work would destroy? Fifteen minutes of informed looking before you touch a slider saves you an hour of corrective backtracking.
Step 3: Recognize the Early Signal and Stay Ready
 Clouds over Grey Gable beginning to catch warm light before sunset
About an hour before sunset, Heaton noticed the clouds to the west beginning to catch light earlier than expected. He flags this specifically as a rare occurrence - and, crucially, as a reliable signal that something significant is coming. He didn’t pack up, second-guess himself, or assume it would fade to nothing. He stayed present and kept the group in position.
Clouds over Grey Gable beginning to catch warm light before sunset
About an hour before sunset, Heaton noticed the clouds to the west beginning to catch light earlier than expected. He flags this specifically as a rare occurrence - and, crucially, as a reliable signal that something significant is coming. He didn’t pack up, second-guess himself, or assume it would fade to nothing. He stayed present and kept the group in position.
In a retouching session, this moment is when you’re working through a technically average image and suddenly notice that the catchlights are perfect, or that the natural blush in the cheeks is landing in exactly the right tonal range. That is your signal. Stop moving fast and start moving carefully. Switch from your broad-strokes pass to your detail work. The image is telling you it has more to give.
Step 4: Let Conditions Do the Heavy Lifting
 Finished panoramic showing layered valley, pink snow, and vibrant sky
Heaton is refreshingly direct here: when the sky is burning like that, you don’t need to do much in Photoshop. Nature handled the drama, the color, and the contrast. His job became about not getting in the way of what was already there.
Finished panoramic showing layered valley, pink snow, and vibrant sky
Heaton is refreshingly direct here: when the sky is burning like that, you don’t need to do much in Photoshop. Nature handled the drama, the color, and the contrast. His job became about not getting in the way of what was already there.
This is a principle I come back to constantly in beauty retouching. When a photographer has delivered an image with genuine, well-placed light - specular highlights sitting correctly on the brow bone, shadow depth in the eye socket that creates natural dimension - our job is preservation and refinement, not construction. Reaching for heavy liquify or aggressive skin smoothing on an already well-lit image is the retouching equivalent of slapping a filter over a perfect sunset. Identify what the capture already did right, and protect it.
Step 5: Use a Graduated Filter, But Manage It With Precision
 Tripod leveled and graduated filter positioned horizontally for panoramic
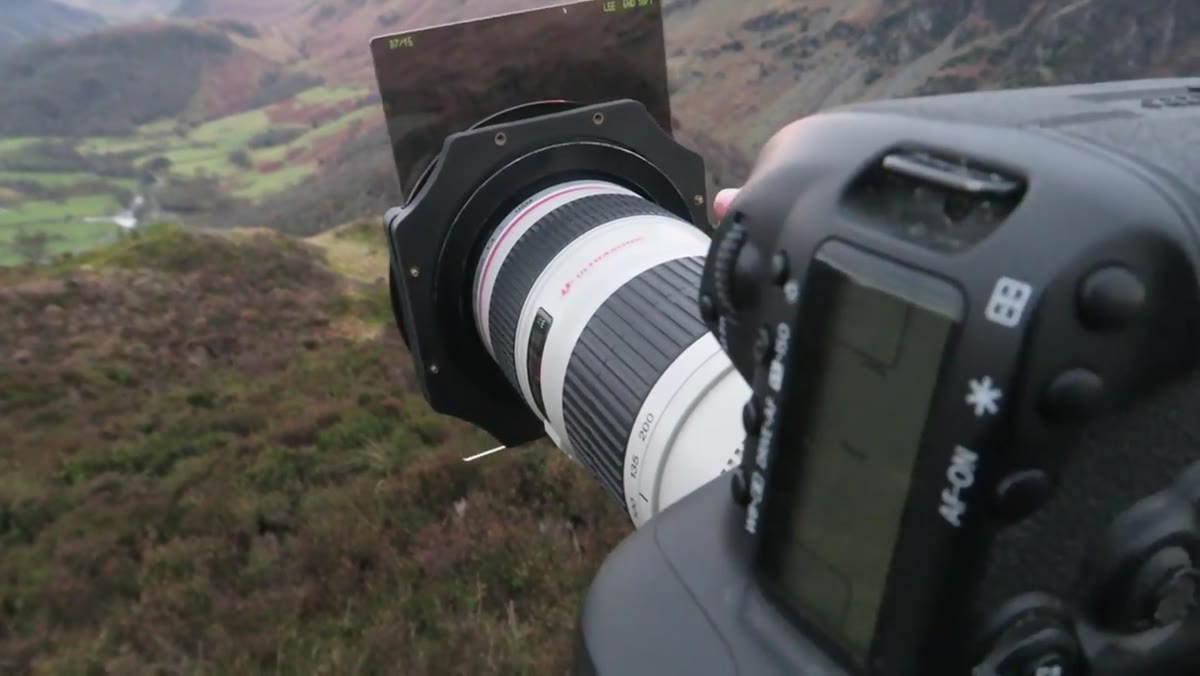
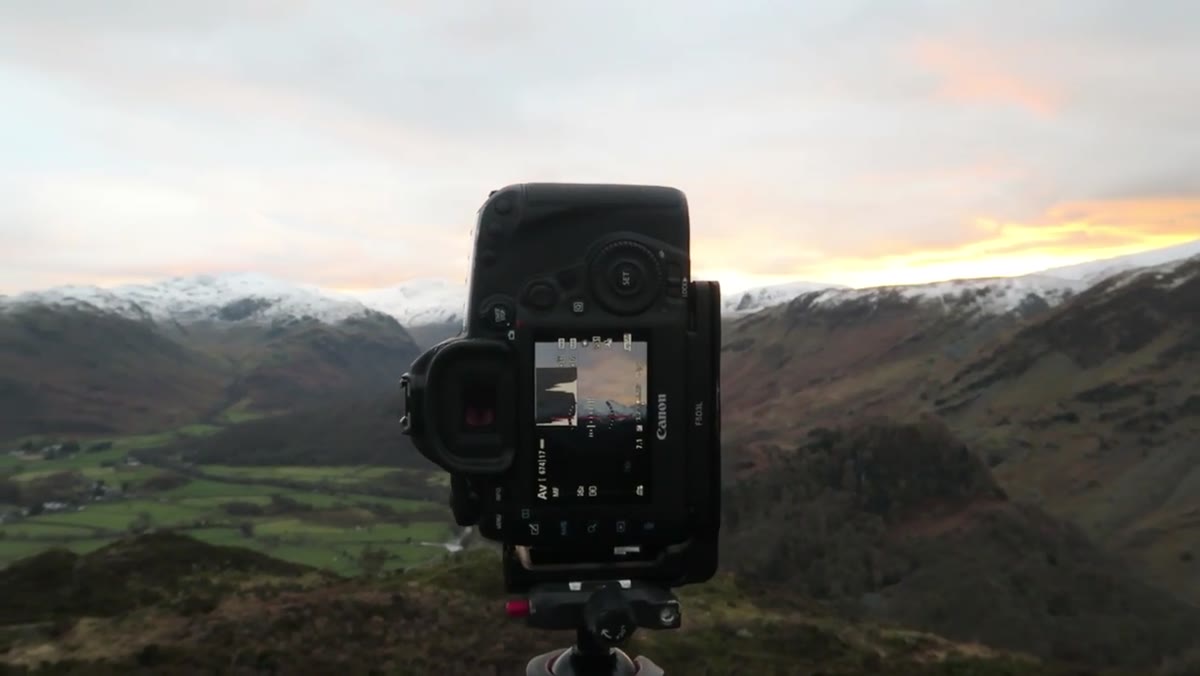
Because the sky color was so intense, Heaton chose to use a graduated filter to balance exposure. For a panoramic specifically, this creates a real technical risk: if the filter isn’t perfectly horizontal and the tripod isn’t perfectly level, panning across the scene produces an uneven transition line that becomes impossible to fix cleanly in post. His solution was methodical - level the tripod completely, then align the filter to true horizontal before starting the sequence.
Tripod leveled and graduated filter positioned horizontally for panoramic
Because the sky color was so intense, Heaton chose to use a graduated filter to balance exposure. For a panoramic specifically, this creates a real technical risk: if the filter isn’t perfectly horizontal and the tripod isn’t perfectly level, panning across the scene produces an uneven transition line that becomes impossible to fix cleanly in post. His solution was methodical - level the tripod completely, then align the filter to true horizontal before starting the sequence.
We deal with the exact same logic when working with gradient adjustments in Lightroom or Photoshop on portrait images. A luminosity mask or gradient that’s slightly misaligned with the light direction in the original image creates a tell - a subtle wrongness the viewer feels even if they can’t name it. Take the extra thirty seconds to align your tool to the actual light source in the image. Small precision at the masking stage saves significant cleanup time later.
Step 6: Shoot the Panoramic Without Locking Into One Format
 Multiple photographers working different compositions during peak light
While Heaton opted for a panoramic and encouraged others to consider it, he’s careful to note it wasn’t the only valid choice. Everyone in the group was shooting, experimenting, finding their own frame within the same extraordinary conditions. The panoramic suited his vision of the layered scene - dark valley floor, pink snow, vibrant sky, heavy clouds above - but a tighter composition would have worked equally well.
Multiple photographers working different compositions during peak light
While Heaton opted for a panoramic and encouraged others to consider it, he’s careful to note it wasn’t the only valid choice. Everyone in the group was shooting, experimenting, finding their own frame within the same extraordinary conditions. The panoramic suited his vision of the layered scene - dark valley floor, pink snow, vibrant sky, heavy clouds above - but a tighter composition would have worked equally well.
For retouching, this is a reminder to serve the image in front of you rather than defaulting to a signature technique. Frequency separation is not automatically the right tool every time. Dodge and burn on a luminosity mask is not automatically superior to a careful curves adjustment. Read what the image needs, then reach for the tool.
What I’d Add From My Own Experience
The section of Heaton’s video that struck me hardest was his description of the anxiety before the light delivered - that genuine fear that everyone had worked hard for something that might fade to nothing. He sat with that uncertainty and didn’t manufacture false confidence. That emotional honesty maps exactly onto the moment in a complex retouch when you’re twenty layers deep and nothing is quite clicking. The instinct is to push harder or add more. The better move is almost always to flatten to a new layer, step back, and look at the image the way you looked at it in step two: openly, without a plan, just seeing what’s actually there.
The single most transferable idea in this entire tutorial is deceptively simple: understand what your subject is already doing beautifully before you decide what to fix. Heaton’s best image of that workshop required minimal post-processing because he read the light correctly before he ever pressed the shutter. Our best retouching results come from the same discipline - seeing clearly first, then editing with a precise, light hand.
Watch the full tutorial on YouTube and pay particular attention to how Heaton narrates his decision-making in real time. That transparency about uncertainty, about hoping conditions will deliver, is rarer than it should be - and it’s where the real teaching lives.
Comments (1)
Just subscribed. If the rest of your content is this good, I'm in.
Leave a Comment