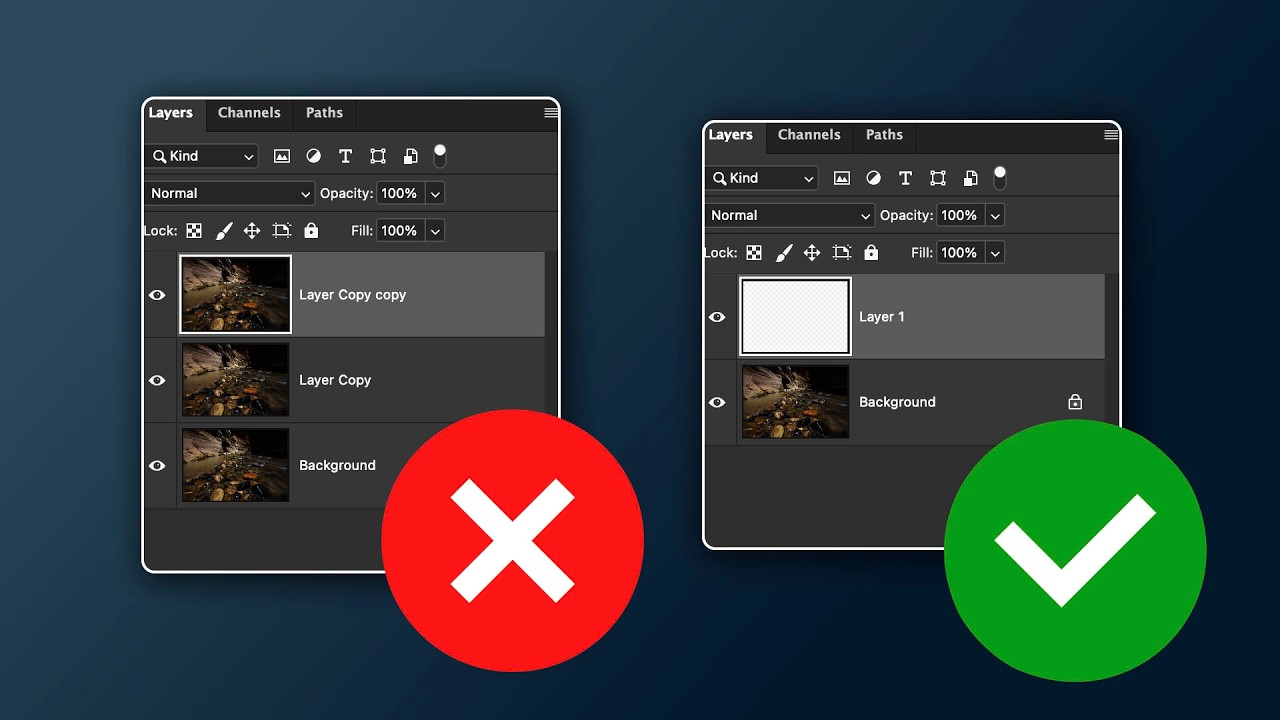
Last week I was halfway through a skin retouching job for a cosmetics client, staring at a layer stack that looked like a accordion file folder someone had dropped down a staircase. Seventeen duplicate layers. Each one named something only slightly more useful than “Layer 3 copy copy.” I had to flatten and start over, which cost me about an hour I did not have. That moment made me go looking for a better system, and I landed on this tutorial from Matt Kloskowski that genuinely changed how I think about building a retouching file.
The Real Problem With Duplicate Layers
The instinct to duplicate a layer before making edits feels safe. It is the Photoshop equivalent of saving every draft of an email before you send it. But duplicate layers carry the full pixel weight of the original image, and they stack up fast. A 50MB file becomes 200MB before you have done anything meaningful. Worse, when a client asks you to revisit an edit three steps back, you are digging through a stack of identically named layers trying to remember which one holds what.
The core issue is that duplicating layers is a protective habit, not a workflow strategy. We are treating symptoms instead of building something smarter from the start.
What Matt Kloskowski Recommends Instead
In this Matt Kloskowski tutorial, the argument is straightforward: most of what we use duplicate layers for can be handled more cleanly with Smart Objects and adjustment layers, combined with intentional use of layer masks. The technique he walks through keeps your file lighter, your edits fully reversible, and your layer stack actually readable six months later when the client comes back wanting changes.
The foundation is converting your base layer into a Smart Object before you touch it. Right-click the layer and choose “Convert to Smart Object.” From that point, any filter you apply sits below the layer as a Smart Filter, complete with its own built-in mask. You can turn it on and off, adjust its opacity, or paint on the mask to restrict where it affects the image. No duplicate needed. The original pixel data is preserved inside the Smart Object container, and you are always working on top of it, never through it.
For retouching specifically, the workflow shift looks like this:
- Convert your base portrait layer to a Smart Object.
- Apply your retouching filters (Camera Raw Filter is particularly powerful here) as Smart Filters.
- Use the Smart Filter mask to control which areas of the face are affected. Paint black to hide, white to reveal.
- Stack adjustment layers above the Smart Object for tonal and color work, each with its own mask.
The Camera Raw Filter as a Smart Filter is worth pausing on. Because it opens the full ACR interface on a Smart Object, you are getting access to the masking tools inside Camera Raw, the texture and clarity sliders, luminance adjustments, and every other panel, all in a single filter that you can reopen and re-edit anytime by double-clicking it in the layer stack. For beauty retouching, that alone replaces two or three duplicate layers I used to keep around.
Managing Masks Without Losing Your Mind
The mask behavior on Smart Filters trips people up at first. Each Smart Filter gets one mask, and that mask controls all the Smart Filters applied to that layer collectively unless you manage them separately. If you have multiple Smart Filters stacked and want them masked differently, you need separate Smart Objects. Kloskowski is clear about this in the tutorial: the solution is to nest Smart Objects inside each other when necessary.
It sounds more complicated than it is. In practice, for a typical portrait retouch, I rarely need more than two Smart Object layers. One handles the skin work. One handles any major structural or light shaping I am doing with Camera Raw. Everything else lives in adjustment layers above them, and my total layer count drops from seventeen down to something I can actually navigate.
Where I Push Back Slightly
I will say this technique does have one friction point in my own work. When I am doing detailed spot work, blemish removal, fine hair strand clean-up, anything that requires the Healing Brush or Clone Stamp at high magnification, I still want a separate pixel layer for that work. Smart Objects are not editable with pixel-based tools directly. You either paint on a blank layer above the Smart Object set to appropriate blend mode, or you double-click into the Smart Object to edit it, which opens a separate document and adds a step I find annoying mid-flow.
My current solution is a hybrid: the Smart Object stack handles everything global and semi-global, and I keep one clean stamped pixel layer at the top of the stack specifically for spot healing. That layer I do name properly. I call it “Heist” because my Photoshop action names are all movie titles and at this point it is a personal rule I refuse to break.
The One Thing Worth Remembering
The strongest takeaway here is not really about Smart Objects specifically. It is about the principle underneath the technique: every layer should earn its place in your stack by doing something you cannot get another way. If it is just a safety copy, there is almost certainly a non-destructive structure that makes it unnecessary.
Watch the full Matt Kloskowski tutorial to see the layer management demonstrated visually, especially the Smart Filter mask painting section, which is much easier to follow when you can see the cursor moving in real time.
Comments (7)
Simple but effective. Sometimes that's all you need.
Never thought of approaching it this way. Really creative.
Finally someone explains this in a way that actually makes sense.
Really solid breakdown. This pairs perfectly with the landscape work I've been writing about.
Simple but effective. Sometimes that's all you need.
This should be required reading for anyone starting out.
Excellent tutorial. I'd add that from a photoshop standpoint, this technique is incredibly versatile.
Leave a Comment