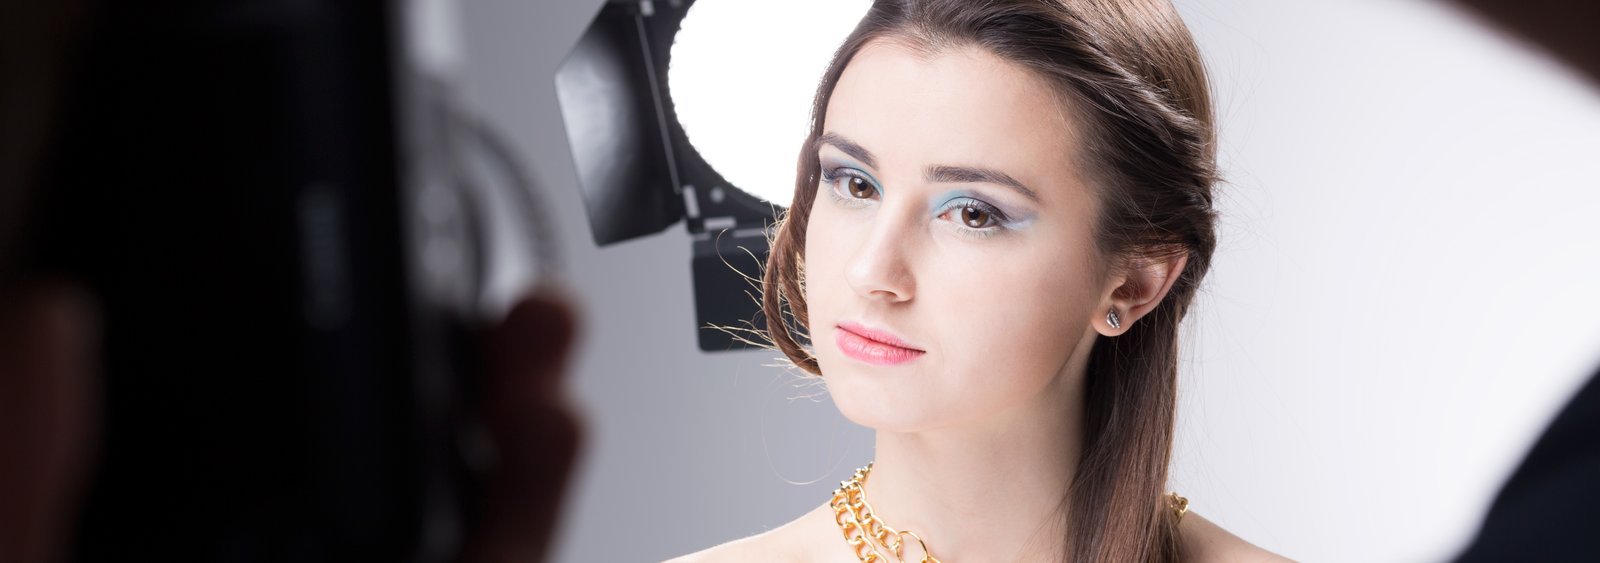
A client emailed me once, about three years into my retouching career, and the subject line was just: “These don’t look like me.” I opened the photos and I understood immediately. The skin was smooth the way a vinyl doll is smooth. The pores were gone. The small laugh line near her left eye, the one that showed up every time she genuinely smiled, had been wiped out entirely. I had technically done everything right and completely missed the point.
Headshots are not beauty campaigns. They are documents of a real person trying to get hired, cast, or trusted. The editing has to serve that goal, and most of the mistakes I see, including my own early ones, come from applying the wrong mental model to the job.
What Headshot Skin Actually Needs vs. What We Think It Needs
The instinct most retouchers bring to skin, especially coming from wedding or commercial work, is to even everything out. Remove blemishes, smooth texture, balance tone. That framework is not wrong, but the dial settings for headshots need to be much more conservative than for magazine beauty work.
Here is what is actually happening when skin looks “plastic”: you have removed high-frequency texture (pores, fine lines, micro-shadows) while leaving mid-frequency information (larger skin undulations) intact, or vice versa. The eye reads the mismatch. Skin without pores but with normal shadow depth looks like painted wax. Skin with pores but flattened mid-tones looks airbrushed in the wrong era.
The fix is not to do less, it is to do the right things at the right scale.
The Frequency Separation Setup I Actually Use
I do frequency separation on almost every headshot, but not to erase texture. I use it to move skin tone problems off the texture layer so I can address them without destroying pore detail.
Set it up this way in Photoshop: duplicate your base layer twice. On the bottom copy, apply Gaussian Blur at 4-6 pixels (I use 5 for most headshots shot between 85mm and 135mm at standard resolution). Name it “Color” and name it something you will remember, I call mine the Interstellar setup because that is the action I built it into. On the top copy, go to Image, Apply Image, select the blurred layer, set mode to Subtract, Scale 2, Offset 128. Set that layer to Linear Light at 100% opacity. Now you have color information separated from texture.
On the Color layer, use a soft brush at 10-15% opacity to paint sampled skin tones into areas of redness, shadow, or uneven pigment. You are literally moving color without touching texture. For most headshots, I spend about 8 to 10 minutes here. That is enough time to even the tone without overcooking it.
Leave the texture layer almost entirely alone. The exception is a genuine blemish or a distracting catchlight artifact, which I clone out at 100% zoom with a 1-to-2 pixel brush.
Eyes, Sharpness, and the Thing Nobody Talks About
The eyes carry more weight in a headshot than everything else combined. If the iris is not the sharpest point in the image, the edit is working against you no matter how good the skin looks.
I run a High Pass sharpening layer set to Overlay mode at around 40-60% opacity, masked to black, then painted in with white only over the iris and eyelashes. High Pass radius of 1.5 to 2 pixels. That is it. It takes 90 seconds and the difference in perceived sharpness is significant.
One thing I do not do: whiten the whites of the eyes with the Dodge tool. It reads as strange and clinical in headshots, especially for actors. If the sclera needs help, I use a Hue/Saturation adjustment layer clipped to that area and pull the saturation down by 10 to 15 points, nothing more.
Dodge and Burn as the Final Sculptor
After frequency separation and eye work, I do a light sculpting pass with dodge and burn on a 50% gray layer set to Soft Light. This is where headshot editing actually becomes an art form rather than a correction task.
I am not chasing perfection here. I am chasing dimension. The goal is to make the light that was already there look slightly better than it did. I dodge the high points of the cheekbones at about 3-5% exposure with a large, soft brush. I burn the shadow under the chin just slightly to separate the face from the neck. I dodge the bridge of the nose if it went flat in the original light. Total time on this layer: 5 to 8 minutes.
Anything more aggressive than that starts moving toward beauty work and away from headshot work. I keep a mental ratio: a headshot edit should make someone look like themselves on a very good day, not like someone who has never experienced weather.
The One Setting Most People Skip
Export settings matter more for headshots than for most other portrait categories, because headshots often live on casting databases, LinkedIn, and agency websites that recompress files automatically. I export at sRGB, quality 90 in JPEG, and I always check the final file at 100% zoom after saving. Recompression artifacts show up in skin texture first, and they can undo a careful edit fast.
If the client is submitting to a casting platform, I ask for their size requirements in advance. Most require files between 1MB and 5MB. I target the middle of that range and check that the face fills at least 60% of the frame, because platform thumbnails are small and a loosely framed headshot disappears.
The edit you spent two hours on lives or dies at the export stage. Check the file you are actually sending, not the layered PSD you are proud of.
The single most important thing I can tell you about headshot retouching is this: restraint is a technical skill, not just an aesthetic preference, and it takes just as long to learn as any other tool in your kit.
Comments (2)
Great breakdown. The step-by-step approach really helps.
Great article! I actually covered something related on my site — the business angle is really complementary to this.
Leave a Comment