When I first approached Unreal Engine 5, I felt overwhelmed by the interface and endless possibilities. But in this excellent tutorial, Serge Ramelli shows us that creating professional 3D scenes isn’t as intimidating as it seems. His beginner-friendly breakdown walks you through everything from installation to final render in under an hour. Let me break down this comprehensive guide so you can follow along confidently.
Getting Started: Installation and Setup
The foundation of any UE5 project begins with proper installation. Serge walks us through downloading and setting up Unreal Engine 5 in the opening minutes. Here’s what you need to know:
First, you’ll need to visit the Epic Games Launcher and download UE5. This isn’t a quick process—the engine is substantial—so plan for some download time. Once installed, you’re ready to create your first project.
I always recommend starting with a blank project rather than a template when you’re learning. This gives you complete control over your environment and helps you understand how each element contributes to your final scene.
Creating Your First Level with Lighting
Before we add scenery, we need to establish our stage. Serge demonstrates how to create a new level and immediately implement lighting—a critical step many beginners overlook.
When you create a new level, UE5 provides default lighting, but we want intentional, creative lighting from the start. Adding lights early helps us visualize how our scene will look as we build it. I’ve found that this approach saves hours of rework later.
The key insight here is understanding that light is as much a storytelling tool as the objects themselves. Think about the mood you want to create before placing your first light source.
Building Your Landscape
Now comes the satisfying part: creating terrain. Serge shows us how to generate a landscape using UE5’s built-in landscape tools. Rather than importing a pre-made terrain, learning to sculpt your own landscape teaches you fundamental world-building skills.
The landscape tools in UE5 are surprisingly intuitive. You can raise, lower, and smooth terrain with brush strokes, much like painting. I recommend starting with simple shapes and gradually increasing complexity as you become comfortable with the tools.
Importing High-Quality Surfaces with Quixel Bridge
One of UE5’s greatest advantages is integration with Quixel Bridge, which gives you access to thousands of professionally scanned materials. Serge demonstrates how to import realistic surfaces directly into your project.
This is where your scene transforms from basic geometry to photorealistic environment. The surfaces include textures, normal maps, and displacement data—everything needed to make materials look authentic. When importing from Quixel, take time to understand the material settings so you can adjust them for your specific lighting conditions.
Navigating Your 3D World
Before we add more elements, understanding camera movement is essential. Serge teaches us how to move around the world intuitively using keyboard and mouse controls.
Here’s my tip: spend five minutes just flying around your created space. Get familiar with zooming, panning, and rotating your view. This comfort with navigation will make every subsequent step feel less cumbersome.
Positioning Your Key Light Source
The sun is your primary light source in most outdoor scenes. Learning to position it effectively is crucial for achieving the mood you want. Serge shows how to manipulate the directional light to simulate different times of day.
I always position my sun before adding other lights. This primary light establishes your scene’s overall brightness and color temperature. Notice how the shadows change as you move the sun—this feedback helps you understand three-dimensional lighting in real-time.
Creating Animation Through Keyframes
Here’s where static scenes become cinematic. Serge introduces keyframe animation—the foundation of all motion in UE5.
When you set a keyframe, you’re telling the engine “remember this object’s position at this exact moment in time.” By creating multiple keyframes at different times, you create smooth motion. The tutorial shows how to animate camera movements and object positions.
My recommendation: start with simple animations like a camera push-in or an object rotating. Master the basics before attempting complex multi-element sequences.
Advanced Lighting Techniques
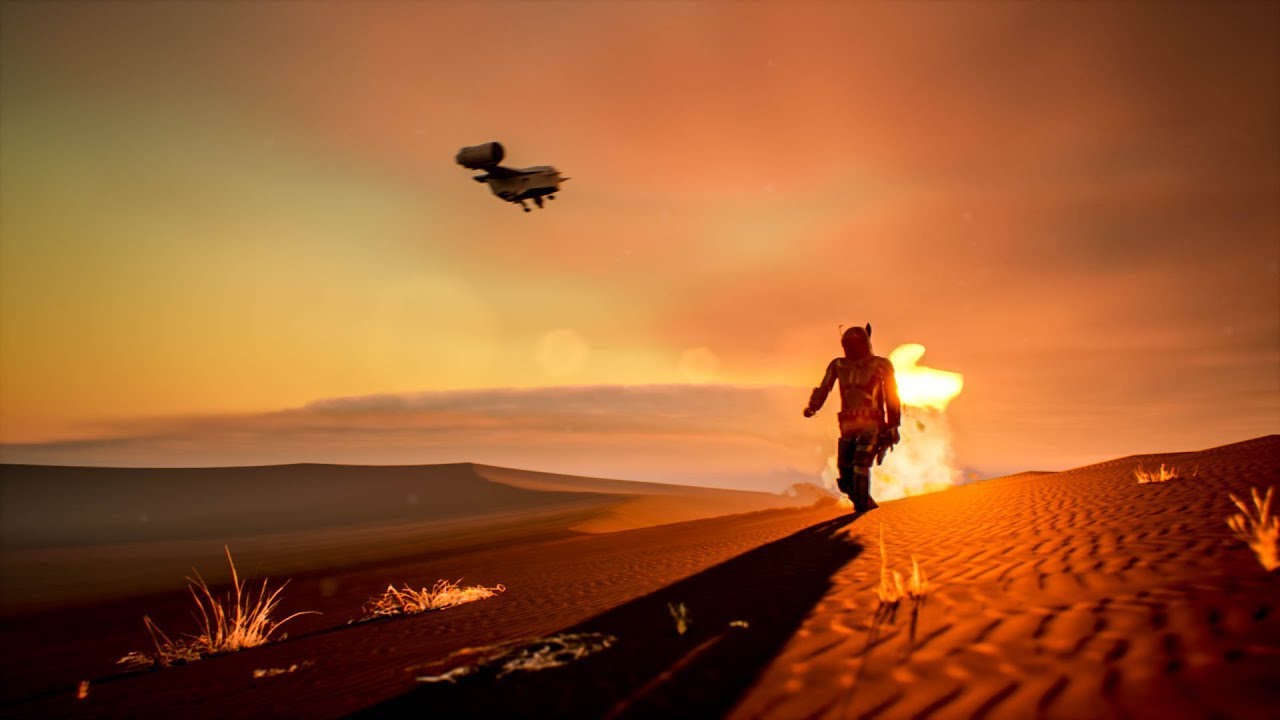
Adding spotlights to highlight specific elements elevates your scene dramatically. Serge demonstrates placing strategic spotlights to brighten important objects—in his example, the Mandalorian figure.
Notice the difference between linear and non-linear keyframe interpolation. Linear keyframes create uniform motion, while eased keyframes feel more natural. The tutorial shows how to adjust keyframe properties for more sophisticated motion.
Environmental Details: Plants, Dust, and Effects
Professional scenes include atmospheric elements. Serge adds plants to break up the landscape and dust particles to add depth and atmosphere.
These details might seem minor, but they’re what transform a 3D render from “looking like 3D” to “looking cinematic.” Dust particles catch light beautifully and convince viewers they’re looking at a real environment.
Post-Processing and Polish
Before rendering, applying post-process effects enhances your entire scene. Color grading, bloom, and motion blur all happen here. Serge uses the Post Process Volume to refine his image without re-rendering.
This is where you color-grade your scene. Think of it like the final editing pass—adjusting contrast, saturation, and adding cinematic effects.
Rendering and Final Output
The tutorial concludes with rendering your animation using the Movie Render Queue plugin and finalizing it in DaVinci Resolve. These final steps transform your UE5 project into a deliverable video file.
Ready to Create?
I encourage you to watch Serge’s complete tutorial from start to finish. Pause frequently and replicate each step in your own project. The best way to learn UE5 is through hands-on practice.
Watch the full Unreal Engine 5 Beginner Tutorial now and start creating your first professional 3D scene today.
Watch the full video below:
Comments (4)
Would this approach work the same way with natural light instead of strobes?
Just spent an hour experimenting with this approach. Worth every minute.
Understanding light like this is huge for compositing work too.
Having the right setup makes this so much easier. Great walkthrough.
Leave a Comment