Retouching Techniques
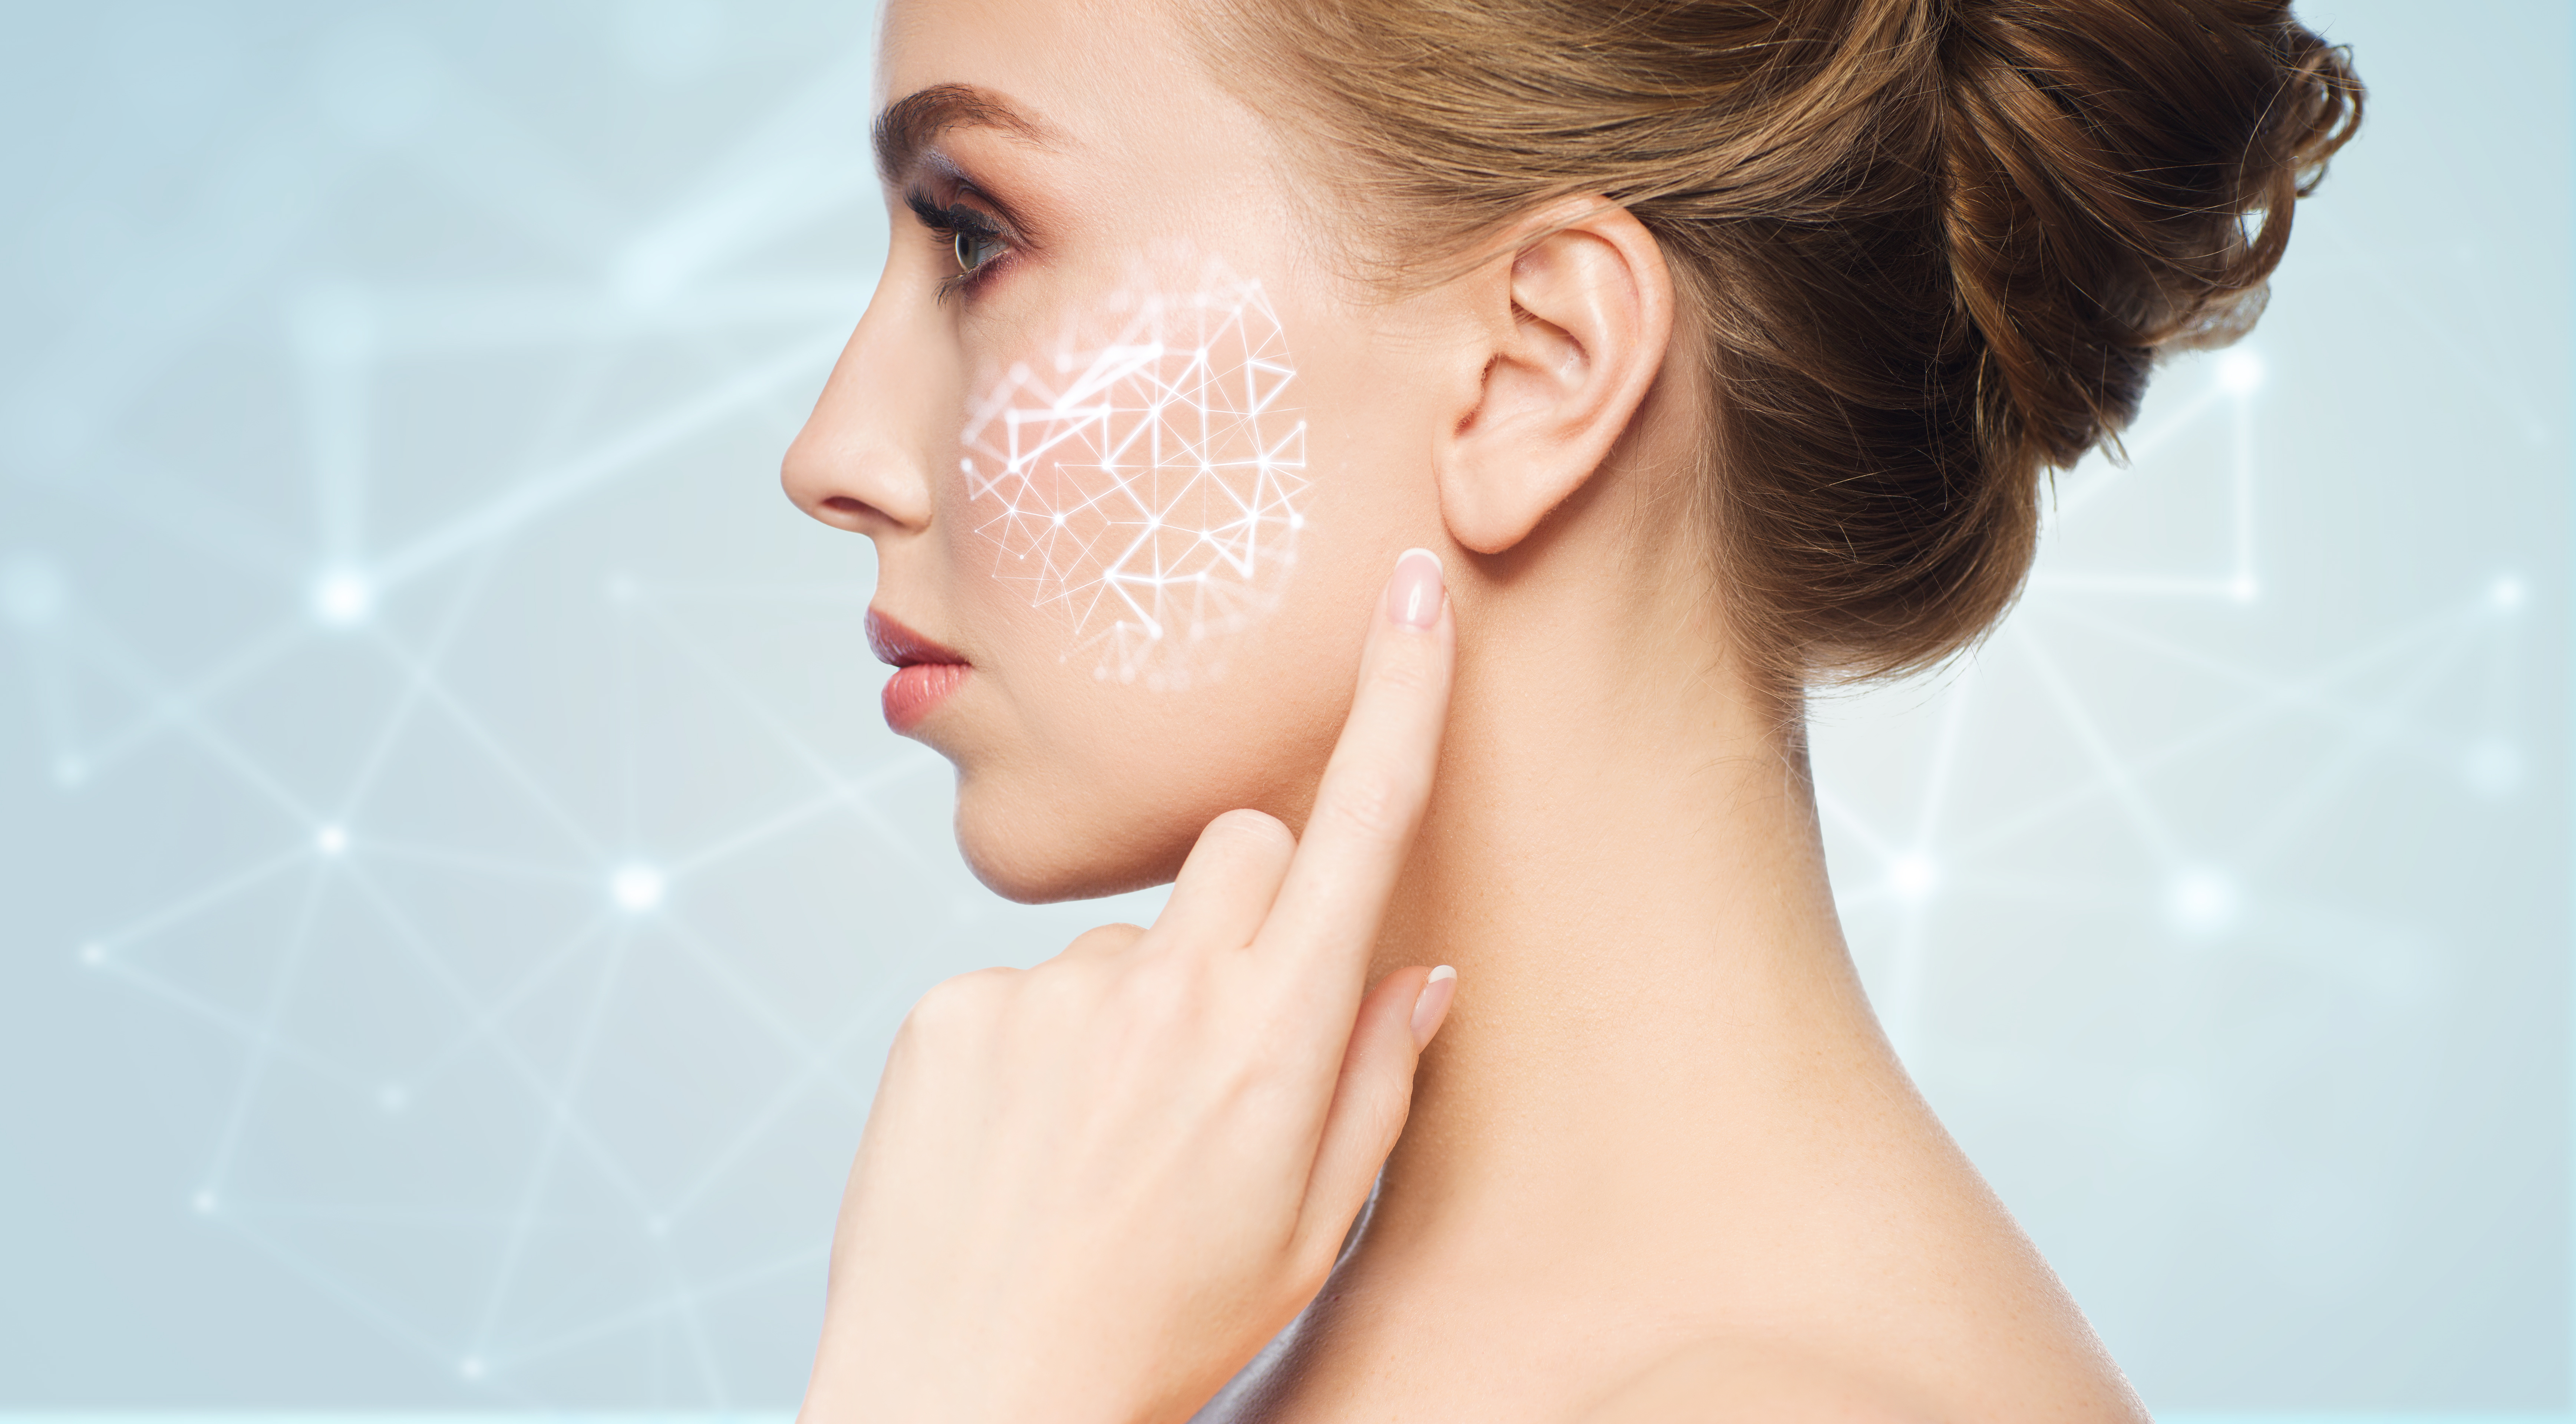
The Art of Skin Retouching: Achieving Natural-Looking Results
The Art of Skin Retouching: Achieving Natural-Looking Results When I first started retouching portraits, I made the same mistake many beginners do: I smoothed skin until it looked plastic. My clients didn’t recognize themselves. That’s when I learned that great skin retouching isn’t about perfection—it’s about enhancement that feels authentic. Today, I want to share what I’ve learned about creating skin that looks healthy, clear, and genuinely human. Whether you’re editing for yourself or clients, these techniques will help you find that sweet spot between polish and natural beauty.