The 15-Minute Eye Enhancement Workflow That Stopped My Clients From Asking for 'More Pop'

The 15-Minute Eye Enhancement Workflow That Stopped My Clients From Asking for 'More Pop'

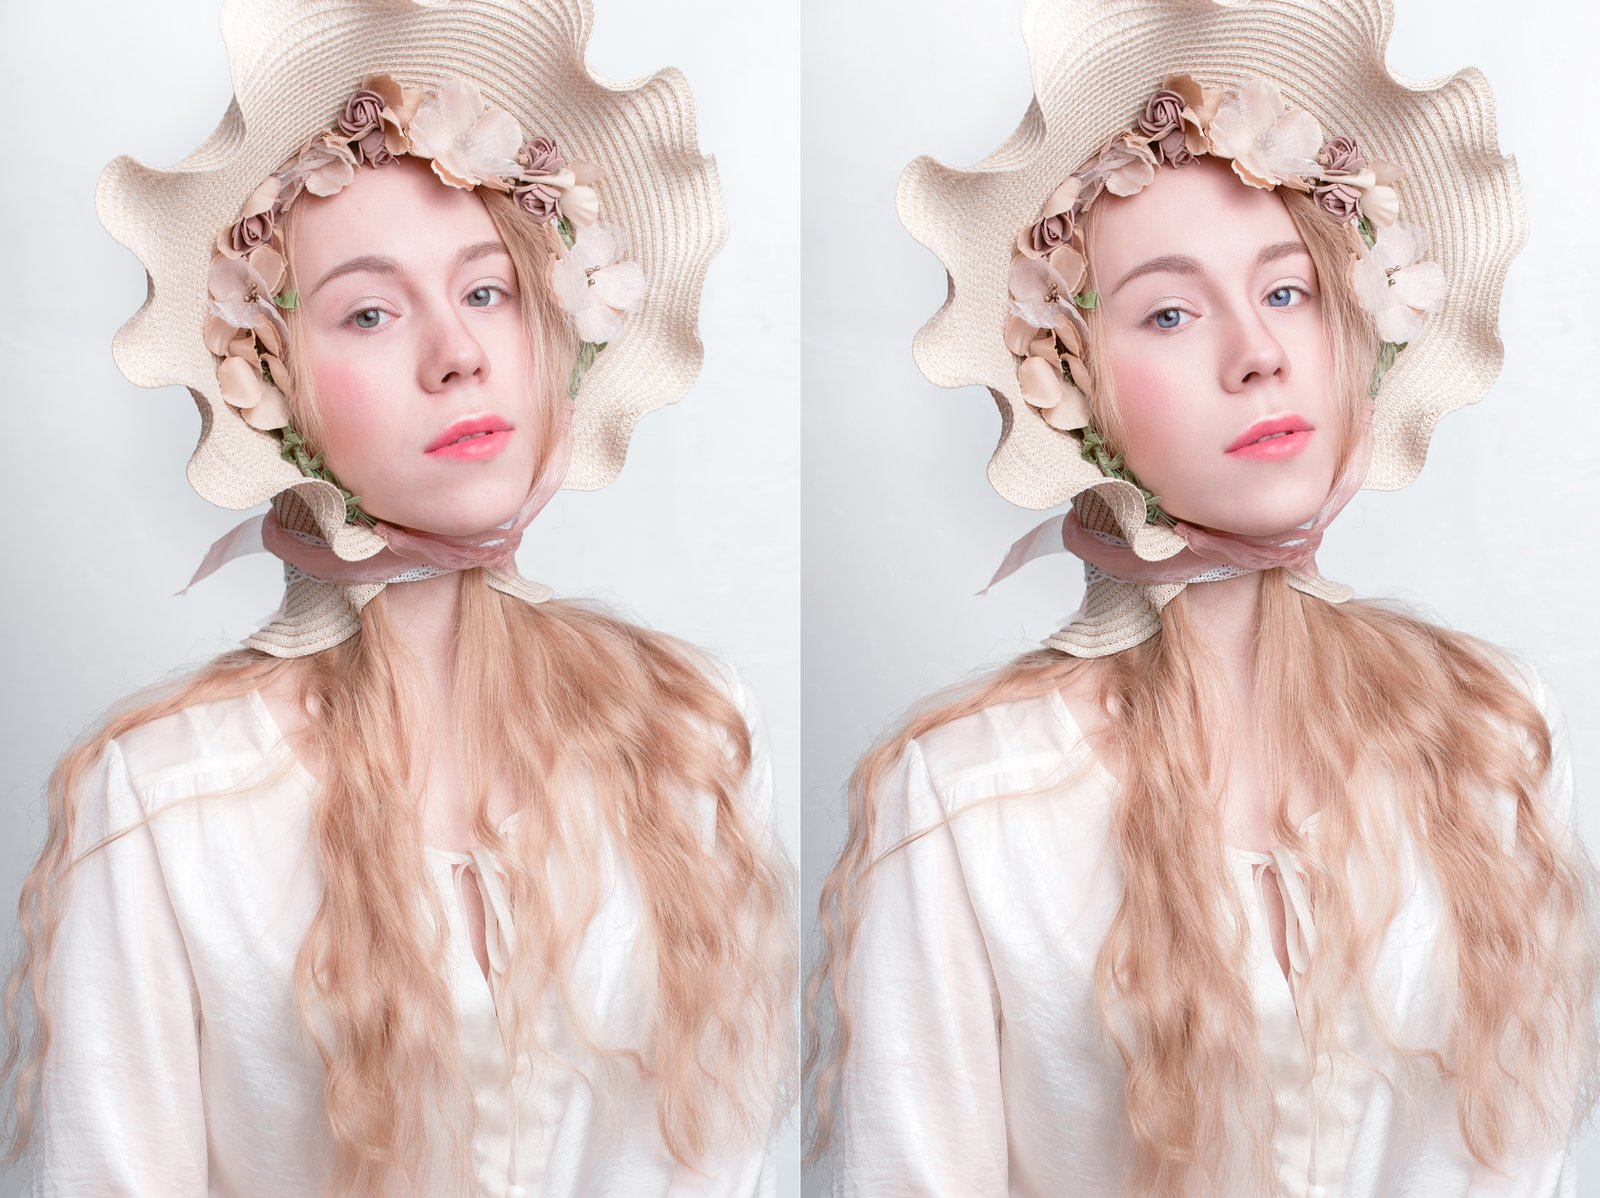
A few years into freelancing, I had a client send back a batch of beauty shots with one word in the subject line: “More.” She wanted more brightness, more color, more life in the eyes. I’d already dodged the irises, boosted the whites, and painted in a catch light. The eyes looked like something out of an animated film. I sat back from my (perpetually lowered) standing desk, made a fresh cup of green tea, and realized the problem wasn’t that I hadn’t done enough.

The 15-Minute Eye Enhancement Workflow That Stopped My Clients Saying Make Them Pop

The 15-Minute Eye Enhancement Workflow That Stopped My Clients Saying Make Them Pop

A few years back, a client sent me a revision note that read: “Can you make the eyes more… alive?” I had spent forty minutes on that image. The skin was clean, the color grade was warm and editorial, and the composition was genuinely lovely. But she was right. The eyes looked like they belonged to someone who had just heard mildly disappointing news. Everything else in the frame was doing its job, and the eyes were not.

Why Hair Retouching Falls Apart at the Edges (And How to Fix It Layer by Layer)

Why Hair Retouching Falls Apart at the Edges (And How to Fix It Layer by Layer)

Why Hair Retouching Falls Apart at the Edges (And How to Fix It Layer by Layer) By Maya Chen The file came in on a Tuesday morning: a beauty campaign shot, studio-lit, clean background, gorgeous subject. The hair was this wild, expressive curtain of coils that the photographer had clearly worked hard to capture well. My job was to clean it up without flattening it. Three hours later I had something that looked like a wig glued to a mannequin.

The 10-Minute Portrait Cleanup That Makes Every Other Edit Land Better

The 10-Minute Portrait Cleanup That Makes Every Other Edit Land Better

The first time a client told me my retouching looked “plastic,” I was mortified. I’d spent three hours on a single portrait, pushing and pulling at skin until it was perfectly smooth. What I thought looked polished, she called a “mannequin.” I hadn’t done anything wrong, technically. I’d just skipped the cleanup phase entirely and gone straight into the heavy work. Without a clean foundation, every technique I applied afterward amplified the problems rather than solving them.

The First 10 Minutes: How I Clean Up a Portrait Before Any Real Retouching Begins

The First 10 Minutes: How I Clean Up a Portrait Before Any Real Retouching Begins

The file comes in. Maybe it’s from a photographer you trust, maybe it’s from a client who shot it themselves on a mirrorless they bought six months ago. Either way, before you even think about skin texture or luminosity masks, there’s a layer of chaos sitting on top of the image that will quietly sabotage every adjustment you make if you don’t deal with it first. Stray hairs crossing the face.

Why Your Portraits Look Flat (And How Dodge and Burn Fixes It in Photoshop)

Why Your Portraits Look Flat (And How Dodge and Burn Fixes It in Photoshop)

Early in my retouching career, a client sent back a batch of portraits with a note that still stings a little: “These look like wax figures. Can you make them look like real people again?” I had smoothed the skin, evened the tones, removed every shadow I could find. I thought I was doing my job. What I was actually doing was stripping out all the information that makes a face look three-dimensional.

Why Your Portraits Look Flat (And How Dodge and Burn Actually Fixes It)

Why Your Portraits Look Flat (And How Dodge and Burn Actually Fixes It)

The first time a client told me my retouching looked “plastic,” I was mortified. I had spent two hours on that image. The skin was smooth, the blemishes were gone, and the color was even. It looked, to my untrained eye, finished. What I didn’t understand yet was that I had removed not just the flaws but the depth. The face had no shadow, no structure, no life. It looked like a mask sitting in front of a head rather than an actual human face.

Why Dodge and Burn Is the Last Retouching Skill You'll Want to Learn (and the First You Should)

Why Dodge and Burn Is the Last Retouching Skill You'll Want to Learn (and the First You Should)

I still have the file. It lives in a folder I’ve never deleted, labeled “DO NOT SHOW ANYONE,” and every time I open Photoshop it’s sitting there, waiting. My first serious retouching attempt on a beauty portrait. The skin looks like it was painted with a foam roller. No dimension, no depth, no life. Just a flat, airbrushed approximation of a human face. What I was missing wasn’t a better plugin or a fancier frequency separation technique.

Frequency Separation Actually Explained: Why Your Skin Retouching Looks Fake (And How to Fix It)

Frequency Separation Actually Explained: Why Your Skin Retouching Looks Fake (And How to Fix It)

The first time a client told me my retouching looked “plastic,” I had no idea what she meant. I thought I’d done a beautiful job. The skin was smooth, the blemishes were gone, the whole image had this polished magazine quality I’d been chasing. She pulled up a reference image on her phone, slid it across the table, and said, “I want to look like that. Yours looks like a wax figure.

Why Your Portraits Look Flat (And How Dodge and Burn Fixes It From the Inside Out)

Why Your Portraits Look Flat (And How Dodge and Burn Fixes It From the Inside Out)

A few years into my retouching career, I got a message from a client that I still think about. She’d sent her finished portraits to a makeup artist friend, who looked at them and said they looked “a little plastic.” Not bad, exactly. Just… off. Like the face had been buffed smooth and then lit from nowhere in particular. I knew exactly what had gone wrong. I’d been so focused on removing what I didn’t want that I’d forgotten to keep what made the face look real.

The Art of Subtle Beauty Editing: Enhancing Without Overdoing

The Art of Subtle Beauty Editing: Enhancing Without Overdoing

The Art of Subtle Beauty Editing: Enhancing Without Overdoing When I first started retouching portraits, I made a mistake I see many editors make: I assumed more editing meant better results. I’d smooth every pore, brighten every highlight, and blur away every hint of texture. The photos looked plasticky and lifeless—nothing like the confident, genuine people I’d photographed. Over the years, I’ve learned that the best beauty editing is the kind nobody notices.

Portrait Cleanup Essentials: Creating a Flawless Foundation for Your Edits

Portrait Cleanup Essentials: Creating a Flawless Foundation for Your Edits

Portrait Cleanup Essentials: Creating a Flawless Foundation for Your Edits When I first started retouching portraits, I realized that the time I spent on cleanup made the difference between an amateur edit and a polished, professional result. Portrait cleanup isn’t glamorous—it’s the unglamorous foundation that everything else builds on. But I’ve learned it’s absolutely worth mastering because clean, organized work sets you up for success in every step that follows.