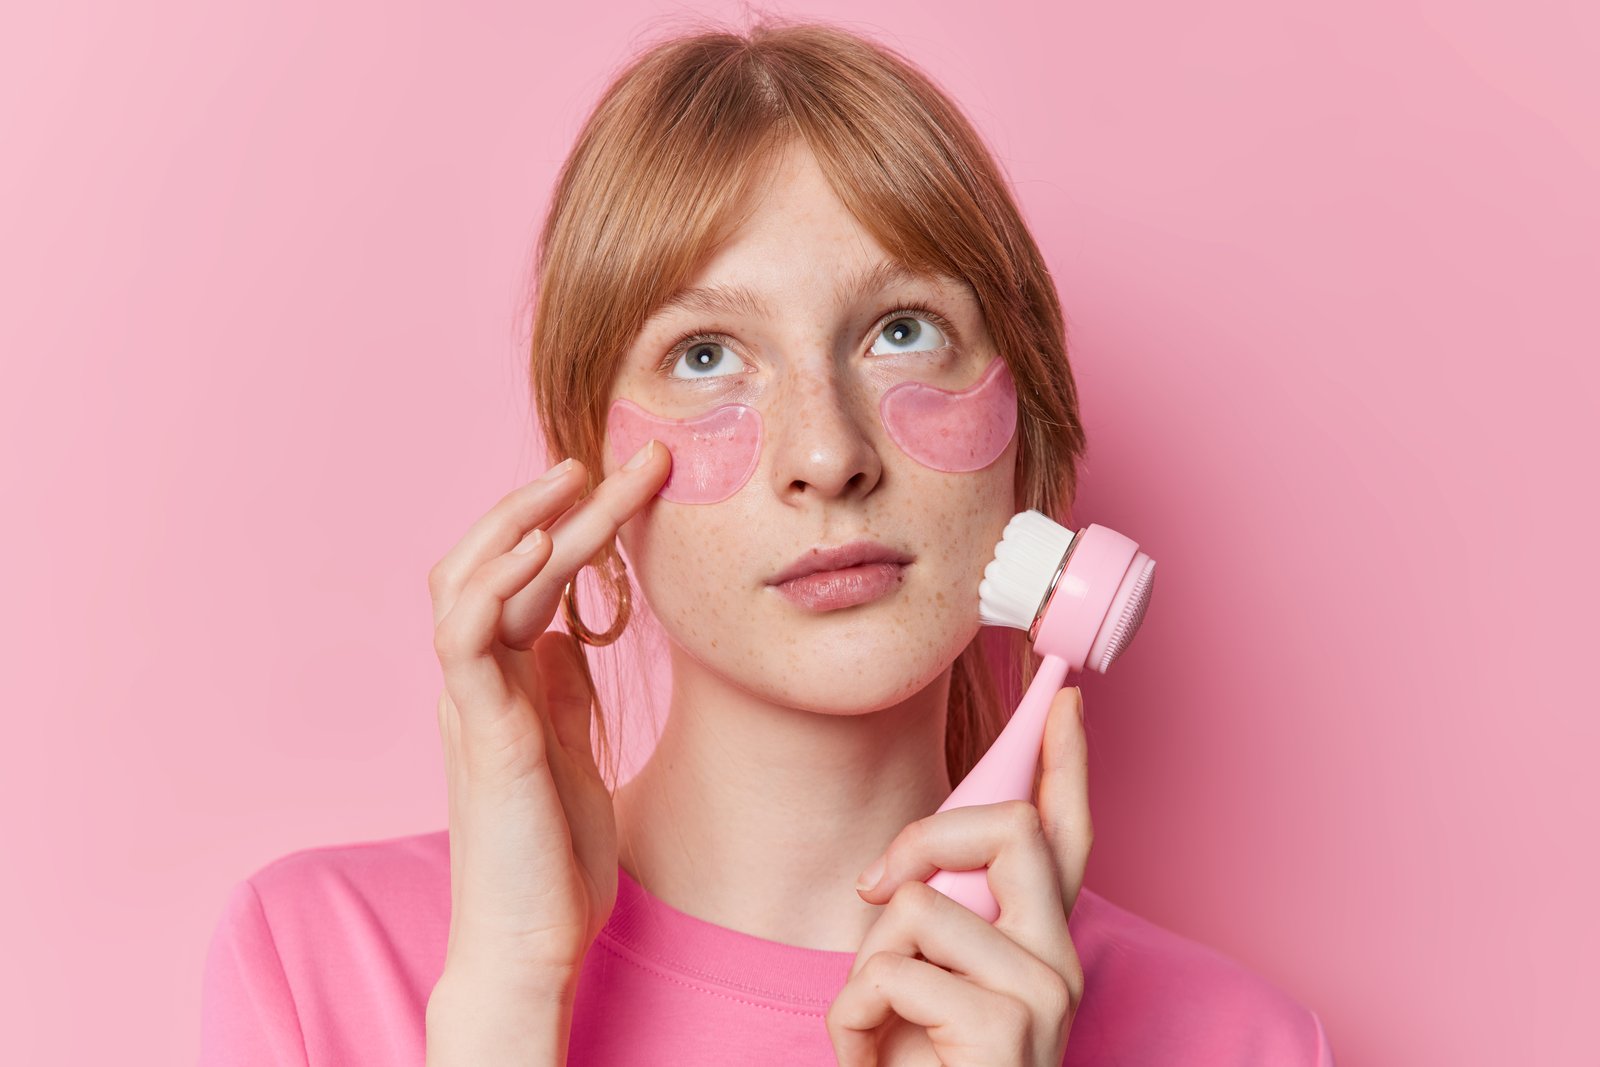
My first year doing serious beauty retouching, a client emailed me back with three words: “She looks plastic.” I stared at that email for a long time. I had spent two hours on that image. I had smoothed every pore, evened every tone, and delivered what I thought was a polished, professional edit. What I had actually delivered was a face that looked like it had been buffed with sandpaper and then laminated.
That moment sent me back to the drawing board, and what I eventually figured out is that portrait cleanup is not the same thing as skin retouching. Cleanup is the quiet, unglamorous work you do before the creative stuff begins, and when you get it wrong, nothing else you do to the image will save it.
What You’re Actually Looking At Before You Touch a Slider
When a raw portrait lands in Lightroom or Photoshop, what you’re seeing is the camera’s interpretation of light bouncing off skin, fabric, and the environment. Sensors are not flattering. They record everything with equal weight, which means a stray chin hair and a catchlight in the eye get the same attention. Your job in the cleanup phase is to prioritize what a human eye actually focuses on during a real interaction.
The human visual system is drawn to eyes, mouth, and overall facial symmetry. It naturally softens the texture of cheeks, ignores flyaway hairs, and doesn’t linger on the small red patch left by a glasses frame. Your edit should recreate that selective attention. Cleanup is not about removing reality. It’s about editing what the camera over-reported.
The Specific Order That Keeps You From Doubling Your Work
I always clean up in the same sequence, and the sequence matters. If you do it out of order, you end up healing areas you later need to dodge and burn, or cloning over something you’ll want to keep.
Start in Lightroom with a pass at your raw file. Set your Spot Removal tool to Heal, feather at 80, and opacity at 100. Hit Q to activate it and go through the image at 1:1 zoom. You’re looking for temporary blemishes only, things that wouldn’t be there if you shot the same person again tomorrow. Moles, freckles, and birthmarks stay. That’s not your call to remove without asking.
Then take your file into Photoshop and create a new blank layer immediately. Name it something you’ll recognize. I name mine after movies, so my cleanup layer is usually called “The Conversation” because, like that film, it’s quiet and methodical and most people skip it. Use the Healing Brush (not Spot Healing) set to Current and Below, sample carefully, and work on stray hairs around the hairline and at the shoulders. Zoom to 200 percent. The stray hairs you miss at 100 percent will show up on every screen larger than your laptop.
After hairs, do a pass for catchlights in the eyes. If you shot with a softbox, you likely have one clean catchlight per eye. If you shot near a window with a reflector, you might have three competing ones. Use a small elliptical selection, feather it at 2 pixels, and use Curves to gently darken any catchlight that shouldn’t be the dominant one. This takes about 90 seconds and does more for the eyes than any sharpening trick.
Flyaway Hairs and Why the Clone Stamp Is Often the Wrong Tool
Most retouchers reach for the Clone Stamp on flyaway hairs and then wonder why their skies look patchy and their backgrounds look like a quilt. The problem is that the Clone Stamp copies pixel information exactly, including the grain structure, and any two spots on a background have slightly different grain patterns even if they look identical.
For hairs over clean backgrounds, use the Clone Stamp at 100 percent opacity but reduce your flow to 20 percent. Build up coverage with multiple passes rather than one heavy stamp. For hairs over complex backgrounds like bokeh or foliage, switch to the Healing Brush and let it blend. For hairs over skin, neither tool is ideal. Use a small brush, zoom to 300 percent, and be willing to spend more time than you want to. Rushing hair removal is where plastic-looking edits are born.
The Cleanup Check Before You Move On
Before I do any frequency separation, dodging and burning, or color work, I run what I think of as a sanity check. I create a Black and White adjustment layer above everything and turn my saturation down to zero temporarily. Removing color forces you to see the image in terms of tone and structure only. Skin looks very different without the color information. Any blotchy healing work, any mismatched texture from a bad clone, any over-smoothed area will be obvious in grayscale in a way it often isn’t in color.
This takes two clicks and it has saved me from submitting bad edits more times than I want to admit. Delete the adjustment layer when you’re done, or just turn it off. You’re not working in black and white. You’re just borrowing its honesty for 30 seconds.
What Gets Skipped and Why That’s Actually a Choice
When I teach retouching workshops, I see students skip cleanup almost every time. They go straight for frequency separation or the Liquify tool because those feel like the “real” retouching. But cleanup is where the foundation is set. Every advanced technique you apply afterward will either sit cleanly on a prepared surface or fight against a messy one.
The retoucher who spends 10 minutes on cleanup saves 30 minutes of corrective work later, and delivers an image where the advanced techniques actually read the way they’re supposed to.
Cleanup is not the boring part you endure before the interesting part. It is the reason the interesting part works.
Maya Chen is a Portland-based beauty retoucher and retouching educator who works with beauty brands and teaches hands-on workshops throughout the Pacific Northwest.
Comments
Leave a Comment