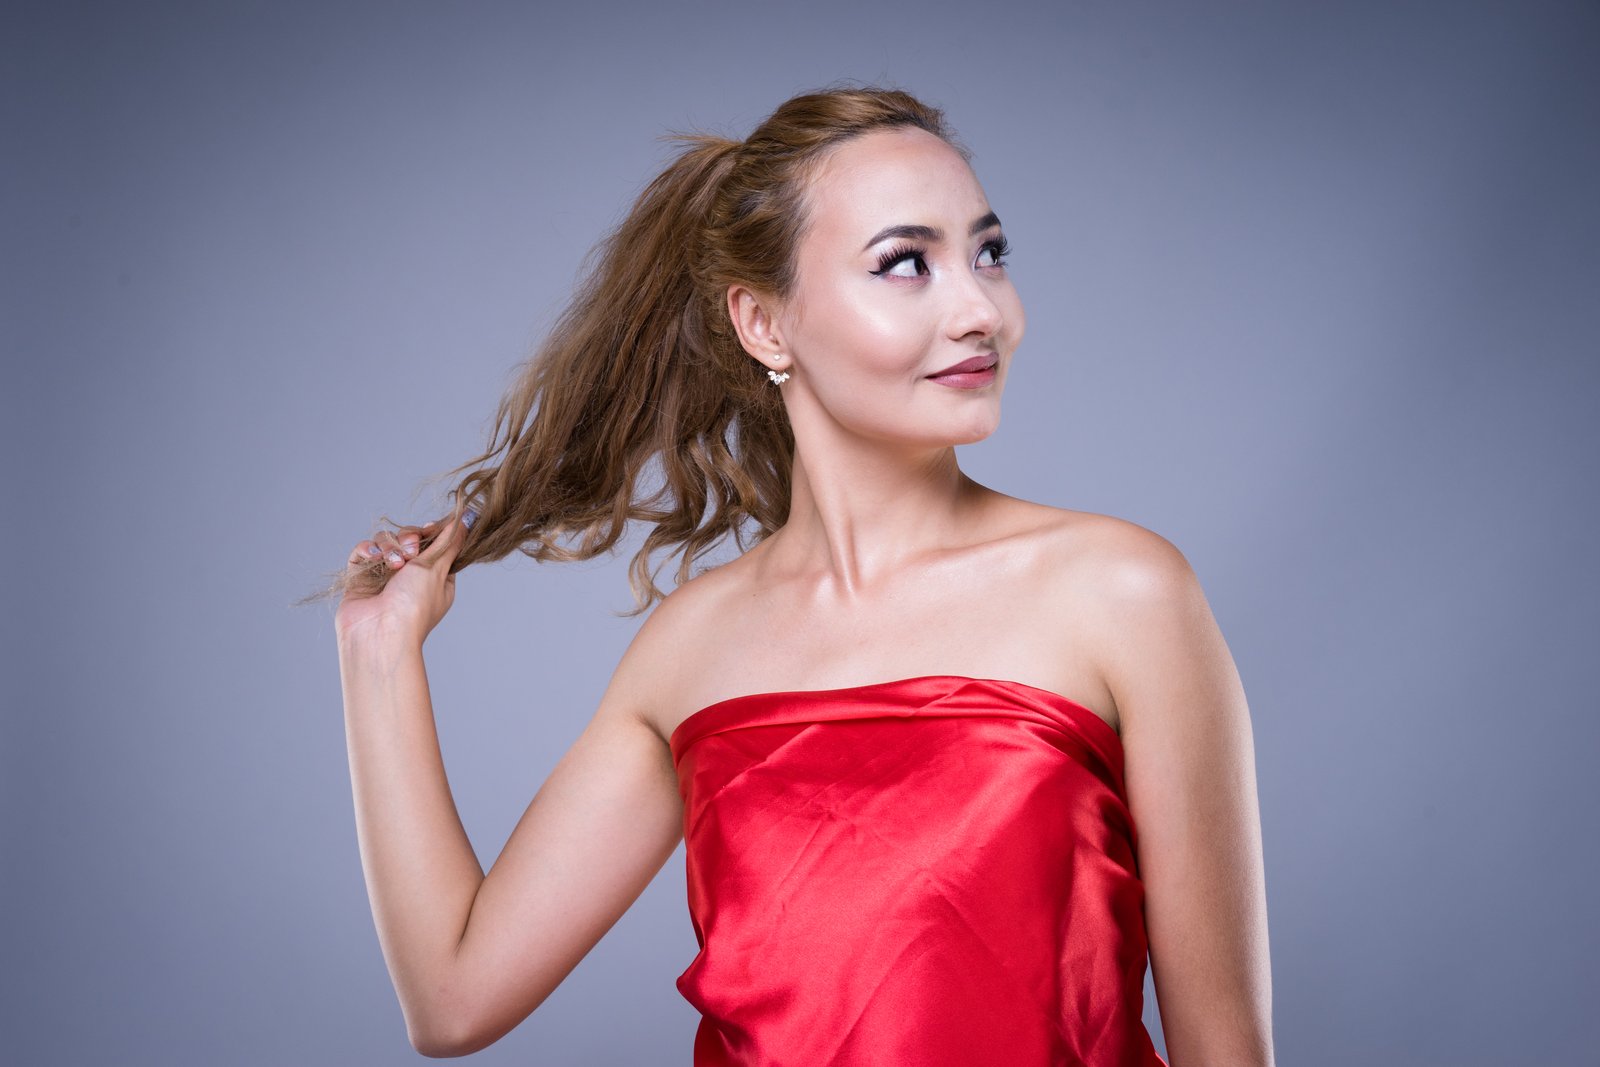
Hair retouching has a way of exposing every shortcut you’ve ever taken.
A few years into my freelance work, I got a job retouching a campaign for a Portland-based hair care brand. Eight models, studio lighting, and hair that had been styled within an inch of its life. I thought it would be straightforward. I was wrong. By image three, I had smoothed so aggressively that the hair looked like a molded plastic helmet. The art director flagged it on the first round of feedback with two words: “Too processed.” I spent the next three days rebuilding those files from scratch, and I learned more in those three days than I had in the previous six months.
Hair sits in a strange middle zone in retouching. It’s not skin, so the rules are different. But it reacts to the same blunt tools we use on skin, and it falls apart faster.
Why Hair Is Technically Harder Than Skin
Skin has a consistent surface texture that responds predictably to frequency separation and healing. Hair doesn’t. It has hundreds of individual strands moving in different directions, micro-highlights catching at different angles, and edges that transition from sharp to semi-transparent in the span of a few pixels.
When we blur or smooth hair the way we might approach a forehead, we erase the very detail that makes it read as real. The specular highlights that run along each strand are what signal to the viewer’s brain that they’re looking at hair and not a surface. Flatten those, and you lose the material entirely.
The other issue is color. Hair color is rarely uniform. Even in a single-color dye job, there are warm and cool zones, shadow pockets between layers, and lifted ends. If we try to even out hair color the way we might correct a skin tone, we end up with something that looks digitally painted. That can work for highly stylized editorial, but for anything meant to look photographic, it reads as wrong immediately.
The Frequency Separation Approach, Applied to Hair
Frequency separation works on hair, but the settings are different from what you’d use on skin. For skin, I typically separate texture at around a Gaussian blur radius of 6-8 pixels on a full-resolution file (I work at 300 dpi for print, 150 for web delivery). For hair, I drop that to 3-4 pixels. The texture layer in hair is finer and closer together than pores, and you need to preserve more of it.
Once the separation is done, I work on the color and tone layer only. This is where I can soften harsh shadow lines between layers of hair, blend a dry, porous-looking section into the rest, or deepen roots that photographed lighter than they should. The healing brush on the color layer alone, set to a very low opacity around 20 percent, lets me push tone without flattening texture. I name this action “Eternal Sunshine” because good retouching should make things look lit from within, not ironed flat.
On the texture layer, I only work to remove stray individual hairs that weren’t part of the intended style, or to clone a clean texture section over a particularly damaged-looking patch. I stay away from the healing brush on the texture layer for hair. The clone stamp, set to 100 percent opacity and a very small brush around 8-12 pixels, gives me more control.
Managing Flyaways Without Destroying the Edge
Flyaways are where most retouchers make their biggest mistakes, myself included early on. The instinct is to erase them or heal them out. Both approaches create a hard, artificial edge.
The better method is the Patch tool on a new merged layer, used with the Patch tool set to Content-Aware, Structure at 4 and Color at 5. This preserves the background texture around the flyaway so the removal blends rather than cuts. For flyaways that sit against a complex background, a combination of the Patch tool and a manual clone from a clean area of background nearby gets closer to undetectable.
For flyaways at the hairline, I almost never remove them entirely. I lower their opacity instead. Duplicate the background, run a rough selection around just the hairline flyaways using the lasso tool with a 3-pixel feather, and apply a Curves adjustment clipped to that selection. Pull the curve down slightly to reduce their brightness, and they’ll recede without vanishing. Real hair always has some chaos at the edges, and that chaos is part of what makes it look real.
When to Add Texture Back In
Sometimes the problem isn’t too much retouching but too little texture to start with. This happens with fine hair under soft lighting, with hair that was photographed slightly out of the sharpest focus zone, or with very dark hair against a dark background where the detail just didn’t register.
In these cases, I use the High Pass filter set to a radius of 1.5-2 pixels on a merged layer, set to Soft Light blending mode, and clip it with a mask to the hair area only. This brings back apparent texture without fabricating it. The key word is apparent: we’re enhancing what’s there, not generating something that was never captured. If the texture isn’t there at all, no filter will save you, and you’re better off discussing a reshoot with the client.
The One Rule That Changes Everything
Every technique above is a tool, and tools are only as good as the judgment behind them. The single most important shift I made in my hair retouching was learning to zoom out to 50 percent and evaluate after every major move. At 100 percent or higher, almost anything looks wrong, and it’s easy to over-correct your over-corrections.
Hair retouching is not about perfection at the pixel level. It’s about preserving what the photographer captured and giving the viewer’s eye the exact amount of help it needs to read the image correctly, nothing more.
Comments
Leave a Comment