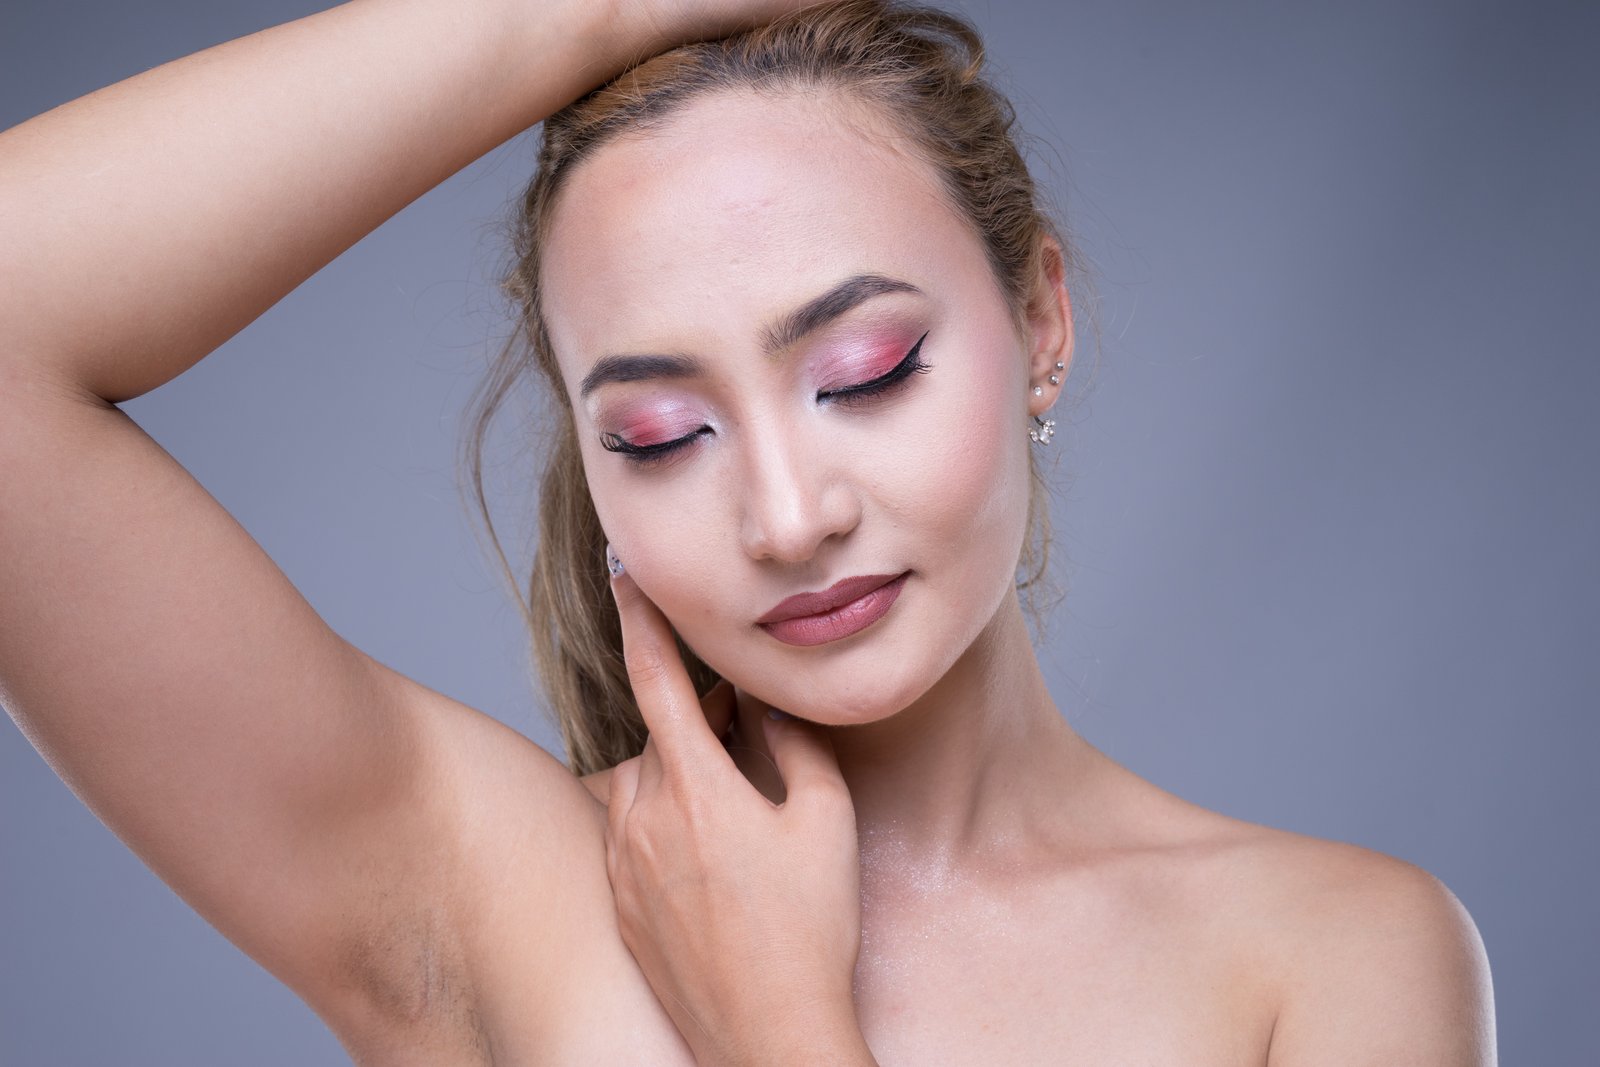
A client once told me my retouching looked “like a wax figure wearing lipstick.” She wasn’t wrong. I had smoothed the skin, punched the eye shadow, and deepened the lip color until everything was technically perfect and completely lifeless. That note stung, but it taught me something I now consider the foundation of every beauty edit I do: makeup in a photo has to behave like makeup on skin, not makeup on plastic.
The difference between those two outcomes is not a question of taste. It’s a question of understanding what the camera actually captured and what you’re destroying when you retouch without thinking about it.
What the Camera Sees That Your Eyes Don’t
Makeup on skin is never a flat surface. Even a matte foundation has micro-texture. Lipstick catches light differently at the center of the lip than at the edges. Eye shadow sits inside pores and fine lines. When a photographer lights a subject well, all of that texture and dimension is recorded in the file.
The problem is that most retouching workflows attack exactly that information. Heavy-handed healing, clone stamping, and especially over-use of Liquify will erase the micro-texture that makes skin look alive. When you then try to enhance or digitally apply makeup on top of a skin surface that’s been smoothed into a gradient, the result reads as artificial because it is. You’ve removed the physical evidence that a real face lives underneath.
This is why I always retouch skin before I touch any makeup layer, and why I keep my frequency separation radius modest, typically 3 to 4 pixels on a 300 DPI file, rather than the 7 or 8 I see beginners use because it “cleans up more.” Cleaning up more is usually doing more damage.
Building Digital Makeup on a Real Skin Foundation
Before I add or enhance anything, I flatten my retouching layers and do a quick zoom to 100 percent on the cheek, the lip edge, and under the eye. I’m looking for two things: preserved pore texture and natural color variation. If the skin looks like a single tone with no variation, I’ve gone too far and I need to step back.
Once the skin foundation is solid, I create a new layer set to Soft Light at around 40 percent opacity for color enhancement work. I use a soft brush, flow set to 8 to 12 percent, and I build color the same way a makeup artist would, in thin layers, rotating through the area rather than painting in one direction. For lip color deepening, I’ll often use a Hue/Saturation adjustment layer clipped to a selection, shifting saturation up by 10 to 15 points before I add any painted color. That way I’m working with the pigment that’s already there rather than covering it.
For eye shadow, the blend mode changes. Multiply works well for deepening existing color in shadow areas. Screen works for any shimmer or highlight on the lid. I never paint shimmer as a flat color. I find a reference point in the original image where the highlight naturally falls and use that as my center, feathering outward at 5 percent flow until it disappears into the surrounding tone.
The Lip Edge Problem Most Retouchers Ignore
The edge of the lip is where digital makeup retouching fails most visibly. In real life, the transition from lip to skin is a soft, slightly blurred boundary with a color gradient in between. In a lot of retouched images, that edge becomes either a hard line that looks drawn on, or it gets softened so much that the lip loses shape entirely.
My approach is to handle the lip edge as its own step. After I’ve done any color work, I zoom to 200 percent and go around the lip outline with a healing brush set to 10 to 15 pixels, just correcting any bleeding or smudging in the original without sharpening the edge. Then I add a very slight Gaussian blur, 0.3 pixels, to the lip selection before deselecting. That blur is invisible at full size but it prevents the digital lip from looking like it was cut and pasted from somewhere else.
When Frequency Separation Actually Helps (and When to Leave It Alone)
Frequency separation earns its reputation when you’re dealing with uneven foundation coverage, visible brush strokes from product, or patchy concealer under the eye. On the texture layer, you can clone and heal those variations without touching the color layer beneath, which means the skin keeps its three-dimensional quality while the product application looks more professional.
Where frequency separation does not help, and where I see it misused constantly, is on the lips and eyes. Those areas have intentional color variation and intentional texture that’s part of the makeup design. Running frequency separation on a lip and healing the texture layer will remove the natural highlight patterns that make the product look glossy or pigmented. Leave those areas alone. Use it on skin, use it on foundation coverage issues, and stop there.
The Mental Model That Changed How I Work
I spent a long time trying to make makeup look perfect. Now I try to make it look intentional. There’s a real difference. Perfect implies uniformity. Intentional implies that someone made choices, applied product, and that product is sitting on a living face.
Every time I start a beauty edit, I look at the unretouched file and ask what the makeup artist was trying to achieve. What’s the focal point? Where is the light landing? What should my eye go to first? My job as a retoucher is to support those decisions, not replace them with my own ideas about what looks clean.
The retouchers I’ve watched overdo it, including past me, are almost always trying to impose a result instead of refining what’s already there. Work with the image, not against it, and your makeup retouching will start looking like makeup.
Comments (3)
This is going in my reference folder. Incredibly useful.
I keep coming back to this article. It's that useful.
This saved me so much time on my last edit. Wish I'd found this sooner.
Leave a Comment