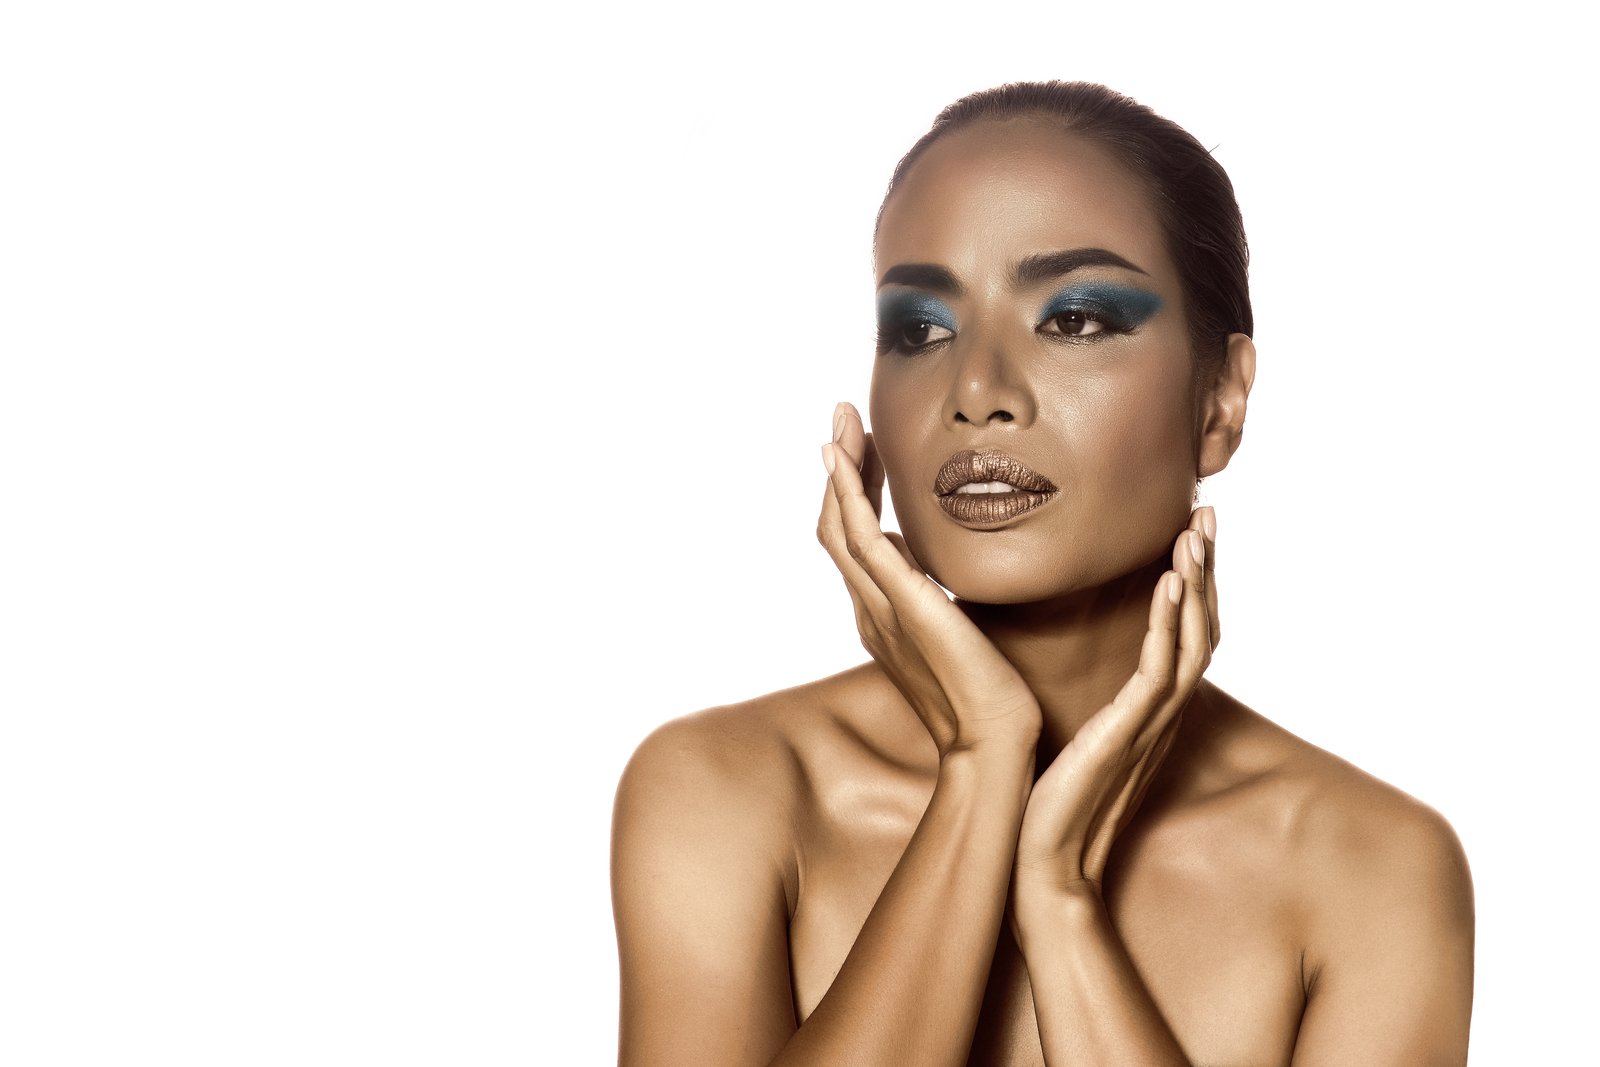
My first real retouching disaster lives on a hard drive I keep in my desk drawer. I don’t look at it often, but I know it’s there. A bridal client had called my edited portraits “plastic-looking,” and when I pulled them back up after that phone call, I saw exactly what she meant. I had blurred the life right out of her face. Pores, texture, the fine lines around her eyes when she smiled, all of it gone, replaced by something that looked more like a wax figure than a woman. That file is the reason I learned to do portrait cleanup correctly, and it’s the thing I show students on the first day of every workshop I teach.
Most cleanup errors aren’t about using the wrong tool. They’re about not understanding what you’re actually trying to remove.
What “Cleanup” Actually Means Versus What Most People Do
Portrait cleanup, at its core, is about removing temporary distractions from skin without touching the permanent structure underneath. A blemish that appeared the morning of a shoot is temporary. The natural texture of someone’s cheek is not. The moment you start treating one like the other, you get that plastic look.
When you apply a healing brush too broadly, or run Gaussian blur over a skin layer without masking, you’re not just erasing redness. You’re erasing the micro-relief of skin. That texture catches light in a way that tells the viewer’s brain this is a real human face. Take it away and the brain notices, even if the viewer can’t articulate why the image feels off.
The Frequency Separation Setup That Actually Works
I do all of my cleanup on frequency-separated layers, but the standard tutorial settings you find online are almost always wrong for portrait work. Here’s the setup I use in Photoshop.
First, duplicate your background layer twice. Name the bottom copy “Color” and the top copy “Texture.” On the Color layer, go to Filter > Blur > Gaussian Blur. For a high-resolution file shot at around 24 megapixels, I use a radius of 4.0 pixels. For a lower-res file under 12 megapixels, 2.0 to 2.5 pixels is closer to right. The goal is to blur just until you can no longer see individual skin features, but no further.
On the Texture layer, go to Image > Apply Image. Set the layer to your Color layer, the blending mode to Subtract, the scale to 2, and the offset to 128. This isolates only the fine detail, completely separated from tone and color. Now set the Texture layer’s blending mode to Linear Light.
From here, all your tonal blending and redness correction happens on the Color layer using a soft brush at 10 to 15 percent opacity. Blemish removal happens on the Texture layer with the clone stamp tool at 100 percent opacity, sample set to Current Layer. You’re only moving texture around, so you’re never softening anything.
Blemish Removal Without the Halo Problem
The healing brush is faster, but on the Texture layer, the clone stamp is more precise. Halos happen when the healing brush samples from an area with different underlying tone, then tries to reconcile the two. On a properly separated Texture layer, tone doesn’t exist, so the halo problem largely disappears.
For active blemishes with raised texture, I work in two passes. First pass, I use the clone stamp at a brush size just slightly larger than the blemish itself, Alt-clicking from clean skin directly adjacent to the problem area. Same direction, same lighting angle if possible. Second pass, I go back to the Color layer and gently brush down any remaining redness with a hue-saturation adjustment clipped to a mask, dropping saturation on reds by about 15 to 20 points and using a soft black brush to paint out any areas I don’t want affected.
Total time for a single blemish done properly, roughly 45 seconds to two minutes depending on size and complexity.
When to Stop and Why Over-Retouching Is a Structural Problem
There’s a version of portrait cleanup that takes 20 minutes per image and a version that takes 4 hours. The difference is almost never the difficulty of the skin. It’s whether the retoucher has decided in advance what they’re not going to fix.
I make that decision before I open Photoshop. I look at the original file and I identify the things that are genuinely distracting versus the things that are just part of the person’s face. Undereye circles can be softened but shouldn’t disappear entirely. A scar the subject has had for 20 years is not a cleanup item unless the client specifically requests it, and even then, I’ll ask before I touch it. This conversation takes three minutes in an email and saves an hour of revision requests.
The work I do for beauty brands has incredibly tight turnaround, sometimes 30 to 40 images in a single day. The only reason I can hit that volume without losing quality is that I’ve built a cleanup action set that handles the repetitive parts, leaving me time and attention for the judgment calls that actually matter. I named my main cleanup action “The Apartment,” because like the film, it’s economical and there’s no wasted space.
Keeping Skin Looking Like Skin
The single most important thing in portrait cleanup is preserving the randomness of real texture. Skin is not uniform. If your final image looks like it has a pattern to it, like the texture repeats or the smoothing is consistent across the whole face, you’ve gone too far. Real skin has variation, and your retouching should protect that variation, not sand it down until everything looks the same.
The goal is for someone to look at your finished portrait and not think about the retouching at all.
Comments (2)
Just subscribed. If the rest of your content is this good, I'm in.
Love how you break down complex stuff into manageable steps.
Leave a Comment